You’ll start with safety—cool engine, gloves, glasses, level park—and visually scan the radiator, reservoir, hoses, clamps and overflow for cracks, corrosion or wet spots. Run the engine briefly to check the water pump seal, pulley area and thermostat housing for active leaks. Use a pressure tester for hidden failures and decide replace vs patch (hoses, thermostat, pump). Bleed the system and test drive after repair; keep going to see detailed steps and cost estimates.
Safety Prep: How to Ready Your Tacoma for Inspection
Before you start, make sure the engine is completely cool and you’ve got the right PPE—gloves and safety glasses—to prevent burns and exposure to toxic coolant. You’ll work deliberately: ventilate the workspace to reduce fume inhalation, park on level ground, and engage the parking brake. Don the safety gear, then assemble inspection tools—a flashlight, telescopic mirror, and a clean container for catching stray coolant. Keep rags and a small funnel nearby for controlled drainage.
Approach the Tacoma methodically: remove the skid plate if needed, use the mirror to view hidden fittings, and illuminate joints and hose clamps with the flashlight. If you find active seepage, stop and contain it in the prepared container; don’t let coolant reach soil. Dispose of collected fluid per local regulations. This prep protects you and frees you to diagnose and act without compromise—get equipped, stay safe, and reclaim control of your vehicle.
Quick Diagnosis Checklist for a Tacoma Coolant Leak
With the Tacoma prepped and cooled, move into a focused diagnosis checklist to quickly isolate where coolant is escaping. Start by scanning reservoir, radiator, and hoses for cracks, stains, or pooling under the truck, but don’t linger—this is a targeted sweep. Verify hose connections at the lower radiator hose and thermostat housing; those fittings fail often and you’ll spot looseness or seepage fast. Use a flashlight and telescopic mirror to probe tight spaces, watching for coolant trails down the serpentine belt, water pump, and adjacent components. Employ a coolant pressure tester to pressurize the system and reveal hairline or hidden leaks that visual checks miss. Note coolant types used and confirm compatibility when replacing components or topping off. After you repair or tighten fittings, monitor reservoir level and engine temperature on short drives; stable readings validate your work. This checklist keeps you decisive, reduces repeat visits, and supports proactive leak prevention.
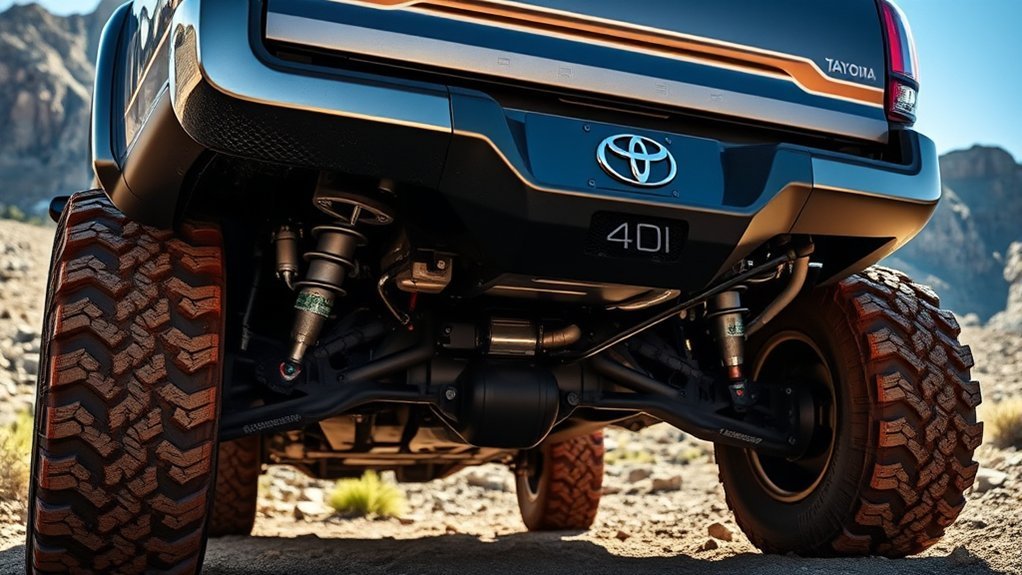
Visual Inspection: Radiator, Reservoir, Hoses, Clamps, Overflow
Start your visual inspection at the radiator and reservoir, scanning for cracks, corrosion, or wet spots that indicate active leaks. Focus on radiator corrosion around seams and fins; any pitting or greenish residue signals metal failure. Check reservoir damage: cracks, hairline splits, or distorted plastic at the fill neck will let coolant escape and undermine pressure. Trace each hose from fitting to fitting, looking for hose wear — surface cracks, bulges, or soft spots where rubber has deteriorated. At connections, test clamp integrity visually: rusted, loose, or improperly seated clamps won’t hold pressure and let coolant weep. Inspect the overflow tube and cap for a tight seal; a failing cap dumps pressure and causes overflow puddles. Look under the truck for stains or drips beneath the radiator, hoses, and reservoir to pinpoint the leak. Document findings, replace degraded parts, and reclaim control of your Tacoma’s cooling system.
[Products Worth Considering]

Ensure accurate engine cooling with Toyota's genuine water temperature sensor, designed for precise coolant monitoring and reliable performance. This OEM part fits seamlessly into your vehicle, offering durability and consistent temperature readings for optimal engine health.

The SCUARI Wiper Arm Removal Tool offers a durable carbon steel construction and an adjustable knob for flexible height control, making it easy to detach wiper arms on cars, SUVs, and trucks. Its rotating handle and secure locking screw ensure safe, damage‑free removal, while the compact collar fits most standard wiper arm sizes. Ideal for both DIY owners and professional mechanics seeking quick, reliable service.

Protect your vehicle's door handles and bowls with high-quality, reflective, self‑adhesive stickers that resist scratches, water, heat and fading. The subtle reflective glow improves night‑time visibility, enhancing safety while adding a sleek, luxurious look. Easy to install and durable, they fit most cars, trucks, SUVs and RVs.
Check While Running: Water Pump, Pulley, and Belt Area
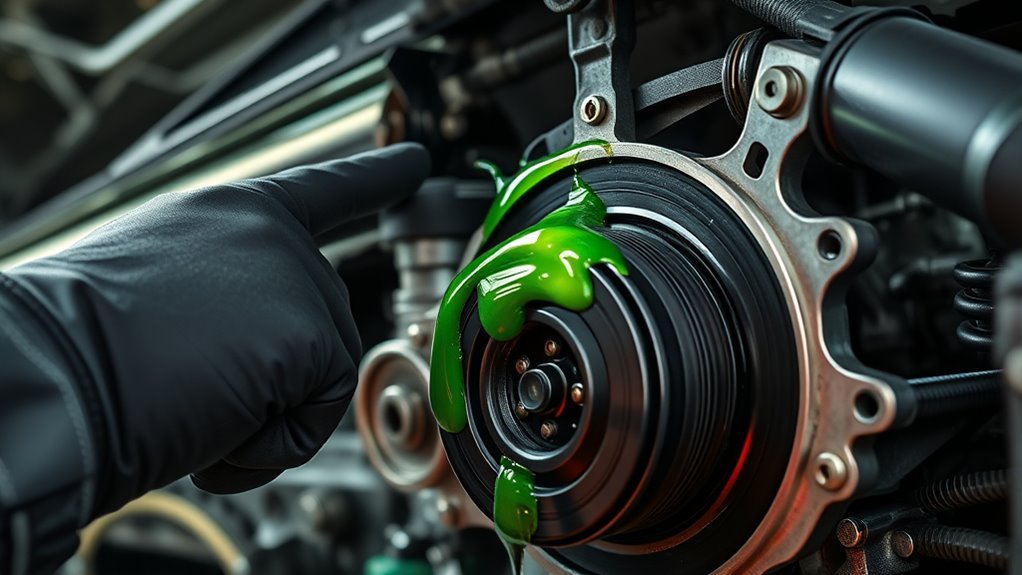
After you’ve inspected the radiator, reservoir, hoses, clamps and overflow, run the engine to check the water pump, pulley and belt area for active leaks. You’ll perform a focused water pump inspection while the engine reaches operating temperature, watching the front shaft seal for coolant weep. Use a flashlight and mirror to scan behind the pulley and along the serpentine belt; belt residue or crusty coolant marks point to a slow leak that runs down the belt. Minimize airflow so droplets aren’t dispersed. If you see wet coolant or white/green crust, note location and severity; a spinning pulley can throw fluid outward, widening damage. Document whether leakage appears only when hot. If the leak aligns with the pump shaft or the pulley face, prioritize pump replacement to restore freedom from recurring failures.
| Area inspected | What to look for |
|---|---|
| Pump shaft seal | Wetness, drips |
| Pulley face | Coolant streaks |
| Belt surface | Belt residue |
| Surrounding housing | Crusty stains |
| After running hot | Active seepage |
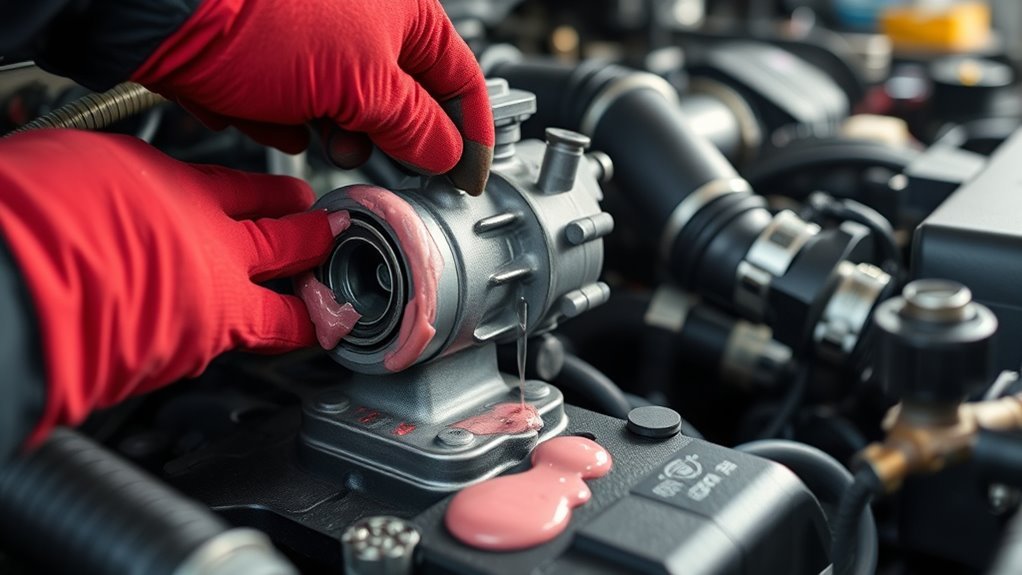
Thermostat Housing & Lower Radiator Hose: Common Leak Points
You’ll inspect the thermostat housing for coolant stains, gasket damage, and whether the jiggle valve is oriented upward per factory spec to avoid leaks. Check the lower radiator hose for soft spots, cracks, and clamp slippage that lets the connection lose load and drip. Tighten or replace clamps, clean and resurface the housing seal area, and swap hoses or the thermostat at high mileage to prevent recurrence.
[Products Worth Considering]

Upgrade your vehicle's interior with this genuine leather gear shift knob cover, designed to protect the original surface from scratches and wear while adding a sleek, ergonomic look. The compact design fits perfectly on 2019‑2025 RAV4 and 2020‑2026 Highlander models, and installation is as simple as snapping it onto the console. Enjoy enhanced style and comfort without the need for tools or modifications.

The KUST Black Dashboard Cover Mat offers a custom, eco‑friendly fit for Toyota RAV4 models from 2019 to 2025, protecting the dash from UV damage, scratches, and glare. Made from post‑consumer recycled polyester with a silicone anti‑slip underside, it stays soft, breathable, and odorless while securely adhering to the surface. Installation is quick and reversible, and the foldable design allows easy storage when not in use.
Thermostat Housing Leak Signs
Want to know whether the thermostat housing or lower radiator hose is leaking? Inspect the thermostat housing for visible coolant stains, corrosion, or puddles under the housing area; that’ll point to a housing breach rather than hose wear. Check for debris, pitting, or loose bolts—these cause seal failure and can trigger thermostat malfunction if the unit sits misaligned. Verify the thermostat orientation; an incorrectly installed thermostat (jiggle valve down) often leads to leaks at the housing. Note coolant type when cleaning or replacing seals—wrong fluids or contaminants accelerate deterioration. You’ll also feel local heat variance or detect odor at the housing when the engine runs. Address issues promptly: clean, reseat, torque to spec, and replace compromised components to reclaim control.
Lower Radiator Hose Wear
While inspecting the thermostat housing, don’t overlook the lower radiator hose—it’s a frequent failure point on Tacomas due to age, improper routing, or loose clamps. You’ll check the lower hose for soft spots, cracks, or oil contamination that weaken the rubber and invite splits. Inspect the mating surfaces at the thermostat housing for pitting or residue that prevents a proper seal; clean thoroughly to reduce seepage. Look for pink coolant stains at the hose-to-housing junction—classic evidence of clamp failure or pressure loss. You’re responsible for routine clamp maintenance: see corrosion, damaged bands, or slippage and address them proactively. Incorrect thermostat orientation can compound sealing issues, so verify assembly alignment while you inspect hose integrity.
Tightening And Replacement Tips
Because the thermostat housing and lower radiator hose are common leak points, tighten and replace components with deliberate checks: orient the thermostat so the jiggle valve faces up, clean mating surfaces, inspect and seat the thermostat seal, and snug hose clamps while confirming locking tabs engage. You’ll follow precise thermostat installation steps: clean, verify orientation, press the seal evenly, and torque housing bolts to spec. For the lower radiator hose, perform clamp maintenance—replace corroded or loose clamps, confirm locking tabs click, and torque clamps to hold without crushing the hose. Inspect hoses for hardening or cracks and swap aged parts. You’re reclaiming control: accurate assembly, routine checks, and prompt replacement keep leaks minimal and mechanical freedom intact.
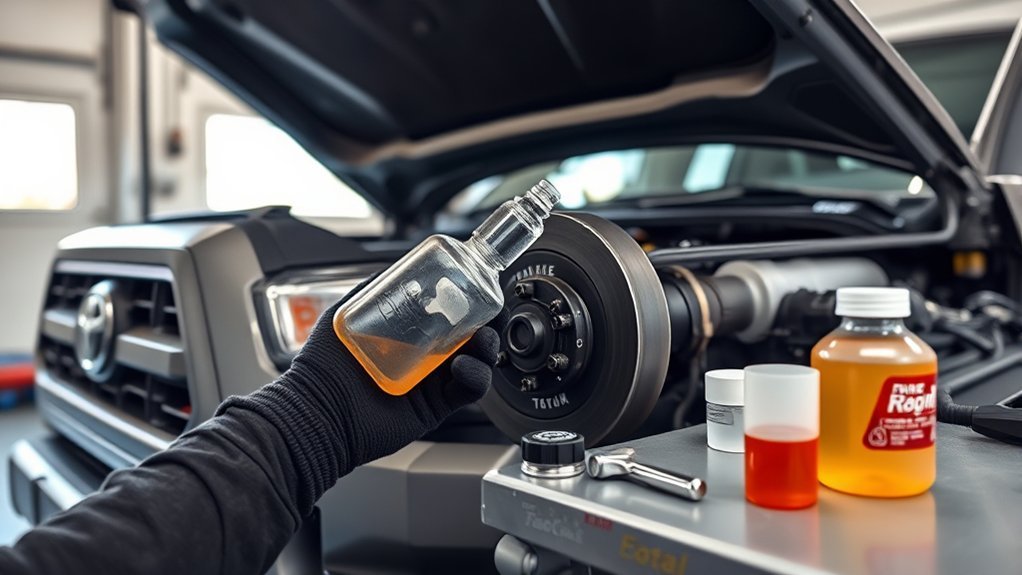
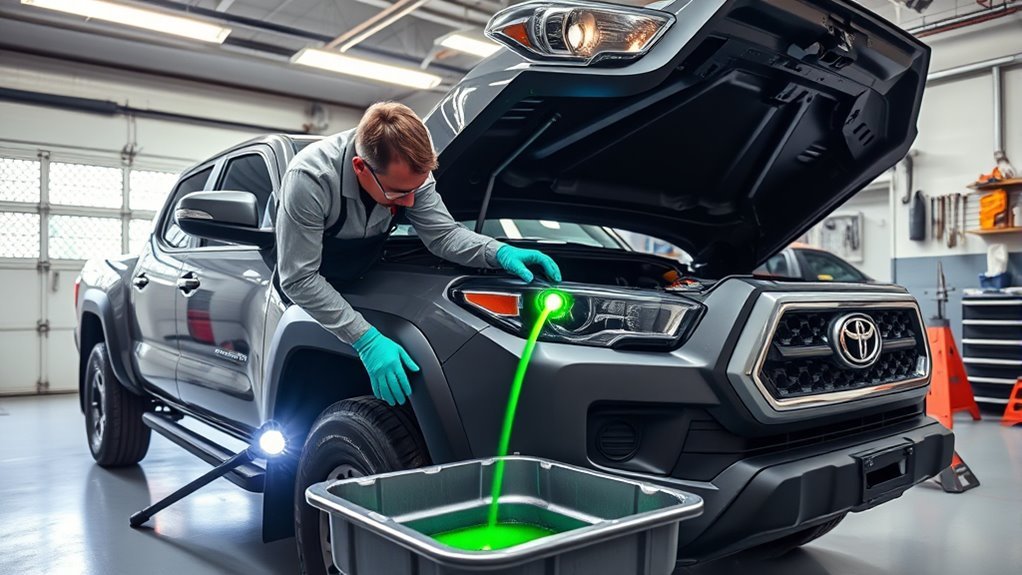
Find Hidden Leaks: Pressure Test, UV Dye, and Simple Tools
If you suspect a hidden coolant leak, start with a pressure test to pressurize the system and force coolant out of any weak points so you can see where it’s escaping. Use a calibrated coolant pressure tester to hold system pressure at spec; watch the gauge for drops that confirm a leak. Combine pressure testing with UV detection by adding fluorescent dye to the coolant, running the engine briefly, then scanning suspected areas with a UV lamp. You’ll see tracer glow where fluid escapes.
Inspect the water pump weep hole for crusty deposits—this often signals a long-term leak and pump failure. Regularly monitor coolant level trends; steady drops mean you need focused diagnostics. Bring a bright flashlight and a telescopic mirror to examine tight spaces under the intake and around hose junctions. Work deliberately, document each finding, and liberate yourself from guesswork by validating leaks with these tools before committing to repairs.
When to Replace vs. Patch: Water Pump, Thermostat, Hoses
Decide to replace rather than patch when components show structural failure, age-related wear (water pump ~94k–160k miles), or repeated leaks—replacement costs more up front but restores reliability and lifespan. Use temporary patches or sealants only for small, isolated leaks when you need a short-term fix or to get the truck to a shop. Factor parts/labor cost against expected longevity: hoses and thermostats are inexpensive to replace, water pumps cost more and justify replacement if symptoms or mileage indicate impending failure.
When To Replace
When a coolant component shows clear failure signs—visible leakage at the water‑pump shaft seal, repeated overheating or erratic gauge readings from a stuck thermostat, or hoses with cracks and soft spots—you should replace it rather than attempt a temporary patch. You’ll choose replacement when lifespan limits approach (water pumps ~94k–160k miles), when a thermostat misbehaves, or when hoses show structural degradation. Consider coolant types and sealant options only for appropriate maintenance, not as long‑term fixes.
| Component | Replacement trigger |
|---|---|
| Water pump | Shaft‑seal leak or mileage limit |
| Thermostat | Overheat/erratic temps |
| Upper/lower hoses | Cracks, bulges, soft spots |
| Preventive schedule | Replace aging parts proactively |
Cost math favors replacement: pump $317–$465, thermostat $195–$286. Replace to regain control.
Temporary Patch Options
After covering when replacement is the right call, you’ll also want to know what short‑term patch options exist and their limits. You can use temporary sealants or stop‑leak products for minor seepage after accurate leak detection, but treat them as emergency measures only. Replace components when seals, gaskets, or hardware show wear.
- Water pump: if the front shaft seal leaks, don’t patch—replace the pump to restore reliable cooling.
- Thermostat: minor gasket weeps might accept a temporary sealant, but misinstalled or damaged thermostats require replacement.
- Hoses: cracked or loose hoses must be replaced; clamps or sealants only delay failure.
Inspect regularly. Prioritize replacement for safety and liberation from recurring breakdowns.
Cost And Longevity
Because cost, mileage, and failure mode determine whether you patch or replace, prioritize replacement for components showing wear or high-mileage service history: expect a water pump swap to run about $317–$465 and be prudent around 94,000–160,000 miles; plan thermostat replacement at roughly $195–$286 (often done with the pump) to avoid repeat labor; and budget $171–$251 for hose replacements, concentrating on connection points. Use cost analysis to decide: temporary patches delay but don’t eliminate risk of catastrophic engine damage. Replace when leaks recur, parts are aged, or maintenance records are sparse. For longevity tips, flush coolant on schedule, inspect hoses and clamps frequently, and pair thermostat and pump jobs to save labor. Act decisively to retain freedom from roadside failures.
Time & Cost Estimates for Common Tacoma Coolant Repairs
1 key factor in planning Tacoma coolant repairs is understanding typical time and cost ranges so you can decide whether to DIY or go to a shop. You’ll assess coolant leak causes, set a repair timeline, and choose the most efficient path to freedom from breakdowns. Typical estimates:
- Water pump: $317–$465, 2–4 hours.
- Thermostat: $195–$286, 1–2 hours.
- Heater core: $561–$823, 4–8 hours.
Head gasket jobs (est. $1,928–$2,828) demand extensive teardown and can consume a day or more; they signal serious engine issues and loss of autonomy if delayed. Regular maintenance shortens future repair timelines and reduces cost escalation. If you crave control, tackle thermostat or water pump swaps yourself with proper tools and clear steps. For heater core and head gasket work, plan shop time and budget; these repairs require skill, space, and diagnostics. Make decisions that restore mobility and minimize dependence.
Post-Repair Checks: Bleeding, Leak Re-Check, and Test Drive
After the repair, you’ll need to bleed the cooling system to eliminate trapped air and restore proper coolant flow. Then perform a focused post-repair leak check—use a flashlight and mirror to inspect all repaired joints and hose connections while the engine reaches operating temperature. Finish with a controlled test drive while monitoring the temp gauge, then let the engine cool and recheck coolant level.
Bleeding The Cooling System
Once repairs are done, you’ll need to bleed the cooling system to expel trapped air that can cause hot spots and overheating. Use appropriate coolant types and proper bleeding techniques to restore full circulation. Start the engine with the radiator cap off, run until it reaches operating temperature, and watch the reservoir level. Set the heater to max so coolant moves through the heater core and releases air.
- Monitor bubbling in the radiator neck and top off reservoir until bubbles stop.
- Allow the engine to cool, then recheck and top to recommended level to prevent vacuum pockets.
- Test drive to confirm stable temperature and absence of air-related hot spots.
You’ll regain control: no air, correct fill, and liberated, reliable cooling performance.
Post-Repair Leak Check
Although you’ve completed the repair, you still need to bleed the system and run a focused leak re-check to be sure the job’s done, so start the engine with the radiator cap off, set the heater to max, and watch for steady coolant flow and escaping air bubbles. You’ll force trapped air out and restore proper coolant circulation; persistent air pockets mean more bleeding or a missed leak. With the engine at operating temperature, inspect all fittings, hoses, clamps, and the water pump for dampness or spray. Use a flashlight and mirror to see blind spots. After a successful bench check, take a controlled test drive, monitor the temp gauge, and re-inspect for puddles or stains. Track coolant level over the next few days to confirm repair integrity.
Prevent Tacoma Coolant Leaks: Maintenance Best Practices
If you want to prevent coolant leaks in your Tacoma, prioritize scheduled inspections and basic maintenance: check hoses and clamps around the radiator and heater core for cracks or softness, flush the coolant at manufacturer-recommended intervals to remove corrosive deposits, monitor coolant level regularly and investigate any drops immediately, and inspect the water pump and thermostat for seepage or wear during service; keeping the engine bay clean also helps you spot problems early and maintain a sealed cooling system.
You should choose proper coolant types and compatible hose materials, and follow a disciplined maintenance routine to keep control and freedom from roadside failures. Inspect hose ends, clamps, and routing; replace flexible hoses older than recommended. Flush the system to remove scale and contaminants that weaken seals. Check the water pump for weep holes and the thermostat for proper operation. Monitor level and pressure, and address drops or stains promptly.
- Inspect: hoses, clamps, water pump.
- Maintain: flush coolant, use correct coolant types.
- Replace: aging hose materials, failed thermostats.
Frequently Asked Questions
Why Is My Tacoma Losing Coolant?
Your Tacoma’s losing coolant because a failed component in the coolant system—hose, water pump, thermostat housing, or head gasket—is leaking, and that loss’s degrading engine performance; inspect seals, hoses, pump, and cooling passages immediately.
Conclusion
You’ve now got the checklist to diagnose and fix Tacoma coolant leaks—start safely, inspect visually, then run the engine to pinpoint failures at the pump, thermostat housing, or hoses. Remember: 60% of radiator-related failures stem from hose/clamp deterioration, so don’t skip those quick checks. When in doubt, replace rather than patch. After repair, bleed the system, recheck for leaks, and test drive to confirm the fix. Stay methodical and efficient.