How to Adjust Your Toyota Supra Seat for Comfort and Ergonomics
What’s in This Article
- Before You Begin
- Quick 3-Step Setup
- Toyota Supra Seat Controls: What Each Switch Does
- How to Set Seat Height and Cushion Angle
- Seat Fore-Aft Position and Steering Wheel
- Lumbar Support and Backrest Adjustment
- Mirrors and Headrest for Visibility and Safety
- Manual Transmission Setup
- On-Road Stretches and Micro-Exercises
- Diagnose Common Seat Problems
- Frequently Asked Questions
A Supra cockpit is built tight, and the wrong seat position turns a short drive into a battle against fatigue and stiffness. Most drivers nudge the seat forward and stop there, missing controls that could cut discomfort by half. This guide walks you through every adjustment, from the fore-aft rocker to the headrest, so you can match the cockpit to your body instead of the other way around.
Quick Answer
Set seat height so your knees sit level with or slightly below your hips. Slide the seat fore-aft until your elbows bend slightly with hands at the 9 and 3 positions on the wheel. Dial in lumbar support for firm lower-back contact, align the headrest top with the back of your head, and angle the mirrors to clear your blind spots. Save the configuration in memory if your trim supports it.
Key Takeaways
- Set seat height so your knees align with or sit slightly below your hips for better circulation and less leg fatigue.
- Position the seat fore-aft for about a 90-degree knee bend at full pedal travel and a slight elbow bend at the steering wheel.
- Use lumbar support and a 95-to-105-degree backrest recline to cut spinal load on longer drives.
- Align the headrest top with the back of your head, not your neck, for proper protection in a rear collision.
- Shift position and stretch every 20 to 40 minutes to prevent cramps and keep circulation going.
Before You Begin
Park the car on level ground before touching any controls. Adjustments made while driving in traffic are dangerous and make accurate positioning nearly impossible.
What you’ll need: the shoes you normally drive in (heel height affects pedal reach and knee angle), access to the seat switches or levers, and 10 to 15 minutes for a first-time full setup. If your trim has memory presets, keep the ignition on so you can save the position when you’re done. Subsequent adjustments take under 5 minutes once you know your target position.
Warning: Never adjust seat position, mirrors, or the steering column while driving in moving traffic. Pull over or complete all adjustments before setting off.
Pro tip: Wear the exact shoes you’ll drive in when dialing in your seat position, since even a small heel height difference shifts your pedal reach and knee angle.
Quick 3‑Step Setup: Get Comfortable Now

Start by raising or lowering the seat and adjusting its tilt so your knees sit level with or slightly below your hips. That position prevents right-leg fatigue on longer drives.
- Set height and tilt. Establish your baseline position first. Verify knee alignment and pedal reach without strain. Your knees should sit at or slightly below hip level before you adjust anything else.
- Slide the seat fore-aft. Move the seat forward or back to set your steering wheel distance and arm angle. Your elbows should have a slight bend with hands at the 9 and 3 positions on the wheel.
- Set lumbar support and save. Adjust lumbar support for firm lower-back contact without overextension. If your trim has memory presets, store the configuration now so any driver can recall it instantly.
Work through these steps in small increments. Check pressure points after each one, confirm visibility across the instrument cluster, and verify access to all controls before you drive.
Toyota Supra Seat Controls: What Each Switch Does
One set of controls manages seat position: a horizontal rocker slides the seat fore and aft, while an upright rocker raises, lowers, and tilts the cushion to set thigh-to-hip angle and pedal reach. Higher trims add switches for lumbar support and a power adjustment matrix that handles bolster and backrest micro-positioning. Manual variants use levers and handles for the primary motions.
Use memory settings to store precise configurations for different drivers. Press “Set” plus a numbered button to save. Press the number alone to recall. Read the switches in order: horizontal rocker for fore-aft, upright rocker for height and tilt, small toggles for lumbar, and memory buttons to save and recall.
[Products Worth Considering]

Protect your Toyota RAV4 interior with this custom‑fit windshield sun shade that blocks 99% of harmful UV rays and reduces cabin heat. The mirror cut‑out ensures a seamless fit without gaps, while durable 240T polyester and bendable wire keep it sturdy through repeated use. Foldable and stored in a convenient pouch, it offers easy installation and removal for everyday comfort.

The Autovir windscreen shade offers full windshield coverage for Toyota RAV4 models from 2019 to 2026, blocking up to 99.95% of UV rays and reducing interior heat. Its multi‑layer reflective material provides SPF 100 and UPF 80+ protection while keeping the dashboard, seats, and steering wheel cooler. The foldable design installs quickly and stores conveniently in the glove box, and reinforced stitching ensures long‑lasting durability for daily use.
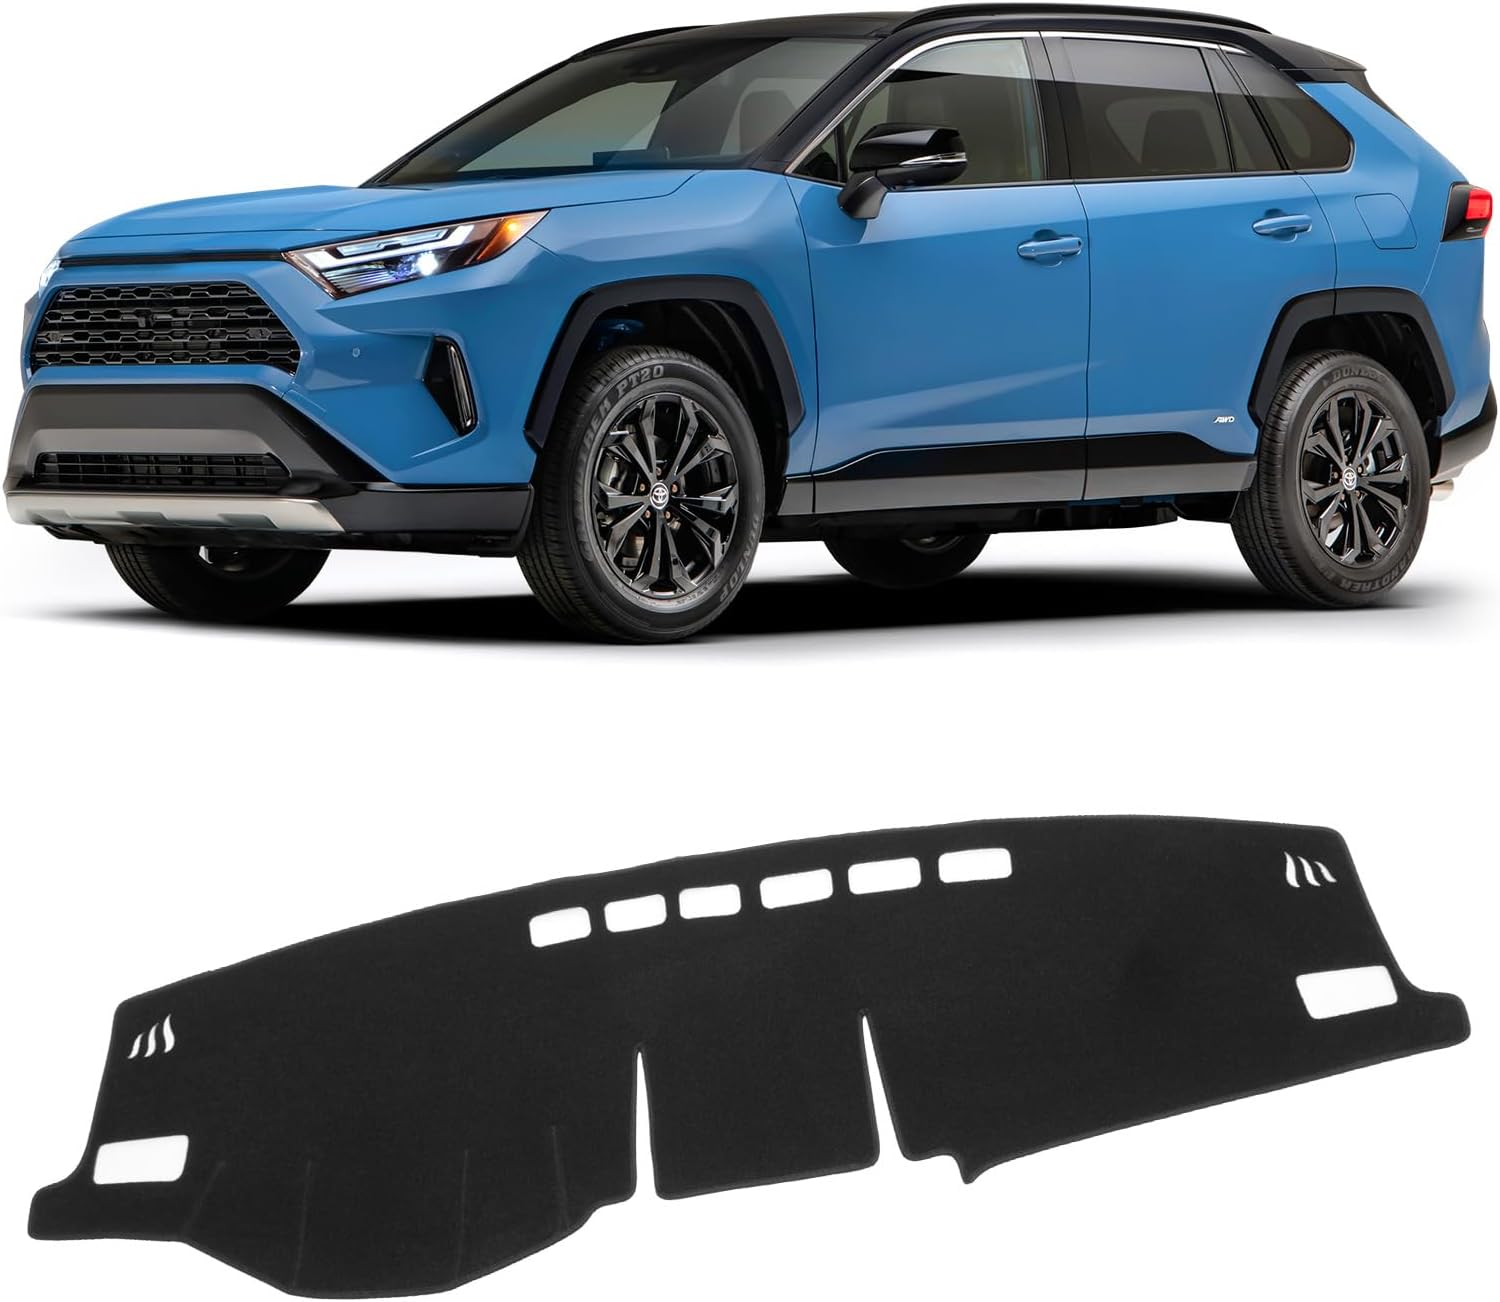
The KUST Black Dashboard Cover Mat offers a custom, eco‑friendly fit for Toyota RAV4 models from 2019 to 2025, protecting the dash from UV damage, scratches, and glare. Made from post‑consumer recycled polyester with a silicone anti‑slip underside, it stays soft, breathable, and odorless while securely adhering to the surface. Installation is quick and reversible, and the foldable design allows easy storage when not in use.
How to Set Seat Height and Cushion Angle for Pedal Reach
Adjust seat height and cushion angle so your foot rests on each pedal with a slight knee bend and full heel contact on the floor. Raise the seat if your legs feel fully extended at the pedal. Lower or tilt the cushion forward if your knees ride too high relative to your hips.
Use the Supra’s electric or manual controls during a safe, traffic-free stretch. Raise height for better visibility and reach if you have longer legs. Tilt the cushion to improve knee alignment and cut fatigue. The table below shows how each change affects your driving position.
| Variable | Effect |
|---|---|
| Higher seat | Improved pedal reach, better visibility |
| Tilted cushion | Better knee alignment, less fatigue |
| Lower seat | Reduced hip-to-knee strain |
[Products Worth Considering]

The TPXSIUE passenger storage organizer mat provides a custom‑fit, non‑slip silicone tray that keeps items secure and the console tidy. It slides into the grab‑handle slot without tools, protecting the interior from scratches and rattles while offering easy access to pens, gum, and other essentials. Designed for RAV4 models from 2019 to 2024, it delivers a perfect OEM‑like fit and enhances vehicle organization.

The TOPINSTALL dash console tray adds convenient storage to your Toyota Rav4 without obstructing the view. Made from solid, heat‑resisting plastic with a matte black finish, it holds tissues, sunglasses, keys and cards securely using rubber liners and strong adhesive tape. Its OEM‑matching shape enhances interior appearance while providing quick access to essential items while driving.
Position the Seat Fore‑Aft and Adjust the Steering Wheel

Position the seat fore-aft so your knee angle stays slightly flexed at full pedal travel. This preserves leverage and stops leg overextension, which reduces control. Use the steering column lever to set wheel reach and tilt so your wrists rest on the top of the rim with arms mildly bent, keeping clear sightlines to the instrument cluster. If your trim has memory, store the combined seat and wheel position to reproduce ideal leg clearance and steering reach for different drivers.
Seat Fore‑Aft Positioning
Slide the seat fore-aft until your feet reach the pedals comfortably with a slight elbow bend at the wheel. That position gives you both control and proper reach. Use the Supra’s power fore-aft control in small increments, then verify pedal modulation, instrument cluster visibility, and whether you feel tension on one side of your body.
- Use small power increments to achieve a repeatable position.
- Check instrument panel visibility from the chosen fore-aft point.
- Move closer for tighter steering feedback; move back for more legroom.
- Recheck your posture after each adjustment to catch any static strain.
This approach gives you repeatable control, clear visibility, and sustained comfort without guesswork.
Steering Wheel Reach
One rule guides steering reach: set the seat fore-aft so your elbows retain a slight bend with hands at the 9 and 3 positions. Then use the Supra’s tilt and telescoping lever to fine-tune wheel height and depth. Your gauges should stay fully visible and your wrists should sit neutral at the top of the wheel. Disengage the lever under the column to move the wheel up, down, in, or out. Confirm that the new position keeps the instrument cluster clear and allows a relaxed elbow angle, then relock the lever firmly. This calibrated setup cuts muscular strain and improves steering comfort on longer drives.
Leg Angle and Clearance
When you set the seat fore-aft, aim for roughly a 90-degree bend at the knee with the clutch or throttle fully depressed. That angle keeps leg muscles relaxed and cuts fatigue during longer drives. Then verify that steering wheel height and depth keep your arms in a neutral posture and clear your knees when the pedals reach full travel.
- Position the seat fore-aft for about a 90-degree knee bend at full pedal travel
- Adjust wheel height and depth to keep arms neutral and knees clear
- Vary seat angle to improve knee support and thigh contact
- Recheck and fine-tune after a short test drive
Adjust Lumbar and Backrest to Prevent Fatigue
Drivers often overlook lumbar and backrest settings, but getting them right directly cuts muscular strain and spinal load on longer drives. Apply lumbar adjustment in small steps to create firm lower-back contact without pushing your spine into overextension. Set the backrest to a slight recline that maintains an upright posture while improving circulation and lowering spinal pressure. Occupational ergonomics guidelines recommend a backrest angle between 95 and 105 degrees for the best balance of support and hip flexor relief.
Adjust during breaks to reset muscle tension before it compounds. Check three contact points: the lumbar pad, the thoracic support zone, and the seat base. Modify each to match your anatomy. The table below summarizes adjustments and expected outcomes.
| Component | Adjustment Range | Expected Outcome |
|---|---|---|
| Lumbar | Low to High | Reduced lower-back strain |
| Backrest | 95 to 105 degrees | Better circulation, less neck fatigue |
Set Mirrors and Headrest for Visibility and Safety
After setting lumbar and backrest support, align the mirrors and headrest to complete the ergonomic safety setup. Adjust mirrors methodically: select left or right with the joystick or four-way switch, angle each mirror slightly outward to eliminate blind spots, and center the rearview mirror on your rear window. Use electric folding and reverse-tilt features to boost situational awareness in tight spaces or when reversing.
For headrest positioning, set the height so the top of the headrest aligns with the back of your head. According to NHTSA head restraint guidance, this position controls head excursion during a rear impact and reduces whiplash injury risk. Recheck headrest height whenever a different driver uses the car, since it directly affects rear-impact protection for that person.
- Select each mirror and use the joystick or four-way switch for precise side-view positioning.
- Center the rearview mirror on the full rear window for unobstructed sightlines.
- Use reverse-tilt and folding features when parking in tight spots.
- Align the headrest top with the back of your head, not the nape of your neck.
Manual‑Transmission Setup: Clutch, Pedal Reach, and Knee Alignment

When setting up a manual Supra, position the seat so your left leg rests comfortably at the clutch with minimal extension. Adjust seat height and tilt to align your knee over the pedal pivot and keep even thigh contact with the cushion. Both changes cut torque on the knee joint. If the floor throttle changes your foot angle, make incremental seat changes and test during a traffic-free stretch to confirm consistent, ergonomic pedal reach.
Clutch Pedal Placement
Precise clutch pedal placement matters more in the Supra than in most cars. Small deviations in reach or vertical position shift knee alignment, raise fatigue, and reduce control. Assess clutch comfort by watching leg extension and the direction of force during engagement. The Supra’s pedal suits a range of leg lengths, but a seat-height and fore-aft tweak centers the load through the knee joint and cuts fatigue on longer drives. Angle your foot slightly outward to relieve pressure and keep engagement geometry consistent. Make small adjustments and take brief stretching breaks to maintain control.
- Verify a neutral foot angle for repeatable pedal travel
- Adjust seat height for proper toe clearance
- Move the seat forward to cut overextension
- Take brief stretching breaks on longer drives
Knee and Thigh Alignment
Align your knee and thigh so the leg forms a slightly bent angle at rest on the clutch. That position keeps joint strain low and preserves leverage through repeated gear changes. Optimize seat height and angle to maintain knee support; small changes alter leverage and fatigue rates noticeably. Remove or secure thick floor mats if they push your foot forward and alter pedal reach. Long-legged drivers can angle the foot slightly outward on the pedal to cut medial knee pressure. Make measured seat tweaks during safe, traffic-free intervals to refine your setup.
| Parameter | Adjustment |
|---|---|
| Seat height | Raise or lower incrementally |
| Seat angle | Tilt for thigh contact |
| Floor mats | Remove or secure |
| Foot angle | Angled outward for longer legs |
| Check interval | Adjust every 30 to 60 minutes |
On‑Road Stretches and Micro‑Exercises to Avoid Cramps
Shift your seat and perform brief, targeted movements every 20 to 40 minutes to maintain circulation and prevent cramps on longer drives. Use micro-movement techniques and brief exercises at traffic stops to break static loading, improve venous return, and keep neuromuscular response sharp. Adjust seat angle and height during rest stops to find the knee-thigh angle that cuts discomfort.
Shift your seat and do brief micro-movements every 20 to 40 minutes to restore circulation and prevent driving cramps.
- Flex and extend your toes; trace letters with your feet to push blood through the lower legs.
- Shift your foot position on the throttle pedal periodically to change which muscles carry the load.
- At traffic stops, perform seated hamstring and lower-back extensions to cut lumbar stiffness.
- Try small seat recline adjustments to shift pressure away from the back of the knee.
These habits cut cramp frequency and let you stay focused without sacrificing control or comfort.
Diagnose Common Seat Problems and When to Upgrade
A systematic check helps you tell the difference between fixable discomfort and problems that call for a seat upgrade. Start by evaluating lumbar support, cushion compression, and mechanism function. Seat capabilities vary significantly across Supra generations: older manual-seat models have limited adjustment travel, while power-equipped trims on later generations offer wider height, tilt, and reach ranges.
Note: Seat specs differ across the A60, A70, A80, and A90 Supra generations. Confirm which generation you own before comparing adjustment ranges or ordering replacement parts.
Measure seat height, tilt, and lumbar travel. Note any persistent gaps in support or uneven cushion rebound; both point to worn materials or a failing mechanism. Test leg alignment and thigh support, especially if you feel fatigue with longer limbs. Adjust tilt and fore-aft position to improve knee angle before deciding an upgrade is necessary.
If cushion materials have broken down, heating elements are faulty, or the adjustment range falls short for longer drives, a more adjustable Supra-compatible seat delivers measurable gains in long-drive comfort and ergonomics.
Frequently Asked Questions
How do I know if my Supra seat is set correctly?
Your seat is in the right position when your knees bend at roughly 90 degrees at full pedal travel, your elbows have a slight bend with hands at 9 and 3, and your lower back makes firm contact with the lumbar pad. You should reach every pedal without stretching and see the full instrument cluster without craning your neck.
Does the Toyota Supra have memory seat settings?
Higher-trim A90 Supra models include power-adjustable seats with memory presets. Set the seat to your preferred position, press “Set,” then press a numbered memory button (1 or 2) to save it. Press the number alone to return to that position at any time. Entry-level trims with manual seats don’t include this feature.
Why does my lower back hurt after driving the Supra?
Lower back pain after driving usually comes from insufficient lumbar support or a backrest set too upright. Increase lumbar support until you feel firm, even contact across your lower back. Set the backrest to a slight recline between 95 and 105 degrees. If pain continues, take a break every 30 minutes and do a brief seated lumbar extension at each stop.
What seat limitations does the Toyota Supra have?
You’ll find the most seat limitations on older Supra generations, which have tighter pedal ergonomics and less adjustment range than modern designs. Even on the A90, the low-slung cockpit can feel cramped for very tall drivers, and the bolstered sport seats may cause pressure on wider hips during longer drives. Targeted position tweaks and an aftermarket lumbar cushion can help bridge those gaps.
Conclusion
A correctly adjusted Supra seat keeps you in control and out of discomfort on every drive. Work through each adjustment in sequence: seat height, cushion tilt, fore-aft position, lumbar support, backrest angle, headrest, and mirrors. For manual-transmission models, add clutch reach and knee alignment to that checklist. Save the configuration in memory if your trim allows it.
Your clearest next step: set aside 15 minutes before your next drive, run the Quick 3-Step Setup, and test the result on an open road. Adjust in small increments from there until fatigue stops being part of the experience.
References
- Head Restraints — National Highway Traffic Safety Administration (NHTSA)
- Toyota GR Supra Features and Specifications — Toyota USA