
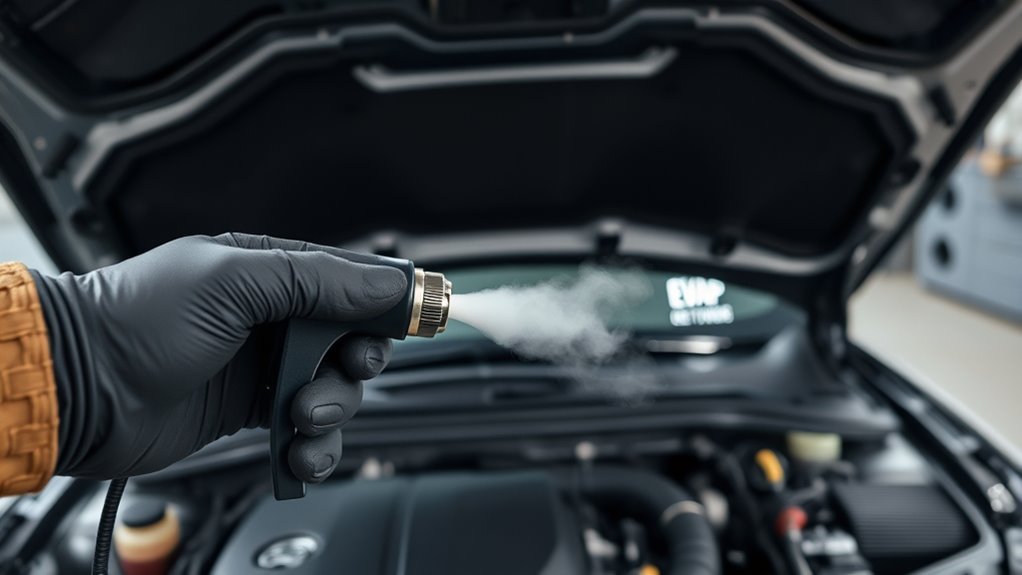
When a check engine light points to the EVAP system, your vehicle is telling you the sealed fuel-vapor system is not passing its self-test. The cause may be as simple as a loose gas cap, but it can also be a cracked hose, stuck purge valve, clogged vent valve, damaged charcoal canister, or faulty pressure sensor.
Quick Answer
An EVAP check engine light usually means the fuel-vapor system cannot hold the pressure or vacuum expected by the vehicle computer. Start by tightening or replacing the gas cap, then scan the code. If the light returns, inspect hoses, purge and vent valves, the charcoal canister, and consider a smoke test.
Key Takeaways
- A loose, cracked, or poorly sealed gas cap is the first thing to check because it can trigger common EVAP leak codes.
- Codes such as P0440, P0442, P0455, and P0456 point to different leak sizes or system faults, but they do not always identify the exact failed part.
- Visual inspection, an OBD-II scan, fuel-cap testing, purge/vent valve testing, and low-pressure smoke testing are the main diagnostic steps.
- Do not use high shop-air pressure in the EVAP system; it is designed for low-pressure vapor control and can be damaged by improper testing.
- Persistent EVAP faults can increase hydrocarbon emissions and may cause an emissions or inspection failure.
At a Glance
| Time Required | 10–30 minutes for basic checks; 1–3 hours for professional diagnosis and repair |
| Difficulty | Easy for gas cap and visual checks; moderate to advanced for valve testing and smoke testing |
| Tools Needed | OBD-II scanner, flashlight, gloves, fuel-cap tester, scan tool with bidirectional controls, low-pressure smoke machine |
| Cost | A gas cap is usually inexpensive; diagnosis and repairs vary by vehicle, labor rate, and failed component |
Quick Actions When an EVAP Check Engine Light Appears
When your check engine light comes on for the EVAP system, start with the simplest and safest checks before replacing parts. Tighten the gas cap until it clicks, inspect the rubber seal for cracks or flattening, and make sure the cap is not cross-threaded. A missing, loose, or damaged cap can let fuel vapors escape and may trigger an EVAP leak code.
- Check the gas cap first. Remove it, inspect the seal, reinstall it evenly, and tighten it fully.
- Scan the vehicle for diagnostic trouble codes. Codes such as P0440, P0442, P0455, and P0456 help narrow the direction of diagnosis.
- Look for obvious damage. Inspect visible EVAP hoses, the filler neck area, electrical connectors, and vacuum lines for cracks, loose clamps, or disconnected fittings.
- Drive normally for a few trips. After a simple gas-cap fix, the light may not turn off immediately because the EVAP monitor must rerun under the right conditions.
- Get deeper testing if the light returns. Persistent EVAP codes usually need smoke testing, pressure/vacuum testing, or valve command testing with a scan tool.
Note: Clearing the code without fixing the problem does not repair the EVAP system. The check engine light often returns after the vehicle completes another EVAP self-test.
How the EVAP System Works and Why Leaks Matter
The EVAP system is designed to capture gasoline vapors instead of letting them vent into the air. Vapors from the fuel tank are stored in a charcoal canister, then drawn into the engine through the purge valve and burned during normal operation. The vehicle computer monitors the system for leaks, flow problems, and pressure changes.
EVAP leaks matter because gasoline vapors contain hydrocarbons that contribute to air pollution. Modern vehicles use onboard diagnostics to detect emission-control problems and turn on the malfunction indicator light when the system fails a test. The U.S. Environmental Protection Agency recognizes evaporative emissions and onboard diagnostics as part of vehicle emissions control and testing programs.
Vapor Capture Process
Fuel vapors form inside the tank, especially as fuel warms or sloshes. Instead of venting freely, those vapors travel through sealed lines to the charcoal canister. The activated charcoal stores the vapors until the engine is ready to burn them.
| Component | Role |
|---|---|
| Fuel tank and filler neck | Hold fuel and route vapors into the EVAP system |
| Gas cap or capless filler seal | Seals the refueling opening so vapors do not escape |
| Charcoal canister | Stores fuel vapors until they can be burned |
| Purge valve | Controls vapor flow from the canister into the engine intake |
| Vent valve | Allows filtered fresh air into the canister and closes during leak testing |
| Fuel tank pressure sensor | Reports pressure or vacuum changes to the vehicle computer |
Leak Detection Importance
Even a tiny EVAP leak can trigger a check engine light because the vehicle computer expects the system to hold pressure or vacuum during a self-test. A cracked hose, stuck valve, weak cap seal, or damaged canister can prevent the test from passing.
- Check common sources first: gas cap, capless filler seal, filler neck, cracked hoses, loose clamps, and disconnected fittings.
- Use proper diagnostics: smoke machines, fuel-cap testers, and scan-tool commands help find leaks that are too small to see.
- Act promptly: repairing EVAP faults helps keep fuel vapors contained and reduces the chance of inspection failure.
Engine Reburn Cycle
During the purge cycle, the powertrain control module opens the purge valve at the right time. Engine vacuum draws stored vapors from the charcoal canister into the intake, where they mix with the air-fuel charge and burn in the cylinders. The vent valve usually allows fresh filtered air into the canister during this process so the stored vapors can flow out cleanly.
Pro Tip: If your car is hard to start right after refueling, a stuck-open purge valve may be letting raw fuel vapor enter the intake at the wrong time. That symptom is different from a simple loose gas cap.
Common EVAP Parts to Inspect: Gas Cap, Canister, Valves, Lines
Start with parts you can safely see and access. EVAP parts are often located near the fuel tank, under the vehicle, or in the engine bay, so use jack stands if the vehicle must be raised and avoid working near heat, sparks, or open flame.
Gas Cap Inspection
The gas cap is the easiest EVAP part to inspect and one of the most common causes of small leak codes. Look for a cracked rubber seal, dirt on the sealing surface, worn threads, a cap that will not click, or a cap that feels loose even when tightened.
- Check the seal: Replace the cap if the rubber is cracked, hardened, missing, or badly flattened.
- Clean the sealing surface: Wipe dirt from the filler neck where the cap seal contacts the vehicle.
- Tighten correctly: Turn the cap until it clicks and sits evenly.
- Use the correct cap: Aftermarket caps must match your vehicle; the wrong cap can cause repeat codes.
Capless Fuel Filler Check
Many newer vehicles use a capless fuel filler instead of a traditional gas cap. These systems still need a clean, tight seal. Dirt, rust, or a stuck filler flap can create an EVAP leak. If your vehicle has a capless filler, inspect the flap area and use the manufacturer-approved funnel when adding fuel from a portable container.
Charcoal Canister Check
The charcoal canister stores fuel vapors, so cracks, impact damage, water intrusion, or liquid fuel saturation can prevent it from working correctly. A saturated canister may smell strongly of fuel or feel unusually heavy. Do not try to wash or blow out a charcoal canister; replace it if testing confirms failure.
Purge Valve and Vent Valve Check
The purge valve controls vapor flow into the engine. The vent valve allows fresh air into the canister and closes when the vehicle performs certain leak tests. A stuck-open purge valve can cause rough idle or hard starting after fueling. A stuck-closed or clogged vent valve may make refueling difficult because the tank cannot vent properly.
Hoses, Lines, and Filler Neck Check
EVAP hoses and plastic lines can crack with age, road salt, heat, vibration, or impact. Check the filler neck for rust, especially in areas where salt is used on roads. Inspect quick-connect fittings carefully because a line can look connected while the locking tab is broken.
Warning: Do not pressure-test an EVAP system with unregulated shop air. EVAP systems are designed for low pressure, and too much pressure can damage the fuel tank, valves, seals, or canister.
What Triggers EVAP Codes: P0440, P0442, P0455, and P0456 Explained
EVAP codes tell you what type of fault the computer detected, but they do not always prove which part is bad. Treat each code as a diagnostic clue, not a parts-replacement order.
| Code | Common Meaning | Where to Start |
|---|---|---|
| P0440 | General EVAP system malfunction | Scan for related codes, inspect cap, hoses, valves, and wiring |
| P0441 | Incorrect purge flow | Test purge valve operation, vacuum lines, and canister flow |
| P0442 | Small EVAP leak | Check gas cap, filler neck, small hoses, and smoke-test if needed |
| P0455 | Large or gross EVAP leak | Look for missing cap, disconnected hose, broken line, or major leak |
| P0456 | Very small EVAP leak on many vehicles | Use careful smoke testing and inspect small seals and fittings |
| P0457 | Loose or missing fuel cap on some vehicles | Inspect the cap or capless filler seal first |
P0442 and P0456 are often small-leak codes, so they may require patience and controlled testing. P0455 usually points to a larger leak, such as a missing cap, disconnected hose, broken filler neck, or large crack. P0441 focuses more on purge flow than a simple leak.
Top Causes of EVAP Codes: Leaks, Valves, Canister, Sensors
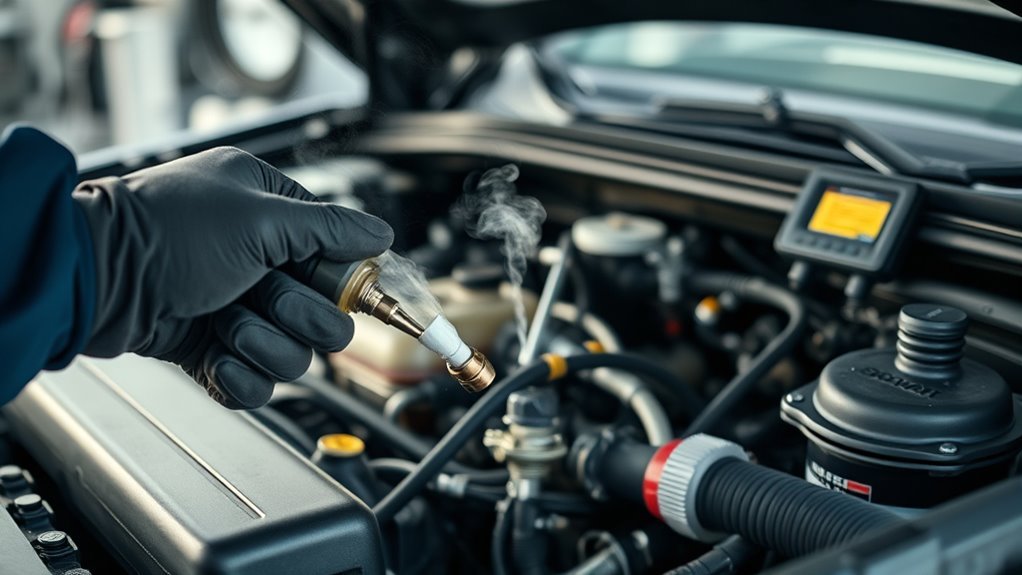
If your check engine light flags an EVAP fault, use a logical order instead of guessing. The most likely causes include sealing problems, damaged vapor lines, failed valves, canister issues, and sensor or wiring faults.
- Loose or damaged gas cap: The cap seal may be cracked, dirty, missing, or not tightened fully.
- Capless filler seal leak: Dirt or a stuck flap can prevent a capless fuel filler from sealing.
- Cracked or disconnected hoses: Aging rubber, broken plastic lines, and loose fittings can let vapor escape.
- Rusty filler neck: Corrosion around the filler pipe can create a leak near the cap area.
- Faulty purge valve: A stuck-open valve can create driveability problems, while a stuck-closed valve can cause purge-flow codes.
- Faulty vent valve: A clogged or stuck vent valve can interfere with leak testing and may make refueling difficult.
- Damaged charcoal canister: Cracks, liquid fuel saturation, or impact damage can prevent proper vapor storage.
- Fuel tank pressure sensor problem: A sensor or wiring issue can misreport pressure changes and mislead diagnosis.
- Recent overfilling: Topping off after the pump clicks off can push liquid fuel toward the canister on some vehicles.
Most repeat EVAP repairs happen when parts are replaced before the leak or flow fault is proven. Test first, then replace the failed part.
How to Detect EVAP Leaks: OBD-II Scans, Smoke Tests, Visual Checks
To find EVAP leaks efficiently, combine code reading with hands-on inspection and controlled testing. A basic code reader can show which EVAP code is stored, but a professional scan tool can command valves, view fuel tank pressure data, and check monitor status.
[Products Worth Considering]

The ANCEL AD410 PRO combines engine diagnostics and 12V battery testing in one easy-to-use tool, helping you read and clear check engine codes while checking battery health, cranking, and charging performance. It also provides live data, freeze frame details, and I/M readiness checks to help you diagnose issues faster and prepare for emissions testing. With plug-and-play operation, a clear screen, and broad vehicle compatibility, it is a practical solution for home mechanics and everyday drivers.

This automatic 12V charger and maintainer delivers a full charge before switching to float mode to help keep powersports batteries ready for storage and regular use. Its four-step charging program is designed for lead-acid, flooded, AGM, and gel cell batteries, helping prevent overcharging while supporting longer battery life. Compact and easy to use, it includes both ring terminal and alligator clip connections plus smart safety features for dependable charging.

This scissor car jack kit provides a dependable solution for emergency tire changes and roadside repairs. With a lifting range suited for low sedans and higher-body SUVs, it comes with essential tools like a ratchet wrench, lug wrench, gloves, tire pressure gauge, and storage bag for convenient use and transport. Built for stability and ease of operation, it is a practical all-in-one kit for cars, SUVs, and MPVs.
Step 1: Read the Codes and Freeze-Frame Data
Use an OBD-II scanner to read stored, pending, and permanent codes. Record the codes before clearing anything. Freeze-frame data can show when the fault set, including fuel level, vehicle speed, coolant temperature, and load.
Step 2: Inspect the Easy Leak Points
Check the gas cap or capless filler, filler neck, accessible hoses, and visible connectors. Look for fuel smell, cracked rubber, loose clamps, missing lines, and impact damage near the tank or canister.
Step 3: Test the Gas Cap or Capless Seal
A fuel-cap tester can confirm whether the cap holds pressure. On capless systems, inspect the filler flap and sealing area. If the cap or filler seal fails, repair it before moving deeper into the system.
Step 4: Command the Purge and Vent Valves
A bidirectional scan tool can command the purge and vent valves on many vehicles. The technician can watch fuel tank pressure sensor changes while the valves open and close. If a commanded valve does not respond, test its power, ground, wiring, and mechanical movement before replacing it.
Step 5: Use a Low-Pressure Smoke Test
A smoke machine pushes low-pressure smoke into the EVAP system so leaks become visible. Smoke may escape from a cracked hose, filler neck, canister seam, vent valve, or tank seal. This is one of the best methods for locating small leaks that are not visible during a normal inspection.
Note: EVAP monitors often run only under specific conditions, such as a certain fuel level, temperature range, and drive cycle. A repair may be correct even if the readiness monitor does not complete immediately.
DIY Fixes vs. When to Call a Pro for EVAP Problems
Some EVAP problems are reasonable DIY fixes, especially if the issue is a loose gas cap or a visibly cracked hose. Other faults require professional testing because small leaks and valve problems can be hard to prove without the right tools.
| Task | Best Choice | Why |
|---|---|---|
| Tighten or replace a damaged gas cap | DIY | Simple, low-risk, and often effective |
| Clean a dirty capless filler seal | DIY with care | Safe if you follow the owner’s manual |
| Inspect visible hoses and connectors | DIY | A flashlight inspection can find obvious faults |
| Replace an easy-to-access cracked hose | DIY if competent | Use fuel-vapor-rated hose and correct routing |
| Diagnose P0456 or repeat small-leak codes | Professional | Small leaks usually need smoke testing |
| Test purge and vent valves electrically | Professional or advanced DIY | Requires wiring knowledge and scan-tool control |
| Replace a charcoal canister or tank seal | Professional recommended | Parts can be expensive and access may be difficult |
Call a professional if the light comes back after the cap is replaced, if you smell fuel, if the vehicle is difficult to refuel, if the code is a very small leak, or if the EVAP components are mounted above the fuel tank.
[Products Worth Considering]

This heavy-duty tire repair kit provides a convenient way to fix tubeless punctures on the road or in the garage. It includes durable T-handle tools, two plug sizes, and a compact storage bag for easy carrying and quick access. Designed for a wide range of vehicles, it helps make emergency tire repairs simpler and more reliable.

This emergency tire repair kit helps you quickly fix tubeless punctures without removing the tire from the rim. It includes multiple screw sizes and sealant glue for a tight, reliable seal, making it a practical solution for roadside emergencies, travel, and everyday vehicle maintenance. Compact and easy to use, it is suitable for a wide range of vehicles, including cars, motorcycles, trucks, and ATVs.

HyperSmoke Technology – Creates Thick Visible Smoke for Easy Leak Testing. Adjustable Pressure. Infinite Smoke. Instant Warmup. Built-In Air Compressor Motor. OEM Approved Smoke Fluid. Designed and Engineered by AutoLine Pro USA, an American Team of Individuals bringing the latest innovation to you.
Diagnosis and Repair: Typical Process, Time, and Cost Estimates
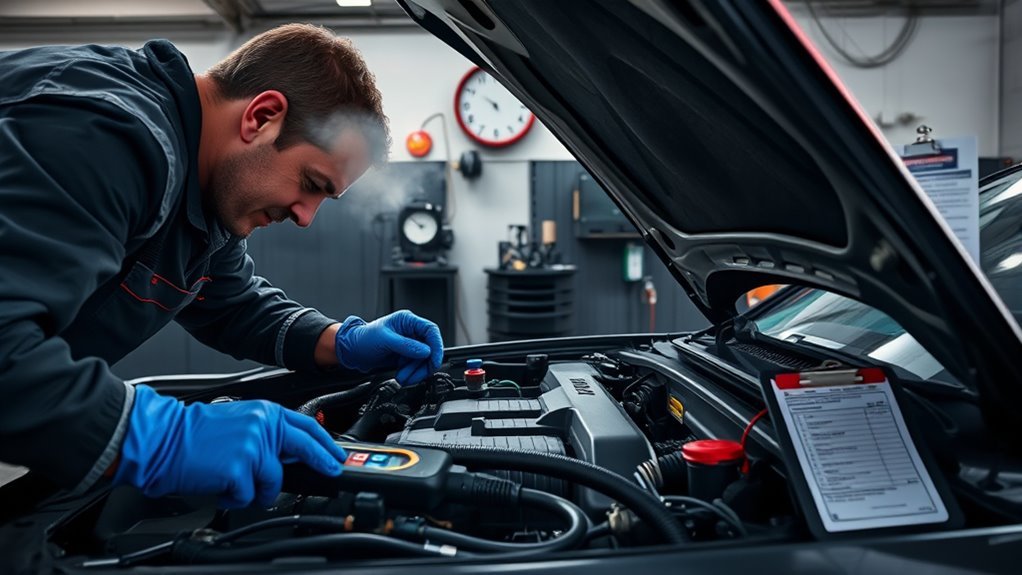
A good EVAP diagnosis starts with the stored code, but it does not stop there. The technician verifies the complaint, inspects the vehicle, tests the system, confirms the failed part, performs the repair, and then checks whether the monitor can run without the code returning.
- Scan and document codes. Stored, pending, and permanent codes are recorded before clearing anything.
- Inspect obvious leak points. The cap, filler neck, hoses, canister, and connectors are checked.
- Run functional tests. Purge and vent valves may be commanded open and closed with a scan tool.
- Smoke-test the system. Low-pressure smoke helps pinpoint leaks.
- Repair the proven fault. This may include a cap, hose, valve, canister, seal, sensor, or wiring repair.
- Verify the fix. The system is retested, and the vehicle may need a drive cycle before readiness is complete.
Time and cost depend on the vehicle and the failed part. A basic cap replacement may take only minutes. A smoke test and diagnosis often take about an hour or more. Repairs involving a canister, vent valve above the tank, filler neck, or wiring fault can take longer. Current estimating guides show emission-system diagnosis and testing commonly falls in the low diagnostic-labor range, while purge valve replacement can cost more because it includes parts and labor.
[Products Worth Considering]

HyperSmoke Technology – Creates Thick Visible Smoke for Easy Leak Testing. Adjustable Pressure. Infinite Smoke. Instant Warmup. Built-In Air Compressor Motor. OEM Approved Smoke Fluid. Designed and Engineered by AutoLine Pro USA, an American Team of Individuals bringing the latest innovation to you.

[Built-in Air Pump]: Smoke machine features a built-in air pump, eliminating the need for an external air source, allowing you to perform tests anytime, anywhere. Simply add about 20ml of baby oil or Glycerin (oil not included) to start your testing effortlessly

HyperSmoke Technology – Creates Thick Visible Smoke for Easy Leak Testing. Adjustable Pressure. Infinite Smoke. Instant Warmup. Built-In Air Compressor Motor. OEM Approved Smoke Fluid. Designed and Engineered by AutoLine Pro USA, an American Team of Individuals bringing the latest innovation to you.
Can You Drive With an EVAP Check Engine Light?
In many cases, an EVAP code does not mean the vehicle is unsafe to drive immediately. However, you should not ignore it. EVAP faults can increase fuel-vapor emissions, cause a fuel smell, create refueling problems, and prevent the vehicle from passing an emissions inspection.
If the check engine light is flashing, the problem is not a typical EVAP-only warning. A flashing light can indicate a misfire that may damage the catalytic converter, so you should reduce driving and get the vehicle checked promptly.
How Long Before the Light Turns Off After a Gas Cap Fix?
After tightening or replacing the gas cap, the light may stay on until the vehicle completes another EVAP monitor test. That can take a few normal drive cycles, and the exact conditions vary by manufacturer. Fuel level can matter because many EVAP monitors will not run when the tank is nearly empty or completely full.
If the light remains on after several days of normal driving, scan the codes again. The cap may not be the only problem, the replacement cap may be incorrect, or the vehicle may have a small leak elsewhere.
How to Prevent Repeat EVAP Codes
- Stop topping off the tank after the pump clicks off; overfilling can send liquid fuel toward the charcoal canister.
- Use the correct fuel cap and replace it when the seal becomes cracked or hardened.
- Keep the filler area clean so dirt does not interfere with the seal.
- Repair cracked hoses early before they break or disconnect completely.
- Address refueling problems quickly because repeated pump shutoff can point to a venting issue.
- Do not ignore fuel odor because it may indicate a vapor leak or, in some cases, a liquid fuel leak.
Frequently Asked Questions
Why is my check engine light on due to EVAP?
Your check engine light is on because the vehicle computer detected a leak, flow problem, or pressure-monitoring fault in the evaporative emissions system. Common causes include a loose gas cap, cracked hose, stuck purge valve, stuck vent valve, damaged canister, or faulty pressure sensor.
What is the most common reason for an EVAP code?
A loose, damaged, missing, or incorrect gas cap is one of the most common and easiest EVAP problems to check. If the cap and seal are good, the next likely areas are vapor hoses, the filler neck, purge valve, vent valve, charcoal canister, and related wiring or sensors.
Will an EVAP code clear itself?
It can, but only if the problem is fixed and the vehicle completes enough successful self-tests. For example, a loose gas cap may stop setting the code after it is tightened, but the light may stay on for several drive cycles before turning off.
Is an EVAP leak dangerous?
A small EVAP vapor leak is usually not an immediate breakdown risk, but it should still be repaired. Fuel vapor is flammable, the fault can increase emissions, and the vehicle may fail an emissions inspection. If you smell strong fuel or see liquid fuel, stop driving and have the vehicle inspected.
Can I pass emissions with an EVAP code?
Usually no. An active check engine light, stored emissions-related diagnostic trouble code, permanent DTC, or incomplete readiness monitor can cause an inspection failure depending on your state’s rules and the vehicle model year.
What should I check first for code P0456?
For P0456, check the gas cap or capless filler seal first, then inspect the filler neck and visible hoses. Because P0456 often indicates a very small leak, a low-pressure smoke test is usually the best next step if the simple checks do not find the problem.
Conclusion
When an EVAP check engine light appears, work from simple to advanced: check the gas cap, scan the codes, inspect visible hoses and fittings, then test valves, sensors, and leaks with proper tools. The EVAP system is not just a warning-light nuisance; it keeps fuel vapors contained, helps the vehicle meet emissions rules, and prevents repeat inspection problems. If the code returns after basic checks, a professional smoke test is usually the fastest path to a lasting repair.
Sources
- U.S. EPA — Evaporative Emissions from Onroad Vehicles in MOVES3 — explains evaporative emissions, fuel-system vapor leaks, and inspection/maintenance relevance.
- U.S. EPA — Federal onboard diagnostic regulation update — supports the role of OBD systems in monitoring emission-control systems, including EVAP.
- California Bureau of Automotive Repair — On-Board Diagnostic Test Reference — supports OBD inspection, readiness monitor, MIL, and DTC pass/fail context.
- California Bureau of Automotive Repair — OBD readiness monitor regulations explained — explains that OBD stores DTCs, monitors emissions controls, and illuminates the MIL.
- Snap-on Diagnostics — EVAP system operation — supports component roles such as vent valve, charcoal canister, and fuel tank pressure sensor.
- RepairPal — Emission System Diagnosis & Testing Cost Estimate — supports general diagnosis cost context, which varies by vehicle and location.

[…] failing or clogged catalytic converter can trigger an illuminated check engine light, weak acceleration, reduced fuel economy, rattling, hissing, sulfur odor, excess exhaust heat, or a […]
[…] location, future checks should take only a few seconds. You can use the connector to investigate a check engine light, review emissions readiness, or collect basic live […]
[…] or emissions fault: Read the Check Engine codes and diagnose the cause. A fuel-cap or EVAP system fault is only one […]
[…] errors and missed engine faults can cause exhaust noise, a check engine light, repeat converter damage, or a failed emissions […]
[…] confirm that it supports your RAV4’s model year and protocol. A basic reader can handle many check-engine codes, but an advanced Toyota-capable scanner can read more control modules and live […]
[…] different nozzle position. If the problem continues, inspect the filler neck, vent line, and EVAP system rather than forcing more fuel into the […]
[…] whether the engine cranks fast and evenly, slowly, or with an uneven rhythm. Also check whether the check engine light appears normally when the ignition is switched […]