You’ll get your Hyundai Sonata emission‑test ready by confirming no DTCs, keeping fuel between 30–70%, and ensuring a healthy battery/alternator. Do a cold start, idle 2–3 minutes, run accessories briefly, then follow a drive cycle: low‑speed city stops, several 35–40 mph accelerations, and a sustained 55–60 mph run for about five miles with a coast down. Scan post‑drive to verify monitors; address any codes and repeat until all ready — more procedural detail follows.
What “Emissions Test Ready” Means for Your Hyundai Sonata
When your Hyundai Sonata shows “Emissions Test Ready,” it means all OBD-II readiness monitors have completed and the emissions control systems are operating within expected parameters, so the car is prepared for inspection; confirm there are no Diagnostic Trouble Codes (including Permanent DTCs), the MIL lights on KOEO and extinguishes on KOER, the fuel tank is 30–70% full, and you’ve driven the required drive cycle or used a scanner to verify monitor status before the test. You’ll verify adherence to emissions standards methodically: scan for active and permanent DTCs, inspect MIL behavior, and confirm monitor completeness. Use reliable diagnostic tools to read readiness and freeze-frame data, interpret results, and target repairs. You’ll act decisively to clear faults and secure your mobility freedoms.
Pre‑Drive Checklist for Hyundai Sonata Emissions Readiness
Because accurate emissions readiness starts before you drive, follow a short, systematic pre‑drive checklist to prevent false failures and preserve PCM data. You want control and freedom from retests; use this concise protocol to secure fuel efficiency and validate system health.
- Verify fuel is 30–70% full to stabilize vapor readings and avoid spurious monitor flags.
- Check alternator and battery condition; weak charging will corrupt PCM data and risk a failed inspection.
- Let the car sit overnight under 90°F with keys out and doors closed to establish a cold baseline.
- Perform a cold start: idle 2–3 minutes, then run electrical accessories 3–5 minutes to stabilize idle.
Use these maintenance tips to minimize surprises and reclaim time.
Hyundai Sonata Drive Cycle : Step‑By‑Step
Begin the drive cycle by warming the engine: idle in Park or Neutral for 2–3 minutes with headlights and defrosters on for 3–5 minutes to reach normal operating temperature and stabilize systems. Follow with the cold‑start city segment—maintain about 25 mph, perform several accelerations to 35–40 mph with full stops, then enter the highway and accelerate to 60 mph using 1/2–3/4 throttle and hold 55–60 mph for at least five miles. After completing the run, take the vehicle to your regular shop to verify readiness monitors and confirm there are no present or pending diagnostic trouble codes before inspection.
Cold Start Steps
If the engine’s cold, start the Sonata and let it idle in Park or Neutral for 2–3 minutes to stabilize temperature before you proceed with the drive cycle; this initial idle primes sensors and control systems for accurate readiness checks. Embrace the cold start benefits: you gain engine stability and predictable sensor behavior that frees you from repeated failures. After idling, activate headlights, heater/defroster, and rear defroster for 3–5 minutes to engage all subsystems.
- Drive city streets at ~25 mph, making complete stops to force self-tests and confirm readiness.
- Accelerate to 35–40 mph several times to exercise monitors and purge transient faults.
- Complete a steady freeway segment as prescribed to finalize readiness.
- Perform a coast down without inputs to seal the cycle and liberate confidence.
Highway Steady Run
Once you’ve completed the cold start and city segments, accelerate steadily to about 60 mph using half to three-quarter throttle and hold a constant 55–60 mph for at least five miles to allow the Sonata’s monitors to complete their steady-state self-tests. You’ll use controlled highway performance and disciplined driving techniques: engage cruise control if available to maintain speed, avoid throttle modulation, and sustain steady engine load. Monitor traffic and choose a consistent lane to minimize interventions. As you exit the freeway, coast down without braking or applying throttle to preserve test conditions. These steps let multiple onboard monitors reach required conditions for readiness. Execute them precisely and confidently; doing so frees you from repeat testing and maximizes the car’s emissions test preparedness.
Post‑Drive Checks
After completing the drive cycle, drive directly to a trusted shop and have the technician or yourself check the OBD-II readiness monitors and stored/pending trouble codes with a diagnostic scanner. You’ll verify that all monitors report “ready” and no pending codes block your inspection. Use diagnostic tools like a ScanGauge during the run to confirm progress; aim for ~200 miles of varied driving beforehand. Post drive maintenance focuses on clear verification and remedial action if needed.
- Confirm: scan for present/pending codes, confirm monitor statuses.
- Record: log results, mileage, and driving conditions for proof.
- Repair: address any unresolved codes promptly with targeted fixes.
- Recheck: rescan after repairs to regain control and freedom.
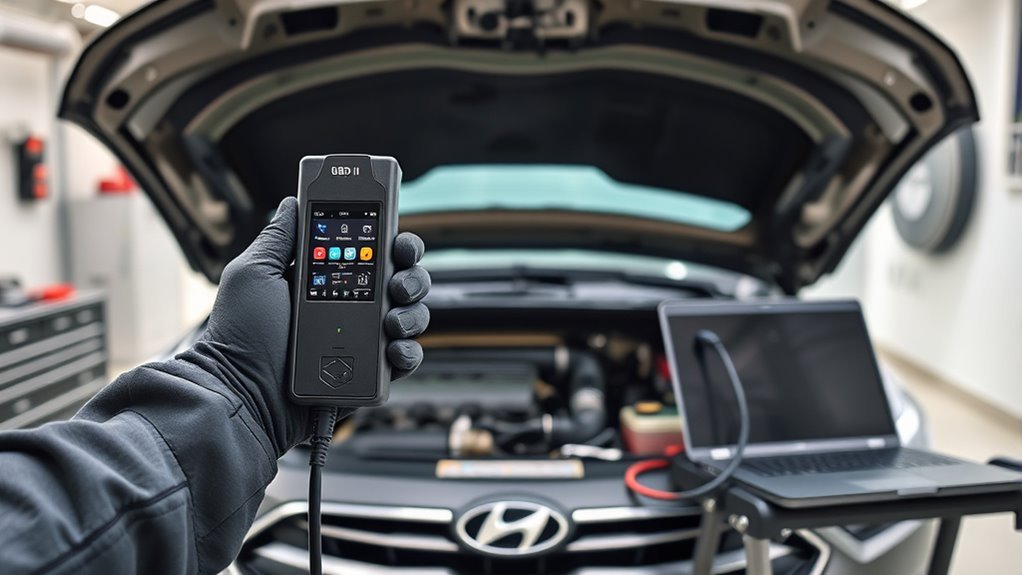
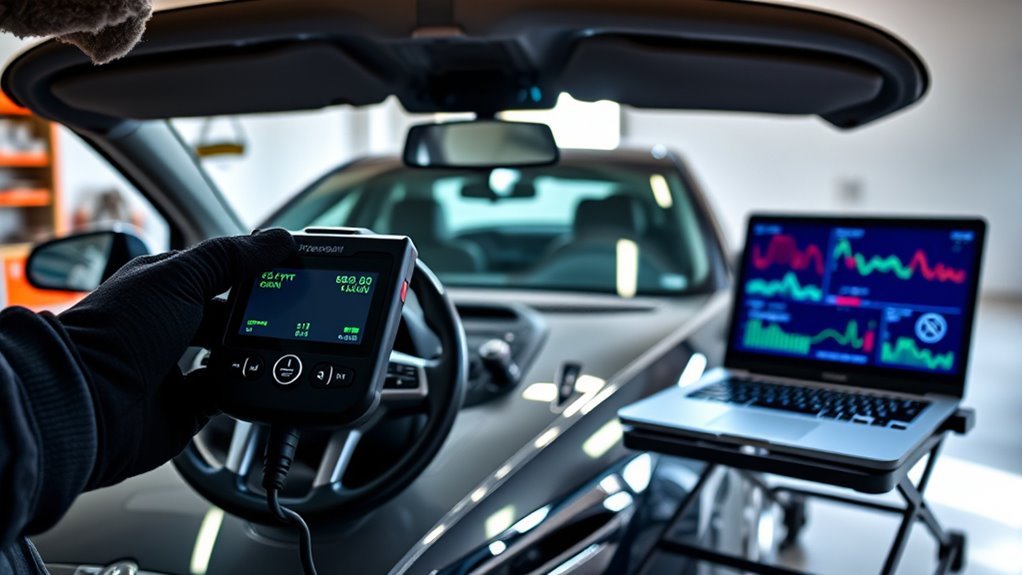
Monitor Sonata Readiness and Codes With an OBD‑II Tool
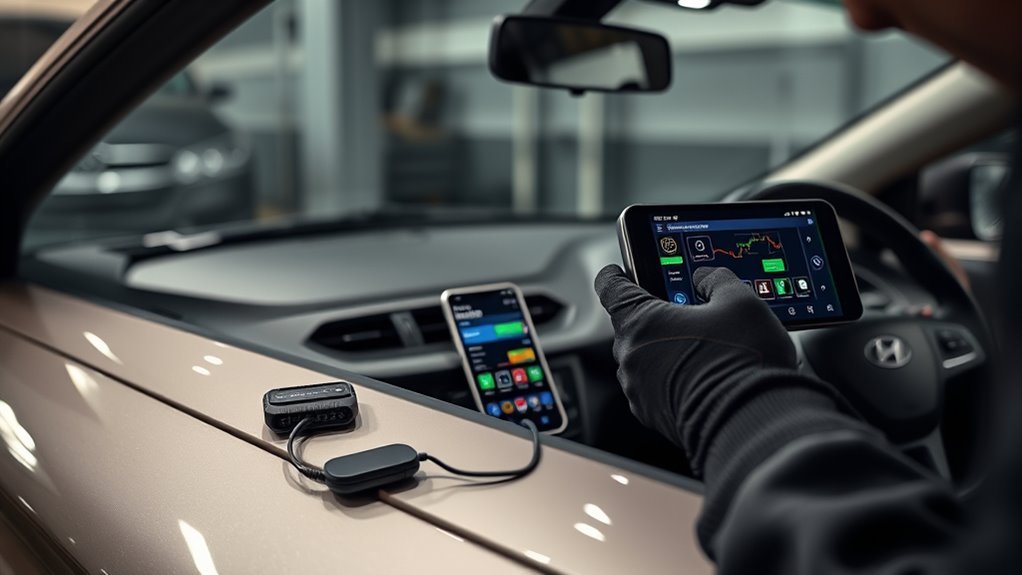
An OBD‑II scanner lets you verify the Hyundai Sonata’s emissions readiness and read Diagnostic Trouble Codes (DTCs) and Permanent DTCs (PDTCs) to determine whether the vehicle will pass testing. Use the tool to display OBD II functions and to list Diagnostic codes, including pending and permanent entries. Check the readiness monitors; document which are complete and which need more drive cycles. After performing a manufacturer-specific drive cycle, re-scan; some monitors require multiple cycles under defined conditions to set. Treat PDTCs as persistent failures—address underlying faults before re-testing. Record results to track progress and free yourself from repeated test failures. Operate methodically: scan, drive per procedure, re-scan, and escalate repairs only when codes or monitors indicate unresolved emissions defects.
Top Sonata Problems That Block Readiness (And Quick Fixes)
Now that you’ve used an OBD‑II tool to identify which monitors and codes are blocking readiness, you can focus on the handful of problems that most often prevent a Hyundai Sonata from becoming test‑ready. You’ll act decisively to regain control.
- Misfires: common misfires set DTCs and stall monitor completion — inspect coils, plugs, compression; replace faulty components.
- Fuel system faults: leaks, pressure irregularities, or EVAP failures block readiness — repair leaks, test pressure, replace purge/vent valves.
- Battery/state of charge: low voltage aborts drive cycles — charge or replace battery to restore stable ECU operations.
- PDTCs/MIL behavior: clear permissible codes after repairs, verify MIL KOEO and KOER; unresolved PDTCs will fail newer Sonatas.
Execute these fixes, then complete the required drive cycle to liberate your vehicle.
When to Get a Pro, Typical Timelines, and Retest Tips
If repeated drive cycles and basic fixes don’t produce complete readiness monitors, get a professional—persistent incompleteness often signals intermittent faults, vacuum/leak sources, or sensor failures that need bench testing and calibrated tools. You’ll seek pro assistance when scanner checks show pending codes, resets recur, or you’ve logged ~200 miles of mixed city/highway driving without progress. Aim for at least several days of driving, targeting 200 miles and parking overnight in cooler temps with 30–70% fuel to optimize monitor conditions. Use a diagnostic scanner for emission diagnostics before and after repairs to confirm cleared faults. After corrective work, schedule a prompt retest—many stations allow a grace retest window; don’t delay, as conditions can revert.
Frequently Asked Questions
How Do I Get My Monitor Ready for Emissions?
Start by ensuring monitor readiness for emissions testing: keep fuel 30–70%, idle 2–3 minutes, drive city then freeway, maintain 55–60 mph for five miles, use an OBD-II scanner, and accumulate ~200 miles over several days.
Conclusion
You’ve now got the checklist, drive cycle, and diagnostic steps to get your Sonata test‑ready. Follow the pre‑drive items, complete the drive cycle precisely, and verify readiness with an OBD‑II scanner; most flags clear within a few drives. If a monitor won’t set, address the listed culprits or bring it to a shop—don’t reinvent the wheel. Stay methodical, document your steps, and retest only after confirming all monitors report “ready.”