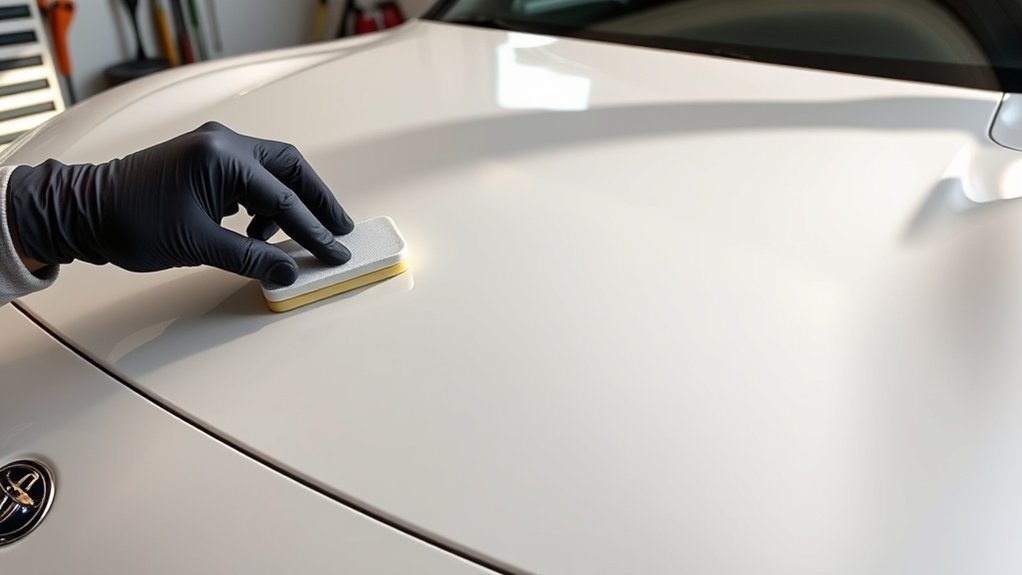
Your Toyota Supra needs a clay bar treatment when freshly washed paint still feels rough, gritty, or bumpy. That texture usually means bonded contamination remains after normal washing. Do not clay only because a calendar says it is time: mileage, outdoor exposure, brake dust, industrial fallout, tree contamination, and storage conditions all change how quickly the paint becomes contaminated.
Last updated: September 16, 2026 · Reviewed against current Toyota Supra owner documentation and current detailing guidance.
Quick Answer
Clay bar your Toyota Supra when clean paint still feels gritty, bumpy, or grabby after washing, especially if it also fails the plastic bag test. There is no universal clay-bar interval. A garage-kept Supra may go a long time without needing mechanical decontamination, while a daily-driven or outdoor-parked car may need attention sooner. If freshly washed paint feels smooth, skip the clay.
Key Takeaways
- Use clay only after washing the Supra so loose grit is not dragged across the clear coat.
- Use the plastic bag test on clean paint to check for bonded contamination before deciding to clay.
- Start with the least aggressive clay or synthetic decontamination media that can solve the problem.
- Use plenty of compatible lubricant and stop if the clay begins grabbing or dragging.
- Clay removes bonded contamination; it does not remove swirl marks or scratches.
- Inspect the finish afterward and reapply wax, sealant, or other protection as appropriate.
At a Glance
| Time Required | Varies with contamination and whether you treat isolated panels or decontaminate the full vehicle. |
| Difficulty | Easy to moderate. The process is straightforward, but clean tools, lubrication, and light pressure are important. |
| Tools Needed | Car wash soap, wash mitt, microfiber drying towels, suitable clay bar or synthetic clay media, compatible clay lubricant, clean microfiber towels, and paint protection for the final step. |
| Main Decision | If freshly washed paint feels smooth, do not clay it. If it still feels rough, identify the contamination and use the least aggressive effective treatment. |
How Do You Know Your Supra Needs Paint Decontamination?
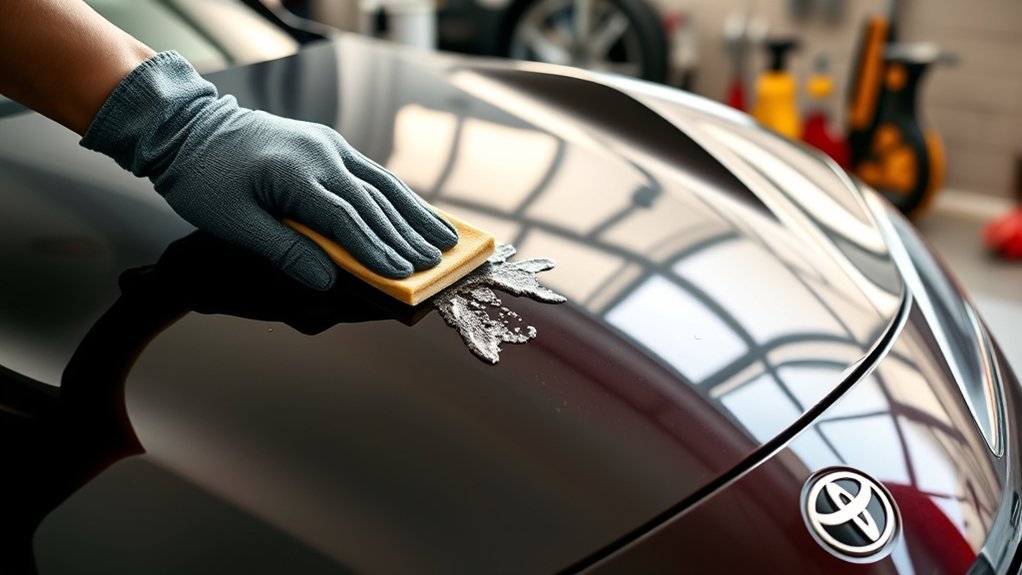
Paint decontamination removes residue that remains bonded to the surface after ordinary washing. On a Toyota Supra, inspect the lower doors, rear bumper, rocker panels, front bumper, and areas near the wheels carefully because these panels are exposed to road film and brake-related contamination.
Start with a proper wash. Toyota owner-care material recommends washing with an appropriate car-wash soap, rinsing thoroughly, and drying carefully rather than rubbing aggressively. See the Toyota Owners manuals and warranty page for documentation for your specific Supra model year.
After washing and drying, place your hand inside a clean, thin plastic bag and lightly glide your fingertips over several panels. The plastic amplifies surface texture. If the paint feels gritty or bumpy through the bag, bonded contamination remains. AutoTrader also recommends this type of tactile check when deciding whether clay is necessary.
If freshly washed paint feels smooth, skip the clay. If it still feels gritty through a clean plastic bag, identify the contamination and decontaminate only as aggressively as necessary.
What Does a Clay Bar Actually Do?
A clay bar mechanically removes bonded surface contamination that normal washing leaves behind. Depending on the contamination, that can include stubborn road film, overspray residue, and particles that remain attached to the finish after washing.
The main benefit is surface preparation. A smooth, decontaminated surface is easier to inspect before polishing and gives wax, sealant, or coating prep a cleaner starting point. Clay is not a substitute for polishing: it does not level swirl marks, scratches, oxidation, or other defects within the paint surface.
Some detailing clay products can also be used on compatible exterior glass or other hard exterior surfaces, but follow the clay-product and surface-care instructions rather than assuming every coating, film, wrap, matte finish, or trim material is safe. For routine Supra window care, see the Toyota Supra glass cleaning guide.
Warning: Mechanical claying can create light marring when the clay is dirty, the surface is insufficiently lubricated, excessive pressure is used, or aggressive media is unnecessary. Test a small inconspicuous area first if you are unsure how the finish will respond.
How Do You Choose the Right Clay for a Supra?
Start with the least aggressive clay or synthetic decontamination media suitable for the contamination you are trying to remove. A well-maintained finish usually does not need an aggressive clay grade. More aggressive media may remove stubborn contamination faster, but it also increases the chance that polishing will be needed afterward.
If your Supra has ceramic coating, paint protection film, vinyl wrap, matte paint, fresh refinishing work, or other non-standard surfaces, follow the coating, film, paint, or installer instructions before using mechanical clay.
| Clay Bar Type | Best Use | Relative Marring Risk |
|---|---|---|
| Fine / Mild | Maintained paint with light bonded contamination | Lower when used correctly |
| Medium | More stubborn contamination after gentler decontamination has been tried | Higher |
| Aggressive | Severe bonded contamination when compatible with the finish and polishing is available afterward | Highest of the three |
Pro Tip: Use the mildest process that solves the problem. Chemical decontamination can often remove specific contamination before clay ever touches the paint.
[Products Worth Considering]

Meguiar's Gold Class Car Wash combines cleaning and conditioning in one easy step for a smooth, high-gloss finish. Its advanced, biodegradable formula creates rich suds that lift away dirt and road grime while helping preserve existing wax protection. Versatile for bucket washing or foam cannon use, it leaves paint looking radiant, renewed, and ready for a professional-level detail.
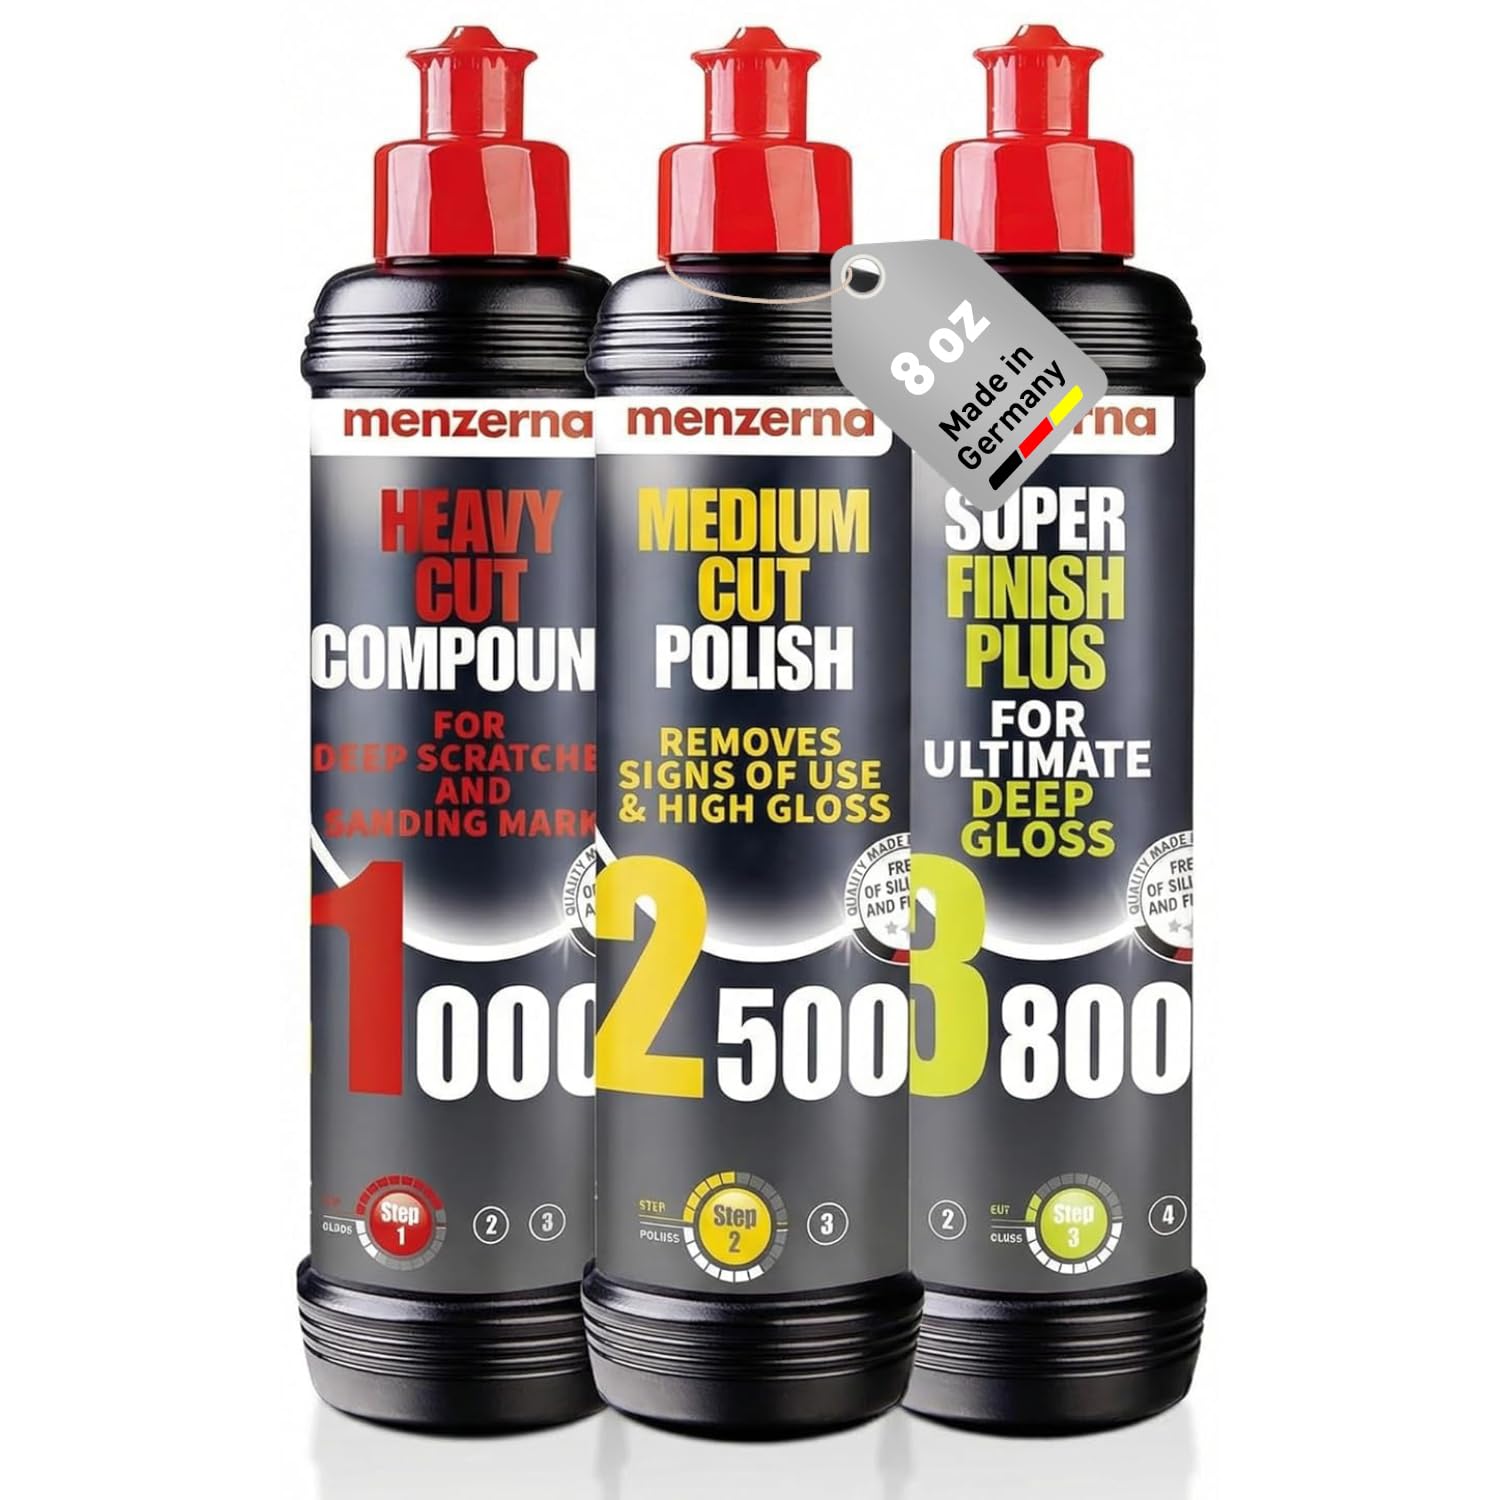
This Menzerna polishing set delivers a complete three-step paint correction process for removing scratches, refining surface defects, and producing a deep, mirror-like gloss. It combines heavy cut, medium cut, and super finish compounds to help restore clarity and create professional-quality results for detailing projects. Ideal for enthusiasts and professionals, it simplifies achieving a smooth, showroom-worthy finish.

Meguiar's Quik Eraser Kit makes it easy to remove light scratches, scuffs, and paint transfer from glossy paint and clear coats with minimal effort. The drill-activated pad and ScratchX formula work together to restore a smooth, polished finish, while the included microfiber towel helps reveal a clean, showroom-worthy shine. It is a convenient all-in-one solution for quick touch-ups and routine vehicle care.
Should You Use Iron Remover or Clay First?
Do not treat every contaminant with clay. Chemical and mechanical decontamination solve different problems. If the paint has obvious ferrous fallout, tar, sap, adhesive residue, or another identifiable contaminant, use a compatible dedicated remover according to its label before reaching for clay. This reduces the amount of material the clay must physically drag across the finish.
| What You Notice | Likely First Step | When Clay Fits |
|---|---|---|
| Orange or rust-colored fallout / heavy brake-dust contamination | Compatible iron remover, followed by a thorough rinse | Use afterward only if bonded roughness remains |
| Tar, sap, adhesive, or a known spot contaminant | Use a paint-compatible dedicated remover according to its label | Clay only if rough bonded residue remains after cleaning |
| Paint looks clean but still feels gritty after washing | Confirm with the plastic bag test | Use lubricated clay on the affected panels |
[Products Worth Considering]

Fortify Ceramic Coating Spray delivers a mirror-like gloss while helping clean, protect, and enhance your vehicle’s paint in one easy application. Its nano-ceramic formula bonds to the surface for hydrophobic water beading, reduced water spots, and a freshly detailed look with minimal effort. Simply spray, wipe, and enjoy a slick protective finish without complicated tools or rinsing.

SOPAMI Ceramic Paint Sealant Spray delivers a mirror-like shine while adding a durable hydrophobic layer that helps repel water and everyday contaminants. Designed for long-lasting protection, it helps defend paint against UV exposure, acid rain, bug splatter, and bird droppings while enhancing gloss and clarity. The odor-free formula is easy to apply with a simple spray-and-wipe process and can be used on paint, headlights, and mirrors for versatile vehicle care.

Meguiar's Ultimate Ceramic Coating Kit delivers durable paint protection with enhanced gloss, slickness, and impressive water beading for easier washing and drying. Its spray-on, wipe-off application makes it simple to use, while helping conceal light defects and adding protection to glossy paint, trim, decals, paint protection film, and wheels.
How Do You Clay Bar a Toyota Supra Safely?
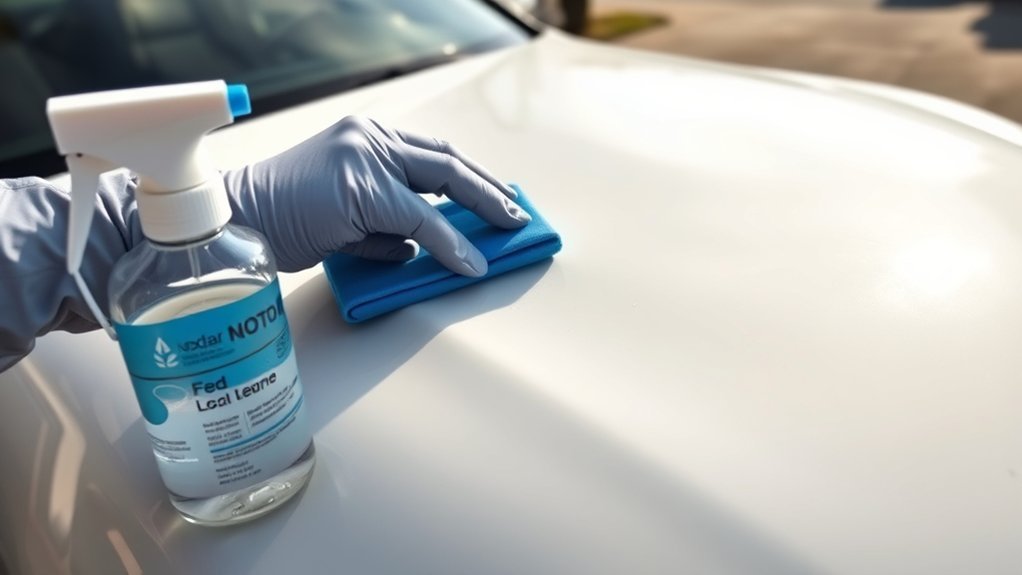
Work on clean, cool paint away from strong direct sun. The lubricant needs to remain wet enough for the clay to glide instead of grabbing the surface.
- Wash the car thoroughly. Use automotive car-wash soap, a clean mitt, and plenty of rinse water. Toyota owner guidance recommends proper vehicle-washing products rather than harsh household cleaners.
- Dry and inspect the paint. Remove loose water with clean paint-safe towels, then check several panels.
- Do the plastic bag test. Put your hand inside a clean plastic sandwich bag and lightly glide it across the paint. If the surface feels smooth, clay is unnecessary. If you feel persistent bumps or grit, continue.
- Use chemical decontamination when appropriate. Treat identified iron fallout, tar, sap, or other contamination with a compatible product first and follow its directions exactly.
- Work in small sections. Choose an area you can keep fully lubricated rather than trying to cover an entire panel at once.
- Lubricate generously. Use a lubricant approved for the clay product. Meguiar’s and Mothers both sell detailing products specifically described as suitable clay lubricants.
- Glide with light pressure. Use short back-and-forth passes. Let the clay contact the contamination instead of forcing it into the paint.
- Expose a clean clay face often. Fold or knead a traditional clay bar according to its instructions as contamination accumulates.
- Wipe and inspect. Remove residue with a clean microfiber towel and check the area again before continuing.
- Protect the finish. Once the surface is clean and dry, inspect for marring and apply your chosen compatible wax, sealant, coating, or maintenance product as appropriate.
What Clay-Bar Mistakes Cause Paint Marring?
Most clay-related problems come from unnecessary friction or contaminated tools. The goal is to let clean, lubricated clay glide over the finish while removing only the bonded material that washing left behind.
Claying Without Enough Lubrication
Never use detailing clay on a dry painted panel unless the clay manufacturer specifically provides a different procedure. Inadequate lubrication increases drag and the chance of marring. If the clay starts sticking or chattering, stop instead of pushing harder.
Add compatible lubricant, check that the panel is cool, and inspect the clay face before continuing. Meguiar’s Professional M34 and Mothers California Gold Instant Detailer are examples of products whose manufacturers explicitly describe them as suitable clay lubricants.
Using Dirty or Dropped Clay
Dirty clay can drag the contamination it has collected back across the paint. Expose a clean face frequently. If a traditional clay bar falls on the ground, discard that piece rather than trying to pick visible grit out of it. Car and Driver also warns against reusing clay once it has become contaminated with debris.
| Key Practice | What Happens If You Ignore It |
|---|---|
| Expose a clean clay face often | Collected contamination can be dragged across the finish |
| Discard dropped traditional clay | Ground grit can become embedded in the clay and scratch paint |
| Keep the surface lubricated | Clay can grab or drag instead of gliding |
| Stop when the surface is smooth | Unnecessary additional passes add friction without useful decontamination |
Overworking the Same Area
Do not continue rubbing a section after the bonded roughness is gone. Recheck the area, wipe it clean, and move on. Additional passes do not improve already-smooth paint and only add unnecessary mechanical contact.
How Should You Prepare a Supra Before Claying?
Start with a thorough wash and remove loose contamination before mechanical decontamination. Work on cool surfaces where wash solution and clay lubricant will not dry immediately.
Inspect the Supra by panel instead of assuming the whole vehicle needs equal treatment. Lower doors, rocker panels, bumpers, and wheel-adjacent areas can become contaminated differently from the roof and upper body.
Remove obvious sap, tar, adhesive, bugs, or other identifiable contamination with the appropriate surface-safe cleaner before clay when possible. Do not scrub harder simply because a contaminant resists normal shampoo.
Note: If your Supra has paint protection film, ceramic coating, vinyl graphics, matte paint, or recent body-shop refinishing, check the product maker, installer, or repairer’s care instructions before using mechanical clay.
What Should You Do After Claying Your Supra?

After claying, remove lubricant residue, inspect the paint under good lighting, and decide whether the finish needs polishing before protection. Mechanical claying can leave light marring even when it removes contamination successfully.
- Wipe or rinse the panel. Remove remaining lubricant and loosened residue according to the lubricant instructions.
- Inspect under good light. Look for haze, streaking, or fine marring before applying protection.
- Polish only if needed. Clay does not remove scratches or swirl marks. If mechanical decontamination leaves visible marring, use an appropriate finishing process or have the paint professionally corrected.
- Apply compatible protection. Use wax, sealant, coating, or the maintenance product appropriate for the finish after the surface is clean and dry.
- Maintain the finish. Wash regularly and remove spot contamination before it becomes difficult to clean.
How Often Should You Clay Bar a Toyota Supra?
There is no single correct calendar interval. Current detailing guidance varies: some sources suggest roughly six-to-12-month intervals depending on use and storage, while others recommend inspecting more often in harsh environments. The most useful rule is therefore condition-based: wash the car, test the surface, and clay only when bonded roughness remains.
Daily driving, outdoor parking, nearby construction or industrial fallout, heavy brake-dust exposure, and tree contamination can shorten the interval. A garage-kept Supra that stays smooth after washing can go longer without mechanical decontamination.
What Are the Reliable Signs That Clay Is Needed?
Use these signs to decide whether a panel needs mechanical decontamination:
- Rough texture after washing: The paint still feels gritty even though loose dirt is gone.
- Failed plastic bag test: Small bumps or gritty texture are easy to feel through a clean thin bag.
- Visible bonded contamination: You see fallout, overspray, or stubborn residue that remains after the appropriate washing or chemical-cleaning step.
- Pre-polish inspection finds bonded contamination: The paint needs decontamination before you begin correction or protection work.
- Specific panels remain rough: Lower or wheel-adjacent panels fail the test even though smoother upper panels do not.
What Conditions Are Best for Claying?
Clay the Supra after washing, on cool surfaces, with enough light to inspect your work. Shade is helpful because lubricant remains workable longer than it does on a hot panel. Avoid windy or dusty conditions that can place new particles onto the lubricated paint while you work.
If the vehicle has recent refinishing work, ask the body shop which cleaning, polishing, waxing, sealing, or coating products are permitted during the curing period. Refinish systems and repair procedures vary, so do not assume one waiting period applies to every paint job.
What Products Do You Need for Safe Claying?
You do not need a complicated kit. Match the tools to the contamination and the surface you are treating.
- Fine or mild clay / suitable synthetic clay media: A sensible starting point for maintained paint with light bonded contamination.
- More aggressive clay: Reserve stronger media for contamination that gentler methods cannot remove and when you are prepared to polish afterward if required.
- Compatible clay lubricant: Use a lubricant approved for your clay product. Meguiar’s Professional M34 and Mothers California Gold Instant Detailer are examples whose manufacturers explicitly list clay-lubrication use.
- Iron remover: Use a compatible product before clay when ferrous fallout is present, following the product directions.
- Contamination-specific remover: Tar, sap, adhesive, or similar spot contamination may respond better to a dedicated paint-compatible cleaner than to repeated clay passes.
- Clean microfiber towels: Keep clean towels available for drying, residue removal, and inspection.
- Compatible paint protection: Inspect the surface after claying and reapply wax, sealant, coating maintenance product, or other protection as appropriate.
[Products Worth Considering]
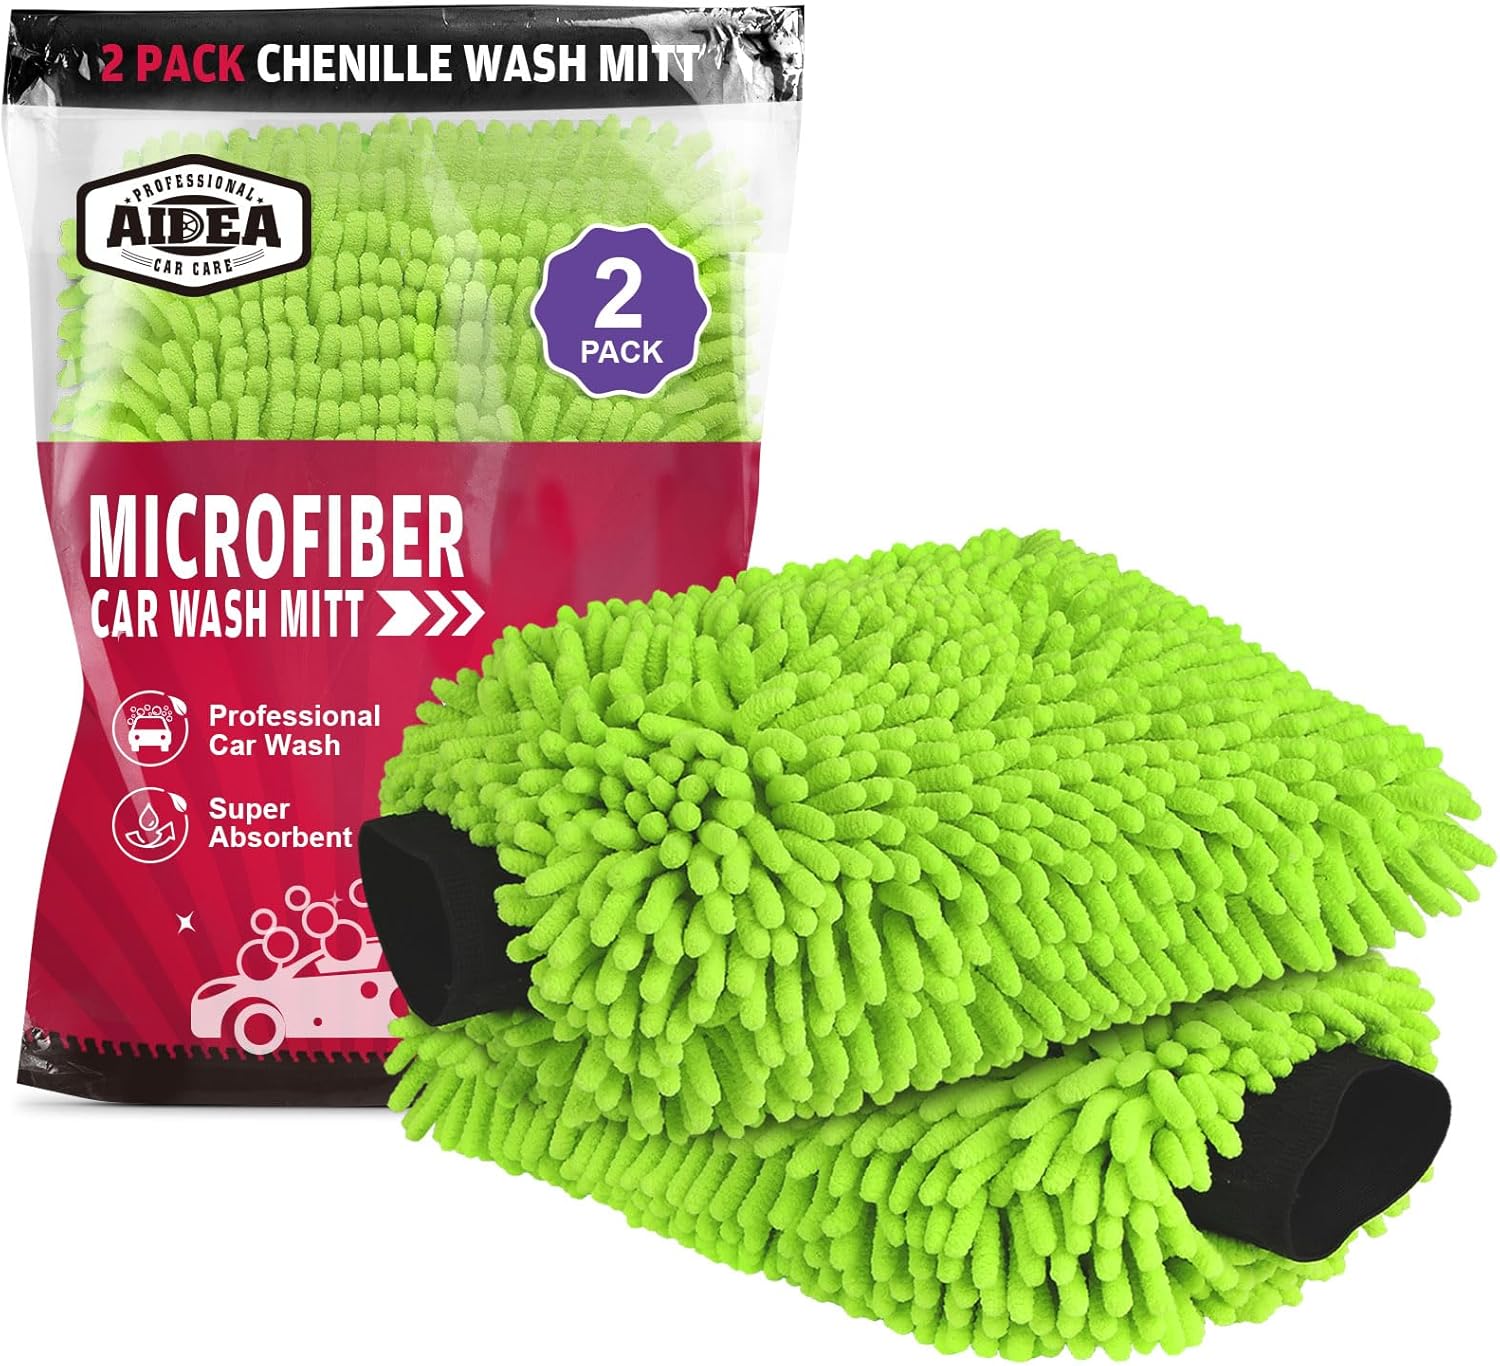
AIDEA microfiber car wash mitts deliver a gentle, scratch-free clean with plush, highly absorbent fibers that hold plenty of water and soap for efficient washing. The elastic cuff helps keep each mitt secure and comfortable on your hand, while the reusable, machine-washable design makes them a practical choice for cars, trucks, boats, motorcycles, and household surfaces.

Armor All Ultra Shine Car Wash and Wax combines cleaning power and wax protection in one easy step for a brilliant finish. Its pH neutral formula helps gently lift dirt, enhance water beading, and support faster drying while delivering a deep, mirror-like shine. Safe for automotive surfaces when used as directed, it is ideal for keeping cars, trucks, and motorcycles looking freshly detailed.

Rain-X Foaming Car Wash is a concentrated cleaner designed to lift dirt, grime, and road residue while helping reduce spots and streaks for a glossy finish. Its biodegradable formula is safe for waxed surfaces and delivers high-foaming cleaning action for an exceptional wash. Ideal for routine vehicle care, it helps leave your car looking clean and bright after every wash.
How Do You Troubleshoot Clay-Bar Problems?
If something feels wrong while claying, stop and correct the cause before continuing. More pressure is rarely the right response.
| Problem | Likely Cause | Fix |
|---|---|---|
| Clay grabs or chatters | Insufficient compatible lubricant, excess pressure, dirty clay, or a hot panel | Stop, cool the surface if necessary, inspect the clay, add lubricant, and reduce pressure |
| Paint looks hazy or lightly marred | Clay was too aggressive, contaminated, insufficiently lubricated, or used for too many passes | Stop claying, inspect the finish, and use appropriate polishing only if correction is needed |
| Contamination remains | The residue may require iron, tar, sap, adhesive, or another contamination-specific remover | Identify the contaminant and use a compatible dedicated cleaner according to its label before more mechanical work |
| Traditional clay falls on the ground | The clay can pick up hard grit | Discard the dropped piece rather than reusing it on paint |
Frequently Asked Questions
Do you need to use iron remover before a clay bar?
Not on every detail. Use an iron remover when ferrous fallout or heavy brake-dust contamination is present and the product is compatible with the surface. Chemical decontamination first can reduce the amount of material the clay must remove mechanically. If freshly washed paint is only lightly contaminated, a compatible clay process may be sufficient.
Do I need to decontaminate my car before polishing?
Decontaminate before polishing when clean paint still has bonded contamination. A polishing pad should work on a clean surface rather than picking up particles that should have been removed first. If the paint is already smooth after washing and inspection, unnecessary claying can be skipped.
What are the disadvantages of clay bars?
Mechanical claying adds contact to the paint and can leave light marring if the clay is dirty, aggressive, insufficiently lubricated, or used with excessive pressure. It also cannot solve every contamination problem. Iron fallout, tar, sap, adhesive residue, mineral deposits, and other contaminants may require dedicated chemical treatment.
Can I clay bar a ceramic-coated Toyota Supra?
Only when the coating maker or installer permits it. Mechanical claying can mar the coating or reduce its hydrophobic performance. Start with the approved wash and chemical-decontamination process for that coating, then use clay only if bonded contamination remains and the coating-care instructions allow it.
Should I clay the whole Supra or only rough panels?
Clay only the areas that need mechanical decontamination. Test several panels after washing. It is normal for lower doors, rocker panels, bumpers, or wheel-adjacent areas to need more attention than smoother upper panels.
Does a clay bar remove scratches or swirl marks?
No. Clay removes bonded surface contamination. Scratches and swirl marks are paint defects that require polishing, paint correction, touch-up, or another repair method depending on their depth and condition.
Conclusion
Clay bar your Toyota Supra because the paint needs mechanical decontamination, not simply because several months have passed. Wash first, inspect the finish, use the plastic bag test, and identify chemical contamination before choosing clay.
If the paint already feels smooth, stop there. If bonded roughness remains, use compatible lubricant, clean clay, light pressure, and the least aggressive process that gets the panel smooth. Inspect the finish afterward and restore compatible protection as needed.
Sources
- Toyota Owners Manuals & Warranties — official Toyota documentation portal for model-specific Supra owner-care information.
- AutoTrader: How to Clay Bar a Vehicle — supports condition-based clay timing, the plastic bag test, lubrication, and post-clay protection.
- Car and Driver: How to Clay-Bar Your Vehicle Properly — supports washing first, lubrication, light pressure, contaminated-clay cautions, and the distinction between clay and scratch removal.
- Meguiar’s Professional M34 Final Inspection — manufacturer documentation identifying the product as suitable clay-bar lubricant.
- Mothers California Gold Instant Detailer — manufacturer documentation identifying the product as suitable lubricant for clay-bar use.
- Chase Auto: How to Clay Bar a Car — supports caution when claying ceramic-coated surfaces and notes the risk of marring.