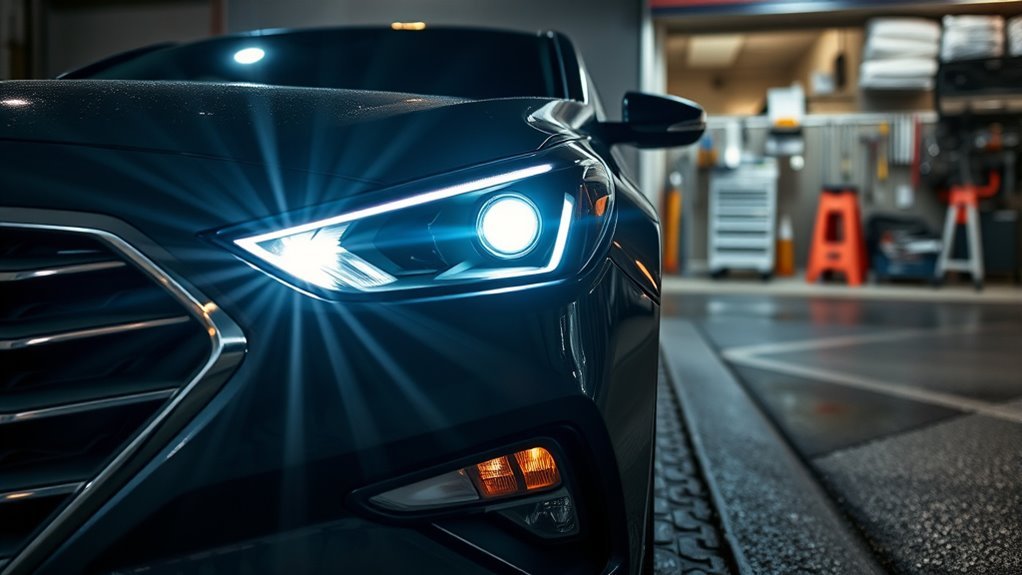
If your Sonata’s headlights are flickering, treat it as a safety issue first, not just an annoyance. Pull over safely if the lights go out, turn on your hazards, and avoid night driving until you know the cause. Most flicker problems come from one of five areas: weak power supply, loose grounds, worn bulbs, HID ballast or ignitor trouble, or a faulty multifunction stalk switch.
Use the checks below in order. Start with simple, low-risk items like terminals, fuses, bulbs, and visible connectors before you move toward wiring, switch testing, or HID components that may need a professional diagnosis.
Quick Answer
Sonata headlights usually flicker because of loose battery terminals, corroded grounds, worn bulbs, failing HID ballast parts, damaged wiring, or an intermittent stalk switch. Check power and grounds first, then test bulbs and connectors. If both headlights and dash lights flicker together, test the battery and alternator before replacing the switch.
Key Takeaways
- If the lights go out while driving, pull over safely and use hazard lights before troubleshooting.
- Flicker in both headlights often points to battery, alternator, ground, or main wiring problems.
- Flicker on one side usually points to that bulb, socket, connector, ballast, ignitor, or local ground.
- If flicker changes when you move the turn-signal/headlight stalk, the multifunction switch or its connector needs testing.
- Check your VIN with NHTSA and Hyundai before paying for repairs, because recall and service campaign coverage is vehicle-specific.
At a Glance
| Time Required | 15–30 minutes for basic checks; 1–2 hours for deeper testing |
| Difficulty | Beginner for visual checks; intermediate for multimeter testing; professional for HID high-voltage diagnosis |
| Tools Needed | Flashlight, gloves, spare fuses, basic socket set, multimeter, contact cleaner, owner’s manual |
| Cost | Often free for cleaning/tightening; higher if bulbs, ballast, stalk switch, wiring, battery, or alternator need replacement |
Warning: Do not keep driving at night if both headlights cut out or flicker heavily. HID systems can also produce dangerous ignition voltage, so do not probe the high-voltage side of a ballast or ignitor unless you are trained and using the correct equipment.
What’s Causing Sonata Headlights to Flicker at Night?
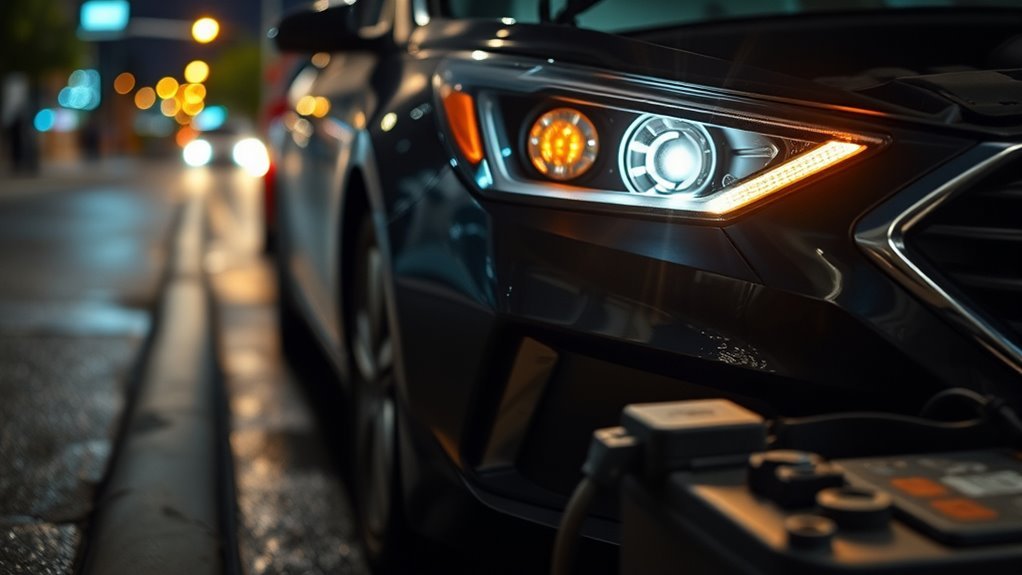
When your Sonata’s headlights flicker at night, the pattern tells you where to start. Flicker in one headlight usually points to that side’s bulb, socket, wiring, ground, HID ballast, or ignitor. Flicker in both headlights often points to battery voltage, alternator output, main grounds, fuse-box connections, or the headlight switch circuit.
The multifunction stalk switch can be involved, especially if the flicker appears when you tap the stalk, use the turn signal, switch between high and low beams, or move the steering column. Still, do not replace it first without checking power, grounds, connectors, and bulbs. A loose ground or weak alternator can mimic a bad switch.
| Symptom | Most likely area to check first |
|---|---|
| One headlight flickers | Bulb, socket, local ground, connector, ballast, or ignitor |
| Both headlights and dash lights flicker | Battery terminals, alternator, charging voltage, or main grounds |
| Flicker changes when you move the stalk | Multifunction switch, column connector, or related harness |
| HID light flickers during warm-up | Aging HID bulb, weak ballast, ignitor issue, or poor connection |
| LED lights flash fast after a bulb swap | LED compatibility, resistor/CAN bus adapter, or incorrect bulb type |
Quick Safety Fixes to Use Now If Your Lights Go Out
If your Sonata’s lights flicker or go out while you are driving, focus on getting out of traffic safely. Slow down, signal early if you still have working exterior lights, pull into a safe lit area, and turn on your hazard lights.
- Park safely and stay visible. Use hazard lights, parking lights, or a flashlight if the headlights fail completely.
- Check battery terminals. Look for looseness, white or green corrosion, cracked clamps, or a terminal that moves by hand.
- Inspect visible grounds. Look for loose, rusty, or broken ground straps near the battery, body, and engine bay.
- Check fuses. Replace only with the same amperage rating listed in the fuse box or owner’s manual.
- Cycle the switch once. Turn the lights off and back on. If the lights return only when you move the stalk, note that for diagnosis.
- Stop if the problem returns. Repeated loss of headlights at night is not safe to “watch for later.”
Note: A temporary reset does not mean the problem is fixed. If the headlights flicker again, record when it happens and inspect the circuit before your next night drive.
Test Sonata Stalk Switch vs Wiring: Quick Checks
After you rule out roadside basics, test whether the headlight stalk is causing the flicker or only reacting to another electrical problem. The stalk is more suspicious when the flicker follows high-beam changes, turn-signal movement, or light tapping on the switch. Wiring is more suspicious when flicker appears over bumps, near harness movement, or on one side only.
| Test/Check | What to look for | What it means |
|---|---|---|
| Move the stalk gently | Flicker, high/low beam jump, or lights cutting out | Possible worn stalk contacts or column connector issue |
| Check connector fit | Loose plug, burnt pin, green corrosion, or heat damage | Repair connector before replacing larger parts |
| Inspect harness routing | Chafing, exposed wire, rubbing near metal brackets | Possible short or intermittent open circuit |
| Measure low-voltage supply | Dropouts while the switch is steady | Power, ground, relay, or harness fault may be upstream |
If you use a multimeter, stay on the low-voltage side of the circuit unless you have the service procedure and proper safety tools. You are looking for steady supply voltage, clean ground, and no dropouts while the switch and harness are moved gently.
HID Checks: Bulb, Ballast, Ignitor
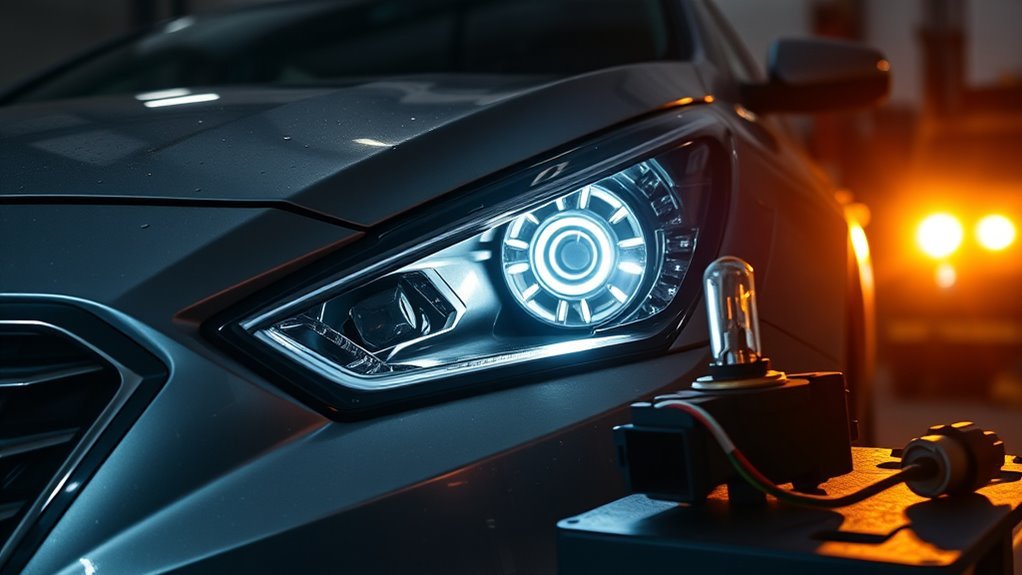
If your Sonata has HID headlights, diagnose the system in sequence: bulb, connector, ballast, ignitor, then wiring. HID flicker often starts as a weak warm-up, color shift, delayed strike, or one lamp cutting out and then coming back after a restart.
[Products Worth Considering]

This automotive test light combines a bright LED voltage display with quick polarity indication for fast, accurate circuit checks in a wide range of vehicle systems. It helps diagnose battery, charging, lighting, and fuse issues with a sharp stainless probe, long spring wire, and easy-to-use alligator clip for efficient troubleshooting.
Upgrade your nighttime driving with these halogen headlight bulbs designed for 2016-2019 Toyota RAV4 models. The HIR2/9012 high and low beam combo delivers a brighter white light, a safer beam pattern, and broader road coverage for improved visibility. With plug-and-play installation and durable construction, this two-bulb set is built for a fast, hassle-free replacement.
SYLVANIA XtraVision halogen headlight bulbs are designed to improve down road visibility without adding glare, helping you see farther and drive more confidently. Built with a robust filament and proprietary gas mixture, these bulbs are made for reliable performance and lasting durability. Replacing headlights in pairs helps maintain balanced lighting and optimal results.
Bulb Condition Check
Start with the bulb because it is the easiest HID part to compare. Look for heavy discoloration, cloudy glass, color shift, weak output, or flicker that follows the bulb when it is swapped side to side. Always handle bulbs carefully and avoid touching the glass with bare fingers.
If the same bulb flickers in the opposite headlight, replace the bulb pair with the correct type. If the flicker stays on the same side, keep testing that side’s connector, ground, ballast, ignitor, and harness.
Ballast Function Test
The ballast controls power to the HID bulb. A weak ballast can cause flicker, delayed start, shutdown after warm-up, or inconsistent brightness. For DIY testing, inspect the ballast housing, mounting, connectors, water intrusion, corrosion, and low-voltage input. Do not probe the high-voltage output side unless you are trained for HID service.
If the bulb is known good and the low-voltage feed is steady, a shop can confirm ballast output with the correct equipment. Replace the ballast only after confirming the bulb, connector, ground, and input voltage are not the real cause.
Ignitor Performance Inspection
The ignitor helps start the HID arc. A failing ignitor can cause delayed ignition, repeated clicking, brief flashes, or no start on one side. Because the ignitor works with high voltage, visual inspection and connector checks are the safest DIY steps.
- Check for loose plugs, corrosion, moisture, or heat damage.
- Confirm the bulb, ballast, and ignitor are compatible with the vehicle’s HID setup.
- Ask a qualified technician to test high-voltage startup behavior if basic checks do not isolate the issue.
Pro Tip: If only one HID headlight flickers, swap the left and right bulbs first. A flicker that follows the bulb points to the bulb. A flicker that stays on the same side points to ballast, ignitor, wiring, socket, or ground.
Test Battery, Alternator, and Grounds for Headlight Flicker
Check the battery, alternator, and grounds whenever both headlights flicker together or the dashboard lights dim at the same time. These symptoms suggest unstable vehicle voltage rather than one bad headlight part.
- Clean and tighten battery terminals. Loose or corroded terminals can interrupt power during vibration, turning, or acceleration.
- Check resting battery voltage. A fully charged 12-volt battery is usually around 12.6 volts at rest, but battery condition needs a load test for confirmation.
- Check charging voltage with the engine running. Many 12-volt systems charge around the mid-13 to mid-14 volt range. A reading that jumps, drops, or rises too high needs further diagnosis.
- Turn on electrical loads. Use headlights, blower, and rear defroster while watching for major voltage swings.
- Inspect ground straps. Clean metal-to-metal contact matters. Rust, paint, or loose fasteners can create flicker even when the battery is good.
If the charging voltage is unstable, do not assume the alternator is bad immediately. A weak battery, slipping belt, poor ground, damaged cable, or connector issue can create similar symptoms. Test before replacing parts.
[Products Worth Considering]
Designed for Toyota Camry models from 2007 to 2018, these SYJIIP halogen headlight bulbs offer a direct plug-and-play upgrade for high and low beam applications. They deliver brighter white light for improved nighttime visibility while maintaining a safe beam pattern that helps reduce glare and supports more confident driving.

This steering clock spring is designed to restore reliable steering wheel controls across a wide range of Toyota models. It supports audio, cruise control, and other multifunction commands while matching OEM part numbers for confident replacement fitment. Built for dependable signal transfer and straightforward installation, it is an effective solution for repairing steering column control issues.

Torchbeam D3S HID bulbs deliver bright 6000K cool white illumination for improved nighttime visibility and clearer roadside sign recognition. Designed as direct replacements for compatible D3S/D3R HID systems, they feature a quartz anti-UV glass construction, shock-resistant aluminum base, and waterproof protection for reliable performance in harsh driving conditions.
When to Replace the Stalk and When to Replace Other Parts
Replace parts only after the symptoms point to them. A stalk switch may be the right repair if flicker happens when you move the headlight or turn-signal control, high and low beams switch erratically, or testing confirms dropouts through the switch. Other symptoms point elsewhere.
[Products Worth Considering]

SYLVANIA H11 XtraVision halogen headlight bulbs are designed to improve down-road visibility without adding extra glare. Built with a robust filament and proprietary gas mixture, they deliver reliable performance and durable illumination for high beam, low beam, or compatible fog light applications. Replacing headlight bulbs in pairs helps maintain balanced lighting and optimal driving confidence.

AUXITO switchback LED bulbs deliver bright amber and white illumination for turn signals, parking lights, and daytime running lights in compatible 3157-family sockets. Their CANBUS error-free design helps reduce hyper flash and dashboard errors on most vehicles, while the built-in cooling system supports long-lasting performance and reliable plug-and-play installation.

These SYJIIP halogen headlight bulbs are designed for Toyota RAV4 models from 2013 to 2015, offering a plug-and-play replacement with stock-size fitment for easier installation. They deliver brighter warm white light for improved night visibility while maintaining a safe beam pattern with reduced flicker and fewer CANBUS issues. The four-pack makes it convenient to refresh multiple bulbs or keep spares on hand for reliable driving performance.
Stalk Switch Replacement
Consider the stalk switch when the lights flicker during high/low beam changes, turn-signal use, or light pressure on the stalk. Before replacing it, inspect the connector and column harness for looseness, corrosion, heat marks, or damaged wiring.
- Record the exact symptom and when it happens.
- Check whether both headlights react the same way when the stalk moves.
- Inspect the connector before buying a new switch.
- Replace the stalk only after the circuit points to switch failure.
- Verify the repair through several start cycles and a night-driving test in a safe area.
Alternator and Battery
Focus on the battery and alternator when headlight flicker appears with dash-light dimming, slow cranking, warning lights, stalling, or electrical resets. Clean terminals first, then test the battery under load and measure charging voltage at idle and under electrical load.
Replace the battery if it fails a load test or cannot hold charge. Replace the alternator only if testing confirms poor charging output, excessive ripple, or intermittent charging after cables, belt, and grounds are checked.
Wiring and Grounds
Wiring and grounds deserve attention when the flicker appears over bumps, during turns, after rain, or only on one side. Inspect the headlight connector, ground point, harness bend points, fuse box area, and any previous repair splices.
- Look for chafed insulation, exposed copper, melted plugs, or loose pins.
- Measure voltage at the affected headlight connector while the light is on.
- Check ground resistance and clean the ground point if it looks rusty or loose.
- Repair damaged harness sections before replacing bulbs, ballasts, or switches again.
Check Recalls, Service Campaigns, and Lighting Compliance
Before paying for a major repair, check your 17-character VIN through the NHTSA recall lookup and Hyundai’s Safety Recalls and Service Campaigns page. Recall and campaign status is VIN-specific, so a general statement about one Sonata model year may not apply to your car.
If you recently installed LED or HID replacement bulbs, make sure the parts are intended for your exact headlamp housing and comply with applicable lighting rules. In the United States, 49 CFR §571.108 covers lamps, reflective devices, and associated equipment. Non-matching bulbs can cause glare, hyperflash, warning lights, poor beam pattern, or flicker.
Note: A VIN lookup does not diagnose your flickering headlights. It only tells you whether your specific vehicle has an open recall or campaign. You still need electrical testing to find the actual fault.
What to Tell Your Dealer or Mechanic: Diagnostics and Warranty
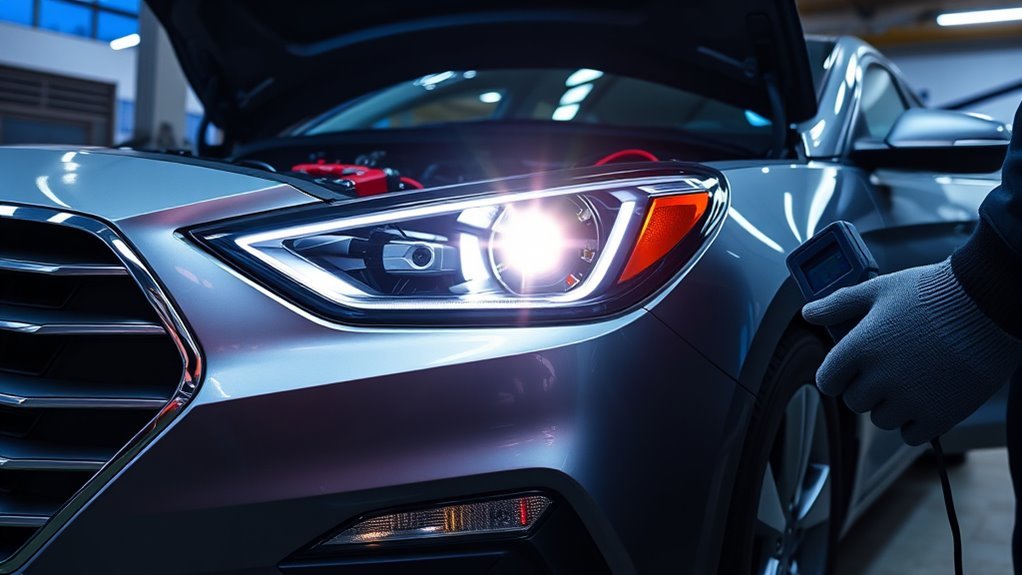
A clear symptom history helps your mechanic find the fault faster. Tell them exactly when the headlights flicker, whether one side or both sides are affected, and whether the dash lights, interior lights, radio, or engine behavior change at the same time.
- Give the model year, trim, mileage, and whether the car has halogen, HID, or aftermarket LED/HID lights.
- Explain whether flicker happens at startup, idle, acceleration, over bumps, during turns, or when using the turn signal.
- List any tests already done: battery terminals cleaned, fuses checked, bulbs swapped, grounds inspected, or voltage measured.
- Bring photos or video of the flicker if it is intermittent.
- Ask the shop to document voltage readings, ground tests, connector condition, and scan results.
- Ask whether your VIN has any open recall, warranty extension, or service campaign before approving paid work.
Request a written estimate before authorizing parts. If the shop recommends a stalk switch, ballast, alternator, or wiring repair, ask what test result confirmed that part.
Frequently Asked Questions
What years are affected by the P1326 Hyundai Sonata issue?
P1326 is usually discussed as an engine knock-sensor or engine-protection code, not a normal headlight-flicker diagnosis. If you see P1326 along with warning lights, limp mode, knocking, or stalling, check your VIN with Hyundai and have the engine issue diagnosed separately from the headlight circuit.
Is there a recall on Hyundai Sonata headlights?
Do not rely on a general yes-or-no answer. Recall status changes and depends on your exact VIN. Check the NHTSA recall lookup and Hyundai’s Safety Recalls and Service Campaigns page before paying for repairs. If your lights failed while driving, you can also report the safety problem to NHTSA.
How do you fix hyper-flashing LED headlights or signals?
Hyperflash usually means the vehicle does not see the expected electrical load after an LED swap. Use bulbs designed for your Sonata, install the correct LED-compatible flasher, load resistor, or CAN bus adapter when required, and confirm the replacement lighting remains legal and properly aimed.
Can I drive with flickering headlights?
You should avoid night driving until the problem is fixed. Minor flicker can become a full outage, and both outcomes reduce your ability to see and be seen. If the lights fail on the road, pull over safely, use hazards, and arrange repair before continuing after dark.
Conclusion
If your Sonata’s headlights flicker at night, diagnose the problem in a safe order: battery terminals, grounds, fuses, bulbs, connectors, charging voltage, stalk switch, wiring, and HID components. One-sided flicker usually starts at that lamp assembly. Flicker in both headlights usually starts with power supply, grounds, alternator output, or the switch circuit.
Do not guess at expensive parts. Record the symptoms, check your VIN for recalls or service campaigns, and ask for test results before approving a stalk switch, ballast, alternator, or wiring repair. Reliable headlights are a safety item, so fix the issue before your next night drive.
Sources
- NHTSA Check for Recalls — supports VIN-specific recall lookup and safety problem reporting.
- Hyundai Safety Recalls and Service Campaigns — supports Hyundai VIN campaign lookup and dealer remedy information.
- 49 CFR §571.108, Standard No. 108 — supports U.S. lighting equipment compliance context.