Last updated: July 31, 2026 · Reviewed against Toyota owner information, Toyota repair procedures for covered 2019–2025 RAV4 electronic parking brake systems, and current EPA/OSHA brake-dust guidance. [VERIFY: add the real author name and relevant brake-service credentials in the CMS.]
To replace brake rotors on a Toyota RAV4, lift and support the vehicle safely, remove the wheel and caliper, clean the hub face, install VIN-matched rotors and pads, torque every fastener to the correct model-specific value, pump the brake pedal until firm, and complete the pad maker’s bedding procedure. The front and rear jobs are not identical. If the rear caliper has an electronic parking brake, place it in Toyota’s pad-replacement mode before retracting the piston. Do not force an EPB piston or guess brake-fastener torque.
Quick Answer
A RAV4 rotor job follows six core steps: secure the vehicle, remove the wheel and supported caliper, remove the bracket and rotor, clean the hub, install the new rotor/pads/hardware, and perform torque and pedal checks. For rear brakes with an electronic parking brake, enter pad-replacement mode first using the exact Toyota repair-information procedure or a compatible scan tool.
Key Takeaways
- Confirm the model year, axle, brake package, and EPB design before ordering parts or retracting a piston.
- Toyota lists the 2021 RAV4 wheel nut torque at 76 ft-lbf / 103 N·m; verify other years in their own owner information.
- Do not hang the caliper from the hose, force an EPB piston, lubricate friction surfaces, or clean brake dust with compressed air or dry brushing.
- Use Toyota repair information for caliper bracket and slide-pin torque because those values vary by year, axle, and brake package.
- Clean the hub face and seat the rotor flat before reassembly; rust trapped behind a new rotor can create runout and renewed pulsation.
At a Glance
| Time Required | Plan for at least several hours if this is your first axle; corrosion, stuck rotors, EPB setup, and inspection can extend the job. |
| Difficulty | Intermediate for front brakes; intermediate to advanced for rear EPB brakes. |
| Tools Needed | Floor jack, jack stands, wheel chocks, correct lug socket, metric sockets, breaker bar, torque wrench, brake cleaner or approved wet-cleaning supplies, wire brush, caliper hanger, piston spreader, micrometer, and the correct EPB pad-replacement procedure or compatible scan tool. |
| Parts Check | Match rotors, pads, and hardware by VIN, model year, axle, drivetrain, production date, and brake package before disassembly. |
Choose the Correct Procedure Before You Start
| Job | Piston / Parking Brake | Required Check |
|---|---|---|
| Front rotor and pad replacement | Conventional hydraulic caliper on the procedures covered here | Verify the exact piston-retraction method and fastener torque for your model. |
| Rear brakes with a mechanical parking brake | Procedure varies by RAV4 generation and hardware design | Confirm whether the parking brake acts through the caliper, cable, drum-in-hat shoes, or another design. |
| Rear brakes with an electronic parking brake | The actuator must be moved to pad-replacement/service mode before piston retraction | Use the exact Toyota repair procedure or a compatible scan tool. The checked service information covers 2019–2025 RAV4 applications; [VERIFY: confirm 2026-and-later procedure separately.] |
What Tools Do You Need to Replace RAV4 Brake Rotors?
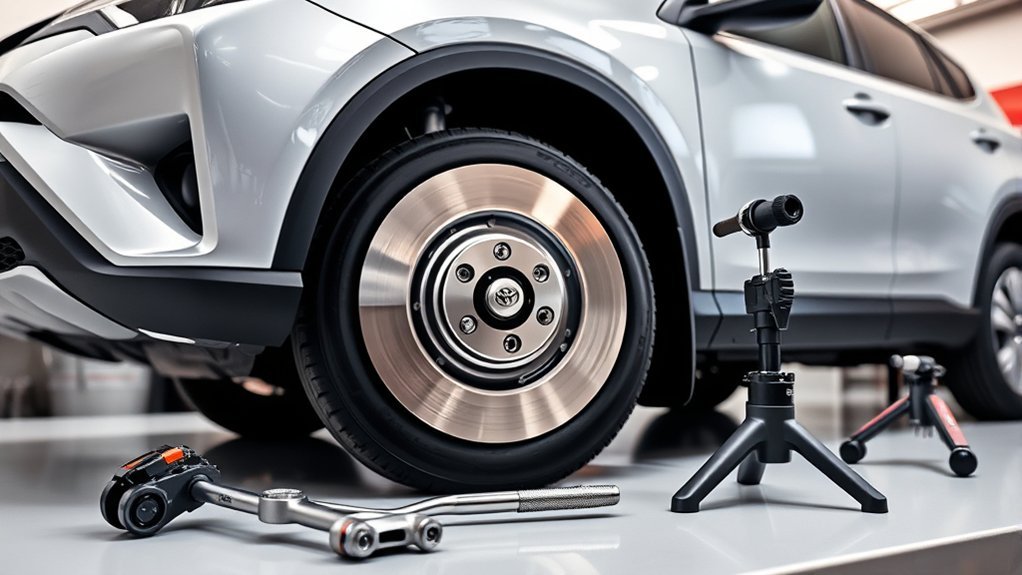
Gather all tools and verified parts before lifting the vehicle. The core kit is a floor jack, properly rated jack stands, wheel chocks, the correct lug socket, metric sockets and wrenches, a breaker bar, a calibrated torque wrench, a caliper hanger, a piston spreader, brake-safe lubricant, approved cleaning supplies, a wire brush for the hub face, and new pads and hardware. Add a micrometer if you will measure rotor thickness and a dial indicator if you need to diagnose runout.
A 21 mm lug socket is common on many RAV4 applications, but do not assume every wheel nut or brake fastener uses the same size. Slide-pin bolts, bracket bolts, and rotor-removal hardware vary by year and axle. Use the Toyota owner information plus Toyota repair data or a model-specific repair manual before loosening safety-critical hardware.
Warning: Never work under a vehicle supported only by a jack. Lift at approved points, lower the RAV4 onto properly rated jack stands, chock the wheels that remain on the ground, and work on a flat, stable surface.
Wear eye protection and gloves, and keep people away from the work area. The EPA advises home mechanics not to blow or dry-brush brake dust. Use an approved low-pressure wet-cleaning or HEPA-controlled method, and dispose of contaminated wipes according to local rules. Avoid spraying dust into the air.
[Products Worth Considering]

This brake caliper hanger set helps hold calipers securely during brake pad changes and other suspension or axle work, making brake service safer and more convenient. Built from durable steel with rust-resistant coating, it features rubber tips to help prevent scratches and protect brake hoses and surrounding components. Brightly colored and easy to spot, it is a practical mechanic tool for keeping calipers supported while you work.

This Yuirote universal car motor diagnostic tool helps drivers quickly detect engine fault codes and identify system issues for routine inspections and maintenance. It also supports electronic parking brake reset and emergency release functions, making it useful for handling EPB-related problems without a repair shop visit. Its compact, ergonomic design and broad vehicle compatibility make it a practical choice for car owners and DIY repair enthusiasts.

Bosch QuietCast premium ceramic rear brake pads are engineered for quiet, reliable stopping power with low dust performance. Featuring pre-attached multilayer shims, corrosion-resistant backing plates, and OE-style slots and chamfers, this set is designed for smooth fitment and long-lasting durability. It includes pads for one axle, plus hardware and lubricant where available, making installation easier for compatible Lexus, Pontiac, and Toyota vehicles.
Should You Replace RAV4 Brake Pads and Rotors Together?
Replace the rotors when they are at or below their marked minimum thickness, cracked, deeply scored, badly corroded, heat-damaged, or responsible for confirmed runout or thickness variation that cannot be corrected safely. Use a micrometer and the exact specification for the year, axle, and brake package; do not rely on one universal RAV4 thickness number. See the site’s RAV4 brake rotor thickness guide for the measurement process.
Rotors and pads are normally serviced in axle pairs. Installing new pads against heavily grooved, tapered, contaminated, or uneven rotors can create noise, poor bedding, and rapid uneven wear. Reuse nearly new pads only after confirming they are flat, evenly worn, uncontaminated, above the service limit, and approved for reuse with the chosen rotor.
A brake rotor should be replaced when it is below its minimum thickness, cracked, deeply scored, badly corroded, or causing vibration that cannot be corrected safely.
How to Tell If Your RAV4 Rotors Need Replacement
Do not replace rotors by mileage alone. Driving habits, road salt, towing, mountain driving, and stop-and-go traffic all affect wear. Inspect both sides of every rotor, measure the swept surface at several evenly spaced points with a micrometer, and compare the thinnest reading with the minimum thickness stamped on the rotor or listed in Toyota repair data. If vibration remains after replacement, check rotor runout with the rotor secured flat to the hub.
| Symptom | What It May Mean | What to Check |
|---|---|---|
| Brake pedal pulsation | Rotor thickness variation or runout | Rotor runout, hub cleanliness, pad deposits |
| Steering wheel shake while braking | Often front rotor or front suspension related | Front rotors, wheel bearings, tire/wheel condition |
| Grinding or scraping | Pads may be worn down or rotor may be scored | Pad thickness, rotor grooves, caliper movement |
| Heavy rust on swept surface | Rotor may not clean up under normal braking | Surface pitting, edge flaking, pad contact pattern |
| Blue or dark heat spots | Possible overheating or stuck caliper | Slide pins, caliper piston, brake hose, pad drag |
[Products Worth Considering]

PowerStop Z17 Evolution Ceramic Brake Pad Set is an OE replacement solution built for dependable everyday braking and consistent value. Designed with chamfered, slotted surfaces and rubberized shims, it helps deliver quiet stopping performance with reduced brake dust and cleaner wheels. The kit includes stainless steel installation hardware for an easy bolt-on install and comes backed by a limited warranty.

This universal brake bleeder kit makes one-person brake and clutch line bleeding simple by using compressed air to create stable vacuum-assisted fluid flow. Its extra-large 3L tank helps complete full-system flushes with fewer interruptions, while the included refill bottle, flexible hose, and universal adapter support clean, efficient use on standard and ABS brake systems.
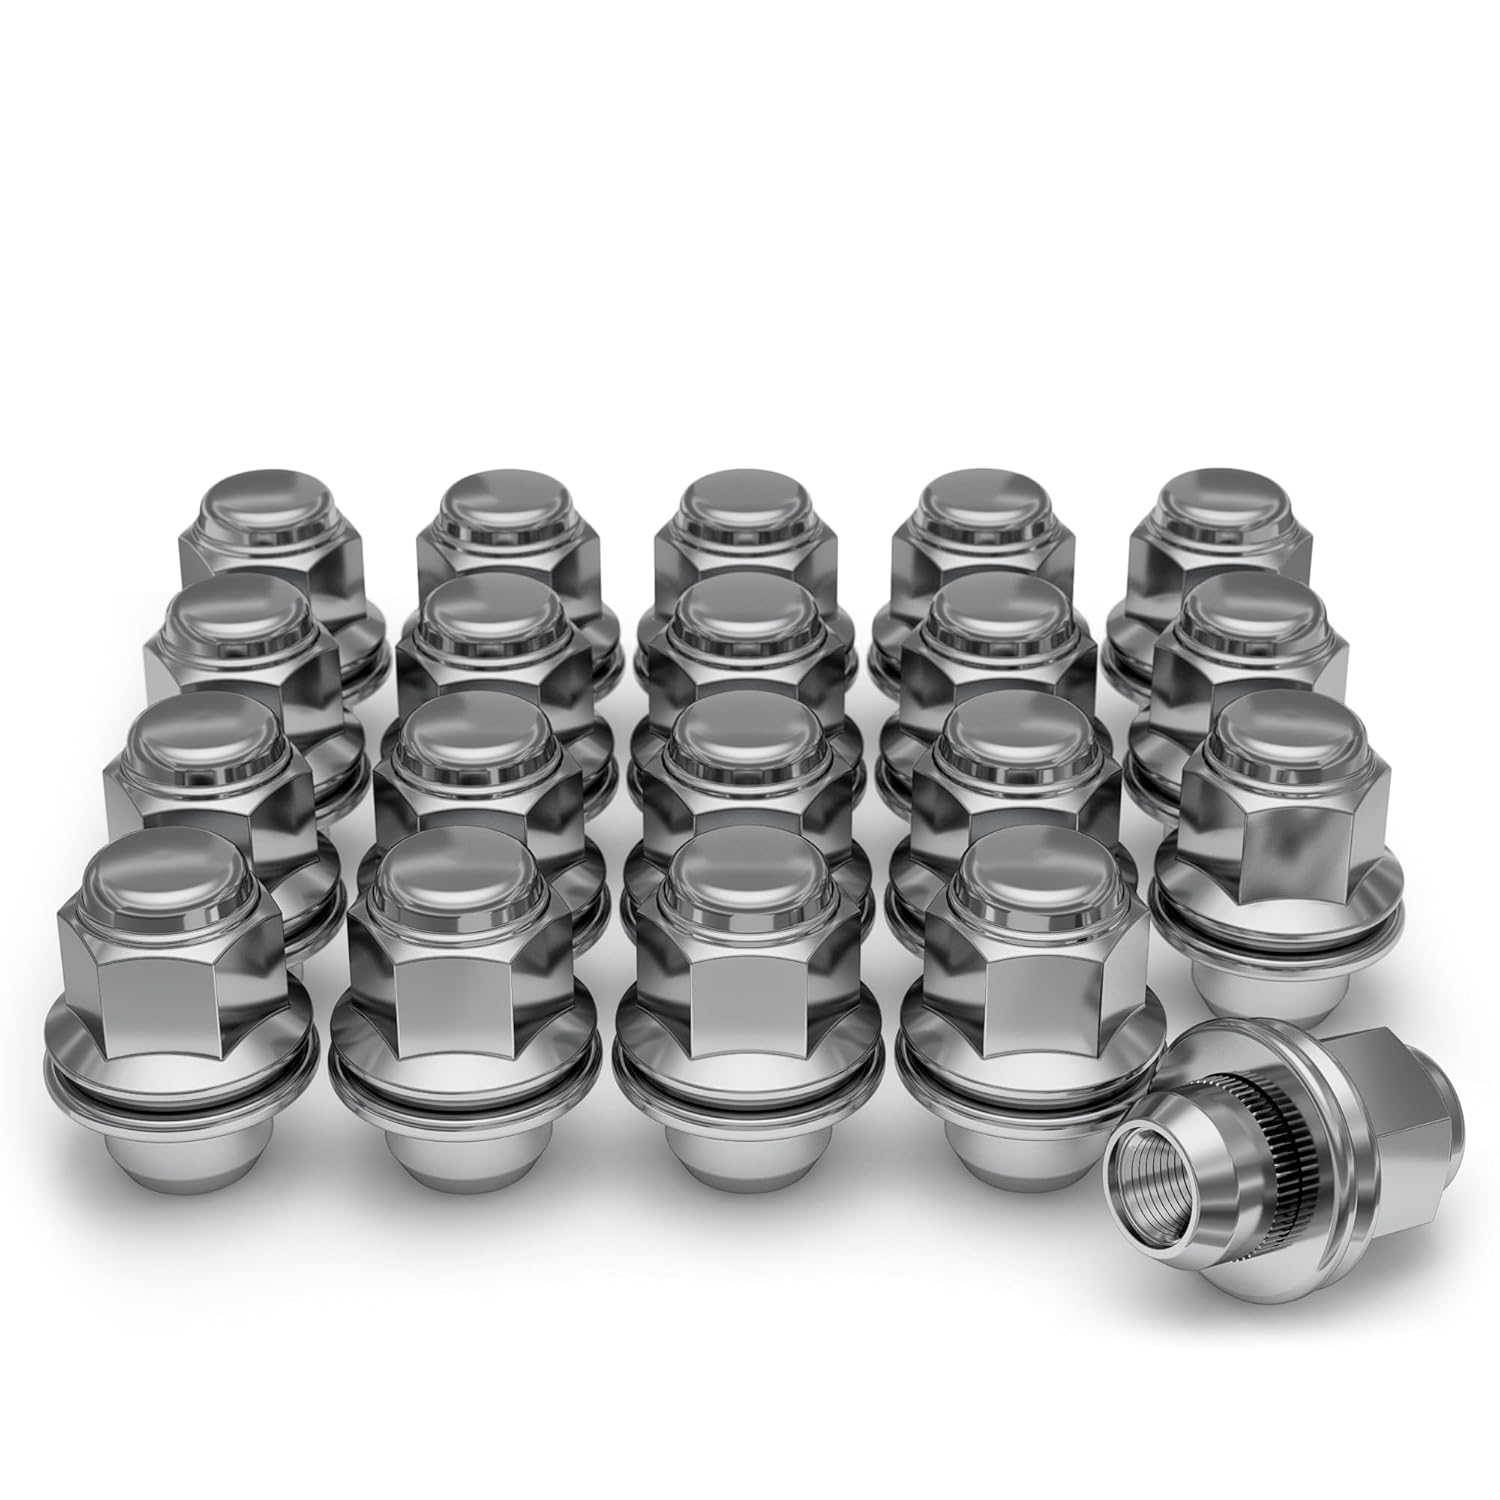
These White Knight mag-style lug nuts are designed for select Toyota, Lexus, Kia, and Genesis vehicles, delivering a secure fit and a clean factory-inspired look. Made from heat-treated cold forged carbon steel with a chrome finish, they offer durable strength, reliable corrosion resistance, and easy installation with a traditional hex-body, flat-seat design. Use them to replace worn or damaged lug nuts while maintaining proper wheel fitment and dependable performance.
How Does Front vs. Rear RAV4 Brake Service Differ?
Front and rear RAV4 brake jobs can use different calipers and parking-brake designs. On the front procedures covered here, the piston retracts straight into the caliper with an approved spreader after you confirm the reservoir will not overflow. Rear procedures depend on the generation and hardware. If an electric motor is mounted to the rear caliper, move the system into Toyota’s pad-replacement mode before piston retraction.
Note: Front-only rotor service does not require rear EPB pad-replacement mode. Rear service requires you to identify the parking-brake design first; do not assume every RAV4 generation uses the same mechanism.
RAV4 Hybrid and RAV4 Prime models blend regenerative and friction braking, but the wheel-end rotor and pad work remains mechanical. Keep the vehicle off and out of READY mode. Do not disturb high-voltage components or perform hydraulic/ABS procedures not covered by the repair information. For system background, see how regenerative and friction braking work together in a RAV4 Hybrid.
How Do You Put the RAV4 Electronic Parking Brake in Service Mode?
For a rear caliper with an electronic parking brake, enter Toyota’s pad-replacement mode before removing or retracting the piston. Checked Toyota repair information for covered 2019–2025 RAV4 applications provides a Techstream/scan-tool route and, for some covered configurations, a specified parking-brake-switch sequence. The correct menu name and sequence can differ by brake-system configuration.
Use the exact repair procedure for the vehicle’s model year, production range, market, and brake booster/EPB system. A compatible scan tool is convenient and can read or clear faults, but it is not the only procedure shown in all checked Toyota service data. Do not copy an unverified switch sequence from another year or configuration.
Warning: Do not force, twist, or clamp a rear EPB caliper piston unless the electronic parking brake is in service mode and the repair procedure confirms how the piston should be retracted. Forcing it can damage the actuator or caliper.
Using Toyota Repair Information or a Compatible Scan Tool
When using a compatible scan tool, connect it to the diagnostic port, switch the ignition on without starting or placing a hybrid in READY mode, select the Toyota EPB/brake utility specified by the repair information, and follow the prompts. Confirm the indicator pattern or tool message that shows pad-replacement mode is active. Do not operate the parking-brake switch while the caliper is removed.
When the applicable Toyota procedure provides a switch-only route, follow its timing and indicator checks exactly. After reassembly, exit pad-replacement mode or initialize the EPB as directed, clear any procedure-related fault code if required, and confirm normal parking-brake operation before driving.
Safety Precautions Required
- Park on a flat surface and chock the wheels.
- Turn the vehicle off and keep it out of READY mode.
- Release the parking brake only after the vehicle is safely supported.
- Enter EPB service mode before rear caliper removal.
- Keep fingers clear of caliper pistons and parking brake mechanisms.
- Stop and seek professional help if the indicator pattern does not match the repair procedure, the actuator does not move normally, or a brake/EPB fault remains after initialization.
How Do You Remove Old RAV4 Brake Rotors?
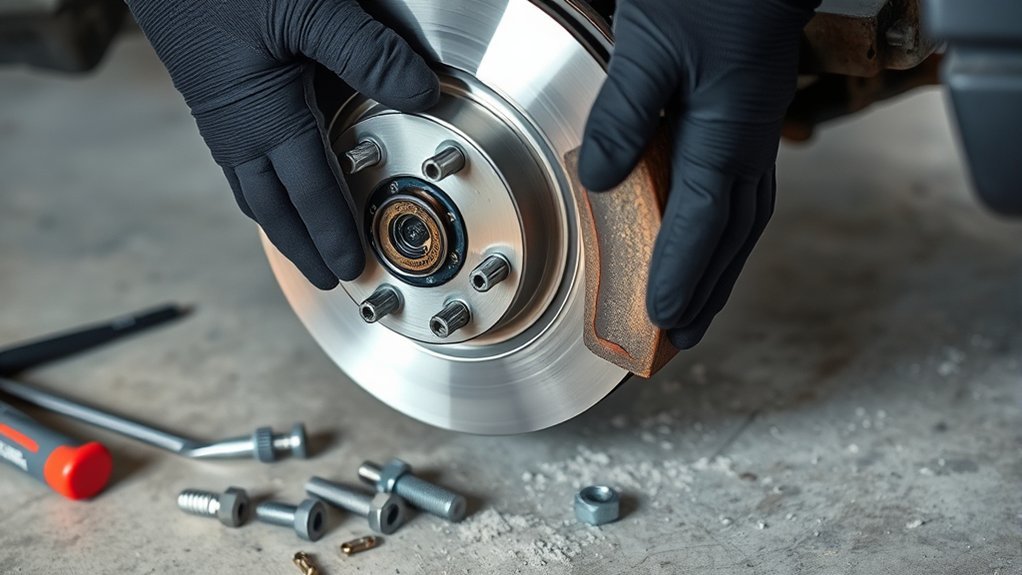
Once the RAV4 is safely supported and the wheel is off, take a photo of the brake assembly before disassembly. This gives you a reference for hardware clip direction, pad orientation, and sensor routing.
Step 1: Loosen and Lift Safely
Slightly loosen the wheel nuts while the tire is still on the ground. Lift the vehicle at the proper jacking point, place it on jack stands, and remove the wheel. Keep the wheel under the rocker area as an added backup, but never rely on it as the main support.
Step 2: Inspect Before Disassembly
Look for uneven pad wear, fluid leaks, torn caliper boots, damaged brake hoses, and rust buildup around the hub. Uneven inner and outer pad wear can indicate sticky slide pins or a caliper problem. Fixing only the rotor will not solve a stuck caliper.
Step 3: Remove the Caliper
Remove the caliper slide pin bolts, then lift the caliper off the bracket. Hang it from the strut or suspension with a caliper hook or strong wire. Do not let the caliper hang by the rubber brake hose or any electronic parking brake wiring.
For front brakes, compress the piston slowly only after checking that the brake fluid reservoir will not overflow. For rear EPB brakes, retract the piston only according to the EPB service procedure.
Step 4: Remove Pads, Hardware, and Bracket
Remove the old brake pads and hardware clips. If the rotor cannot clear the caliper bracket, remove the bracket bolts and set the bracket aside. These fasteners are often tight, so use a fully seated socket and a breaker bar when needed. Follow the repair information for one-time-use fasteners, thread preparation, thread-locking compound, and torque.
Step 5: Remove the Old Rotor
If the rotor slides off easily, remove it by hand. If it is stuck from corrosion, check for threaded removal holes in the rotor hat. Thread the correct bolts into those holes evenly to push the rotor off the hub. If you must tap the rotor, strike the rotor hat carefully and avoid hitting the wheel studs, dust shield, ABS wiring, or hub face.
Pro Tip: If the rotor fights you, rotate it and apply steady pressure instead of hammering one spot repeatedly. Uneven hammering can damage nearby parts and make the job harder.
Step 6: Clean the Hub
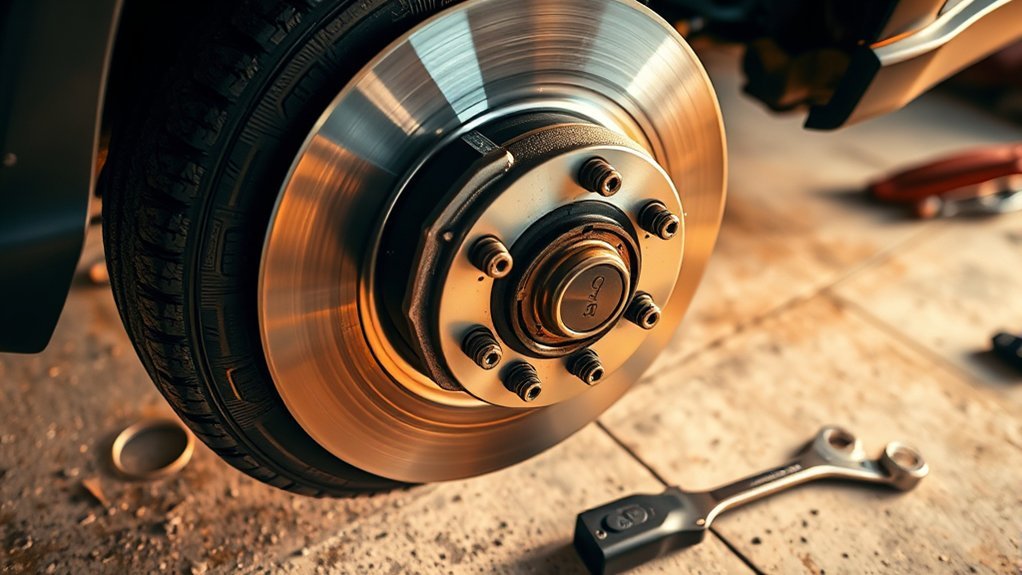
Clean the wheel-hub mounting face until it is flat and free of loose rust, scale, and debris. Keep abrasive material away from wheel-stud threads, seals, and ABS components. Wipe the face clean and inspect it for raised corrosion before seating the new rotor. If the previous complaint was pulsation, measure installed rotor runout rather than assuming a clean-looking hub is flat.
How Do You Install New RAV4 Rotors and Brake Pads?
Read the rotor maker’s installation instructions before cleaning. Remove shipping oil from uncoated friction surfaces with an approved cleaner, but do not strip a coating that the manufacturer identifies as ready to install. Handle the rotor by the hat or edge and keep lubricant off both friction faces.
| Step | Best Practice |
|---|---|
| Rotor installation | Clean the rotor, seat it fully against the hub, and temporarily hold it with a lug nut while assembling the brakes. |
| Brake hardware | Use new abutment clips when supplied. Match the orientation to your reference photo or the opposite side. |
| Lubrication | Apply brake lubricant only to metal contact points and slide pins where specified. Keep grease off pads and rotors. |
| Pads | Install pads in the correct inner/outer position and transfer any wear indicator hardware correctly. |
| Parts selection | Use VIN-matched parts and compare rotor diameter, thickness, height, bolt pattern, and axle position before installation. The Toyota Genuine Parts catalog can help confirm OEM fitment. |
[Products Worth Considering]

This wheel lock lug nut set adds an extra layer of theft protection for compatible Toyota and Lexus vehicles by securing wheels with a unique key pattern that resists common removal tools. Built to OEM-standard fitment with corrosion-resistant, triple-chrome finished construction, it is designed for direct replacement and long-lasting performance. The set includes locking nuts and a matching key for easy installation on compatible vehicles with the correct thread and cone seat specifications.

This click torque wrench delivers accurate, repeatable tightening for automotive and home repair tasks, helping prevent over-tightening and fastener damage. Its dual-range scale, knurled non-slip grip, and durable ratchet head make it easy to use, while the included extension bar and storage case add extra convenience.
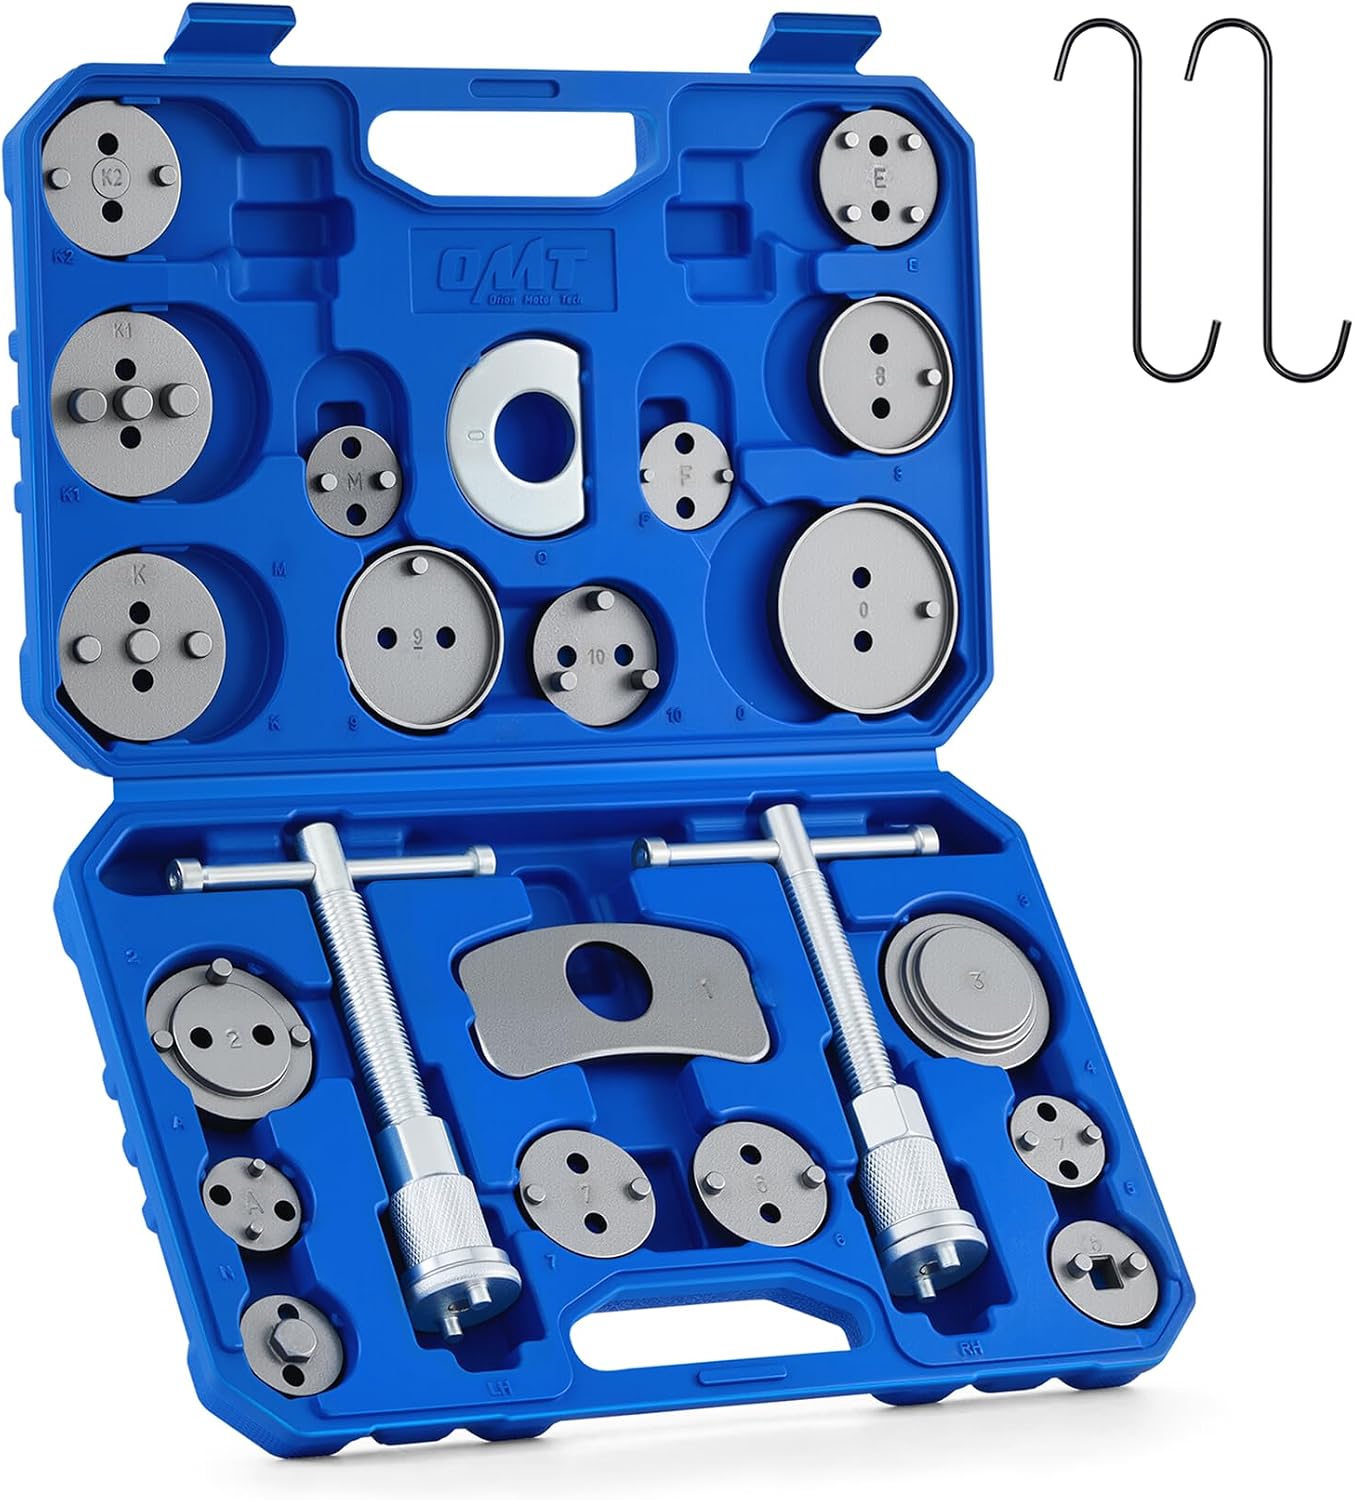
This 24-piece brake caliper compression tool set helps you quickly and safely rotate pistons back into the caliper during brake pad service. It includes multiple adapters, retaining plates, thrust bolt assemblies, and hangers for broad vehicle compatibility, while the heavy-duty steel construction and organized storage case make it ideal for reliable shop or home repairs.
How Do You Reassemble the RAV4 Brake Components?
Clean the caliper bracket, install the correct new hardware, lubricate only the specified metal contact points and slide pins, and confirm the pads move freely without excessive play. If one pad was much thinner, a slide pin binds, or a piston is difficult to retract, diagnose the cause before installing new friction parts. Use the RAV4 sticking-caliper guide to separate hardware, hose, slide-pin, and piston faults.
- Install the rotor: Seat it flush against the clean hub and hold it with a lug nut if needed.
- Reinstall the caliper bracket: Torque bracket bolts to the specification in Toyota service data for your exact axle and model.
- Install pads and hardware: Confirm the wear indicator, shims, and clips match the original orientation.
- Reinstall the caliper: Make sure the slide pins move smoothly and the rubber boots are seated.
- Torque slide pin bolts: Use the correct factory torque specification. Do not guess.
- Repeat on the other side: Brake rotors and pads should normally be replaced in axle pairs.
Note: The only torque value in this guide that comes directly from the Toyota owner manual is the wheel nut torque: 76 ft-lbf / 103 N·m. Use factory service data for caliper bracket and slide pin bolts.
What Is the RAV4 Wheel-Nut Torque?
Reinstall the wheel and hand-thread every wheel nut. Lower the vehicle until the tire just contacts the ground and cannot spin, then tighten in a crisscross pattern with a torque wrench. Toyota’s 2021 RAV4 owner information specifies 76 ft-lbf / 103 N·m. Confirm the value in the owner information for any other model year or non-factory wheel setup.
Do not use an impact wrench for final tightening. Over-torqued lug nuts can stretch studs or distort parts, while under-torqued lug nuts can loosen during driving. Recheck wheel nut torque after a short drive if your wheel or rotor manufacturer recommends it.
What Should You Check Before Driving?
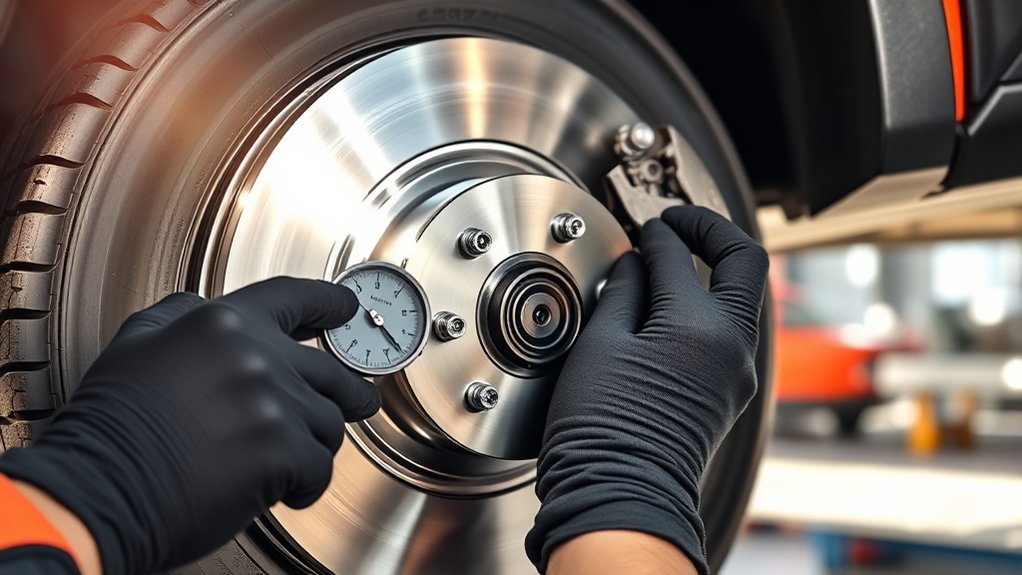
Before moving the RAV4, pump the brake pedal several times until it feels firm. This seats the pads against the rotors. If the pedal sinks, feels spongy, or does not firm up, do not drive the vehicle until the problem is found.
| Task | Why It Matters |
|---|---|
| Pump the brake pedal | Moves caliper pistons back into normal operating position. |
| Check brake fluid level | Confirms the reservoir is within the MIN/MAX range after piston movement. |
| Exit EPB service mode | Restores normal electronic parking brake operation after rear brake work. |
| Verify wheel torque | Helps prevent loose wheels or stud damage. |
| Road test carefully | Confirms quiet, straight, smooth braking before normal driving. |
Start the road test at walking speed in a safe, traffic-free area. Verify a firm pedal, straight stopping, normal warning lights, and no scraping, clunking, or grinding. Then follow the brake-pad or rotor manufacturer’s bedding procedure exactly. Until bedding is complete, avoid unnecessary repeated hard stops while always braking as firmly as traffic safety requires.
Common Mistakes to Avoid
- Skipping rear EPB service mode: This can damage the rear caliper actuator.
- Blowing or dry-brushing brake dust: Use an approved low-pressure wet-cleaning or HEPA-controlled method, consistent with OSHA brake and clutch work-practice guidance.
- Not cleaning the hub face: Rust between the hub and rotor can cause pedal pulsation.
- Guessing torque specs: Always verify brake fastener torque from Toyota service data.
- Letting the caliper hang: Support it so the brake hose and wiring are not stressed.
- Greasing the wrong surfaces: Grease on pads or rotors can reduce braking performance.
Troubleshooting After Rotor Replacement
| Problem | Likely Cause | Next Step |
|---|---|---|
| Soft brake pedal | Pistons not seated, air in system, or fluid issue | Pump pedal again; inspect for leaks; do not drive if it remains soft. |
| Grinding noise | Misinstalled pad, backing plate contact, or trapped debris | Reinspect pad position, dust shield clearance, and hardware. |
| Burning smell | Pad drag, stuck caliper, or fresh coating burning off | Check wheel temperature carefully and inspect for dragging brakes. |
| EPB warning light | Service mode not exited or EPB fault detected | Use a scan tool to read faults and initialize the system if required. |
| Brake vibration remains | Hub rust, rotor runout, uneven pad deposits, or suspension issue | Measure runout and inspect hub, tires, bearings, and front-end parts. |
Do not drive the RAV4 if the pedal will not become firm, brake fluid is leaking, a wheel binds or overheats, the vehicle pulls sharply, grinding continues, or a brake/ABS/EPB warning remains on. Reinspect the work or arrange professional service.
Frequently Asked Questions
How many miles should rotors be changed on a Toyota RAV4?
There is no single mileage that fits every RAV4. Many rotors last tens of thousands of miles, but road salt, towing, mountain driving, heavy traffic, and driving style can shorten rotor life. Replace rotors when they are below minimum thickness, cracked, badly scored, heavily rusted, or causing confirmed brake pulsation.
How can I tell which rotors need to be replaced?
Inspect each rotor for grooves, cracks, rust pitting, heat spots, and uneven pad contact. Measure thickness with a micrometer and compare it with the minimum specification. Steering wheel shake often points to the front axle, while pedal or body vibration can come from either axle, so inspect all four corners.
Do I need a scan tool to replace rear RAV4 rotors?
Not always. For rear RAV4 brakes with an electronic parking brake, you must use the exact Toyota pad-replacement procedure for that vehicle. Checked Toyota repair information for covered 2019–2025 applications includes a Techstream/scan-tool route and, for some configurations, a specified switch-only procedure. Do not force the piston or copy a sequence from another model year.
Should I replace brake pads when replacing rotors?
In most cases, yes. New pads give the new rotor a clean, even friction surface. Reusing worn or uneven pads can create noise, vibration, and poor bedding. If the pads are nearly new, inspect them carefully and confirm they are flat, evenly worn, and compatible with the new rotors.
What is the wheel lug nut torque for a 2021 Toyota RAV4?
Toyota lists the 2021 RAV4 wheel nut torque as 76 ft-lbf, which is 103 N·m. Tighten in a crisscross pattern with a torque wrench after the wheel is seated.
Conclusion
Before starting, identify the exact axle and parking-brake design, confirm VIN-matched parts, and save the correct Toyota torque and EPB procedure. During assembly, support the caliper, clean the hub, keep friction surfaces clean, and replace pads and rotors in axle pairs. Before driving, pump the pedal until firm, restore normal EPB operation, verify wheel torque, and complete a low-speed brake check. Stop if the pedal, warning lights, noise, heat, or vehicle tracking is not normal.
Sources
- Toyota Owners: 2021 RAV4 manuals and warranties — official owner information and model-specific manual access.
- Toyota Owners: 2021 RAV4 wheel installation guidance — 76 ft-lbf / 103 N·m wheel-nut specification and wheel-installation cautions.
- Toyota repair information: 2019–2021 RAV4 pad-replacement mode — Techstream and specified non-Techstream procedures for covered applications.
- Toyota repair information: 2019–2025 RAV4 EPB test-mode procedure — EPB Full Release/pad-replacement guidance for covered brake-system configurations.
- Toyota Owners: Genuine Toyota Parts — OEM parts fitment reference.
- U.S. EPA: Preventing asbestos exposure during brake and clutch repair — brake-dust precautions for professional and home mechanics.
- OSHA 1910.1001 Appendix F — wet-cleaning and HEPA-controlled work practices for brake and clutch service.