Oil loss in a Toyota Camry can start small, but it can turn into smoke, low oil pressure, or engine damage if you ignore it. Check the dipstick, look under the car for fresh oil spots, and sniff for burning oil while you drive. Inspect the valve cover, oil pan, oil filter, drain plug, rear main seal, and positive crankcase ventilation (PCV) valve for wetness or blockage. This guide shows you how to spot the leak, narrow down the source, and decide when a repair shop should handle it.
What’s in This Article
- How to Tell If Your Camry Is Losing Oil?
- Quick Diagnosis: Check Oil Level, Smell, and Spots
- Common Camry Oil Leak Sources: Valve Cover, Oil Pan, and Seals
- How a Bad PCV Valve and Crankcase Pressure Cause Leaks
- DIY Inspection: Locate the Leak Fast With Tools and UV Dye
- Temporary Fixes: Stop-Leak, Sealant, and When They Help
- When to Take It to a Shop: Repair Options and Typical Costs
- Warranty, Dealer Claims, and Documenting Leaks for Service
- Preventive Maintenance to Avoid Future Oil Leaks
- Choosing Parts and Fluids: Toyota Recommendations and Why
- Frequently Asked Questions
- Conclusion
Quick Answer
Your Camry may lose oil because of worn gaskets, a loose oil filter, a damaged drain plug, a leaking oil pan, worn seals, or a clogged PCV valve. Check the oil level first, then look for fresh drips and wet areas around the engine. Small leaks may only need a gasket, plug, or filter fix, but heavy leaks or rear main seal leaks need professional service.
Key Takeaways
- Check your dipstick often so you catch oil loss before the engine runs low.
- Look for leaks around the valve cover, oil pan, oil filter, drain plug, and rear main seal.
- Test or replace the PCV valve if oil keeps pushing past gaskets and seals.
- Use UV dye after cleaning the engine when you can’t see the leak source.
- Take the car to a shop if you smell burning oil, see heavy drips, or suspect a major seal leak.
How to Tell If Your Camry Is Losing Oil?
You can tell your Camry is losing oil by checking for low oil level, fresh oil spots, smoke, or a burning oil smell. Pull the dipstick on level ground after the engine sits for a few minutes. If the level keeps dropping between oil changes, your engine may leak oil or burn it internally.
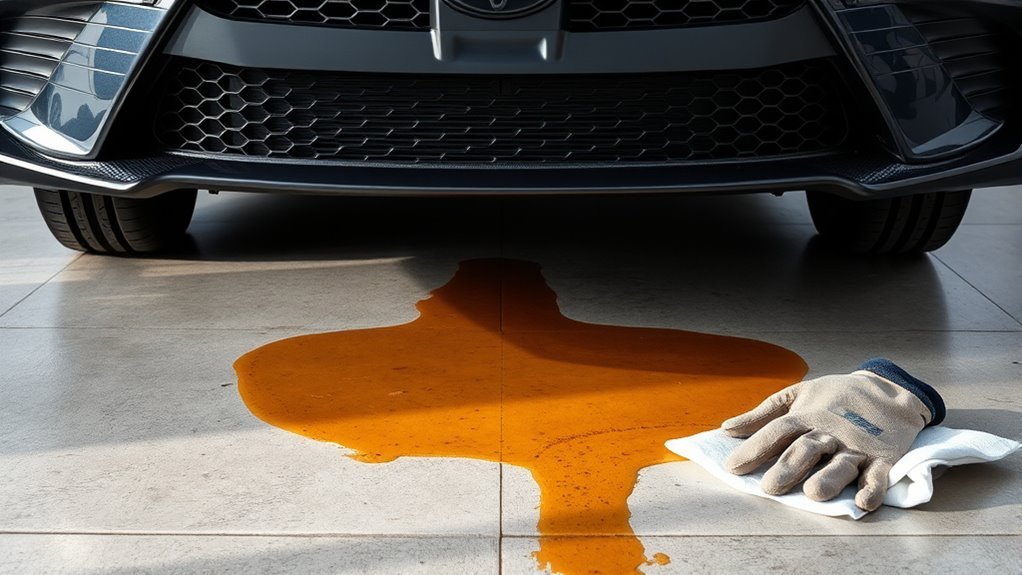
Look under the car after it sits overnight. Fresh spots near the front or center of the car can help you trace the leak. After a drive, inspect around gaskets, seals, and the oil filter for pooling oil or wet grime.
Watch the oil warning light or oil pressure gauge if your Camry has one. A sudden warning can mean the oil level has dropped too far. Stop driving and check the oil before you restart the engine.
Warning: Don’t keep driving with low oil pressure, heavy smoke, or a strong burning oil smell.
Quick Diagnosis: Check Oil Level, Smell, and Spots
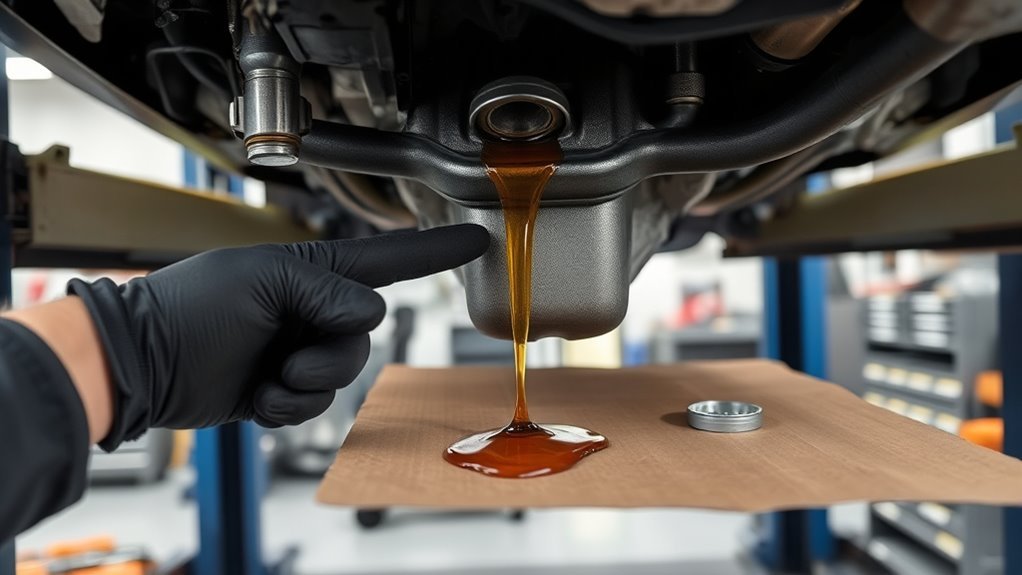
Start with the basics. Pull the dipstick, confirm the oil level, and add the correct oil only if the level sits below the safe range. Then check under the parked car for fresh spots or puddles.
Use a clean surface if you can. Park overnight on cardboard, then note where the oil lands. A spot near the passenger side may point toward the oil filter area, while oil near the bellhousing may point toward a rear main seal.
Pay attention to odor while driving. A burning-oil odor often means oil is dripping onto hot exhaust parts. If the smell keeps coming back, inspect the engine bay before the leak gets worse.
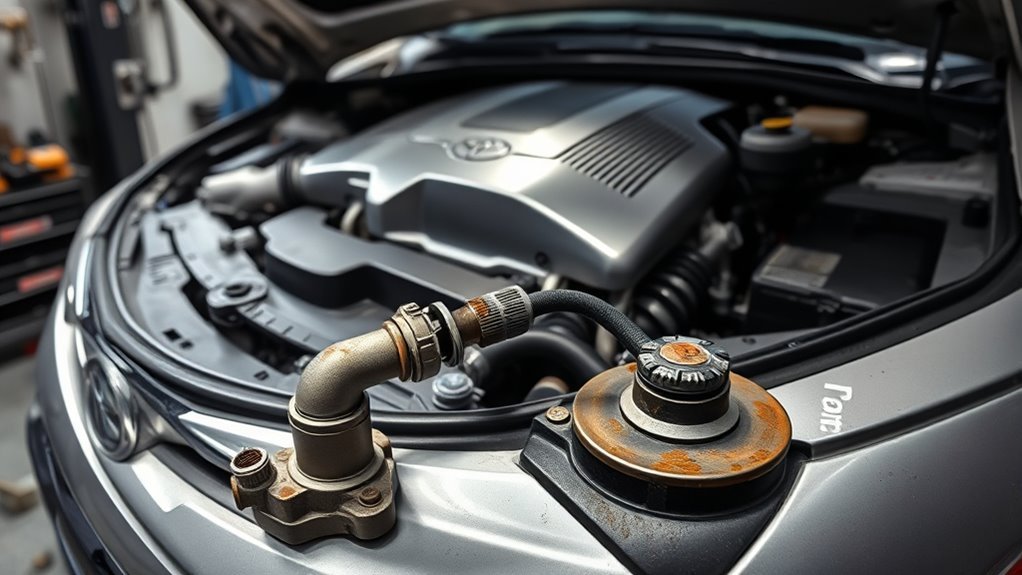
Common Camry Oil Leak Sources: Valve Cover, Oil Pan, and Seals
Camry oil leaks often start at a few common spots. Check the valve cover gasket, oil pan, oil filter, drain plug, cam seals, and rear main seal. Heat, age, and loose service parts can all let oil escape.
Inspect the valve cover first. Heat can harden the gasket, which lets oil seep down the engine block. Wipe the area clean, run the engine, and look for fresh oil along the gasket edge.
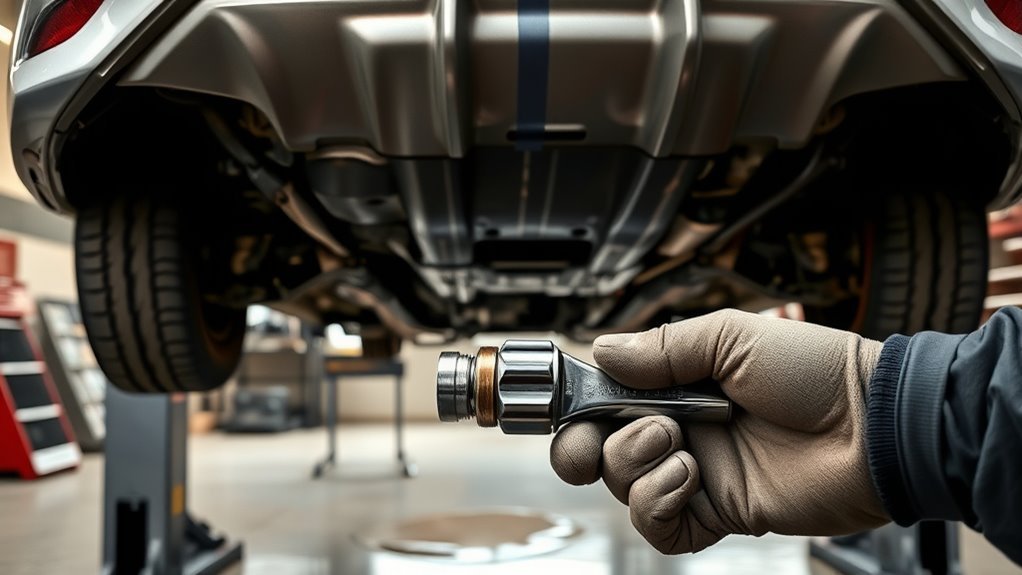
Check the oil pan for dents, cracks, and wet spots around the pan flange. Then inspect the oil filter and drain plug. A loose filter, damaged filter gasket, or worn drain plug washer can leak soon after an oil change.
A rear main seal leak usually creates oil near the area between the engine and transmission. That repair often requires major labor, so a shop should confirm it before you approve the work.
[Products Worth Considering]

COMPATIBILITY – Fits 2009-2010 Pontiac Vibe; 2010-2012 Lexus HS250h; 2001-2007 Toyota Highlander; 2002-2011 Toyota Camry; 2009-2012 Toyota Corolla; 2009-2013 Toyota Matrix; 2002-2008 Toyota Solara; 2001-2003 Toyota RAV4; 2004-2008 Toyota RAV4; 2008-2015 S
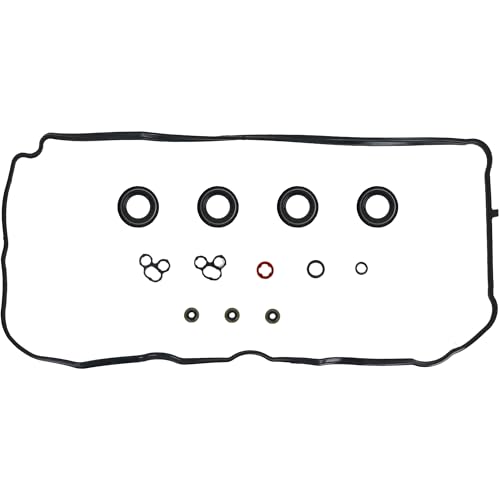
【COMPATIBLE WITH TOYOTA】Compatible With Toyota 2009-2018 RAV4 2.5L L4 | 2009-2019 Highlander 2.7L L4 | 2013-2018 Avalon 2.5L L4 | 2010-2017 Camry 2.5L L4 | 2011-2013 Sienna 2.7L L4 | 2009-2016 Venza 2.7L L4
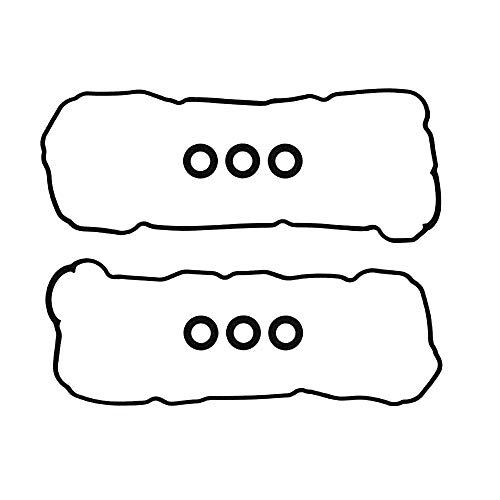
REPLACEMENT VALVE COVER GASKET - Designed to bring seal to the cylinder head and the valve cover, stops oil from leaking out and spilling onto the rest of your engine. If you have a leaking valve cover, or your engine oil is always low, or you smell burnin oil, you will need to replace your valve cover gasket.
How a Bad PCV Valve and Crankcase Pressure Cause Leaks
The PCV valve vents combustion blow-by from the crankcase. If it clogs or sticks, crankcase pressure can rise and push oil past gaskets and seals. You may then see seepage from valve covers, cam seals, or the oil pan flange.
A bad PCV valve can also come with rough idle, higher oil use, or oil residue near intake parts. Replace the PCV valve on schedule or when testing shows restriction. This low-cost part can help protect seals from pressure-driven leaks.
Don’t treat the leak only at the gasket if pressure caused it. Fix the PCV issue first, then repair any gasket or seal that already leaks. That order helps keep the same leak from returning.
DIY Inspection: Locate the Leak Fast With Tools and UV Dye
You can find many Camry oil leaks with a careful DIY inspection. Clean the engine with a safe degreaser or brake cleaner, add UV dye to the oil, run the engine briefly, and scan with a UV light. Fresh oil paths will glow and show the leak source.
Clean the engine, add UV dye, run the engine briefly, then scan with a UV lamp to reveal oil leak sources.
Gather the right tools before you start:
- Use a flashlight and inspection mirror for tight areas.
- Use a socket set and wrench for shields or covers.
- Use UV dye made for engine oil.
- Use a UV light and safety glasses.
- Clean the engine: remove old grime so fresh oil stands out.
- Add the dye: follow the dye label and avoid overfilling the oil.
- Run the engine: let warm oil flow through the leak path.
- Inspect common spots: check the valve cover, oil filter, drain plug, oil pan, and seals.
You’ll save time when you confirm the leak before buying parts. Keep checking the oil level during the test period so the engine doesn’t run low.
Pro tip: Take photos before and after cleaning so you can compare new seepage against old stains.
[Products Worth Considering]

One application of oil and fuel system UV leak detection dye

Works Where Used Oil Makes Leaks Hard To See: Designed for real world oil conditions where dark, used fluid can make leaks easy to miss. When checked with a UV inspection flashlight, leak points show up clearly, even in dirty engine oil

FAST, ACCURATE LEAK DETECTION: Professional-grade, universal fluorescent dye quickly identifies leaks in automotive systems, reducing diagnostic time and eliminating guesswork
Temporary Fixes: Stop-Leak, Sealant, and When They Help
After you find the source with UV dye and cleaning, you may try stop-leak fluids or gasket sealants for a small seep. Use these temporary solutions only when the gasket edge looks intact and you need time before a real repair. Clean the area first because oil film keeps sealant from bonding.
Choose a product made for engine oil and follow the label. Stop-leak may slow tiny seepage, but it won’t fix blown seals, cracked housings, or high-pressure leaks. Don’t use it as a long-term repair.
After you apply any sealant or additive, monitor oil level and drip patterns daily. Watch for warning lights, odd engine noise, or reduced oil flow signs. Plan the correct repair once you know the source.
[Products Worth Considering]

Product Type: Auto Oil

Professional strength fast acting resealer, stops leaks fast

Easy to use: The BlueDevil Oil Stop Leak is designed to be easy to use, simply pour the recommended amount into the leaking component’s oil slump, or crank case.
When to Take It to a Shop: Repair Options and Typical Costs
Take your Camry to a shop if you see pooling oil, smell burning, or lose oil quickly between checks. A shop can clean the area, add dye, inspect from underneath, and give you a written estimate. That estimate should name the leak source and the repair method.
Small repairs, such as a drain plug washer, oil filter gasket, or valve cover gasket, often cost far less than major seal work. Larger jobs, such as an oil pan reseal or rear main seal repair, can cost much more because labor takes longer. Ask the shop to show you the leak before you approve a large repair.
Estimate Versus Repair Cost
Use the estimate to compare repair cost, leak severity, and vehicle value. Small fixes like tightening a loose filter or replacing a valve cover gasket may prevent bigger damage. Labor-heavy jobs, such as rear main seal repair, can cost much more because parts around the transmission may need removal.
Ask for these details in writing:
- Confirm the exact leak source.
- List parts and labor separately.
- State whether the repair uses original equipment manufacturer (OEM) parts.
- Note whether the shop cleaned and retested the area.
Warranty and Dealer Claims
If your Camry still has warranty coverage, contact the dealer before paying for a major repair. Warranty coverage may apply when a defect in materials or workmanship caused the leak. Bring photos, oil change records, mileage notes, and any shop reports.
Ask the dealer to inspect the leak and give you written findings. If they deny coverage, ask for the reason in writing. Keep every estimate and report in case you need another opinion.
DIY vs. Professional Repair
You can handle some small leaks at home if you have basic tools, a torque wrench, and the correct parts. A drain plug washer, oil filter issue, or simple gasket job may suit a careful DIY repair. Always follow the service manual torque specs.
Leave complex leaks to a professional. Rear main seals, internal leaks, and hard-to-reach oil pan reseals can require lifts, specialty tools, and more labor. Paying for a correct diagnosis can save money if it prevents the wrong repair.
Warranty, Dealer Claims, and Documenting Leaks for Service
Document any oil leak with clear photos and short notes. Include the date, mileage, oil level, parking location, and where you saw the drip. This record helps a dealer or shop see the pattern.
Warranty Coverage Rights
Keep oil change receipts and service records, even when an independent shop did the work. If a dealer questions warranty coverage, ask them to explain the reason in writing. Clear records help you show that you maintained the vehicle.
For consumer warranty concerns, review guidance from the Federal Trade Commission (FTC). The FTC explains that warranty coverage generally can’t be denied only because you used an independent shop or aftermarket part. The dealer must connect the outside service or part to the problem.
Documenting Leak Evidence
If you see oil pooling or dripping, photograph the leak from several angles. Note the exact location, drip size, date, and mileage. Use file names that include the date and mileage so you can find them fast.
Keep a simple leak log. Record oil changes, top-offs, warning lights, burning smells, and dealer replies. Bring a short, organized packet to each service visit.
Dealing With Dealers
Bring your photos, notes, and receipts to the service desk. Ask for dealer communication in writing and request a documented diagnosis. A clear record makes it easier to compare estimates or seek another opinion.
- Request written notes about the inspection and likely cause.
- Attach photos and service logs to every claim.
- Visit another dealer if the first one gives an unclear answer.
- Keep every estimate before approving a major seal repair.
Preventive Maintenance to Avoid Future Oil Leaks
Small oil leaks often get worse when heat, age, and dirt attack seals. Inspect valve cover gaskets, oil pan edges, and visible seals during oil changes. Replace worn rubber before it starts dripping heavily.
Use the correct oil and install a high-quality oil filter each time. A poorly seated filter or damaged gasket can create a fresh leak right after service. Check the drain plug washer and torque the plug correctly.
Clean the engine bay enough to spot new stains. Check the oil level often, especially on older Camrys or cars with past oil leaks. A simple schedule can help you catch leaks before they lead to engine damage.
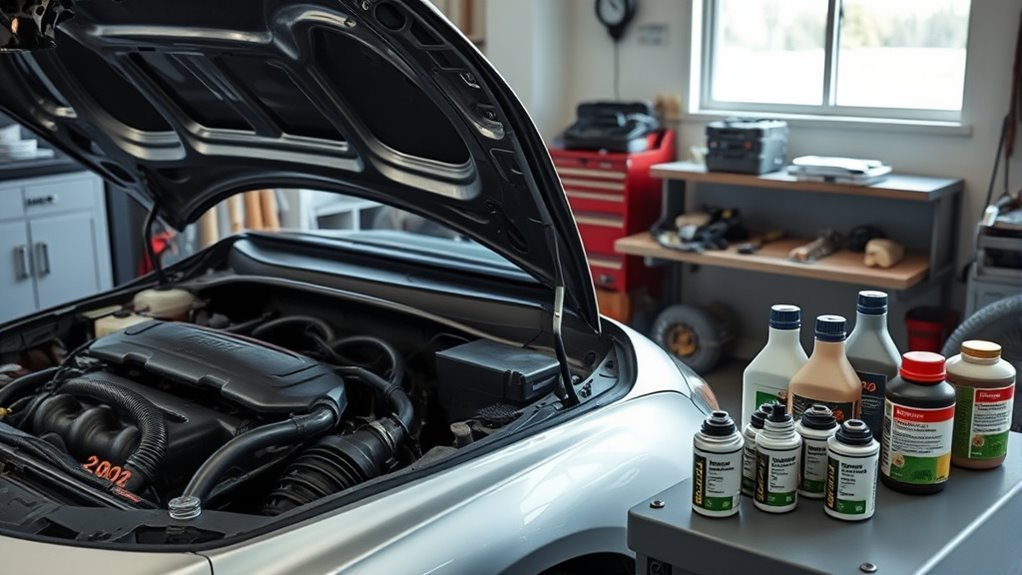
Choosing Parts and Fluids: Toyota Recommendations and Why
Use parts and fluids that match Toyota’s specifications for your Camry’s year and engine. The owner’s manual gives the correct oil viscosity, oil grade, and service interval. Many Camry models use 0W-20, but you should confirm your exact model before adding oil.
Choose genuine parts or quality parts that meet the same fit and material standards. Poorly fitting filters, cheap gaskets, and weak seals can cause repeat leaks. OEM parts often reduce fitment risk during gasket and seal repairs.
When you repair a leak, replace old seals and gaskets instead of only tightening parts. Clean the mating surfaces and follow torque specs. This helps the new gasket seal evenly and last longer.
Note: Always check your owner’s manual because oil viscosity can vary by Camry year, engine, and market.
Frequently Asked Questions
Why Is My Toyota Camry Leaking Oil?
Your Camry may leak oil because of worn engine seals, a damaged oil pan, a loose oil filter, a worn drain plug washer, or excess crankcase pressure. Start with the easy checks, then inspect gaskets, seals, and the PCV valve.
What Year Did Toyota Camry Have Oil Consumption Problems?
Some 2007 to 2009 Camry models have known complaints about higher oil consumption. Track your oil level, mileage, and service records if your car falls in that range. Ask a Toyota dealer or trusted mechanic to inspect the engine if the level drops often.
Can I Drive My Camry If It Is Leaking Oil?
You may drive a short distance if the leak is minor and the dipstick shows a safe level. Don’t drive if oil pours out, the oil light comes on, or you smell strong burning oil. Add the correct oil only as a short-term step, then repair the leak.
How Do I Know If My Camry Is Leaking Oil or Burning Oil?
Leaks usually leave spots, wet engine parts, or oil trails under the car. Burning oil often shows blue exhaust smoke, higher oil use, or oily spark plug deposits. A mechanic can run tests if you can’t find any external leak.
Will Thicker Oil Stop a Camry Oil Leak?
Thicker oil may slow a tiny seep in some cases, but it won’t repair a bad gasket or seal. Use the viscosity Toyota recommends for your exact Camry unless a qualified mechanic tells you otherwise. The right fix is to find and repair the leak source.
Conclusion
A Camry oil leak needs quick attention because low oil can damage the engine fast. Check the dipstick, look for fresh drips, and inspect the valve cover, oil pan, oil filter, drain plug, rear main seal, and PCV valve. Use UV dye if the source stays hidden, then decide whether a small DIY fix or shop repair makes sense. Keep notes and photos, and you’ll make better repair choices before a small leak becomes a costly breakdown.
References
- A Businessperson’s Guide to Federal Warranty Law — Federal Trade Commission
- Warranty and Owner’s Manuals — Toyota