If your Toyota Camry turn signal is not working, start with a simple split test before buying parts. Turn on the hazards, walk around the car, inspect the affected bulb and socket, then check the exact fuse listed on your fuse-box cover or Toyota owner’s manual. Fuse names, ratings, and locations vary by Camry model year, trim, engine, hybrid system, and market, so never assume one fuse location or amperage fits every Camry.
Quick Answer
A Toyota Camry turn signal usually stops working because of a burned-out bulb, blown fuse, corroded socket, loose connector, damaged wiring, weak ground, faulty turn signal switch, or flasher/control-module issue. Check the hazards first. If one corner is dark, start at that bulb and socket. If both sides fail, test the correct TURN, HAZ, or lighting fuse listed for your exact Camry.
Key Takeaways
- One dead signal usually points to a bulb, socket, connector, or ground near that lamp.
- Both turn signals failing can point to a fuse, flasher relay, hazard switch, turn signal switch, wiring fault, or body control module issue.
- Always replace a fuse with the exact amperage and type shown on the fuse-box cover or owner’s manual.
- If a new fuse blows again, stop replacing fuses and look for a short circuit, water intrusion, damaged socket, or aftermarket wiring fault.
At a Glance
| Time Required | 10–45 minutes for basic checks; longer for wiring diagnosis |
| Difficulty | Beginner for bulbs and fuses; intermediate for wiring and switch testing |
| Tools Needed | Owner’s manual, fuse puller, spare fuses, test light or multimeter, gloves, flashlight, basic hand tools |
| Cost | Varies by failed part; confirm current bulb, fuse, switch, wiring, and labor costs before buying parts |
Top Causes of Turn Signal Failure and How to Fix Them
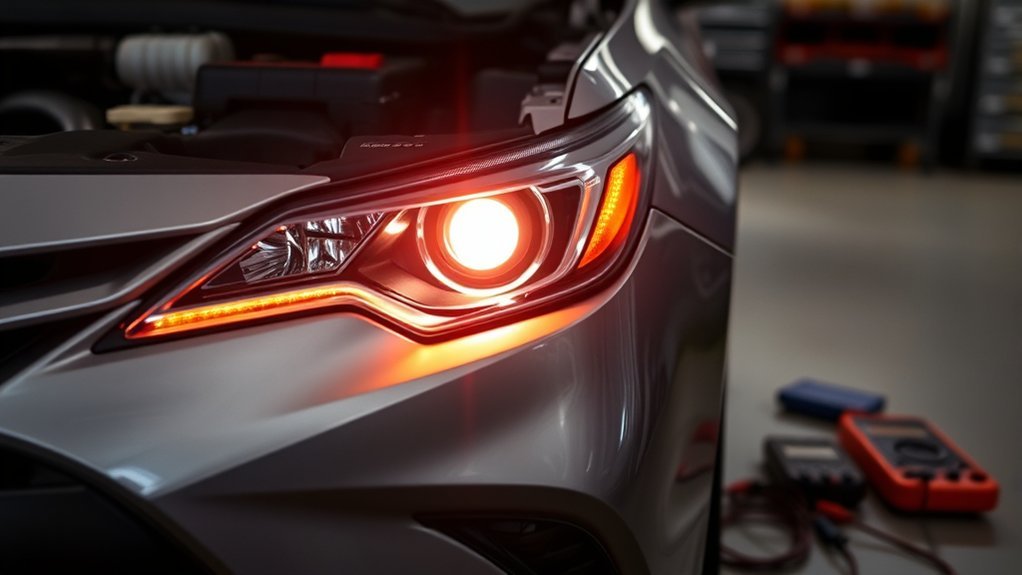
Turn signal problems are easier to diagnose when you start with the symptom instead of guessing at parts. In the United States, turn signal lamps and hazard warning signals are covered under FMVSS 108. The standard also recognizes that a turn-signal lamp failure may show up as a steady indicator, no indicator, or a significant flash-rate change. That makes exterior lamp testing more reliable than watching only the dashboard arrow.
| Symptom | Most Likely Area | Start Here |
|---|---|---|
| One front or rear signal is out | Bulb, socket, connector, or local ground | Inspect the bulb and socket on that corner. |
| One side does not flash | Bulb load, wiring, ground, or switch output | Check all bulbs on that side and test power at the sockets. |
| Both left and right signals fail | Fuse, switch, flasher/control module, or shared power feed | Compare hazard operation and check the correct fuse. |
| Fast blinking | Burned-out bulb, wrong bulb, LED conversion, or poor connection | Inspect bulb type, socket condition, and recent LED upgrades. |
| Fuse blows repeatedly | Short circuit, pinched wire, water intrusion, or damaged socket | Stop replacing fuses and inspect the circuit. |
5-Minute No-Parts Check Before You Replace Anything
Use this quick order when you do not know whether the problem is a bulb, fuse, switch, or wiring fault. It keeps you from replacing a flasher relay when only one socket is corroded, and it keeps you from blaming a bulb when both sides have lost power.
- Turn on the hazards: If one corner stays dark, inspect that lamp first.
- Check the dash rhythm: A fast indicator often means one exterior lamp is out or the circuit load changed.
- Swap only known-matching bulbs: Never force a bulb that does not match the manual or socket.
- Test the fuse, do not only look at it: A test light or multimeter catches failures you may miss by eye.
- Stop after one repeated blown fuse: A second blown fuse points to a circuit fault, not a bad batch of fuses.
Warning: Never install a higher-amperage fuse or use wire, foil, or any other substitute in place of a fuse. Toyota’s fuse guidance warns that incorrect fuse replacement can damage the vehicle and may create a fire or injury risk.
Safety Before You Start
Before touching bulbs, fuses, or wiring, park on a level surface, turn the ignition or power switch off, set the parking brake, and remove the key or keep the smart key away from the vehicle. Toyota’s current owner guidance for light-bulb replacement also tells owners to turn the power switch off before bulb work.
- Let hot bulbs cool before handling them.
- Use gloves or a clean cloth when handling replacement bulbs.
- Keep water away from open fuse boxes and connectors.
- Disconnect the 12-volt battery before deeper wiring or steering-column work if your repair manual calls for it.
- Do not probe airbag or steering-column wiring unless you have the proper service information.
Note: Camry Hybrid models also have high-voltage components. Basic bulb and fuse checks are usually on the 12-volt side, but do not open orange high-voltage cables or covers.
Compare Hazard Lights and Turn Signals First
Turn on the hazard lights and walk around the Camry. All working turn-signal lamps should flash together when the hazard switch is operating. This comparison helps separate a bulb or corner issue from a shared fuse, switch, or control issue.
- If the hazard lights work but the left or right turn signal does not, suspect the turn signal switch, switch wiring, or a side-specific circuit.
- If the hazards and turn signals both fail, check the shared power supply, fuse, flasher relay, hazard switch, or control module.
- If one lamp stays dark while the others flash, inspect that bulb, socket, ground, and connector first.
- If the dash arrow flashes fast, look for a burned-out bulb, wrong bulb type, weak socket contact, or LED conversion problem.
Check Bulbs, Sockets, and Connectors
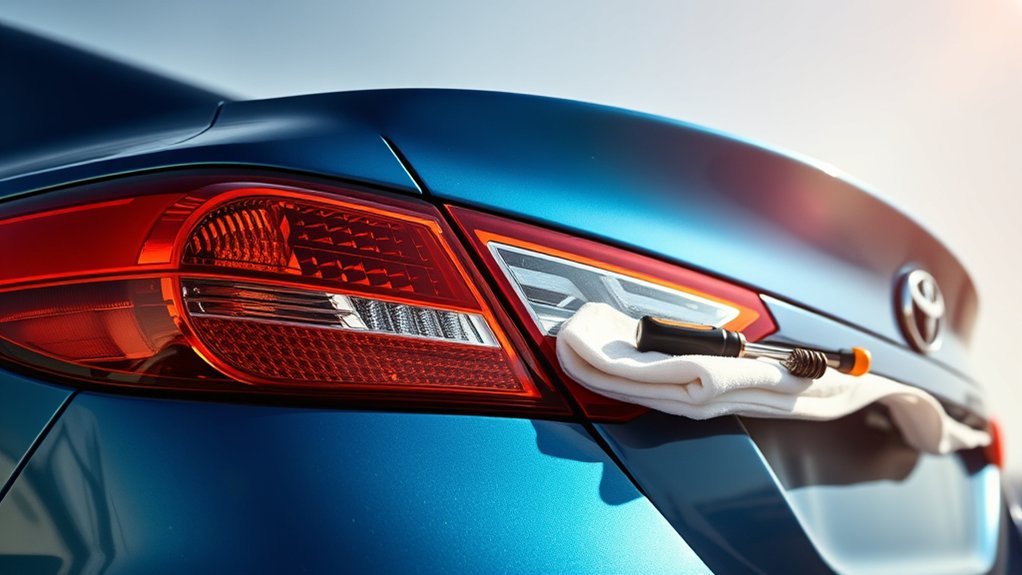
A burned-out bulb is one of the quickest fixes, but do not stop at the glass. A socket with corrosion, heat damage, loose terminals, or water inside can make a good bulb act dead.
- Turn the power off and let the bulb cool.
- Remove the bulb from the affected lamp assembly according to your owner’s manual.
- Inspect the filament if the bulb is a filament type. A broken or darkened filament usually means the bulb failed.
- Check the socket for green corrosion, melted plastic, moisture, or loose terminals.
- Install the exact bulb type listed for your model year and lamp position.
- After installation, gently wiggle the bulb base and confirm the lamp does not flicker.
Some Camry trims use LED lighting in certain positions, while others use replaceable bulbs. If your lamp is an integrated LED assembly, diagnosis may require checking power, ground, and the lamp assembly rather than simply replacing a bulb.
How to Check Fuses for Your Toyota Camry Turn Signals
If more than one signal is out, or if the hazards also fail, check the fuse next. Do not rely on a generic online diagram alone. Open the fuse-box cover and confirm the fuse name and amperage for your exact Camry, or use the official Toyota Owners manuals and warranties page.
How to Use the Toyota Owner Manual Lookup
The fastest safe lookup is to match the manual to the exact vehicle, not just the word “Camry.” Use your year, model, hybrid status, and market. If you have the VIN, use it in the Toyota owner portal when available. Then search the manual for “fuse,” “turn signal,” “hazard,” “light bulbs,” and “replacing fuses.”
- Match the manual to your exact Camry year and trim.
- Find the fuse-box diagram and note the fuse name, amperage, and box location.
- Check whether the manual separates hazard, turn-signal, gauge, ECU, or lighting circuits.
- Confirm the bulb type for the exact front or rear lamp position before replacing it.
- If the fuse-box cover and an online diagram disagree, trust the fuse-box cover or official manual.
Check Fuse Location
Most Camrys have more than one fuse box, commonly one under the hood and another inside the cabin. Depending on the year, the turn-signal or hazard circuit may be labeled HAZ, TURN, TURN&HAZ, GAUGE, ECU, or another lighting-related name. Use the printed fuse-box diagram or owner’s manual for your vehicle before pulling any fuse.
Inspect Fuse Condition
Remove the suspected fuse with a fuse puller and look through the plastic body. A broken metal bridge usually means the fuse is blown. A fuse can also look acceptable but fail under test, so a test light or multimeter is more reliable.
- With the circuit powered as directed by your repair information, touch a test light to both test points on top of the fuse.
- Power on one side only usually means the fuse is blown.
- No power on either side can point to an upstream power feed, ignition state, or control issue.
- Power on both sides means the fuse is likely not the cause.
Replace Blown Fuses
Replace a blown fuse only with the exact same amperage and physical fuse type. If the fuse-box cover says 10A, use 10A. If it says 15A, use 15A. Do not “step up” to a larger fuse to stop it from blowing; that can allow the wiring to overheat before the fuse protects the circuit.
Pro Tip: If the new fuse blows immediately, the fuse is not the real problem. Look for a shorted socket, pinched wire, water-damaged connector, trailer wiring fault, or aftermarket accessory tied into the lighting circuit.
Inspecting Wiring for Shorts or Damage
Wiring damage is common after bumper work, tail-light replacement, collision repairs, trunk leaks, or aftermarket installations. Start at the lamp that is not working and move backward through the connector, harness, and ground path.
- Look for frayed insulation, melted wires, crushed harnesses, or rub marks where wiring passes through metal panels.
- Check for loose connectors behind the tail lights, headlights, kick panels, and trunk trim.
- Inspect ground points listed in your wiring diagram. A rusty or loose ground can make a lamp dim, intermittent, or completely dead.
- Look closely at trailer-light wiring, LED bulb adapters, alarm systems, remote-start modules, and previous splice repairs.
- Use a multimeter to check voltage and continuity only when you know which circuit and terminal you are testing.
If you find melted wiring, a burning smell, repeated fuse failure, or multiple electrical systems failing at the same time, stop DIY troubleshooting and have the Camry inspected by a qualified technician.
Replacing Blown Fuses: Step-by-Step
Use this fuse replacement process only after confirming the correct fuse location and amperage for your Camry.
- Turn the vehicle off: Switch off the ignition or power switch and all lights.
- Open the correct fuse box: Use the fuse-box cover diagram or owner’s manual.
- Identify the circuit: Find the fuse labeled for the affected signal, hazard, or lighting circuit.
- Remove the fuse: Use the fuse puller or insulated needle-nose pliers.
- Inspect and test it: Look for a broken bridge and confirm with a test light or multimeter if needed.
- Install the exact replacement: Match amperage, size, and type.
- Retest the signals: Check left turn, right turn, and hazards.
If the same fuse fails again, do not keep replacing it. A repeating blown fuse usually means the circuit is overloaded or shorted to ground.
Why Your Camry Model Year Matters
Toyota Camry turn-signal wiring, fuse labels, lamp types, and control modules can vary by model year, trim, engine, hybrid system, and market. That is why a fuse chart from a different Camry can send you to the wrong fuse even when the symptom looks the same.
| Before You Replace Parts | Why It Matters |
|---|---|
| Confirm the exact model year and market | Fuse names and box locations are not universal across all Camrys. |
| Check whether the lamp uses a replaceable bulb or LED assembly | Some faults require circuit testing instead of a simple bulb swap. |
| Compare the fuse-box cover with the owner’s manual | If an online diagram disagrees, trust the vehicle label or official manual. |
| Note any recent repairs or accessories | Lighting upgrades, trailer adapters, alarms, or collision repairs can create new faults. |
Testing Your Toyota Camry Turn Signals: What to Look For?
After any repair, test the system from both inside and outside the vehicle. The dash indicator alone is not enough because the dashboard arrow can flash even when one exterior lamp is not visible.
- Turn on the left signal and check the front, side marker if equipped, rear signal, and dash indicator.
- Turn on the right signal and repeat the same walkaround check.
- Turn on the hazards and confirm all required signal lamps flash together.
- Watch for dim lamps, fast flash, irregular flash, or a lamp that cuts out when the bulb or harness is gently moved.
- Check brake lights and tail lights if the rear lamp assembly was disturbed.
A working dash arrow does not prove the outside signal is working. Always verify the exterior lamps before driving.
Troubleshooting the Flasher Unit for Toyota Camry Turn Signals
A flasher is the device or electronic function that makes turn signal lamps blink. On older vehicles, this may be a replaceable relay or flasher unit. On newer Camrys, flashing control may be integrated into a body control module, junction block, or multiplex system rather than a simple plug-in relay.
Use this approach before replacing parts:
- Confirm the bulbs and fuses are good.
- Check whether the hazards flash normally.
- Listen for abnormal clicking, no clicking, or rapid clicking.
- Use a wiring diagram to confirm whether your Camry has a replaceable flasher relay.
- If the flasher function is module-controlled, avoid guessing and use professional diagnostic equipment or service information.
If hazards work but turn signals do not, the turn signal switch or its wiring becomes more suspicious. If both systems fail, focus on shared power, ground, fuse, hazard switch, flasher/control module, or a shorted circuit.
[Products Worth Considering]

This two-piece front door lock actuator motor set is designed to restore reliable power door lock operation for a wide range of Toyota, Lexus, and Scion vehicles. It includes left driver and right passenger side actuators and is made as a direct replacement for common factory part numbers. With broad vehicle compatibility and a one-year warranty, it offers a practical solution for fixing faulty door locking issues.

These Click&Fit windshield washer nozzles are designed to replace worn or damaged sprayers on a wide range of Toyota models, helping restore reliable windshield cleaning performance. The dual spray outlets provide broad fluid coverage for improved visibility and more efficient washer fluid use. Built for easy installation, they offer a quick way to refresh your vehicle's washer system and maintain clear driving conditions.

This front windshield washer nozzles kit is designed to help restore proper spray performance for a wide range of Toyota, Lexus, and Scion vehicles. Made from durable plastic for reliable replacement use, it offers an easy way to refresh worn or damaged washer nozzles and improve windshield cleaning coverage. The kit includes two nozzles and is a practical fitment solution for many popular models and years.
How to Repair Damaged Wiring in Your Turn Signal Circuit
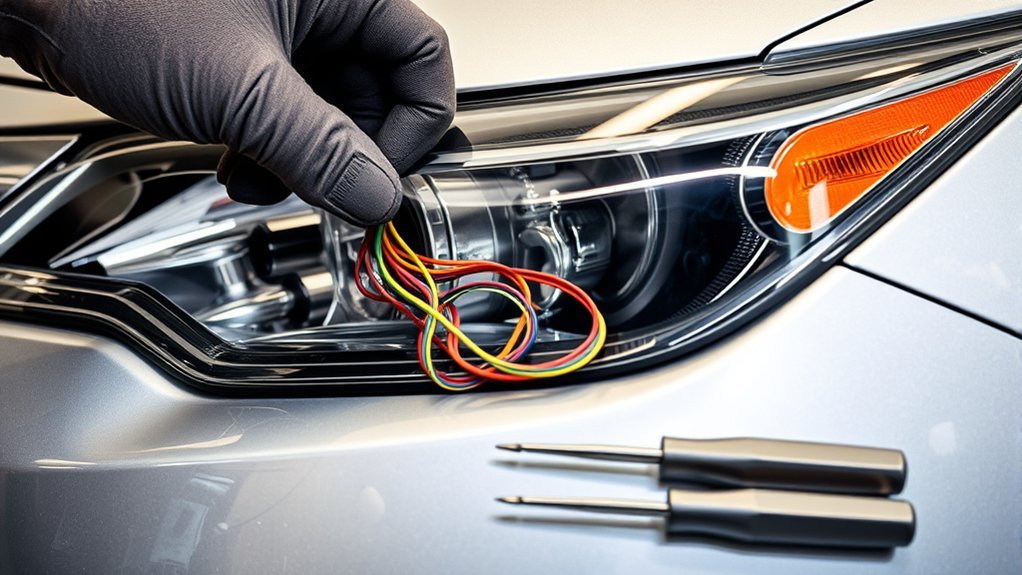
Repair wiring only after you have identified the damaged section and confirmed the circuit is powered off. A poor splice can create future resistance, heat, corrosion, or intermittent signal failure.
Identify Wiring Damage Location
Start at the non-working lamp and trace the harness. Pay close attention to areas near tail-light connectors, headlight housings, trunk hinges, bumper corners, and previous repair work.
- Check the bulb socket and connector first.
- Follow the harness for crushed, rubbed, cut, or melted insulation.
- Inspect ground wires and mounting points for rust or looseness.
- Look for water inside lamp housings and connectors.
- Review any aftermarket wiring added for trailers, alarms, lighting upgrades, or audio equipment.
Proper Splicing Techniques
If a wire must be repaired, match the wire gauge and use an automotive-grade repair method. Heat-shrink butt connectors, sealed crimp connectors, or soldered and sealed joints can work when done correctly. Bare twisted wires and household tape are not durable automotive repairs.
| Step | Description | Tools Needed |
|---|---|---|
| Strip Wire | Remove only enough insulation for the connector | Wire stripper |
| Connect Wires | Use a sealed connector sized for the wire gauge | Crimper, butt connector, heat gun |
| Seal Repair | Protect the joint from moisture and abrasion | Heat shrink, harness tape, loom |
| Test Circuit | Confirm voltage, ground, and normal flashing | Multimeter or test light |
Testing Circuit Functionality
After a wiring repair, test the repaired lamp, the opposite side, and the hazards. A good repair should restore normal brightness, normal flash speed, and stable operation when the harness is gently moved.
- Confirm the correct fuse does not blow again.
- Check voltage at the bulb socket while the signal is activated.
- Check ground continuity at the socket ground terminal.
- Move the repaired harness gently to detect intermittent faults.
- Reinstall trim and weather seals so the harness is not pinched.
Using the Correct Fuse Ratings for Your Toyota Camry
The correct fuse rating is not optional. A fuse protects wiring by opening the circuit when current becomes excessive. Using a higher-rated fuse may keep the signal working temporarily, but it can let the wiring overheat before the fuse blows.
For the safest repair, follow these rules:
- Use the amperage printed on the fuse-box cover or owner’s manual.
- Match the fuse type, not only the number.
- Replace a blown fuse once, then investigate if it fails again.
- Keep spare fuses in the glove box, but do not use them to mask a short circuit.
- Have the vehicle inspected if the fuse box is melted, wet, corroded, or loose.
Turn Signal Switch and Steering Column Issues
If bulbs, sockets, fuses, wiring, and hazards check out, the turn signal switch or multifunction switch may be the next suspect. Symptoms can include no response from one direction, intermittent operation when you move the stalk, hazards working while turn signals do not, or other steering-column functions failing at the same time.
Warning: Steering-column work can involve airbag-related components. If you are not familiar with airbag safety procedures, do not remove steering-column parts yourself.
Switch diagnosis usually requires a wiring diagram and continuity testing at the correct connector. On newer Camrys, scan-tool data may also help confirm whether the vehicle sees the turn signal stalk command.
[Products Worth Considering]
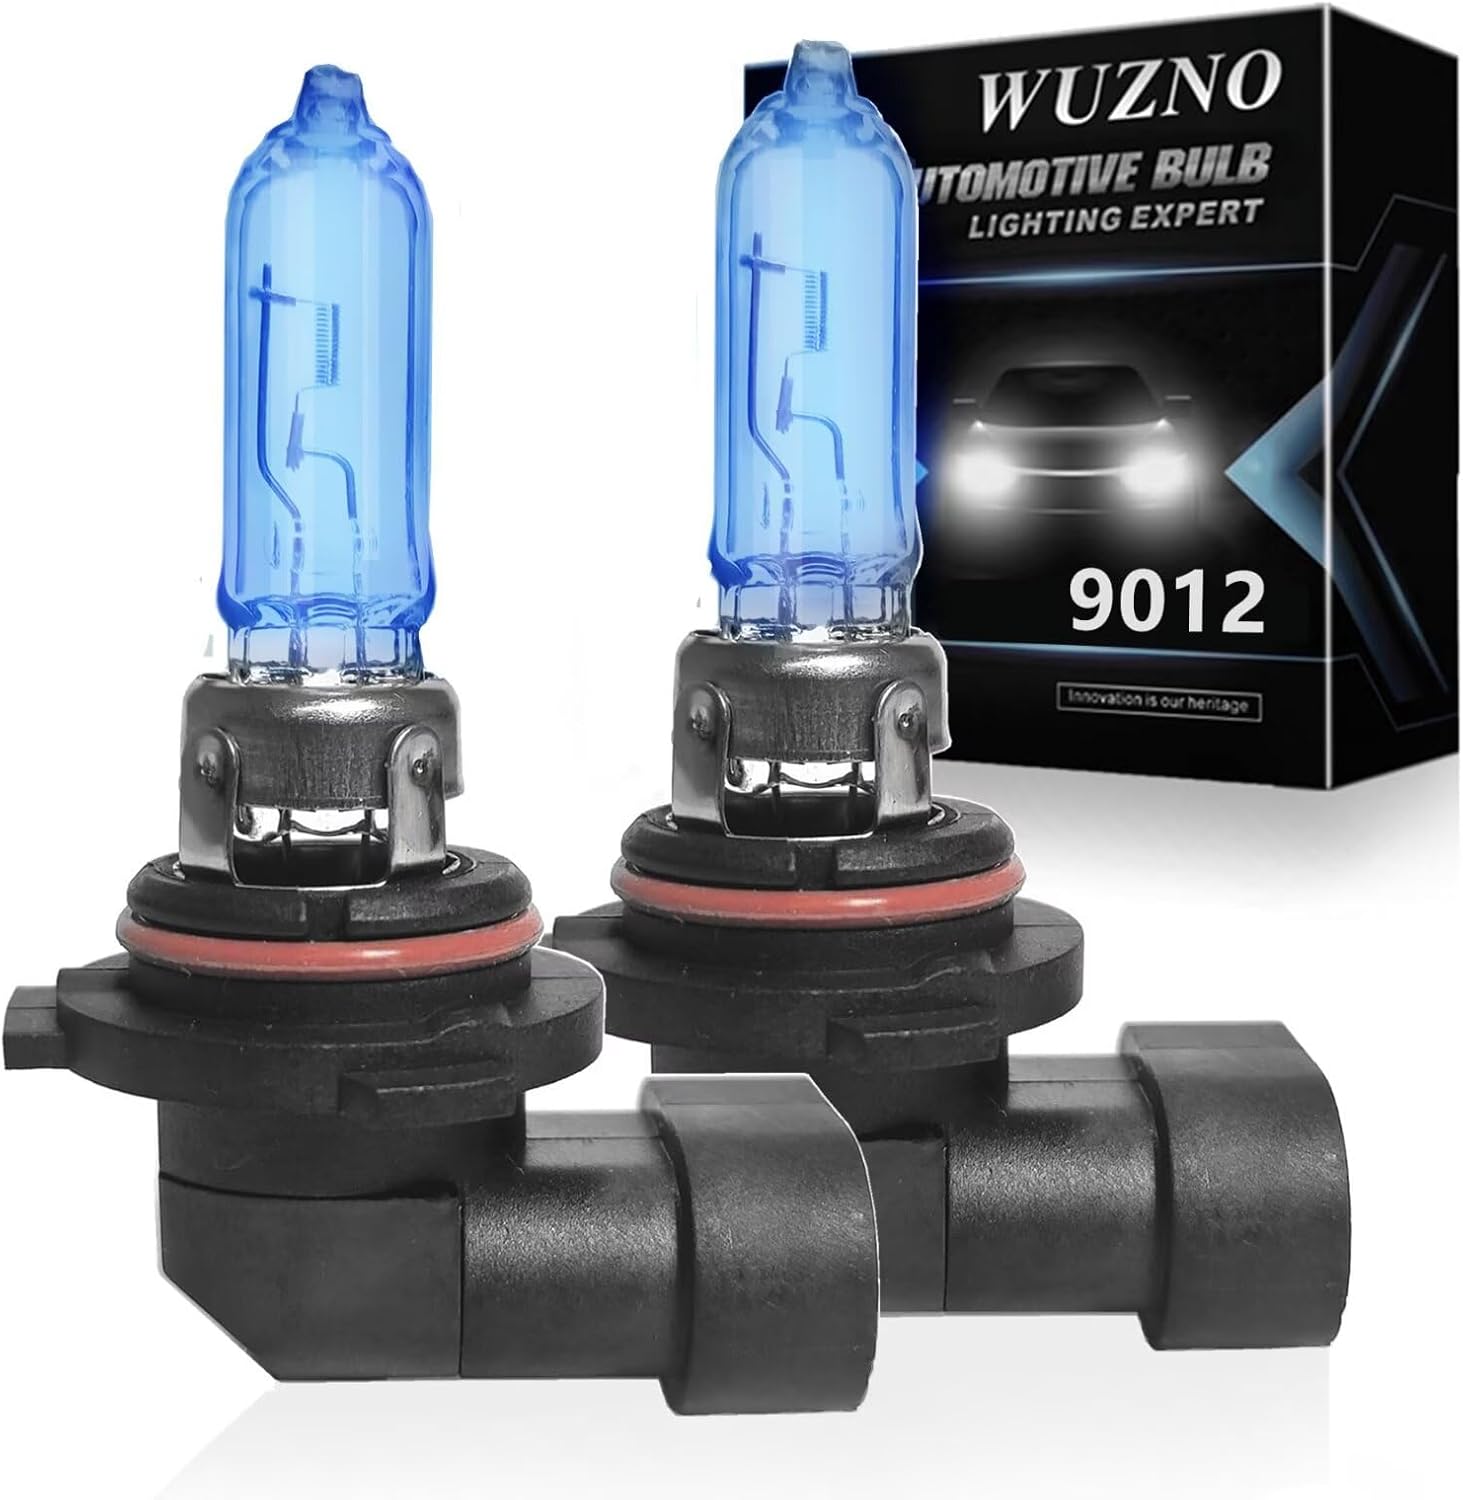
These halogen headlight bulbs are designed as a direct replacement for compatible Toyota models, offering plug-and-play installation with the same base and connector as the original bulbs. They deliver brighter, whiter light for improved visibility and a more modern look while helping reduce eye fatigue during night driving. Built for long life and reliable performance, this two-pack is ideal for restoring or upgrading your vehicle's headlight output.
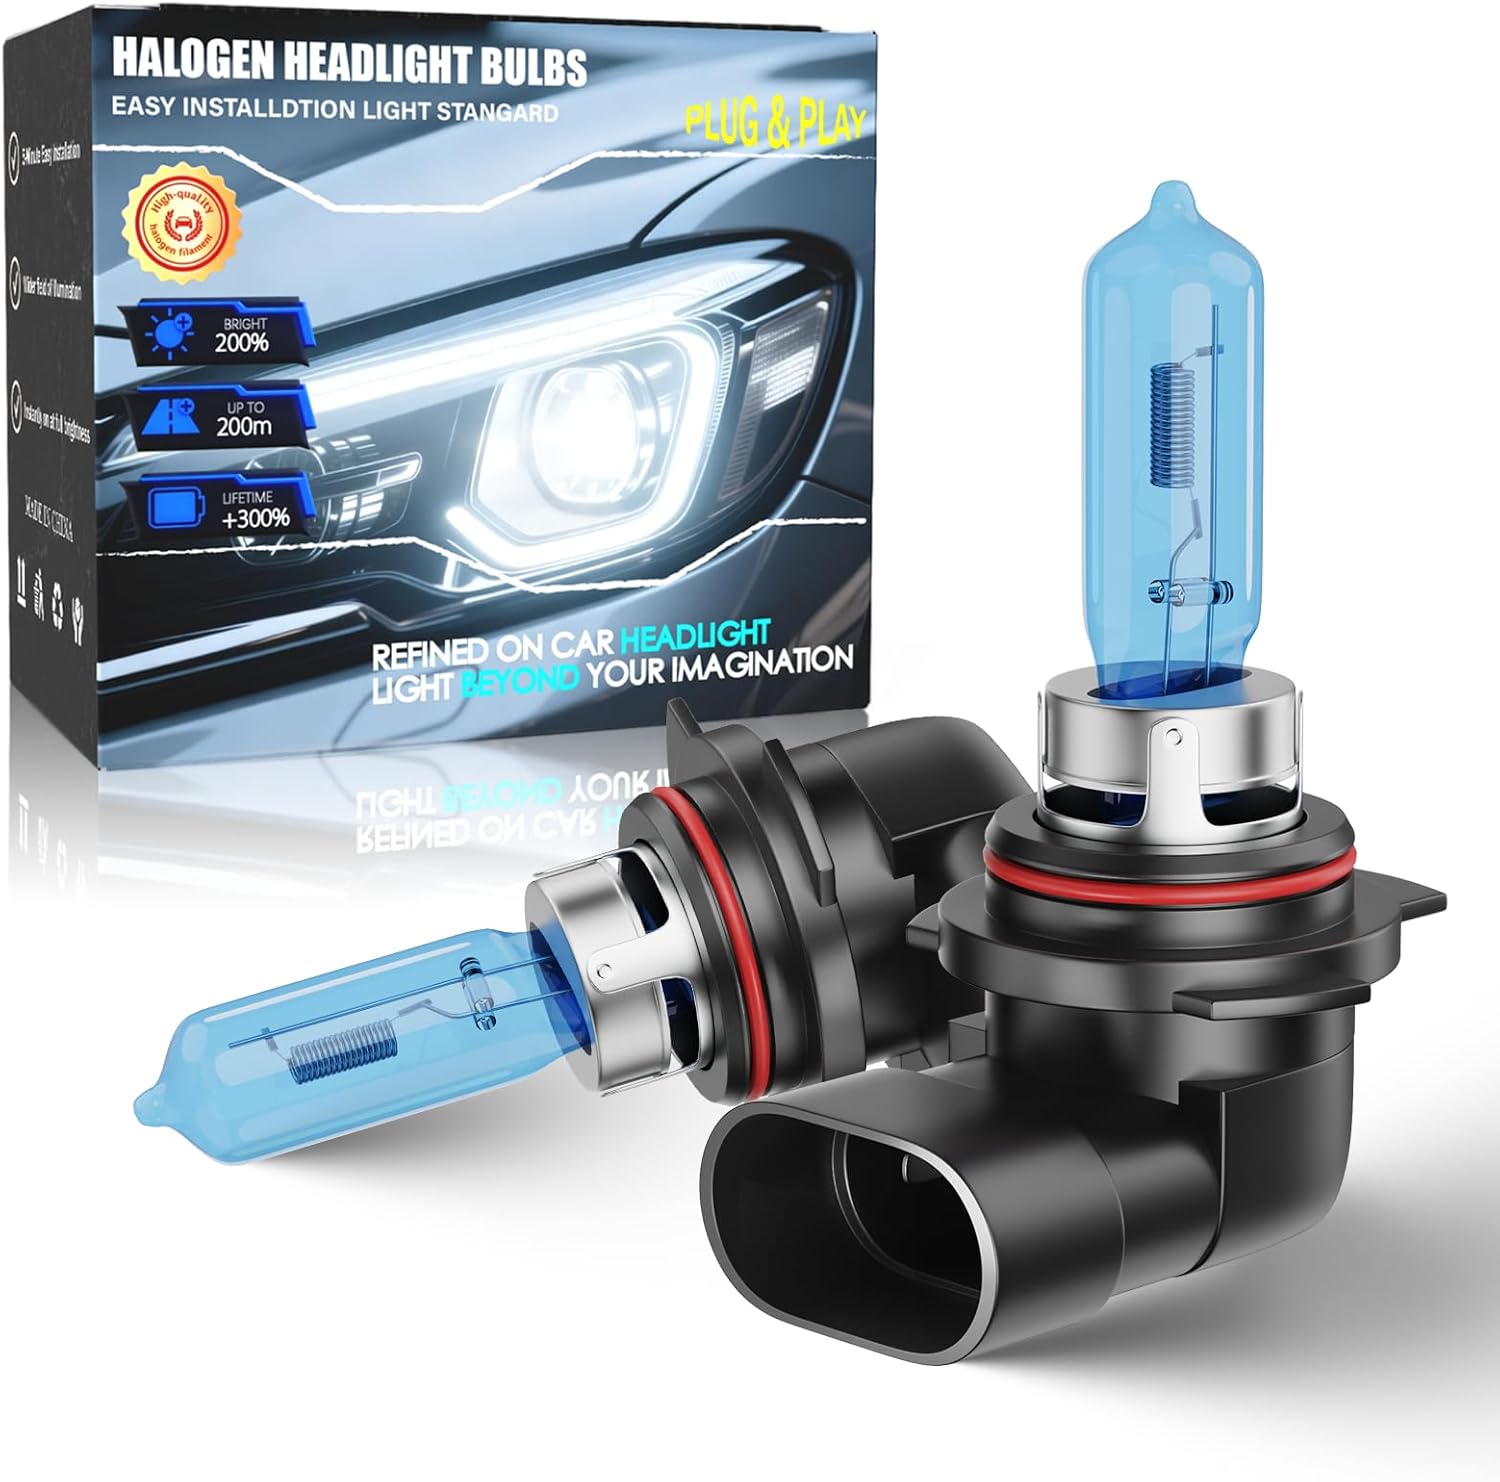
Upgrade your nighttime driving with these halogen headlight bulbs designed for 2016-2019 Toyota RAV4 models. The HIR2/9012 high and low beam combo delivers a brighter white light, a safer beam pattern, and broader road coverage for improved visibility. With plug-and-play installation and durable construction, this two-bulb set is built for a fast, hassle-free replacement.
Aftermarket LED Bulbs, Trailer Wiring, and Accessories
If the turn signal problem started after an upgrade or repair, inspect that work first. LED bulbs can change circuit load and trigger fast flashing on some systems. Trailer wiring, alarm systems, remote starters, and lighting accessories can also create shorts or backfeed power into the signal circuit.
- Reinstall the original bulb type as a test if fast flash began after an LED upgrade.
- Disconnect trailer adapters or add-on modules if the fuse started blowing after installation.
- Inspect any splice into the tail-light or turn-signal harness.
- Check for trapped wires behind new headlights, tail lights, bumper covers, or trunk trim.
What If Brake Lights, Tail Lights, or Hazards Also Fail?
If the turn signal is not the only failed light, widen the diagnosis before buying parts. A rear lamp assembly can share a ground, connector, or housing with brake lights and tail lights. A problem in that shared area can make one light look like a turn-signal failure even when the fuse and bulb are good.
- If one rear corner has several dead or dim lights, inspect the shared ground and connector at that lamp.
- If hazards work but turn signals do not, focus on the turn signal switch, switch wiring, or side-specific control path.
- If hazards and both turn signals fail together, check shared fuses, power feeds, hazard switch function, and module-controlled flasher operation.
- If the problem began after a bulb change, confirm the bulb number, socket orientation, and terminal contact.
When to Call a Mechanic
Basic bulb and fuse checks are reasonable DIY tasks. Call a professional if the diagnosis points beyond simple parts replacement.
- The new fuse blows immediately or repeatedly.
- You see melted wiring, smoke marks, or a burning smell.
- Multiple lights or electrical systems fail at once.
- The fault is inside the steering column, junction block, or body control module.
- You are working near airbag wiring or hybrid high-voltage components.
- You do not have a wiring diagram for your exact model year.
Final Tests for Complete Turn Signal Functionality
Before driving, complete one final walkaround test. This confirms the repair and helps catch loose sockets, weak grounds, or intermittent wiring.
- Test both signals: Activate the left and right turn signals separately and check the outside lamps.
- Test the hazards: Confirm all required signal lamps flash together.
- Check flash speed: The rhythm should be steady and similar on both sides.
- Inspect brightness: A dim signal can point to a poor ground or corroded socket.
- Recheck the fuse: If you replaced a fuse, make sure it has not blown again.
If everything works normally, reinstall any covers, trim panels, and fuse-box lids securely. Do not leave the fuse box open, and make sure wiring is routed away from sharp edges, hinges, and hot parts.
Frequently Asked Questions
Why is the blinker not working in my Toyota Camry?
A Camry blinker can stop working because of a burned-out bulb, corroded socket, blown fuse, damaged wiring, weak ground, faulty turn signal switch, or flasher/control-module problem. Start by checking whether the hazard lights work, then inspect the affected bulb and fuse.
What causes both turn signals to stop working?
Both turn signals can stop working because of a blown shared fuse, failed flasher function, hazard switch fault, turn signal switch fault, body control module issue, or wiring problem in a shared power or ground circuit. If the fuse blows again after replacement, suspect a short circuit.
Why does my Toyota Camry turn signal blink fast?
Fast blinking usually means the circuit load has changed. The most common causes are a burned-out bulb, wrong bulb type, loose socket contact, corroded connector, or an LED bulb conversion that does not match the original circuit load.
Which fuse controls Toyota Camry turn signals?
The exact fuse depends on the Camry year, trim, engine, hybrid system, and market. Look at the fuse-box cover or official owner’s manual for labels such as HAZ, TURN, TURN&HAZ, GAUGE, ECU, or lighting-related circuits, then replace only with the listed amperage and fuse type.
Is it safe to drive with a turn signal not working?
No. A failed turn signal makes your lane changes and turns harder for other drivers to predict. Use hand signals only as a temporary emergency measure where legal, and repair the turn signal before normal driving.
Do Toyota Camry hazards and turn signals use the same fuse?
Not always. Some Camry years separate hazard, turn-signal, gauge, ECU, or lighting circuits, while others route flashing through a control module or junction block. Use the fuse-box cover or official owner’s manual for your exact vehicle before pulling or replacing a fuse.
Can LED bulbs make a Camry turn signal blink fast?
Yes. An LED bulb can change the electrical load seen by the turn-signal circuit. If fast blinking started after an LED conversion, reinstall the original bulb type as a test or use a compatible LED solution designed for your Camry’s lighting system.
What does it mean if the hazards work but the turn signals do not?
If the hazards work but the left or right turn signal does not, the bulbs may still be good. Focus next on the turn signal switch, switch wiring, side-specific circuit, or module input for the stalk command.
How do I know if the Camry turn signal switch is bad?
A bad turn signal switch may cause one direction to stop responding, intermittent blinking when you move the stalk, hazards that work while turn signals do not, or related steering-column functions that fail. Confirm bulbs, fuses, sockets, and wiring before replacing the switch.
Conclusion
Fixing a Toyota Camry turn signal starts with a simple pattern: compare the hazards, inspect the bulbs and sockets, check the correct fuse, then move to wiring, grounds, the switch, and the flasher or control module. Before you drive, verify the outside lamps, not just the dash arrow. If a fuse keeps blowing, wiring looks damaged, or the fault points into the steering column or body-control system, stop guessing and get the circuit diagnosed properly.
Sources
- Toyota Owners Manuals and Warranties — official owner manual lookup for model-specific fuse, bulb, and maintenance information.
- Toyota 2025 Camry Hybrid: Checking and Replacing Fuses — backs up correct fuse replacement and fuse safety guidance.
- Toyota 2025 Camry Hybrid: Light Bulbs — backs up bulb replacement precautions and post-installation checks.
- 49 CFR § 571.108, FMVSS 108 — defines turn signal lamps, turn signal flashers, and hazard warning signal requirements.