Replace your Toyota Camry’s 12-volt battery when it fails a load or conductance test after a full charge, cranks slowly, needs repeated jump-starts, or has a swollen, cracked, leaking, frozen, or unusually hot case. A single accidental discharge does not prove the battery is bad. Test the battery, cables, and charging system before buying a replacement. This guide covers the 12-volt starter or auxiliary battery, not the high-voltage hybrid traction battery. For U.S.-market 2025–2026 Camrys, which use an all-hybrid powertrain, every battery-replacement step below refers only to the separate 12-volt auxiliary battery.
Editorial Team · Reviewed for accuracy · Last updated: July 31, 2026
How this guide was checked: The safety, lifespan, testing, fitment, recycling, and current-model claims were reviewed against Toyota owner materials, Toyota’s current Camry information, AAA battery guidance, U.S. EPA recycling guidance, and Battery University. This article does not claim hands-on testing across every Camry generation. [VERIFY: add the real reviewer name and relevant automotive electrical credentials]
Quick Answer
Replace the 12-volt battery if it fails a proper load or conductance test after charging, cannot hold a charge, repeatedly causes a no-start, or has physical damage. Recharge and retest after one known drain. Before purchase, match the battery to the exact model year, powertrain, case size, terminal layout, hold-down, venting or vent-tube setup, capacity, and OEM performance requirements. Do not use a gasoline-Camry fitment lookup for a 2025–2026 U.S. Camry, because those model years are hybrid-only.
Key Takeaways
- Begin regular battery testing around the three-year mark, then test before long trips or temperature extremes.
- Match the exact battery case, terminal orientation, hold-down, venting setup, capacity, and performance rating for your Camry.
- The 2025–2026 U.S. Camry is hybrid-only; this guide covers its 12-volt auxiliary battery, not the traction battery.
- Disconnect negative first, reconnect negative last, keep tools from bridging power to body metal, and return the old battery for proper recycling.
At a Glance
| Time Required | About 20–45 minutes for an accessible, straightforward 12-volt battery swap |
| Difficulty | Beginner to moderate; location, covers, venting, sensors, and initialization needs vary |
| Tools Needed | Wrench or socket set, gloves, safety glasses, terminal cleaner, multimeter or battery tester |
| Cost | Varies by model year, battery type, capacity, retailer, core charge, and labor; confirm a current VIN-specific quote |
Which Camry Battery Does This Guide Cover?
Toyota has used different 12-volt battery layouts across Camry generations. Identify the powertrain and battery location before buying parts or disconnecting anything.
| Camry Type | What the 12-Volt Battery Does | What to Confirm |
|---|---|---|
| Earlier gasoline Camry | Cranks the engine and powers accessories and control modules | Engine-bay location, year- and engine-specific fitment, terminal layout, hold-down, capacity, and charging compatibility |
| Camry Hybrid through 2024 | Powers computers, accessories, and the relays that allow the hybrid system to enter READY | Auxiliary-battery location, access covers, vent tube or vent port, terminal type, capacity, and model-specific initialization |
| 2025–2026 U.S. Camry | Serves as the 12-volt auxiliary battery in an all-hybrid vehicle | Current owner’s manual, VIN-specific Toyota parts lookup, exact battery design, venting, and post-replacement procedures |
Scope note: Hybrid traction-battery diagnosis and replacement are outside this guide. Never touch orange high-voltage cables, the service plug, inverter components, or the traction-battery assembly.
Should You Recharge, Replace, or Diagnose the Battery?
Do not replace a battery only because the Camry needed one jump-start. A battery may simply be discharged, while a charging fault, cable problem, or parasitic draw can mimic battery failure. Use the pattern below to choose the next step.
| What You Find | Best Next Step | Why |
|---|---|---|
| One known drain, then a full charge and a passing test | Recharge and monitor | The battery may be healthy, but the cause of the drain still needs attention. |
| Slow cranking, repeated jump-starts, or a failed load or conductance test | Replace after checking the charging system | A weak battery and a charging fault can create the same symptoms. |
| A new or recently charged battery repeatedly goes flat | Diagnose parasitic draw, cable resistance, and charging output | Another fault may be discharging the battery. |
| Swollen, cracked, leaking, frozen, or hot battery case | Stop DIY work and arrange safe replacement | Physical damage raises acid, gas, and short-circuit risks. |
How Do You Know When a Toyota Camry Battery Needs Replacing?
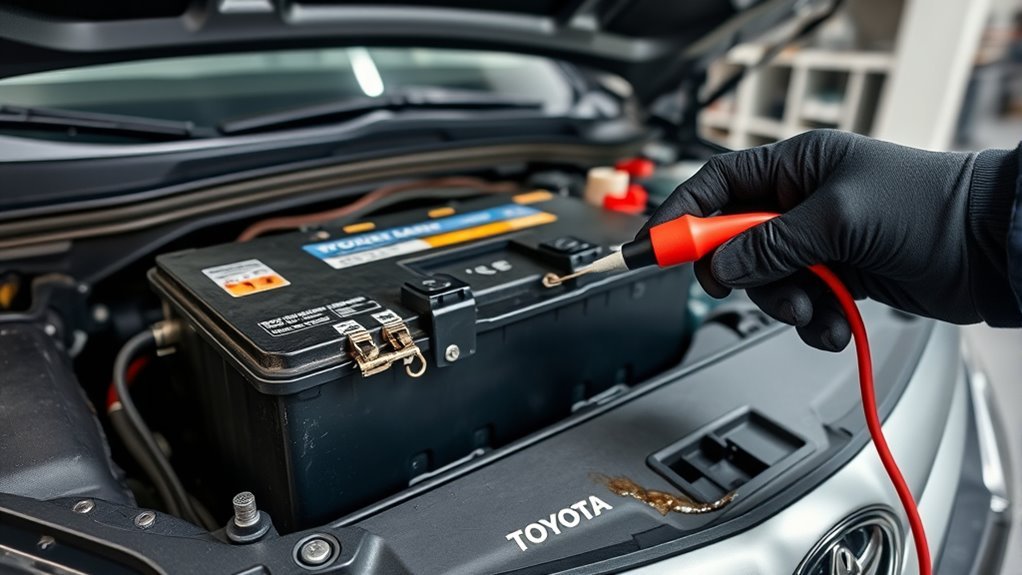
A Camry battery can weaken gradually or fail with little warning. On gasoline models, a common early sign is slow cranking: the starter turns more slowly, the engine takes longer to start, or the dashboard lights dim sharply during start-up. On a hybrid, a weak 12-volt auxiliary battery may prevent the vehicle from entering READY even though it does not crank the gasoline engine in the same way.
Watch for these replacement signs:
- Slow engine crank: The starter turns slower than normal, especially after the car sits overnight.
- Dim or flickering lights: Interior lights, headlights, or dash lights weaken when starting or using accessories.
- Battery or charging warning light: This can point to the battery, alternator, belt, wiring, or charging system, so test before replacing parts.
- Repeated jump-starts: One accidental drain may be normal; repeated jump-starts mean the battery or charging system needs diagnosis.
- Corrosion or leakage: White, blue, or green buildup around terminals can weaken the connection and may signal acid vapor or leakage.
- Swollen or cracked case: Replace the battery immediately and do not try to recharge a damaged battery.
- Age: AAA says many car batteries last about three to five years, but heat, short trips, vibration, and long storage can shorten that window. Age is a reason to test, not proof of failure.
Warning: On hybrid Camrys, do not touch orange high-voltage cables, the service plug, or the hybrid traction battery. Toyota warns that high-voltage components can cause severe injury or death. This article is only for the 12-volt battery.
How Do You Test a Camry Battery in 5 Steps?
Use this 5-step health test before replacing the battery. It helps you separate a truly weak battery from a loose connection, corrosion problem, or charging-system issue.
[Products Worth Considering]

This portable jumper cable adapter is designed for seamless compatibility with Milwaukee M18 batteries, helping you jump-start a dead or weak vehicle battery quickly and conveniently. Built with 8 AWG cables and simple clamp connections, it supports a range of vehicles including cars, SUVs, and trucks. It offers a practical, tool-battery-powered solution for emergency starting, with clear usage steps and safety guidance for dependable operation.

The ANCEL BA101 helps diagnose 12V batteries quickly with clear readings for battery health, charge level, voltage, CCA, cranking, and charging system performance. Designed for a wide range of vehicles and battery types, it offers easy-to-read results, reliable clamp connections, and built-in protection to make testing safer and more convenient.

The KONNWEI KW371 is a versatile 2-in-1 diagnostic tool that tests automotive batteries and 4/5-pin relays with fast, accurate results. It supports 6V, 12V, and 24V systems across multiple battery types, and also checks cranking and charging performance to help pinpoint battery, starter, or alternator issues. Built for mechanics and DIY users, it offers clear visual readouts, multiple language support, and convenient vehicle-powered operation with no batteries required.
Step 1: Check the Battery Case and Terminals
With the engine off, look for a cracked case, swelling, wetness, acid residue, or loose hold-down hardware. Then inspect both terminals. The battery posts and cable clamps should be tight, clean, and free of heavy corrosion.
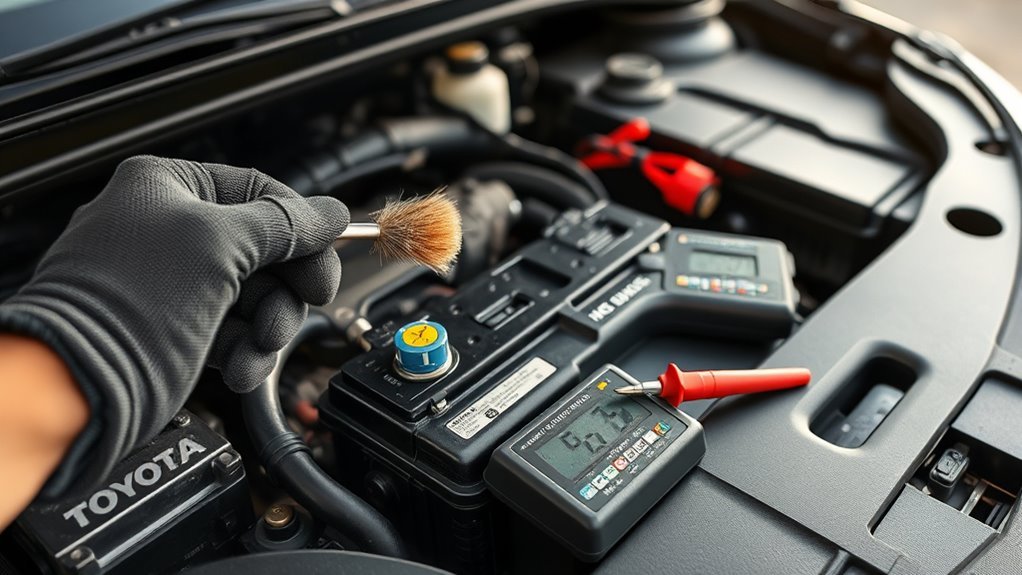
If you see light corrosion, clean it with a battery terminal brush and an approved terminal cleaner. If you see leakage, swelling, or a strong acid smell, skip cleaning and replace the battery or have it handled by a technician.
Step 2: Check the Battery Age
Most batteries have a date sticker or stamped code on the case. Once the battery is about three years old, test it regularly and record the result. Do not replace it on age alone if it remains fully charged, passes a proper test, and shows no physical damage. Before a long trip or temperature extreme, a marginal test result is a stronger replacement reason than the calendar by itself.
Step 3: Measure Resting Voltage
After the car has been off long enough for surface charge to settle, use a digital multimeter across the battery posts. A rested, fully charged 12-volt lead-acid starter battery commonly reads about 12.6 volts. Battery University’s state-of-charge guide notes that temperature, battery construction, recent charging, and vehicle loads can shift the reading. Treat readings below about 12.4 volts as a reason to charge and retest, not as proof that the battery has failed.
Note: Voltage is only a screening test. A battery can show decent voltage with no load and still fail when the starter demands high current. A load test or conductance test gives a better answer.
Step 4: Test Starting and Charging Voltage
On a gasoline Camry, watch voltage during cranking or use a tester with a starting test. A large drop can point to a weak battery, high-resistance connection, cable problem, or starter fault. With the engine running, test charging-system operation rather than relying on one universal voltage number, because regulated charging can vary by model and operating condition. On a hybrid Camry, place the vehicle in READY and follow the model-specific procedure because the DC-DC converter, not a conventional alternator, supports the 12-volt system.
Step 5: Schedule Regular Checks
Begin regular testing around the three-year mark, then repeat it during routine service, before long trips, and before seasonal temperature extremes. Follow the maintenance guidance for your exact model year. Heat accelerates internal wear, while cold weather exposes reduced available power.
Practical check: A marginal battery may start normally in mild weather but fail after cold weather or storage. Test it before a seasonal trip, not after the first no-start.
Which Battery Type and Size Fits a Toyota Camry?
When replacing a Toyota Camry 12-volt battery, do not guess by price, brand, or what “looks close.” Choose a battery that matches the model year, gasoline or hybrid powertrain, battery location, physical case, terminal layout, hold-down, venting requirements, capacity, and electrical specifications. For a year-by-year fitment discussion, see the separate Toyota Camry battery group-size guide; this page focuses on diagnosis and replacement.
[Products Worth Considering]

This automotive test light combines a bright LED voltage display with quick polarity indication for fast, accurate circuit checks in a wide range of vehicle systems. It helps diagnose battery, charging, lighting, and fuse issues with a sharp stainless probe, long spring wire, and easy-to-use alligator clip for efficient troubleshooting.
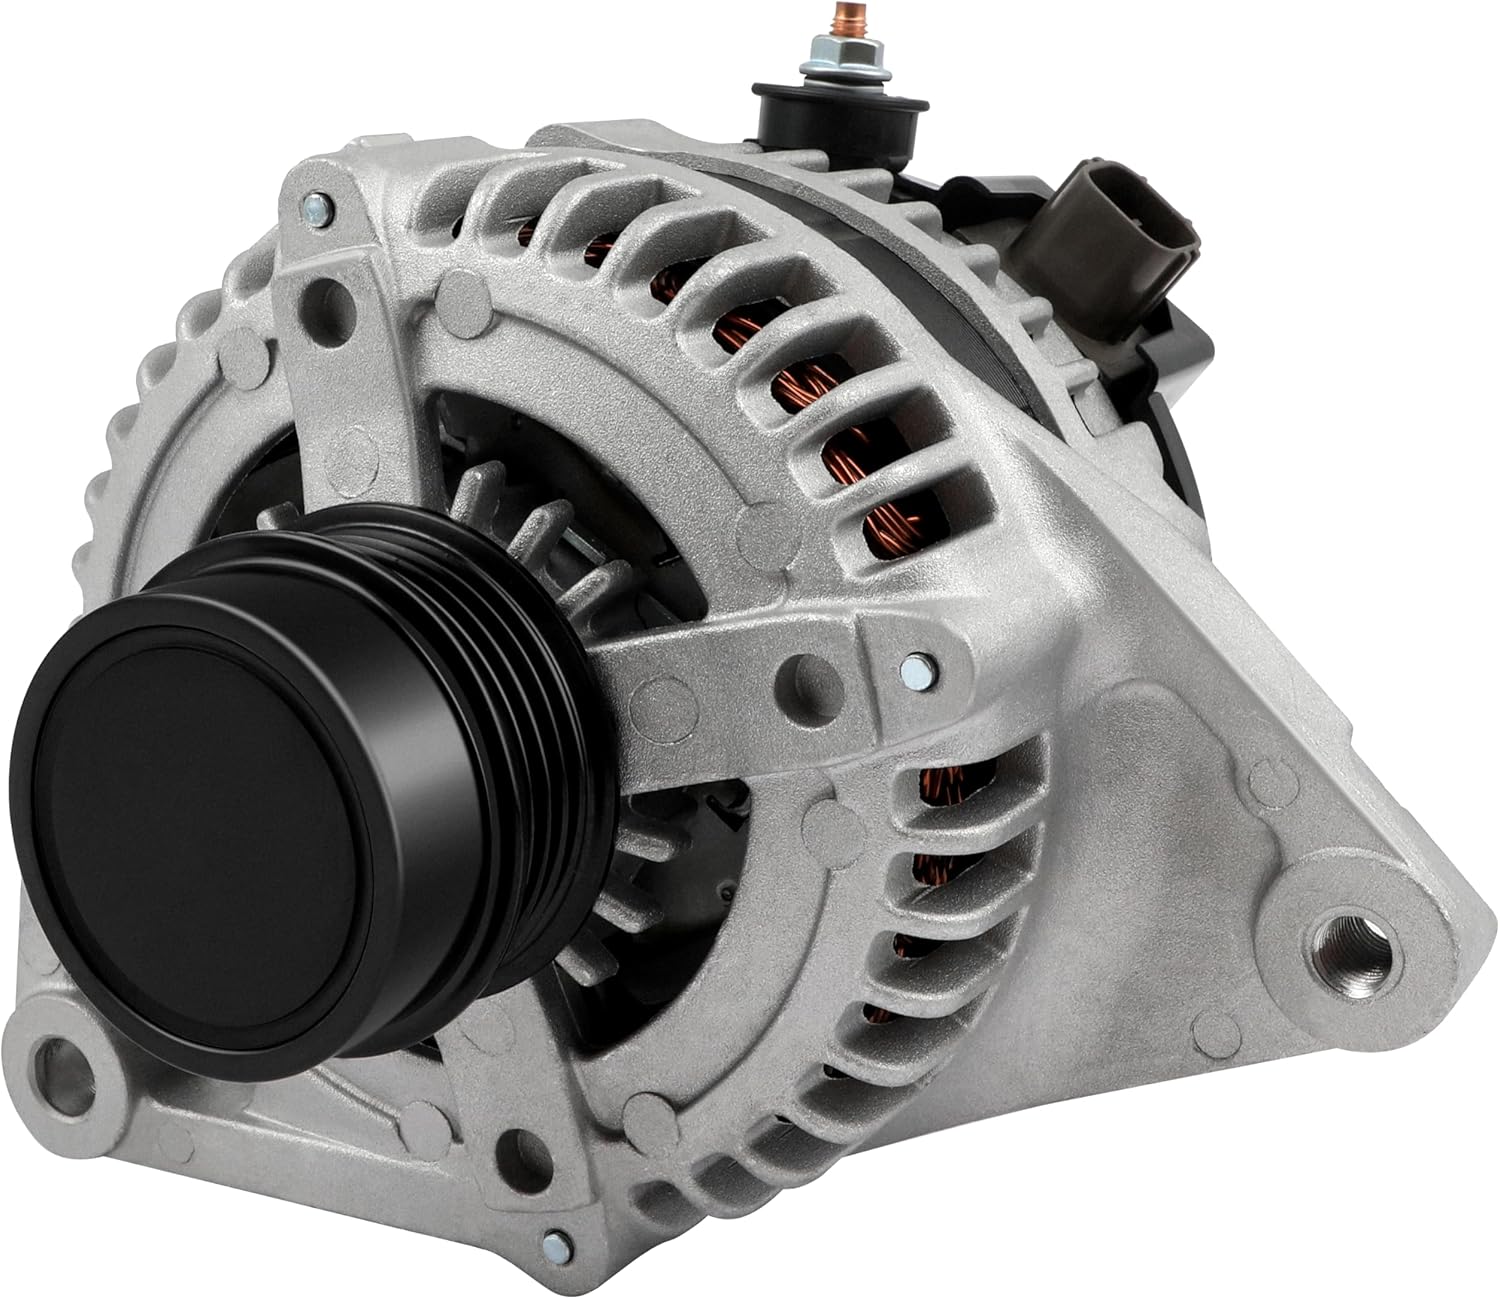
This high output alternator is designed to fit select Toyota, Scion, and RAV4 2.5L applications, delivering reliable charging performance for everyday driving. Built with a 12-volt, 100-amp design and precision-engineered components, it helps support battery recharge, stable electrical output, and consistent operation when your vehicle shows signs of charging issues.

This key fob shell is a replacement case and button pad designed to refresh worn or damaged Toyota remote housings. It fits select Camry, Corolla, RAV4, and Highlander models and installs without programming when you transfer your existing electronics and battery. It is a simple way to restore the look and function of your keyless entry remote.
Battery Type Selection
Camrys from different model years use different 12-volt battery designs. Earlier gasoline models use a starting battery. Hybrid models use a 12-volt auxiliary battery to power control systems, accessories, and the relays needed to start the hybrid system. The correct replacement may use flooded or AGM construction and may require a vent connection, depending on the year, equipment, battery location, and charging system.
Use the Toyota owner’s manual and maintenance guide, the label on the original battery, and the Toyota Genuine Parts catalog to confirm the replacement. A retailer’s generic Camry lookup is not enough when the same model year has different engines, equipment, battery locations, or powertrains.
- Conventional flooded lead-acid: Suitable only when the original equipment and charging system call for it.
- AGM: Offers strong vibration resistance and can tolerate cycling better than a basic flooded design, but it is not an automatic upgrade. Confirm charging compatibility, dimensions, terminals, and venting.
- Hybrid 12-volt auxiliary battery: Separate from the high-voltage traction battery. Match its case, terminal type, capacity, venting, sensor provisions, and location-specific requirements by VIN or owner documentation.
Pro Tip: Bring your VIN, model year, trim, engine, and current battery label when shopping. Two Camrys from different years can need different group sizes, terminal layouts, or venting setups.
Size And Specifications
There is no single battery size that fits every Toyota Camry. Group size, case dimensions, terminal orientation, post type, capacity, venting, and electrical requirements vary by model year and powertrain. A correct battery must sit flat, align with the factory hold-down, keep the cables free of strain, place the posts on the correct sides, and meet the OEM capacity and performance requirements.
Check these specs before buying:
- Group size: Many Camrys use common BCI group sizes, but the correct size varies by year and powertrain. Confirm before purchase.
- Terminal orientation: Reversed terminals can strain cables or make installation unsafe.
- Performance rating: Meet the OEM cold-cranking or other specified rating without sacrificing correct fit.
- Capacity or reserve rating: Do not install a lower-capacity battery than Toyota specifies for the exact application.
- Battery chemistry: Replace like-for-like unless Toyota documentation or qualified service information confirms another construction is compatible.
- Vent tube or vent port: If the factory setup specifies a vent tube or sealed vent connection, restore it exactly. Never leave a required vent hose disconnected.
- Warranty: Compare the free-replacement period, prorated terms, nationwide support, and proof-of-purchase requirements.
How Do You Replace a Toyota Camry 12-Volt Battery?
Replacing a Camry’s 12-volt battery can be straightforward, but the job still involves acid, high short-circuit current, heavy lifting, venting hardware, and sensitive electronics. Read the owner’s manual and model-specific service precautions first. Some Camrys require a wait after shutdown before the negative cable is disconnected, and some systems may need initialization after power is restored.
[Products Worth Considering]

This key fob cover is designed for a wide range of Toyota smart keys, helping protect your remote from scratches, dust, and everyday wear. Its upgraded one-piece construction offers a secure fit, clear button coverage, and a transparent back that keeps the vehicle logo visible while still allowing easy valet key removal.

This replacement key fob shell is designed to refresh worn or broken Toyota remote cases without changing the electronics inside. It fits select Toyota models and provides a simple, no-reprogramming solution for restoring your key’s appearance and function. The durable mixed metal and plastic construction helps protect your original internal components while the blank key can be cut by a locksmith or hardware store.

This enhanced OBD2 scanner helps drivers quickly diagnose check engine light issues, read and clear trouble codes, and check emissions readiness before a smog test. It also adds EVAP and O2 sensor testing, live data, freeze frame capture, and a one-click battery health check in a simple plug-and-play tool with a bright color screen.
Required Tools And Safety
Gather everything before you loosen the first terminal:
- Wrench or socket set: Commonly needed for terminal clamps and the hold-down bracket.
- Safety glasses and gloves: Protect your eyes and skin from acid and corrosion.
- Battery terminal cleaner: A wire brush or dedicated terminal tool restores clean contact.
- Digital multimeter or battery tester: Useful before and after replacement.
- Memory saver: Optional. Use one only if model-specific service information permits it. A memory saver keeps circuits energized, so it changes the normal electrical-isolation procedure.
- Battery lifting strap: Helpful because car batteries are heavy and awkward.
Warning: Never let a metal tool touch both battery terminals, or the positive terminal and body metal, at the same time. Keep flames, cigarettes, and sparks away from the battery because charging batteries can release explosive gas.
Step-By-Step Removal/Installation
- Park safely. Park on a flat surface, shift to Park, set the parking brake, turn the vehicle off, and remove the key or keep the smart key away from the car.
- Find the 12-volt battery. Gasoline Camrys commonly place it in the engine bay. Many earlier Camry Hybrids place the auxiliary battery behind a cover in the luggage area. Confirm the exact location and access procedure in the owner’s manual.
- Inspect the area. If the case is cracked, leaking, frozen, or swollen, do not proceed with a normal DIY swap.
- Disconnect the negative cable first. Loosen the negative clamp at the battery post and move it away so it cannot spring back. Follow any model-specific ground-disconnection instructions in the owner’s manual.
- Disconnect the positive cable. Lift the positive cover, loosen the clamp, and keep the cable from touching metal.
- Disconnect fitted venting or sensors. If the battery has a vent tube, elbow, temperature sensor, or attached connector, photograph its routing and disconnect it exactly as the model-specific instructions require. Do not pull on wiring or leave a required vent open.
- Remove the hold-down bracket. Save the hardware and note its position.
- Lift out the old battery. Keep it upright. Do not tip it, drag it across painted surfaces, or place it where it can fall.
- Clean the tray and cable ends. Remove corrosion, dry the area, and check for damaged cables or loose clamps.
- Set the new battery in place. Confirm the posts face the correct direction, the case sits flat, and the cables reach without stretching or crossing.
- Reconnect venting and sensors. Install every factory vent tube, plug, elbow, sensor, and connector in the original position before closing any battery cover.
- Reinstall the hold-down. The battery must not move, but do not guess at a torque value or overtighten the case. Use the model-specific specification.
- Connect the positive terminal first. Tighten the clamp firmly and reinstall the protective cover.
- Connect the negative terminal last. Tighten the clamp and confirm both terminals cannot rotate by hand.
- Start the Camry and check operation. Start a gasoline model or place a hybrid in READY. Verify normal operation, check for unusual warning lights, and confirm that the battery is charging according to the correct model-specific test.
What Should You Reset After Replacing a Camry Battery?
After installing the new battery, some settings or systems may need reinitialization. Do not apply one universal Camry reset or battery-registration sequence to every generation. The exact steps vary by model year and equipment, so use the owner’s manual or Toyota service information. The clock, radio presets, trip data, windows, moonroof, steering-angle-related systems, seat memory, or driver-assistance messages may be affected.
Complete this post-installation checklist:
- Confirm the battery is secure and the terminals are tight.
- Start a gasoline model or place a hybrid model in READY, then watch for abnormal warning lights.
- Reset the clock, radio presets, and infotainment settings if needed.
- Initialize auto-up/down windows or the moonroof only if your owner’s manual calls for it.
- Follow every listed model-specific initialization or calibration procedure; do not copy a reset sequence from a different Camry generation.
- If battery, charging, ABS, steering, or hybrid warnings remain, scan the vehicle for codes instead of clearing them blindly.
Do not put the old battery in household trash or a municipal recycling bin. Return a lead-acid battery to a battery retailer, service center, or local household-hazardous-waste program. The U.S. Environmental Protection Agency specifically directs consumers to use those collection channels.
How Can You Make a Camry Battery Last Longer?
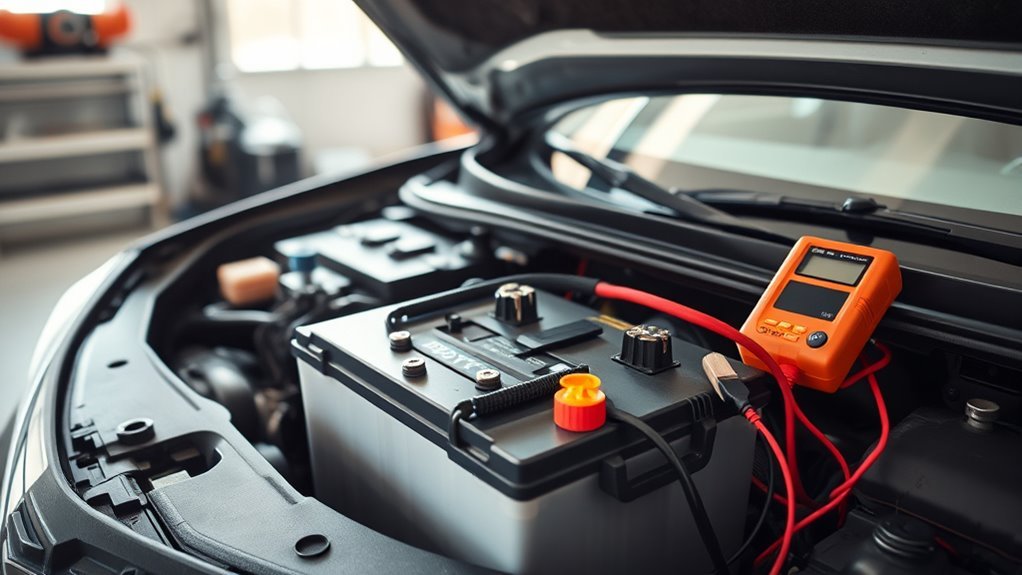
Good battery maintenance is simple: keep the terminals clean, keep the battery charged, protect it from vibration, and test it before it leaves you stranded. A Camry that only takes short trips may never fully recharge the battery, especially with lights, HVAC, heated seats, phone charging, and infotainment running.
| Task | Frequency | Purpose |
|---|---|---|
| Terminal inspection and cleaning | During routine service or when corrosion appears | Maintain strong electrical contact |
| Battery voltage check | During routine service; more often after year three | Catch undercharging early |
| Load or conductance test | Regularly after year three and whenever symptoms appear | Measure real starting ability |
| Hold-down and cable inspection | Every service visit | Prevent vibration and loose connections |
| Hybrid cooling and electrical system check | Per the model-year maintenance guide | Follow Toyota’s model-specific hybrid maintenance schedule |
How to Prevent a Camry Battery From Dying When Not in Use
If your Camry sits for days or weeks, normal key-off loads from computers, security systems, keyless entry, and connected features can slowly discharge the 12-volt battery. An abnormal parasitic draw can drain it much faster. Storage is especially hard on an older or partly charged battery.
- Use a smart maintainer that is compatible with the battery type when the car will sit for an extended period, and follow Toyota’s connection instructions.
- Park in a garage or shaded area when possible to reduce heat stress.
- Turn off lights and unplug accessories before shutting the car down.
- Drive long enough for the battery to recover; repeated five-minute trips are hard on batteries.
- If your model has proximity entry, store the key fob away from the parked car and follow the storage advice in the manual.
- Test the battery before and after long storage.
Note: Starting the car for a few minutes in the driveway is often not enough to restore a low battery. A smart maintainer is safer and more effective for storage.
What If Problems Continue After Battery Replacement?
If the Camry still has problems after a new battery, do not assume the new battery is bad. Work through the basics first.
The Camry Still Won’t Start
Recheck terminal tightness, battery post orientation, cable routing, vent or sensor connections, the hold-down bracket, and any main fuse or fusible link near the positive terminal. A clicking sound on a gasoline model may point to low voltage, bad cable contact, a starter issue, or a ground problem. On a hybrid, confirm that the vehicle reaches READY rather than listening for conventional starter cranking.
The Battery Light Stays On
A battery or charging warning light after replacement can mean the alternator, belt, wiring, fuse, sensor, or DC-DC converter needs diagnosis. Have the charging system tested instead of replacing another battery blindly.
Electronics Act Strange After Replacement
Power windows, steering angle sensors, idle speed, and infotainment settings may need initialization on some models. Check your owner’s manual for model-specific steps. If warning lights remain after a drive cycle, scan for diagnostic trouble codes.
A New Battery Keeps Dying
A recently installed battery that keeps going flat usually points to an unresolved fault. Test charging output, inspect cable voltage drop and grounds, and check for parasitic current after the vehicle has entered sleep mode. Accessories, modules that stay awake, lighting faults, or a charging-system problem can drain a healthy battery.
Corrosion Returns Quickly
Recurring corrosion can come from acid vapor, poor terminal fit, overcharging, or a leaking battery. Clean the terminals, apply proper battery-terminal protectant, and test charging voltage. Replace any damaged cable ends.
Frequently Asked Questions
What are the best practices for Camry battery maintenance?
Inspect the terminals and hold-down, keep the battery fully charged, limit repeated short trips, use a compatible maintainer during storage, and begin regular load or conductance testing around the three-year mark.
How often should I change my Camry battery?
Many 12-volt car batteries last about three to five years, but age alone does not set the replacement date. Replace the battery when it fails a proper test after charging, cannot hold a charge, repeatedly causes a no-start, or has leakage, swelling, cracking, freezing, or overheating.
How do I prevent a Toyota battery from dying when the car is not in use?
Use a smart battery maintainer, park in a moderate-temperature area, turn off lights and accessories, keep the key fob away from the car, and test the battery before long storage. If the battery is already weak, charge and test it before storing the vehicle.
Can I replace a Camry Hybrid 12-volt battery myself?
A competent DIYer may be able to replace the 12-volt auxiliary battery after confirming the location, venting, battery design, shutdown precautions, and initialization steps for the exact model year. Do not service the high-voltage traction battery, orange cables, service plug, inverter, or related hybrid components.
Do I need to reset anything after replacing a Camry battery?
Sometimes. You may need to restore settings or complete model-specific initialization for windows, a moonroof, steering-angle-related systems, cameras, or driver-assistance features. Do not assume one reset sequence fits every Camry; check the owner’s manual or Toyota service information for the exact year.
Is the battery warning light always a bad battery?
No. The battery or charging warning light can point to the battery, alternator, belt, wiring, sensor, fuse, or charging-control system. Test the battery and charging system before replacing parts.
Does a Toyota Camry battery need registration?
Do not assume every Camry requires the same battery-registration or initialization procedure. Some model years list calibration or initialization steps after the 12-volt terminal is disconnected. Follow the owner’s manual or Toyota service information for the exact year instead of using a procedure written for another brand or generation.
Where is the 12-volt battery in a Toyota Camry?
The location depends on model year and powertrain. Gasoline Camrys commonly use an engine-bay battery, while many earlier Camry Hybrids place the 12-volt auxiliary battery behind a cover in the luggage area. Confirm the exact location in the owner’s manual before removing trim or connecting a charger.
What voltage should a Toyota Camry 12-volt battery read?
A fully charged lead-acid battery commonly reads around 12.6 volts at rest after surface charge has dissipated. Temperature and battery chemistry affect the reading, and open-circuit voltage cannot prove starting capacity. Use a load or conductance test when the result matters.
Why does a new Camry battery keep dying?
A new battery can go flat because of a charging-system fault, loose or high-resistance cable connection, parasitic draw, accessory left powered, or a module that does not enter sleep mode. Test the battery, charging output, voltage drop, and key-off current before replacing the battery again.
Conclusion
Start with a battery test, not a guess. Recharge and retest after one known drain. Replace a battery that fails testing after charging, cannot hold a charge, repeatedly causes a no-start, or has physical damage. If the problem returns, diagnose the charging system, cables, grounds, and parasitic draw. Match the replacement by VIN, model year, powertrain, case, terminals, capacity, chemistry, hold-down, and venting. During installation, disconnect negative first, reconnect negative last, restore every vent and sensor connection, complete the model-specific initialization, and return the old battery for recycling.
Sources
- Toyota Owners Manuals and Warranties: model-specific owner’s manual, maintenance guide, safety, battery-location, and initialization lookup.
- Toyota 2026 Camry: current U.S. all-hybrid powertrain status.
- Toyota 2025 Camry Warranty & Maintenance Guide: separation of the 12-volt and high-voltage systems and hybrid high-voltage safety precautions.
- Toyota Genuine Parts: VIN- and model-specific replacement-parts lookup.
- AAA: How Long Do Car Batteries Last?: three-to-five-year lifespan context and the effects of heat, vibration, short trips, and storage.
- U.S. EPA: Used Household Batteries: lead-acid battery handling and return-to-retailer or hazardous-waste guidance.
- Battery University: How to Measure State of Charge: open-circuit voltage limits, resting time, temperature effects, and why voltage alone does not prove battery health.