
Last updated: July 31, 2026
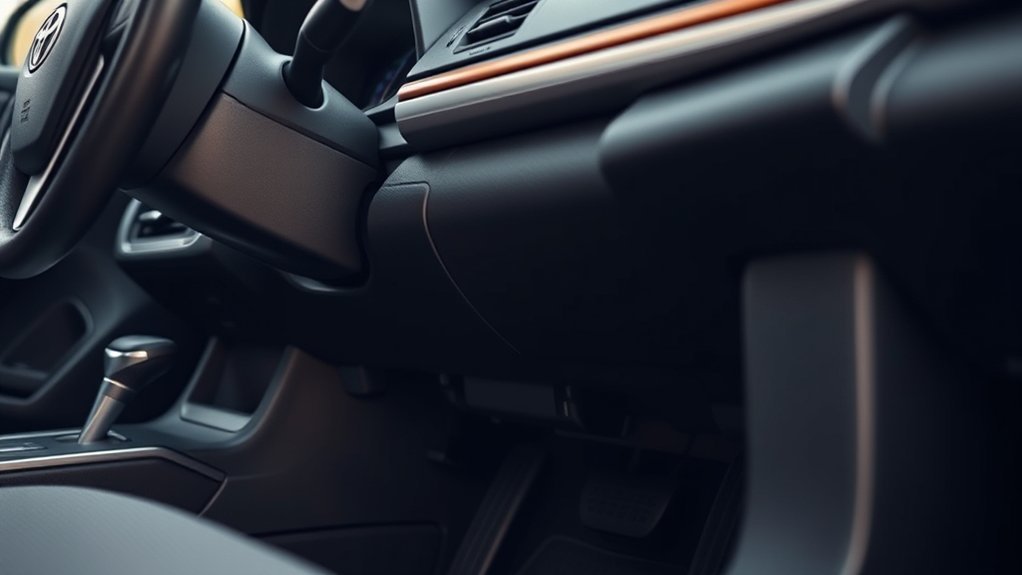
On a U.S.-market Toyota Camry from the 1996 model year onward, the OBD2 port, also called the OBD-II data link connector or DLC3, is in the driver’s footwell under the lower dashboard. Start below the steering column, then check toward the hood-release lever and above the pedals. The connector is slightly trapezoidal and has 16 terminal openings arranged in two rows of eight.
Most Camrys leave the connector exposed, but some older models may place it behind a removable coin or storage tray on the lower left side of the dash. The exact bracket angle varies by year. This guide shows the fastest search order, safe connection steps, scanner limits, and what to check when the port has no power or will not communicate.
Quick Answer
Look under the driver’s side dashboard near the lower steering column, hood-release area, and pedal box. If an older Camry has no visible socket, check behind the removable coin or storage tray on the lower left dash. Park the car and connect the scanner with the vehicle off, then use the ignition position required by the tool. A basic reader normally accesses standardized engine and emissions data. ABS, airbag, body, hybrid, and driver-assistance modules may require an enhanced Toyota-compatible scanner.
Key Takeaways
- For U.S.-market 1996-and-newer Camrys, begin under the lower driver-side dashboard near the steering column and pedals.
- If the socket is not visible on an older model, check behind the lower-left coin or storage tray.
- Look for a slightly trapezoidal connector with two rows of eight openings.
- Connect the scanner with the vehicle parked and off, then follow the tool’s ignition instructions.
- A scanner that powers on but cannot read ABS, airbag, body, or hybrid codes may lack enhanced Toyota module support.
- Save codes, freeze-frame data, and readiness status before clearing anything.
- Use the exact model-year fuse diagram if the scanner receives no power.
Toyota Camry OBD2 Port at a Glance
| Item | What to Know |
|---|---|
| Primary scope | U.S.-market Toyota Camry, model year 1996 and newer |
| Typical location | Under the lower driver-side dash near the steering column, hood-release area, and pedals; some older models may hide it behind a lower-left coin or storage tray |
| Connector | 16-pin, slightly trapezoidal OBD-II data link connector |
| Typical search time | About 2 to 5 minutes once the driver footwell is accessible |
| Connection state | Connect with the vehicle off, then use the ignition position required by the scanner |
| Basic-reader limit | Generic engine and emissions access does not guarantee access to ABS, SRS, hybrid, body, or driver-assistance modules |
Where to Find the OBD2 Port in a Toyota Camry
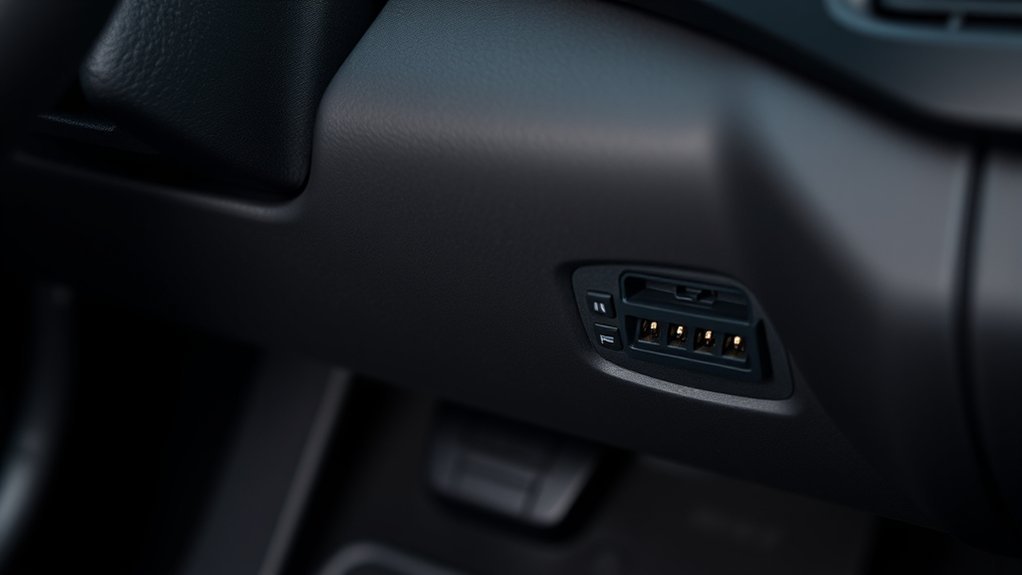
Move the driver’s seat back and look upward from the footwell. Begin below the steering column, then scan the lower dash area toward the hood-release lever and the top of the pedal box.
The OBD2 socket has two rows of eight openings in a slightly trapezoidal housing. Do not confuse it with a rectangular accessory plug, the fuse panel, or an unrelated loose wiring connector.
Many Camry models leave the socket exposed, but the bracket angle and exact position can change between generations. If you cannot see it from the seat, crouch beside the open driver’s door and shine a flashlight upward. On some older Camrys, open the small coin or storage tray on the lower left side of the dash and check behind it before removing larger trim panels.
Use This Camry OBD2 Port Search Order
| Check | Where to Look | What You Should See |
|---|---|---|
| 1 | Directly below the steering column | A fixed 16-opening socket facing down or slightly rearward |
| 2 | Toward the hood-release lever and left lower dash | The same trapezoidal socket mounted to a bracket |
| 3 | Above the brake and accelerator pedal area | A socket positioned high enough to require a flashlight |
| 4 | Behind a removable lower-left coin or storage tray on some older models | The connector near the interior fuse area |
This guide focuses on U.S.-market, left-hand-drive Camrys from 1996 onward. Earlier cars and vehicles built for other markets may use a different connector, location, or diagnostic procedure. Check the owner’s or service manual for your exact vehicle when the layout does not match.
If another plug, short extension, tracker, or telematics device is already attached, do not pull on its wiring. Identify the device before disconnecting it, especially if it belongs to an insurer, fleet operator, dealer, or security system.
Before You Begin
Estimated time: 2 to 5 minutes.
You only need a few basic items to locate the connector and run a preliminary scan. Confirm that the tool supports your Camry’s model year and the systems you need to inspect.
- A compatible OBD2 scanner, code reader, or Bluetooth adapter
- A small flashlight
- A clean, dry cloth or soft non-metal brush
- Your Camry owner’s manual and fuse diagram
- The scanner manufacturer’s instructions or app
Warning: Don’t force the scanner plug, insert metal tools into the socket, or drive with a cable hanging near the brake or accelerator pedal. Bent pins, short circuits, or pedal interference can create a more serious problem than the original warning light.
How Do You Find and Connect to the Camry OBD2 Port?
Follow these steps in order. The ignition position required for reading codes can vary by tool, so use the scanner instructions after the connector is seated.
- Park safely. Stop on level ground, shift to Park, and set the parking brake.
- Turn off the vehicle. Shut down the engine or hybrid system before connecting the tool.
- Move the seat back. Give yourself enough room to look into the driver footwell without pressing a pedal.
- Look below the driver’s dash. Check the lower steering-column area, hood-release area, and space above the pedals.
- Identify the 16-pin connector. Look for the slightly trapezoidal housing with two rows of eight openings.
- Inspect the socket. Stop if you see bent pins, broken plastic, corrosion, burnt marks, or loose wiring.
- Connect the OBD2 tool. Match the plug orientation and apply straight, gentle pressure until it seats securely.
- Switch the ignition as directed. Many basic scans use the ON position with the engine off. Live-data tests may require the engine or hybrid system to run.
- Read and save the results. Record stored, pending, and permanent codes, available freeze-frame data, and readiness-monitor status before clearing or disconnecting anything.
Here’s a quick reference:
| Step | Action | Notes |
|---|---|---|
| 1 | Turn off the vehicle | Connect the tool before changing the ignition position |
| 2 | Locate the socket below the dash | Use a flashlight and a low viewing angle |
| 3 | Inspect and connect the tool | Stop if the socket or pins look damaged |
| 4 | Switch the ignition as directed | Follow the scanner manufacturer’s procedure |
| 5 | Save the scan results | Record codes, freeze-frame data, and readiness status before clearing |
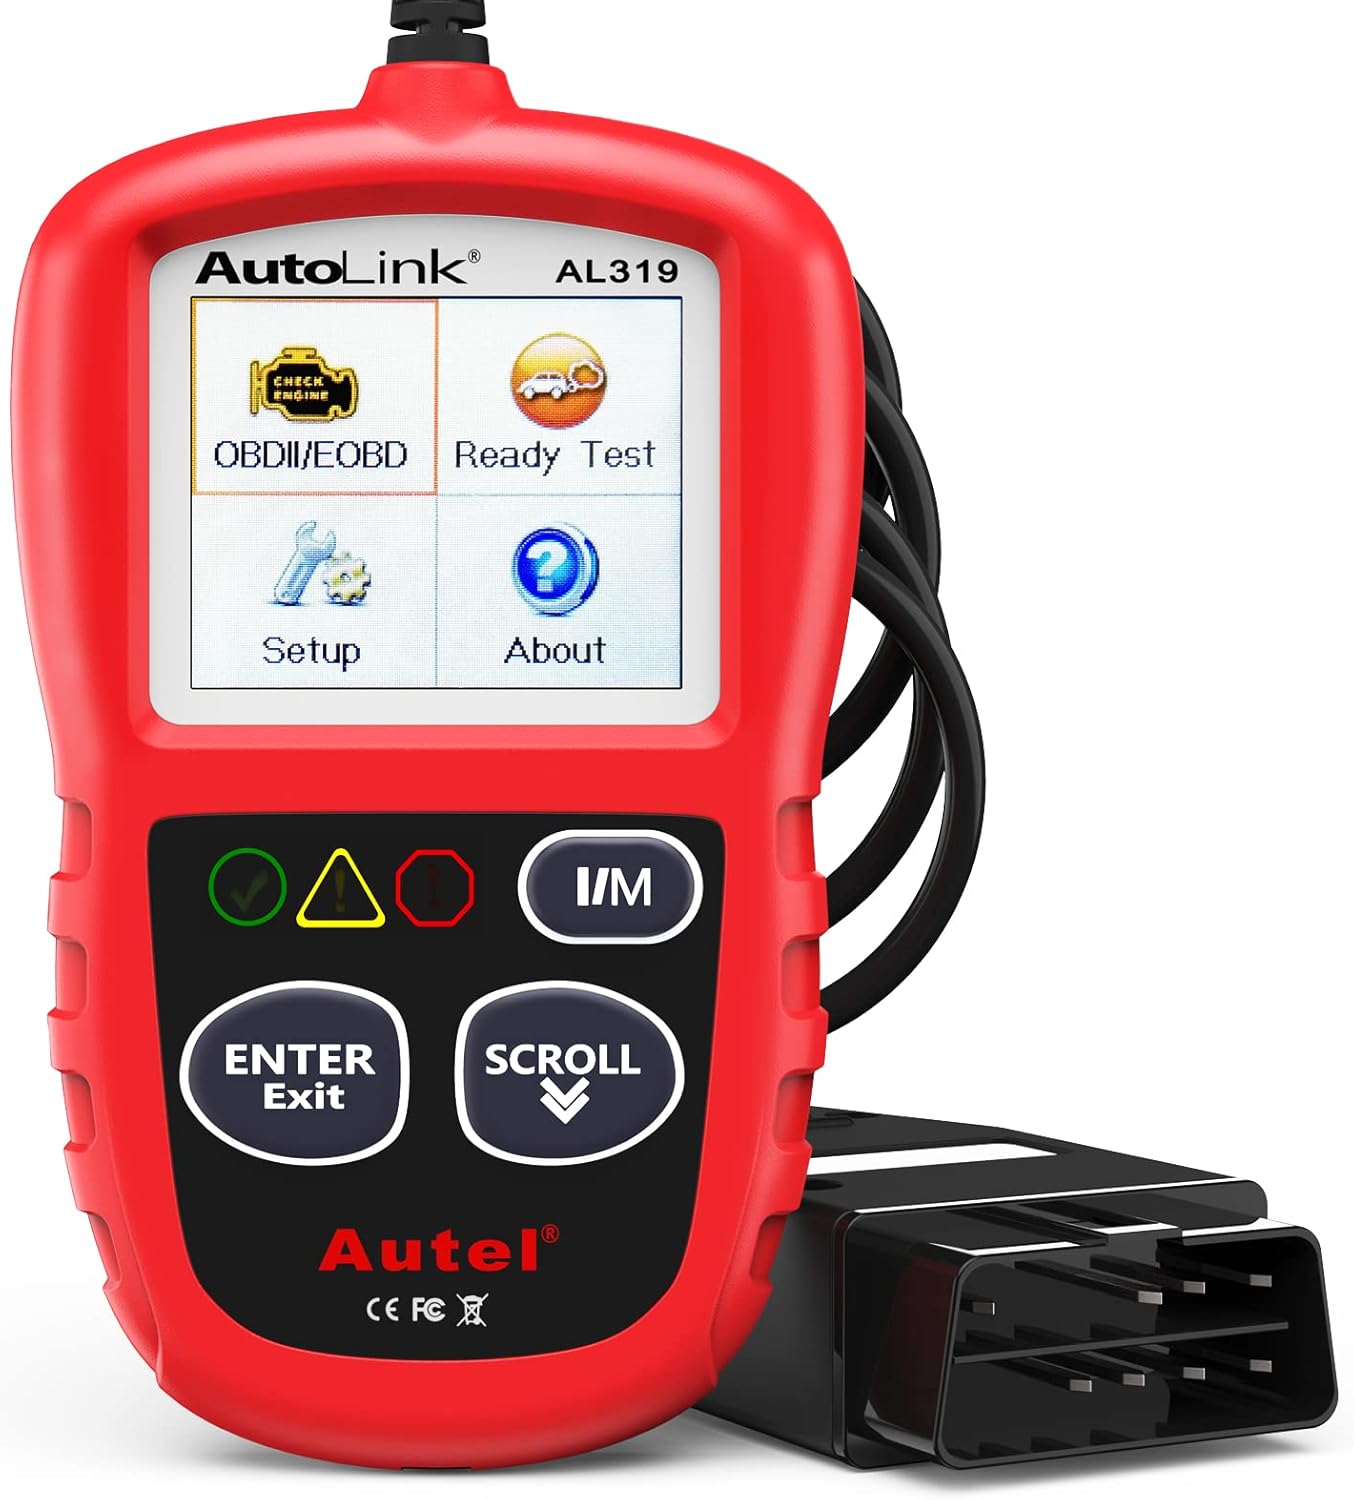
Once you know the location, future checks should take only a few seconds. You can use the connector to investigate a check engine light, review emissions readiness, or collect basic live data.
[Products Worth Considering]

FOXWELL NT201 is an easy-to-use OBD2 scanner designed to help drivers quickly read and clear check engine codes, view live engine data, and check emissions readiness. Its color screen, one-key I/M readiness test, and broad compatibility with most gasoline vehicles since 1996 make it a practical tool for everyday diagnostics and maintenance. With plug-and-play operation and lifetime free updates, it offers a simple way to understand vehicle issues without expensive shop visits.

The FOXWELL NT301 is a plug-and-play OBD2 code reader designed to help drivers and home mechanics diagnose check engine light issues with ease. It reads fault codes, clears emissions-related warnings, displays live sensor data in graph form, and shows I/M readiness so you can quickly check vehicle status before an emissions test. With broad compatibility across many OBD2 vehicles and a clear color screen, it offers a practical, user-friendly way to monitor and troubleshoot engine performance.

The BLCKTEC 440 Bluetooth OBD2 scanner helps drivers and DIY mechanics quickly read and clear trouble codes, monitor live data, and check emissions readiness with confidence. Its color display, graphing capabilities, and battery and charging system testing make it a versatile diagnostic tool for OBD-compliant vehicles. Designed for plug-and-play convenience, it runs directly from your vehicle and includes support for report sharing and ongoing updates.
Why Does the OBD2 Port Matter?
The OBD2 port connects a diagnostic tool to your Camry’s onboard diagnostic system. A compatible tool can retrieve diagnostic trouble codes, display emissions-monitor status, show available freeze-frame information, and report supported live data such as engine speed or coolant temperature.
A code identifies the system that detected a fault. It does not automatically prove that a named part has failed. Save the complete code number and use service information, circuit tests, or professional diagnosis before replacing parts.
U.S.-market passenger cars and light-duty trucks use standardized OBD-II diagnostics from the 1996 model year onward. An earlier Camry may have a different Toyota diagnostic connector and may not work with a standard 16-pin OBD2 reader.
Pro tip: Photograph or write down stored, pending, and permanent codes before clearing them. Erasing ordinary codes can remove useful diagnostic context and reset emissions readiness status.
What Can a Basic OBD2 Scanner Read on a Camry?
A basic or generic OBD2 reader normally focuses on standardized engine and emissions information. It may read and clear many powertrain codes, display readiness monitors, and show a limited set of live parameters.
That does not mean it can communicate with every computer in the car. ABS, airbag or SRS, body-control, climate, electronic parking-brake, transmission, hybrid, pre-collision, and other Toyota-specific modules may require an enhanced scanner with explicit Toyota coverage. Toyota Techstream provides factory-level diagnostic support for North American Toyota vehicles using the DLC3/J1962 connector.
If the reader shows engine data but cannot access another system, the port may be working correctly. Check the tool’s supported-system list before diagnosing a bad connector. See the site’s OBD2 scanner versus code reader guide for a fuller explanation of tool capabilities.
[Products Worth Considering]

BlueDriver Pro turns your phone or tablet into a powerful vehicle diagnostic scanner with wireless Bluetooth connectivity and no subscription fees. It reads and clears enhanced trouble codes for systems like ABS, SRS, Airbag, TPMS, and Transmission, while also providing technician-verified repair reports, live data, freeze frame views, smog readiness checks, and Mode 6 test results. Built for broad coverage on gas vehicles sold in North America, it offers professional-grade diagnostics with easy setup and 24/7 North American support.

The ANCEL AD410 helps drivers quickly read and clear engine-related fault codes, view live data, and understand why the check engine light is on before heading to a repair shop. With built-in code definitions, readiness checks, and support for common OBD2 functions, it makes basic diagnostics straightforward for beginners and DIY users. Powered directly from the vehicle and easy to use with no app required, it offers practical value for everyday vehicle troubleshooting.

The OBDMATE OM901 is a handheld car diagnostic scanner designed to read and clear fault codes across ABS, SRS, engine, and transmission systems. It also offers full OBD2 functions like live data, freeze frame, I/M readiness, VIN retrieval, O2 sensor testing, EVAP testing, and onboard monitoring, making it useful for quick troubleshooting and emissions checks. With a large screen, battery voltage monitoring, DLC pin testing, and a protective carrying case, it is a practical tool for DIY drivers and professionals alike.
Common OBD2 Port Issues and How to Fix Them
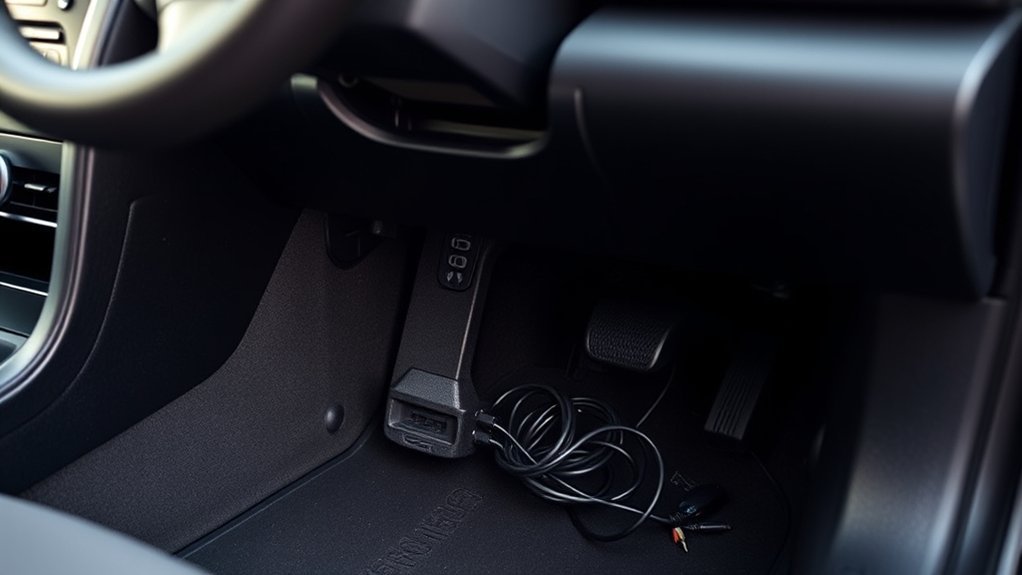
First determine whether the scanner is completely unpowered, powered but unable to communicate, or connected to the engine computer but unable to reach a specific module. Those three outcomes separate a likely power or ground problem from a communication problem or a scanner-coverage limitation.
| Symptom | Likely Area to Check | Next Step |
|---|---|---|
| Scanner screen stays off | Tool power, socket power, related fuse, damaged power or ground circuit | Check the exact model-year fuse diagram and test the scanner on another compatible vehicle |
| Scanner powers on but will not connect | Ignition position, tool compatibility, connector pins, communication wiring | Switch the ignition to ON as directed, inspect the pins, and try another compatible tool |
| Engine data works but ABS, SRS, or hybrid data does not | Scanner feature limitation | Use an enhanced Toyota-compatible scanner or Toyota Techstream |
| Connection drops when the cable moves | Loose socket bracket, worn plug, damaged cable, poor pin contact | Stop moving the cable and have the connector or tool inspected |
| A replacement fuse blows again | Electrical short or damaged accessory connected to the circuit | Stop replacing fuses and arrange circuit diagnosis |
Electrical note: On the standardized 16-pin connector, pin 16 supplies scan-tool power and pins 4 and 5 are grounds. Do not probe terminals unless you can identify the pin numbers correctly and follow the wiring diagram for your exact Camry. A mistaken jumper or metal probe can short a circuit.
- No power to the scanner: Confirm that the tool normally receives vehicle power. Use the owner’s manual to identify the correct fuse for your exact model year, and replace it only with the same amperage.
- Loose connection: Remove the plug, inspect both connectors, and reconnect it straight without twisting.
- Dirt or light debris: With the vehicle off, use a soft non-metal brush or carefully directed low-pressure air. Do not spray cleaner into the socket.
- Bent, recessed, or corroded pins: Stop using the connector until a qualified technician inspects it.
- Scanner compatibility problem: Verify the model year, communication support, and required module coverage.
- Aftermarket device already connected: Identify the device and its wiring before removing it.
If the check engine light is on and two known-compatible scanners cannot communicate, the fault may involve port power, ground, communication wiring, or a control module. A qualified technician can test connector voltage, grounds, network activity, and wiring continuity without replacing parts by guesswork.
[Products Worth Considering]

Turn your iPhone, Android device, or Windows PC into a professional-grade diagnostic scan tool with this Bluetooth OBD2 adapter. It is designed for broad vehicle compatibility and supports popular apps for deeper diagnostics, live data, and code clearing. Built-in protections and firmware updates help keep your vehicle and scanner safe while delivering reliable performance.

The BLCKTEC 460T is a professional-level OBD2 diagnostic scanner designed for home mechanics and repair shops that need broad vehicle coverage and advanced service functions. It reads and clears engine, ABS, SRS, and transmission codes, performs all-system diagnostics, supports live data graphing, and includes popular reset services such as oil, TPMS, EPB, BMS, SAS, DPF, and throttle relearn. With AutoVIN, AutoScan, free lifetime updates, and RepairSolutions2 app integration, it helps simplify troubleshooting and maintenance for many OBD2-compliant vehicles.

Veepeak OBDCheck BLE is a Bluetooth LE OBD-II scanner designed to read and clear check engine codes, view live sensor data, and access freeze frame and readiness information through a compatible third-party app. It works with most 1996+ gas vehicles and many light trucks for standard diagnostics, with broader features depending on the app and vehicle support. This compact adapter is built for iOS and Android users who want a simple wireless way to monitor vehicle health without WiFi pairing.
How Should You Care for the OBD2 Port?
Keep the driver footwell dry and free from loose objects that can strike the connector. Do not hang bags, cables, or accessories from a scanner that remains attached under the dash.
Disconnect the tool by holding its plug rather than pulling the cable. Avoid liquids, metal picks, and aggressive compressed air around the terminals.
If a Bluetooth adapter or tracking device is designed to remain connected, follow its manufacturer’s instructions. Remove temporary scan tools when the diagnostic work is complete, especially when their position or cable could interfere with the pedals.
When Should You Get Professional Help?
Stop and get professional help if you see broken plastic, burnt marks, green or white corrosion, loose wiring, recessed terminals, or bent pins. Do not attempt to straighten powered terminals with a metal object.
You should also arrange diagnosis when a correct replacement fuse blows again, multiple compatible scanners fail to communicate, or the connection drops whenever the plug moves.
If a generic scanner reads engine data but misses ABS, airbag, hybrid, body, or driver-assistance faults, ask whether the shop can perform a full Toyota module scan before authorizing repairs.
Once the port communicates, use the site’s Toyota Camry OBD-II codes guide to interpret code types, freeze-frame data, and common Camry fault categories before replacing parts.
Frequently Asked Questions
Where Is the OBD2 Port on a Toyota Camry?
On a U.S.-market 1996-and-newer Camry, look under the lower driver-side dashboard near the steering column, hood-release area, and pedals. If an older model has no visible socket, check behind the removable coin or storage tray on the lower left dash.
Do All Toyota Camrys Have an OBD2 Port?
U.S.-market Camrys from the 1996 model year onward use the standardized OBD-II connection. Earlier Camrys may use a different Toyota diagnostic connector and procedure, so check the service information for the exact year.
Does a Toyota Camry OBD2 Port Have a Cover?
Many Camry models leave the connector exposed under the lower dash. Some older models may place it behind a removable coin or storage tray, and its bracket may sit high or at an angle. Use a flashlight before removing larger trim panels.
Can I Plug in an OBD2 Scanner While the Car Is Running?
Connect the scanner while the vehicle is parked and off unless the tool manufacturer gives a different procedure. After the plug is seated, switch the ignition to the required position. Start the engine or hybrid system only when the test or live-data procedure requires it.
Why Is My OBD2 Scanner Not Reading My Camry?
If the scanner has no power, check the tool, socket, and exact model-year fuse diagram. If it powers on but cannot communicate, confirm the ignition position, inspect the connector pins, and verify vehicle compatibility. Test another known-compatible scanner before blaming the port.
Can a Basic Scanner Read Camry ABS, Airbag, or Hybrid Codes?
Not always. A basic reader usually focuses on standardized engine and emissions information. ABS, SRS, body, hybrid, transmission, and driver-assistance modules may require an enhanced Toyota-compatible scanner or Toyota Techstream.
What Happens if I Clear the OBD2 Codes?
Clearing ordinary codes can erase useful diagnostic context and reset emissions readiness monitors. Permanent diagnostic trouble codes cannot normally be erased with the scanner alone. They remain until the vehicle confirms through its self-tests that the underlying fault has been repaired.
Should I Clear Camry OBD2 Codes Before an Emissions Test?
No. Clearing codes or disconnecting the battery can reset readiness monitors to incomplete. Repair the fault, save the diagnostic information, and allow the vehicle to complete the required self-tests before an emissions inspection.
Conclusion
For a U.S.-market 1996-and-newer Toyota Camry, start under the lower driver-side dashboard near the steering column and pedals. If an older model has no visible socket, check behind the lower-left coin or storage tray. Identify the 16-opening trapezoidal connector, inspect it for damage, and plug in the scanner with the vehicle off.
Save stored, pending, and permanent codes, freeze-frame data, and readiness status before clearing anything. If the tool has no power, use the correct model-year fuse diagram. If it reads the engine but not another module, confirm that the scanner supports enhanced Toyota diagnostics before assuming the port has failed.
Stop using the connector and seek professional help if you find damaged pins, burnt wiring, corrosion, a loose socket, or a fuse that repeatedly blows.
References
- Toyota Manuals and Warranties — Owner’s manuals and vehicle-specific operating information.
- Toyota Techstream Lite — Toyota DLC3/J1962 diagnostic support information.
- U.S. EPA On-Board Diagnostic Regulations and Requirements — OBD system purpose and regulatory background.
- California Bureau of Automotive Repair OBD Test Reference — Readiness-monitor and OBD inspection guidance.
- SAE J1962 Diagnostic Connector — Connector design, contact allocation, and electrical requirements.


[…] the data-link connector and ECM power feeds before focusing on the pump. See the site’s Toyota Camry OBD-II port and communication guide for that branch. For key-recognition symptoms, use the Camry smart-key diagnosis […]
[…] Start with the car parked safely, the transmission in Park, and the parking brake set. Locate the Toyota Camry OBD2 port location guide for exact placement by model year, plug in the scanner, and turn the ignition to the ON position. […]