
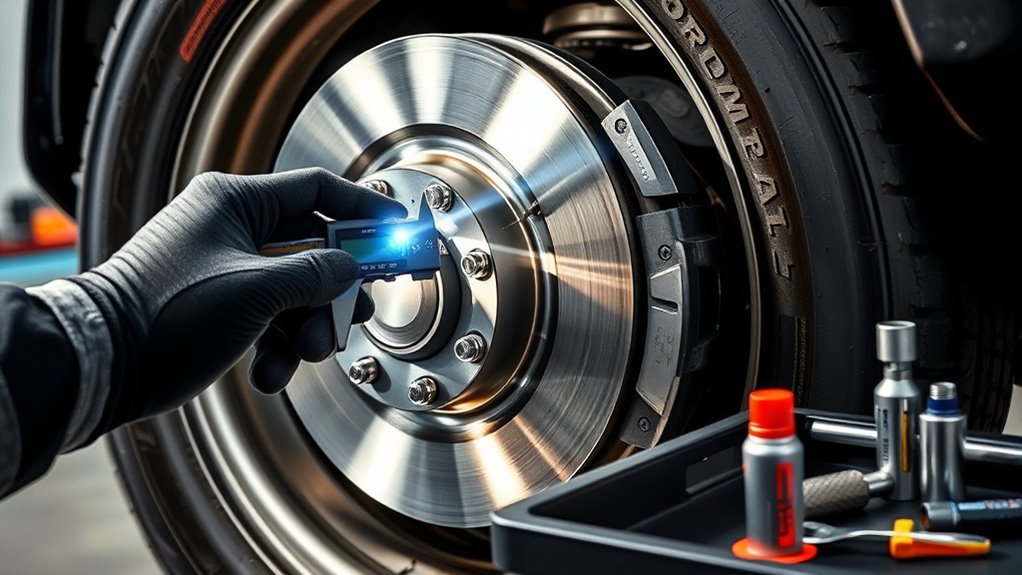
This 4Runner brake inspection checklist covers everything to look at, in order: a test drive, pad and rotor checks through the wheel, then a wheel-off look at calipers, hoses, and fluid. Recent Toyota maintenance schedules call for a visual brake inspection about every 5,000 miles (usually with a tire rotation) and a closer check of pad thickness and rotor runout about every 30,000 miles. Most owners can do the basic checks in under an hour with a jack, stands, and a flashlight.
4Runner Brake Inspection Checklist at a Glance
| # | Check | Good | Needs attention |
|---|---|---|---|
| 1 | Pedal feel | Firm, consistent height | Soft, sinking, or low pedal |
| 2 | Noises on a test drive | Quiet stops | Squeal, grinding, clunk |
| 3 | Vibration and pull | Straight, smooth stops | Pulsing pedal, pull to one side |
| 4 | Pad thickness | Well above 3 mm (1/8 in) | About 3 mm or less, or uneven |
| 5 | Rotor surface | Smooth, even color | Deep grooves, heat cracks, blue spots, lip at edge |
| 6 | Calipers and slide pins | Dry, pins slide freely | Wet piston boot, torn boots, seized pins |
| 7 | Hoses and lines | No cracks, bulges, or rust scale | Cracked, swollen, chafed, or leaking |
| 8 | Brake fluid | Between MIN and MAX, not dark | Low, dark, or due by age |
| 9 | Parking brake | Holds on a slope | Weak hold or excessive travel |
| 10 | Warning lights | Off after start-up | Brake or ABS light stays on |
Tools and Safety Before You Start
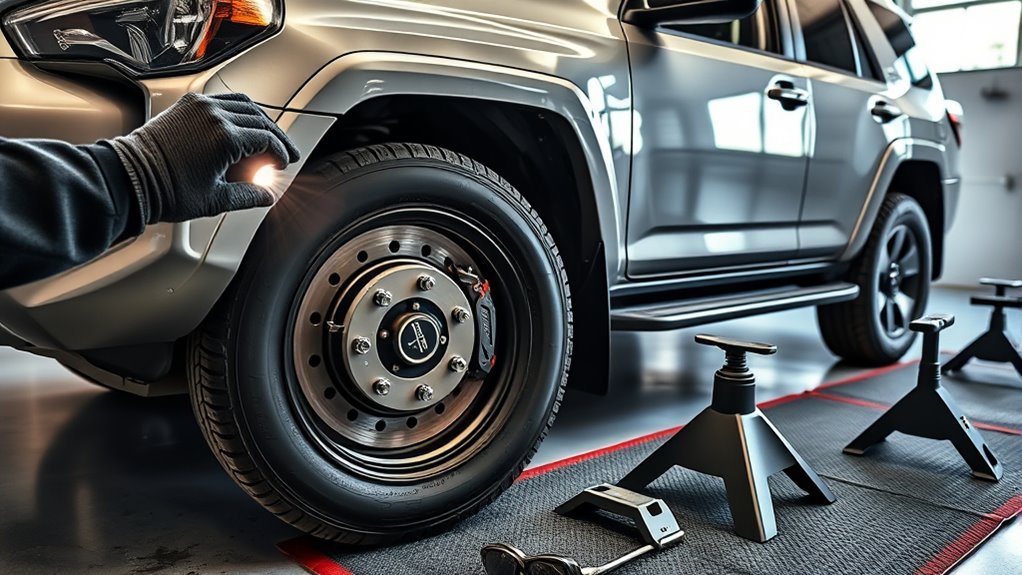
- Floor jack and two jack stands rated for the 4Runner’s weight
- Wheel chocks, gloves, safety glasses, flashlight
- Lug wrench and torque wrench
- Ruler or brake pad gauge; a vernier caliper or micrometer for rotors
- Owner’s manual (for lift points and lug nut torque)
Park on level, solid ground, set the parking brake, and chock the wheels that stay on the ground. Lift only at the points shown in the owner’s manual and never get under the truck while it is on the jack alone.
Step 1: Test-Drive Checks (No Tools)
- Before starting the engine, pump the pedal a few times; it should get firm. Start the engine and the pedal should drop slightly, then stay firm.
- Hold steady pressure at a stop for 15–20 seconds. A pedal that slowly sinks needs attention.
- Make several normal stops with the radio off. Listen for squeal (often the wear indicator) or grinding (metal on metal).
- Brake moderately from about 50 mph on an empty road. Note any pulsing pedal, steering shake, or pull.
Step 2: Look Through the Wheel
On many 4Runner wheels you can see the outer pad and rotor face through the spokes. Use a flashlight to check how much friction material is left and whether the rotor face is smooth.
- Compare left and right sides; they should look similar.
- A raised lip at the rotor’s outer edge shows how much it has worn.
- Very heavy dust on one wheel only can point to a dragging caliper.
The inner pad often wears faster and cannot be seen this way, so pull the wheel if anything looks borderline.
Step 3: Wheel-Off Inspection
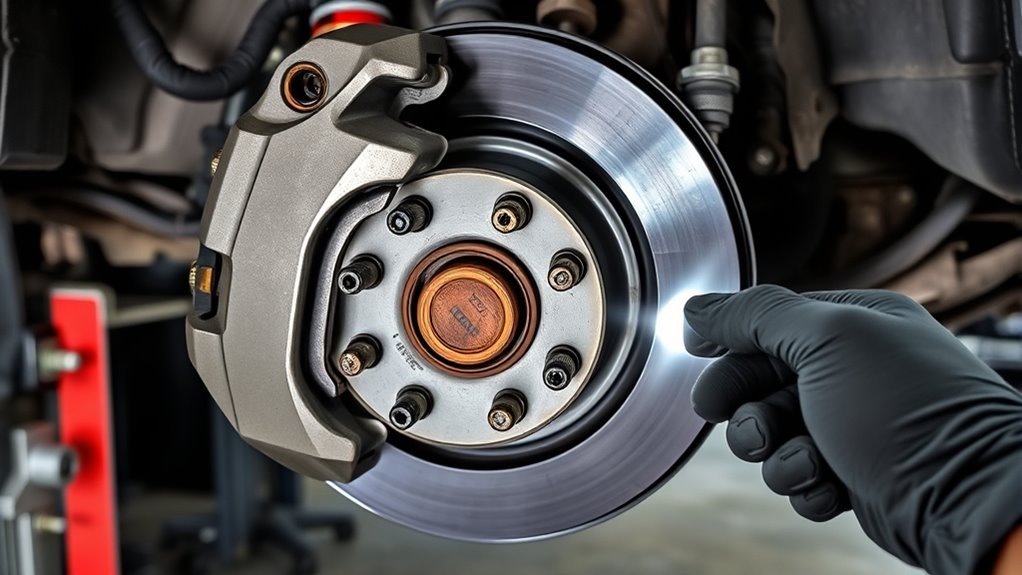
- Pads: measure both inner and outer pads. Toyota’s service limit is very thin, so most owners replace pads at around 3 mm. A big difference between inner and outer points to a sticking caliper.
- Rotors: look for deep grooves, cracks, or blue heat marks. Measure thickness and compare to the minimum stamped on the rotor or listed in the service manual.
- Calipers: check the piston boot for tears and wetness. Make sure the slide pins move freely and their boots are intact.
- Hoses and lines: bend the rubber hose gently to look for cracks, check for bulges, and trace the metal lines for heavy rust or leaks.
- Hardware: confirm anti-rattle clips and caliper bolts are present and tight.
- Reinstall the wheel and torque the lug nuts to the owner’s manual spec in a star pattern.
Fifth-generation 4Runners use disc brakes at all four corners, with the parking brake built into the rear rotor hat. The general guide to inspecting brake pads and rotors at home goes into more detail on measuring.
Step 4: Brake Fluid, Parking Brake, and Warning Lights
- Check that the fluid level is between MIN and MAX. A low level usually means worn pads or a leak, not just evaporation.
- Note the fluid’s age and color. See our 4Runner brake fluid change interval guide for when to replace it.
- Test the parking brake on a gentle slope.
- Confirm the brake and ABS lights go out after start-up.
What Your Results Mean
| Finding | Urgency | Next step |
|---|---|---|
| Grinding, pads near metal | Stop driving soon | Replace pads and likely rotors |
| Soft or sinking pedal, fluid leak | Do not drive | Tow or have it inspected; see master cylinder symptoms |
| Pulsing pedal | Fix soon | See 4Runner brake pedal pulsation fixes |
| Uneven pad wear, pull | Fix soon | Service slide pins or caliper |
| Pads around 3–4 mm | Plan ahead | Replace at next service; compare ceramic vs semi-metallic pads |
When to Book a Shop or Toyota Dealer
DIY is fine for measuring pads, checking rotors, and looking for leaks. Book a professional for any fluid leak, a soft or sinking pedal, an ABS or brake warning light, or a caliper that won’t release.
Bottom Line
Run this checklist at every tire rotation: feel the pedal, listen on a test drive, check pads and rotors, then look at calipers, hoses, and fluid. Anything involving leaks or a soft pedal should be fixed before the 4Runner goes back on the road.
Frequently Asked Questions
How often should I inspect my 4Runner brakes?
Recent Toyota schedules call for a visual brake inspection about every 5,000 miles, usually with a tire rotation, and a closer check of pad thickness and rotor runout about every 30,000 miles. Inspect sooner if you notice noise, vibration, or a change in pedal feel.
What does a 4Runner brake inspection include?
It covers pedal feel, noises and vibration on a test drive, pad thickness, rotor condition, caliper and slide pin operation, brake hoses and lines, fluid level and condition, the parking brake, and warning lights.
When should 4Runner brake pads be replaced?
Most owners replace pads at around 3 mm (1/8 inch) of friction material, or sooner if the wear indicator squeals or the pads are wearing unevenly.
Can I check 4Runner brake pads without removing the wheel?
You can often see the outer pad and rotor through the wheel spokes. The inner pad usually wears faster and is hard to see, so remove the wheel for an accurate check.
Is it safe to drive if my 4Runner brake pedal feels soft?
No. A soft or sinking pedal can mean air, a fluid leak, or a master cylinder problem. Have the truck inspected before driving it normally.



[…] is a general DIY method for any vehicle. If you drive a Toyota 4Runner, our 4Runner brake inspection checklist covers model-specific […]
[…] buying pads, run through our 4Runner brake inspection checklist to catch caliper or hose problems. The general guide to inspecting brake pads and rotors at home […]