
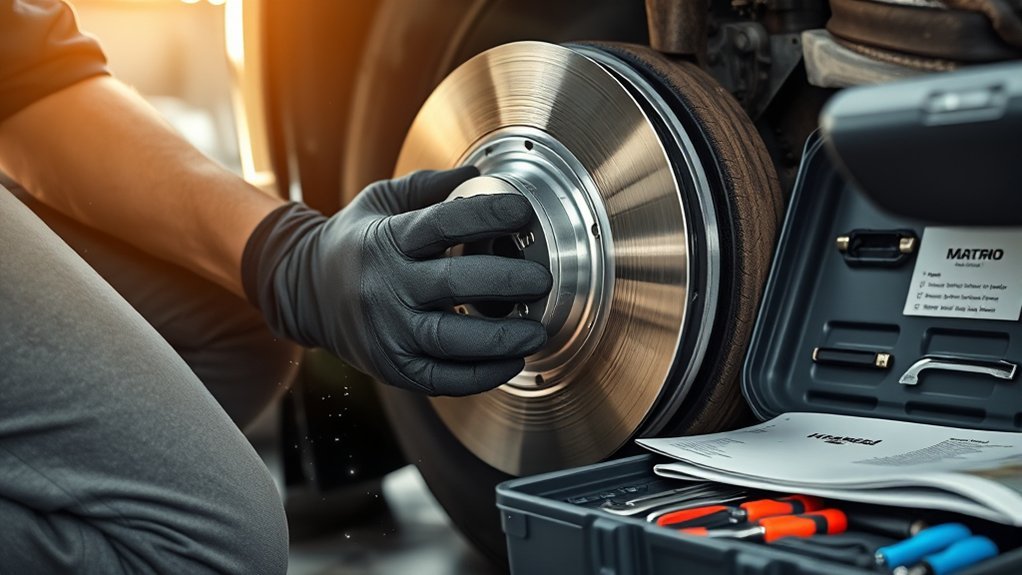
To inspect brake pads and rotors at home, safely lift the car, remove the wheel, and measure how much pad material is left; most pads are due for replacement at about 3 mm (1/8 inch). Then check each rotor for deep grooves, a raised outer lip, cracks, blue heat spots, and thickness below the minimum stamped on the rotor. The whole job takes about 15 minutes per wheel with basic tools and works on almost any car with disc brakes.
This is a general DIY method for any vehicle. If you drive a Toyota 4Runner, our 4Runner brake inspection checklist covers model-specific items.
Tools Needed
- Jack and two jack stands, plus wheel chocks
- Lug wrench or breaker bar and socket
- Flashlight
- Pad thickness gauge or a ruler
- Digital calipers or a brake micrometer (for rotor thickness)
- Optional: dial indicator with magnetic base (rotor runout)
- Gloves, safety glasses, and brake cleaner
- Torque wrench for refitting wheels
Safety First
- Work on flat, solid ground with the parking brake on and the opposite wheels chocked.
- Lift only at the jacking points in your owner’s manual, and never work under a car held only by a jack.
- Let brakes cool; rotors can be very hot after driving.
- Do not blow brake dust with compressed air; clean with brake cleaner and a rag.
How to Inspect Brake Pads and Rotors at Home: Step by Step
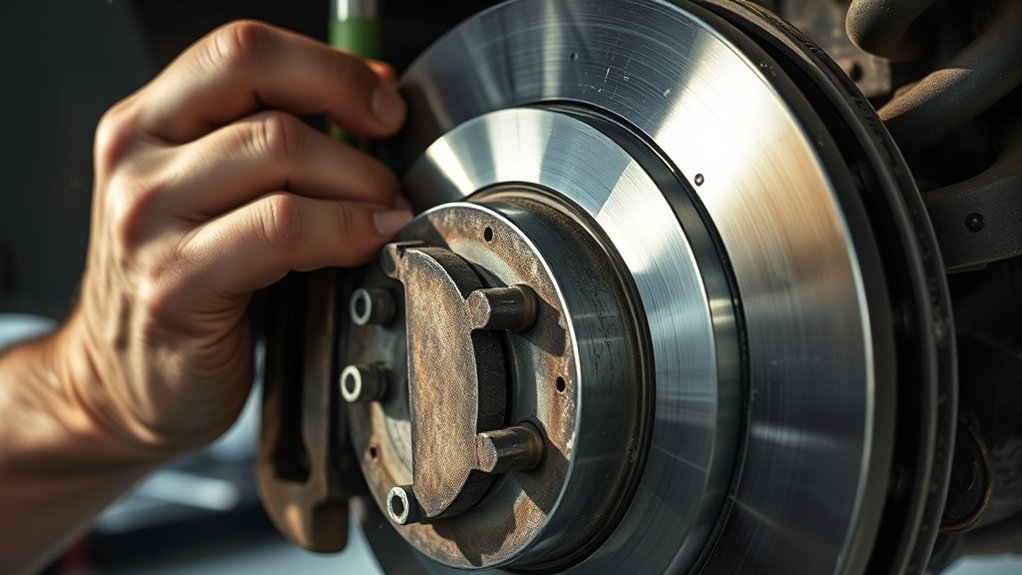
- Loosen the lug nuts a half turn while the wheel is on the ground.
- Lift and support the car on jack stands, then remove the wheel.
- Look at the outer pad through the caliper opening and measure the friction material (not the metal backing plate).
- Check the inner pad. It often wears faster. Look from the back or top of the caliper with a flashlight.
- Compare pad wear. Inner and outer pads should be within a couple of millimetres of each other. A big difference or tapered wear can mean a sticking caliper or slide pins.
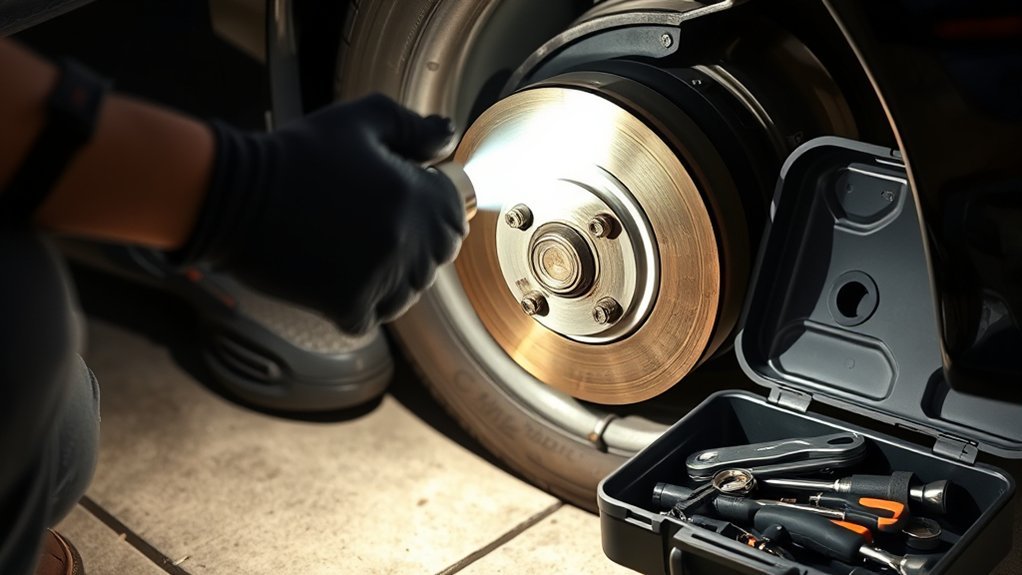
- Inspect the rotor face on both sides for grooves, a lip at the outer edge, cracks, rust pitting, and blue or dark heat spots.
- Measure rotor thickness in several spots with calipers and compare with the minimum thickness (often marked MIN TH) cast into the rotor hat or edge.
- Check for leaks at the caliper and brake hose; any wet fluid needs repair.
- Refit the wheel and torque the lug nuts to spec in a star pattern.
- Check brake fluid level between MIN and MAX in the reservoir under the hood.
Brake Pad Wear Guide
| Pad thickness left | Condition | Action |
|---|---|---|
| About 8 mm or more | Good | Recheck at next service |
| About 4–7 mm | Partly worn | Plan replacement; check more often |
| About 3 mm or less | Worn | Replace soon |
| Squealing wear tab or grinding | Worn out | Replace now; inspect rotors |
Exact minimums vary by manufacturer, so treat these as general guides. Choosing replacement pads? See our ceramic vs semi-metallic brake pad comparison.
Brake Rotor Damage Signs
| Sign | What it means | Action |
|---|---|---|
| Light, even grooves | Normal wear | Fine if above minimum thickness |
| Deep grooves or scoring | Worn pads or debris | Replace (or machine if allowed) |
| Raised lip at outer edge | Significant wear | Measure thickness |
| Blue spots or dark patches | Overheating, uneven pad deposits | Often replace |
| Cracks | Heat stress | Replace immediately |
| Pedal pulsation | Thickness variation or runout | Measure runout; see below |
| Below MIN thickness | Worn out | Replace |
If your pedal pulses when stopping, our guide to brake pedal pulsation explains how rotor runout and thickness variation cause it.
Checking Brake Fluid
Look at the reservoir level and colour. Fluid naturally drops a little as pads wear, but a sudden drop suggests a leak.
Brake fluid absorbs moisture over time, so it needs replacing at the interval in your maintenance schedule. Read more in our brake fluid replacement interval guide.
When to Call a Professional
- Grinding noise, or pads worn to the backing plate.
- A soft or sinking brake pedal.
- The car pulls to one side when braking.
- A brake or ABS warning light stays on.
- Fluid leaks at a caliper, hose, or line.
- You are not confident replacing parts yourself; brakes are safety-critical.
Frequently Asked Questions
How thick should brake pads be?
New pads usually have roughly 10 to 12 mm of friction material. Many mechanics recommend replacing them at about 3 mm (about 1/8 inch), and some at 4 mm. Check your service manual for the exact minimum.
Can I check brake pads without removing the wheel?
Often, yes. On many cars with open-spoke wheels you can see the outer pad through the wheel with a flashlight. The inner pad often wears faster and is harder to see, so remove the wheel for a proper inspection.
How do I know if my rotors need replacing?
Measure the rotor thickness and compare it with the minimum thickness stamped on the rotor or in the service manual. Replace rotors that are below minimum, deeply grooved, cracked, or causing a pulsating pedal.
How often should I inspect my brakes?
A good habit is a quick check at every tire rotation and a full inspection at least once a year, or sooner if you hear noise or feel vibration. Your owner's manual maintenance schedule gives the interval for your vehicle.
What does a grinding noise when braking mean?
Grinding usually means the pad friction material is gone and the metal backing plate is contacting the rotor. Stop driving as soon as practical and replace pads and, usually, rotors.
Bottom Line
Pull the wheel, measure pad material on both pads, and check rotors against the stamped minimum thickness. Replace pads around 3 mm and fix uneven wear or leaks before they become bigger problems.


[…] a full maintenance session? Pair this check with our guides to Land Cruiser tire rotation patterns, inspecting brake pads and rotors at home, and checking suspension bushings for […]