If your tire inflator battery isn’t charging, start by testing the charger and cable for functionality using a voltmeter. Inspect for frayed wires or dirt in the charging port. Verify everything fits securely. If the red charge light indicates a problem, check the battery contacts for corrosion and consider the effects of temperature on the battery’s performance. If internal damage is suspected, you might need professional help or replacements. Continue to explore effective troubleshooting methods and solutions.
How to Test Your Charger and Cable for Functionality
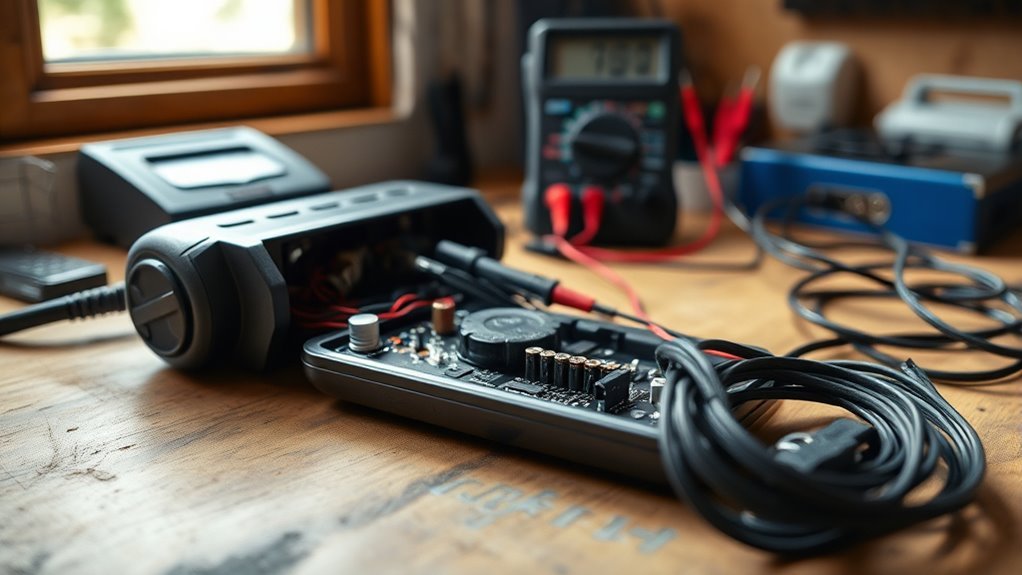
How can you guarantee your tire inflator charger and cable are working correctly? Start by using a voltmeter to measure the output voltage from the charger. Ascertain it meets the specifications required for your tire inflator. Next, inspect the charging cable for visible damage—look for frayed wires or bent connectors that could impair functionality. Confirm that the charger is securely connected to both the power outlet and the tire inflator’s charging port. If problems persist, try a different, known working charger or USB cable to isolate the issue. Finally, test the power outlet with another device to ascertain it’s operational, ruling out any outlet-related concerns that might affect the charging process.
Identifying Common Causes for Tire Inflator Charging Problems
To identify common causes of tire inflator charging problems, you should first inspect the condition of the charging port for dust or debris that might hinder contact. Next, test the functionality of your charger and cable, as faulty components can greatly affect charging efficiency. Addressing these issues early can prevent further complications with your inflator’s battery.
Inspect Charging Port Condition
Inspecting the condition of the charging port is essential, as even minor issues can lead to significant charging problems with your tire inflator. Start by checking the charging port for dust, debris, or corrosion that can obstruct a secure connection. Verify the charging cable fits snugly into the charging port, listening for a click when properly connected. Look for visible damage on both the charging port and charging cable; defects can result in poor electrical contact. If the charging port feels loose or shows signs of internal damage, it may require professional repair or replacement. Regularly clean the charging port with a soft brush or compressed air to maintain ideal conditions for your battery pack.
Test Charger Functionality
Is your tire inflator struggling to charge? Start by checking the charger output to verify it meets your inflator’s specifications. Use a voltmeter to measure the voltage; it should align with the required charging levels. Next, inspect the charger and cable for visible damage—any fraying or breaks can disrupt the charging process. Confirm the charger is securely connected to both the inflator and the power source, as loose connections can lead to charging failures. If the charger feels warm, it likely indicates it’s functioning properly. Conversely, a cold charger could signal a malfunction. Taking these steps will help you identify common charging issues and get your tire inflator back to work efficiently.
How to Identify Tire Inflator Battery Malfunctions?
How can you tell if your tire inflator’s battery is malfunctioning? Start by observing the red charge light; it usually signifies a battery issue, indicating it’s unable to accept a charge. Next, inspect the battery contacts for any corrosion or dirt, as these can impede charging and operational efficiency. If the inflator’s been stored in extreme temperatures, this could also compromise the internal components, leading to battery failures. To further diagnose, use a voltmeter to test the charger—ensure it’s delivering the required voltage. Finally, if the battery’s been unused for a long time, consider that lithium-ion batteries degrade and may need replacement. Address these issues promptly for peak tire inflator performance.
Cleaning the Charging Port and Battery Contacts for Better Connection
To guarantee your tire inflator charges effectively, inspect the charging port for any dust or debris that may hinder connection. Regularly clean the battery contacts with isopropyl alcohol on a cotton swab to remove corrosion and grime. By maintaining these components, you’ll enhance battery life and improve charging efficiency.
Inspect Charging Port Thoroughly
Inspecting the charging port of your tire inflator is essential for ensuring efficient operation and ideal battery performance. Follow these steps to maintain a clean and functional charging port:
- Check for debris: Look for dust, dirt, or corrosion that may obstruct the connection.
- Clean the area: Use a soft, dry cloth or compressed air to remove any buildup in the charging port.
- Ensure snug fit: Verify that the charging cable fits securely into the port without wobbling.
- Inspect battery contacts: Look for corrosion on the battery contacts; if present, clean gently with isopropyl alcohol and a cotton swab.
Regularly inspecting and maintaining the charging port and battery contacts enhances your inflator’s charging efficiency and longevity.
Clean Battery Contacts Regularly
Cleaning battery contacts regularly is crucial for maintaining peak performance in your tire inflator. Corrosion and dirt buildup can greatly hinder the charging process. To clean battery contacts, use a soft cloth or cotton swab dipped in isopropyl alcohol, gently wiping the contacts and the charging port. Make sure the charger is fully inserted and that all connections are clear of dust or debris to promote better conductivity. During your maintenance routine, inspect the battery contacts for any signs of physical damage; damaged contacts may need replacement to restore functionality. Establish a periodic schedule, especially after long periods of non-use, to clean battery contacts and prolong battery life, making certain your tire inflator is always ready for action.
What to Do If the Internal Battery Cable Is Damaged?
When you encounter signs of a damaged internal battery cable in your tire inflator, such as unusual sounds or a complete lack of power, it is essential to address the issue promptly. Follow these steps to troubleshoot:
Signs of a damaged internal battery cable in your tire inflator require immediate attention to ensure proper functionality.
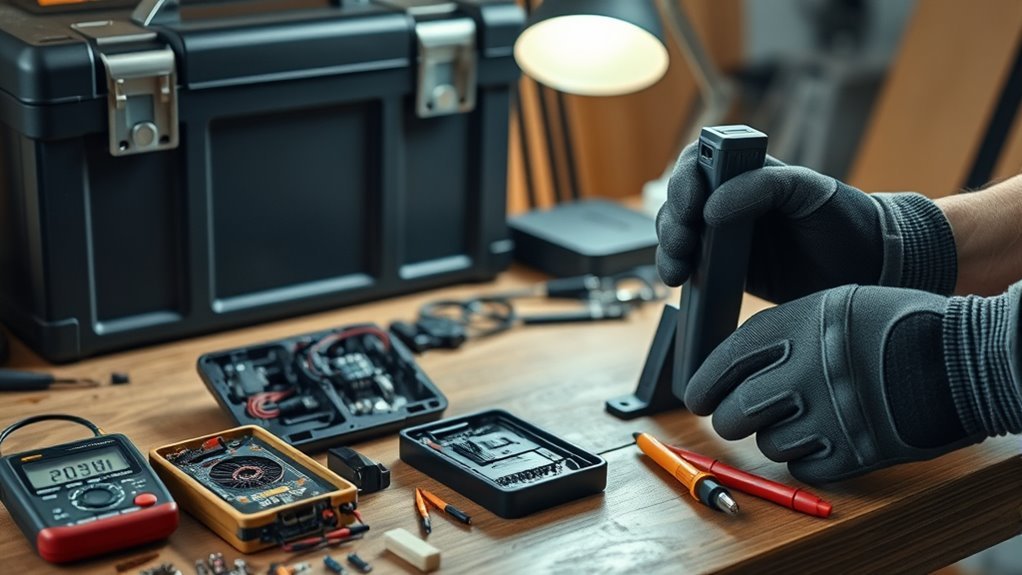
- Disassemble the Device: Carefully open the tire inflator casing to access the internal components.
- Inspect for Damage: Look for visible breaks or disconnections in the internal battery cable.
- Replace the Cable: If you find the cable damaged, replace it with a new one, or consider replacing the entire battery if necessary.
- Reassemble and Test: Once repairs are made, reassemble the device and test it to verify it’s functional.
Ignoring a damaged internal battery cable can leave your tire inflator non-functional, so act quickly.
Revive Your Depleted Lithium-Ion Battery: Here’s How
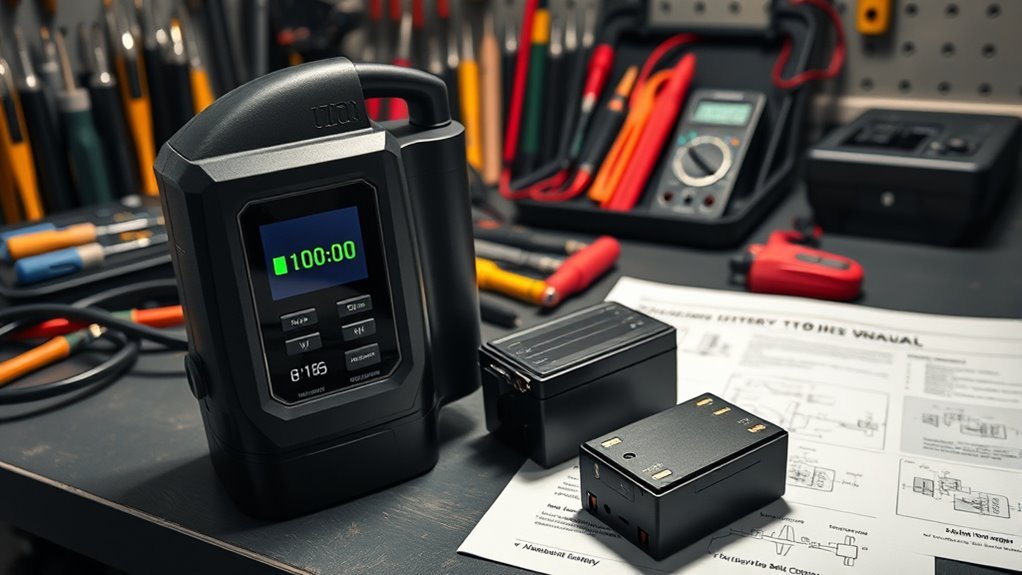
Reviving a depleted lithium-ion battery can seem challenging, but with the right approach, you can often restore its functionality. Start by trying to charge the battery with a compatible charger for several hours. If there’s no initial response, don’t lose hope; many users have successfully revived their batteries by temporarily connecting them to a jump starter or different power source. Check for the green light indicator; it often signifies that the battery is accepting a charge.
| Action | Expected Outcome | Notes |
|---|---|---|
| Charge for several hours | Battery may respond | Initial attempts may fail |
| Use a jump starter | Battery “wakes” up | Quick power boost |
| Monitor for green light | Indicates charging status | Essential for progress |
| Replace if persistent failure | Consider a new one | Beyond recovery possible |
How to Know When to Call a Pro for Repairs?
If you notice signs of internal damage or your tire inflator shows persistent issues after troubleshooting, it’s time to consult a professional. They can accurately assess the damage and provide recommendations for repair or replacement. Additionally, if repair costs approach the price of a new unit, a professional’s evaluation can help you make an informed decision.
Signs of Internal Damage
Identifying signs of internal damage in your tire inflator is essential for guaranteeing its reliable performance. If you notice any of the following issues, it’s time to call a pro for repairs:
- No response or unusual sounds: If the inflator doesn’t respond when starting, it may indicate internal damage.
- Visible wear: Check for cracks or dents on the casing, as these can compromise internal components.
- Sudden failure: A failure after a drop could signal damage to internal wiring or the circuit board.
- Overheating: If the inflator overheats during charging or use, it suggests a malfunction that needs professional inspection.
Keep an eye on these signs to guarantee your model number tire inflator stays in top shape for your home improvement projects.
Professional Repair Cost Assessment
When evaluating whether to call a professional for tire inflator repairs, begin by examining the overall condition of the unit. Look for visible damage and consider if minor issues are fixable on your own. If the battery won’t charge after multiple troubleshooting attempts, you’ve cleaned the contacts, and tested with a different charger, it may be time to explore professional repair options. Evaluate the cost of battery replacement against the price of a new inflator; if repairs exceed 50% of replacement costs, professional help might not be cost-effective. Always consider warranty considerations first—contact the manufacturer or retailer for repairs before seeking third-party repair service recommendations. Complex internal damage warrants professional evaluation for safety and reliability.
Replacement Options for Your Tire Inflator Battery
As you explore replacement options for your tire inflator battery, it’s essential to guarantee compatibility with your specific model. Consider the following factors:
- Replacement Battery Types: Look for lithium-ion or NiMH batteries that fit your inflator.
- Compatibility Considerations: Confirm the replacement matches original specifications, including voltage, amp hours, and dimensions.
- Sourcing Options: Check local auto parts stores for generic 12V battery chargers as a cost-effective solution.
- Online Retailers: Compare prices and read customer reviews to find quality replacement batteries.
If disassembly is necessary to access the battery, be ready for potential soldering requirements, which may need additional tools and skills. Keeping these points in mind will help you make informed decisions.
Cost Comparison: Repairing vs. Replacing Your Inflator
Replacing the battery in your tire inflator can lead to a tough decision: should you repair or replace the entire unit? Analyze the costs and benefits carefully.
| Option | Cost Range |
|---|---|
| Repair Costs | $20 – $50 |
| New Models | $30 – $100 |
| Warranty Options | Discounted/Fee-free repairs if applicable |
If the repair costs approach or exceed the price of a new model, consider investing in a new inflator. A new unit often offers enhanced reliability and performance, especially if you use it frequently. Don’t forget to check your warranty options, as they might cover repairs, making your decision easier and more economical.
Best Practices for Maintaining Your Tire Inflator’s Battery Life
To guarantee your tire inflator’s battery remains in prime condition, regularly charging it—even during periods of inactivity—is essential. Here are some battery maintenance tips to take into account:
Regularly charging your tire inflator’s battery, even when not in use, is crucial for maintaining optimal performance.
- Charge your inflator’s battery periodically to prevent discharging below its threshold, avoiding common battery issues.
- Store the inflator in a cool, dry place; extreme temperatures can negatively affect battery performance and lifespan.
- Clean the battery contacts regularly to remove corrosion or dirt that may impede electrical connection and charging efficiency.
- Follow the manufacturer’s charging guidelines to avoid overcharging, which can reduce battery life.
Additionally, think about using a smart charger if your inflator is infrequently used, as it helps manage charge cycles automatically, ensuring ideal battery health.
Frequently Asked Questions
Why Is My Tire Inflator Not Charging?
Your tire inflator might not charge due to poor connections, a faulty charger, or battery issues. Follow battery maintenance tips, adhere to inflator usage guidelines, and practice charging safety precautions to guarantee peak performance.
How Do You Fix a Lithium Battery That Is Not Charging?
To fix a lithium battery not charging, first check for charging port issues. Perform routine lithium battery maintenance, inspect for damage, and consider battery replacement options if problems persist after cleaning and testing the charger.
How to Reset a Portable Tire Inflator?
To reset a portable tire inflator, unplug it, remove the battery, and wait a few minutes. Consult the manual for specific resetting methods and guarantee proper battery maintenance for peak performance afterward.
Why Is My Battery Plugged in but Not Charging?
Ah, the quandary of your battery plugged in but not charging! Check for charging port issues, inspect your power source, and follow battery maintenance tips to guarantee proper connections and functionality for peak performance.
Conclusion
To summarize, if your tire inflator battery isn’t charging, systematically troubleshoot by testing your charger and cable, and inspect for common malfunctions. Curiously, many users assume that battery replacement is always the solution; however, simple cleaning or cable repairs often suffice. Recognizing when to seek professional help can save you time and money. By following best maintenance practices, you can extend your inflator’s battery life, ensuring it’s always ready when you need it.