What’s in This Article
You can replace the 2017 Toyota RAV4’s 12-V battery in about 20 to 30 minutes if you use the right battery, the right tools, and a safe work area. Battery work can damage electronics or cause injury when you rush, bridge terminals with metal, or use a battery that does not fit the tray. This guide walks you through prep, cable order, tray inspection, installation, system reboot, and post-swap checks.
Quick Answer
To replace a 2017 RAV4 12-V battery, park safely, turn the ignition off, wear gloves and eye protection, and disconnect the negative cable first. Remove the hold-down, lift out the old battery, clean and inspect the tray, install the correct replacement battery, secure the hold-down, then connect positive first and negative last. After the swap, check the clock, audio presets, windows, mirrors, lights, and warning messages.
Key Takeaways
- Use the correct replacement battery size and terminal layout before you remove the old battery.
- Disconnect the negative cable first to reduce short-circuit risk during removal.
- Secure the battery hold-down so the battery cannot shift while you drive.
- Clean rodent waste with disinfectant and gloves, not a vacuum or dry brush.
- Check your vehicle identification number for any open RAV4 battery recall before or after the repair.
Before You Begin: Tools, Time, and Safety Checks
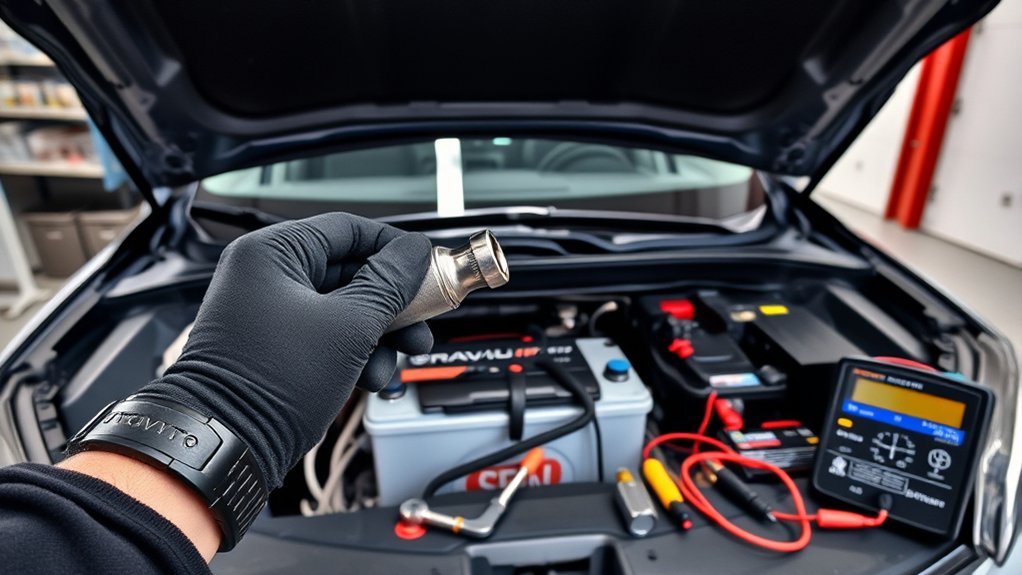
Plan for about 20 to 30 minutes if the tray, terminals, and hold-down hardware look clean. Give yourself more time if you see corrosion, damaged cables, rodent signs, missing hardware, or warning lights after reconnecting the battery.
Gather these items before you loosen any cable:
- 10 mm socket or wrench
- Gloves and eye protection
- Insulated or rubber-handled tools when available
- Battery terminal brush or cleaner
- Disinfectant and paper towels if you see rodent waste
- A matching 12-V replacement battery with the correct size, height, terminals, and hold-down fit
Park on a flat, dry surface, shift into Park, set the parking brake, turn the ignition off, and let the engine bay cool. Remove metal jewelry, keep flames and smoking away from the battery, and write down any settings you may need to restore later.
Warning: Some 2013 to 2018 RAV4 vehicles have a Toyota safety recall related to replacement 12-V battery fit, battery movement, and fire risk, so check your vehicle identification number (VIN) with Toyota or the National Highway Traffic Safety Administration before you ignore hold-down or tray issues.
[Products Worth Considering]

The AstroAI M4K0R Digital Multimeter delivers accurate TRMS measurements for AC/DC voltage, current, resistance, continuity, diode testing, and battery checks, making it a versatile tool for home and automotive troubleshooting. Its non-contact voltage detection, backlit LCD, flashlight, data hold, and auto-ranging design help simplify everyday electrical diagnostics while supporting safer use with audible and visual alarms. Built with double ceramic fuses and a protective silicone cover, it is designed for reliable performance and added protection during demanding tasks.

The TOPDON BT100 helps you quickly check the health and charge status of 12V lead-acid batteries with clear analytical results, including state of health, state of charge, voltage, and cranking performance. It supports a wide range of battery types and vehicles, making it a practical tool for diagnosing starting and charging issues at home or in the shop. Compact and easy to use, it provides fast, reliable testing without needing to charge the device first.

This automatic 12V charger and maintainer delivers a full charge before switching to float mode to help keep powersports batteries ready for storage and regular use. Its four-step charging program is designed for lead-acid, flooded, AGM, and gel cell batteries, helping prevent overcharging while supporting longer battery life. Compact and easy to use, it includes both ring terminal and alligator clip connections plus smart safety features for dependable charging.
Quick Step Order for the 2017 RAV4 Battery Swap
Use this order as your main workflow before you read the detailed sections below. Keep the old and new batteries upright during the job.
- Prepare the tools, safety gear, replacement battery, and work area.
- Disconnect the negative cable first, then isolate it away from metal.
- Remove the positive cable, hold-down hardware, insulation sleeve, and old battery.
- Inspect the tray, cables, terminals, hold-down parts, and nearby wiring.
- Install the new battery with the terminals facing the correct cable routing.
- Reconnect the positive cable first, then reconnect the negative cable.
- Verify vehicle settings, lights, warning messages, and basic electrical operation.
Safely Disconnect the 2017 RAV4 12-V Battery (Tools and Steps)
Put on gloves and eye protection, then open the hood and locate the battery. Identify the negative terminal by the minus mark and black cable, then use a 10 mm socket or wrench to loosen that clamp first.
Lift the negative cable off the post and secure it where it cannot spring back onto the battery or touch metal. After you isolate the negative cable, loosen and remove the positive cable with the same care.
- Use clean tools with insulated or rubber-coated handles when possible.
- Keep your wrench from touching both terminals or any terminal and body metal at the same time.
- Remove rings, watches, and bracelets before you work near the battery.
- Cover or isolate loose cable ends so they cannot touch the battery posts.
Loosen the battery hold-down hardware and move the bracket aside without bending it. Lift the old battery straight up, keep it upright, and place it on a stable surface away from children, pets, and sparks.
[Products Worth Considering]

Battery Tender Plus is a smart 12V charger and maintainer designed to keep automotive, motorcycle, and powersports batteries in optimal condition. Its adaptive 4-step charging program helps extend battery life while the quick disconnect harness and included cables make setup simple and convenient. The two-color LED status indicator provides clear charging feedback for easy, worry-free maintenance.
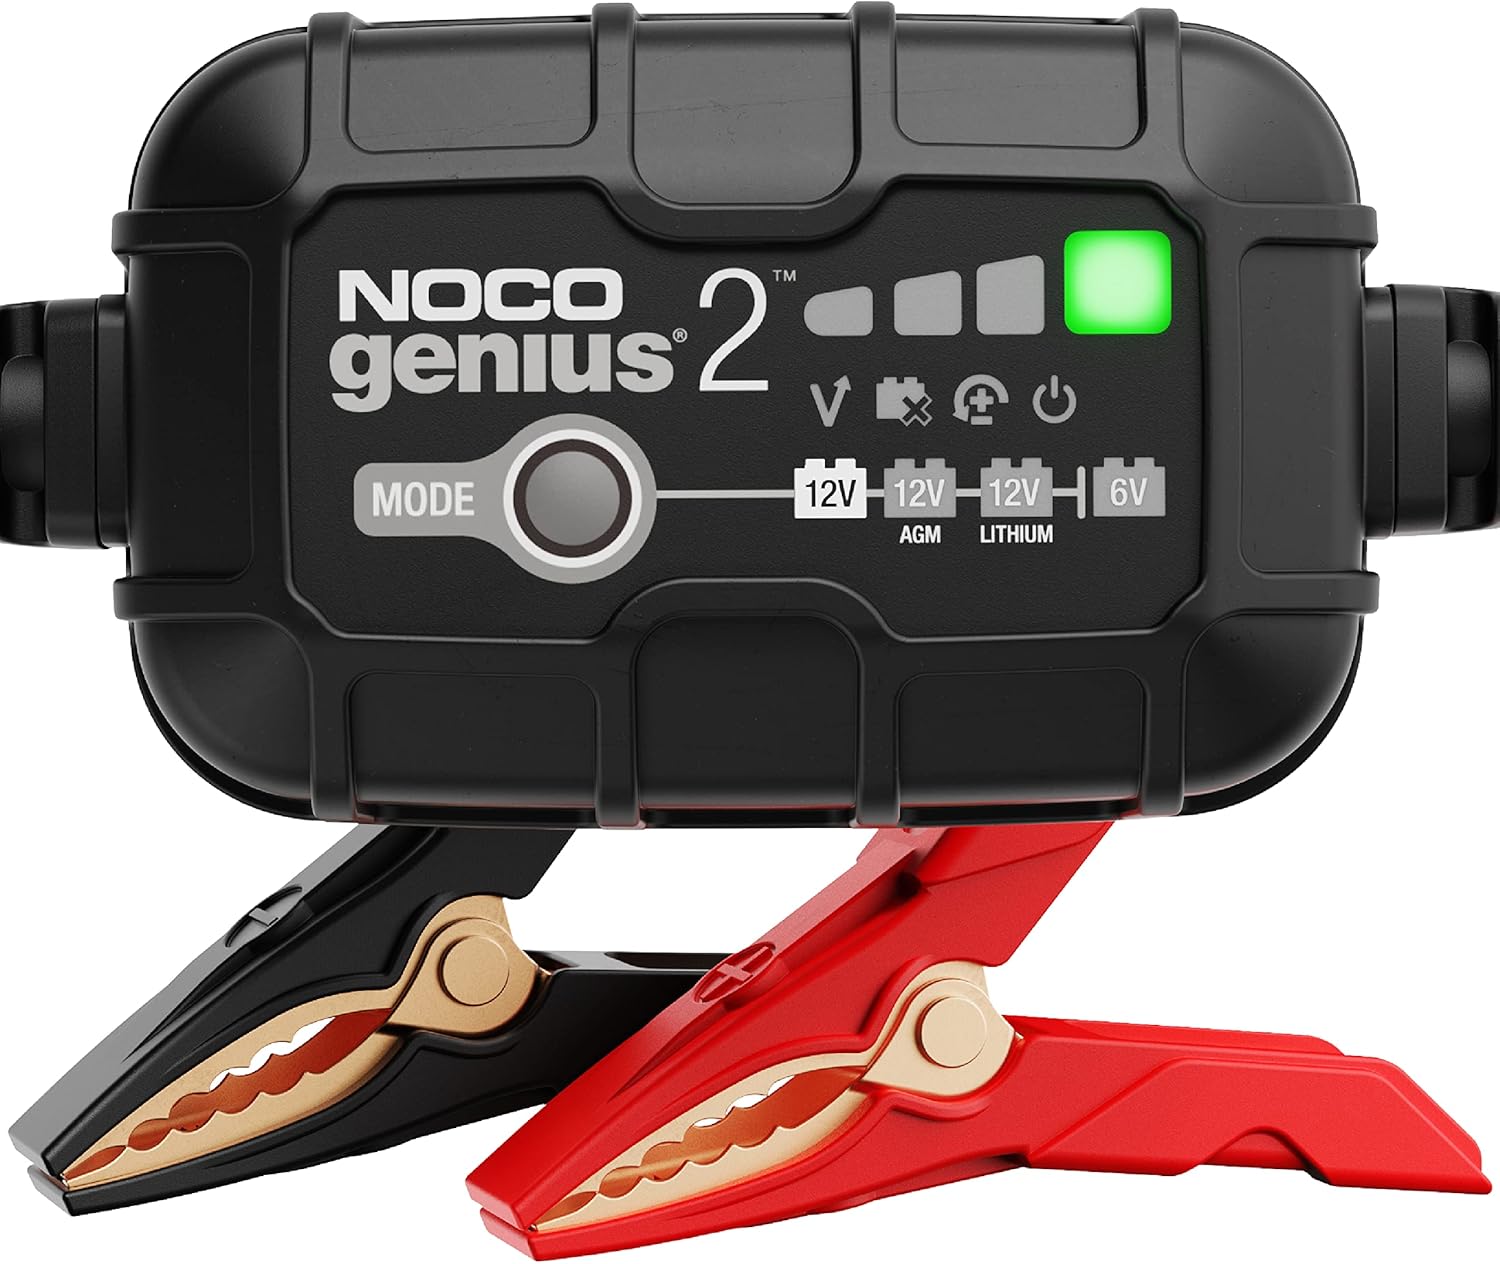
The NOCO GENIUS2 is a compact, all-in-one smart charger that automatically charges, maintains, and restores 6V and 12V lead-acid and lithium batteries. It features temperature compensation, overcharge protection, pulse desulfation, and Force Mode for reviving deeply discharged batteries, making it ideal for long-term battery care across many vehicle types. Designed for safe indefinite connection, it helps extend battery life and keep batteries ready to go.
Clean and Inspect the Battery Tray: Check for Rodents, Debris, and Fit
Clear the battery area and inspect the tray for rodent signs, debris, corrosion, missing hardware, and poor fit before you install the new battery. Look for droppings, chewed insulation, nesting material, rust, bent brackets, loose fasteners, and worn cable ends.
Warning: According to the Centers for Disease Control and Prevention, you should not vacuum or sweep rodent droppings because that can push contaminated particles into the air.
If you see rodent waste, spray it with disinfectant, let it soak, and wipe it up with paper towels while wearing gloves. Use a handled tool for debris and keep your hands away from the terminals.
Compare the new battery’s height, footprint, case shape, and terminal orientation with the old battery. The battery must sit flat in the tray, accept the insulation sleeve if your RAV4 uses one, and stay tight under the hold-down without leaning or sliding.
| Item inspected | Action required | Pass/fail |
|---|---|---|
| Rodent signs | Disinfect, wipe up, and inspect wiring | |
| Debris | Remove with a handled tool | |
| Corrosion | Clean terminals and inspect clamps | |
| Tray fit | Compare size, height, and seating | |
| Fasteners | Tighten or replace damaged parts |
Install the New 2017 RAV4 12-V Battery, Reconnect, and Reboot Systems
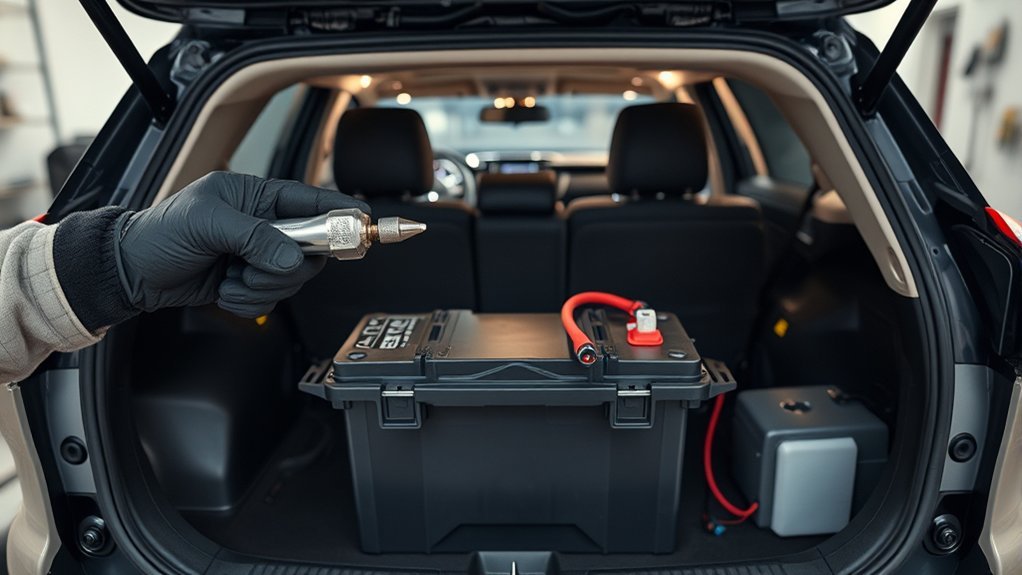
Place the new 12-V battery in the tray with the terminals facing the correct cable routing. Refit the insulation sleeve if equipped, then install and tighten the hold-down so the battery does not shift.
Connect the positive cable first and tighten the clamp until it grips the post firmly. Connect the negative cable last, then check both terminals by hand for looseness without forcing the clamps.
Apply terminal protector only as the product label directs. Do not coat dirty or loose terminals, because grease or spray cannot fix poor contact.
- Check that the positive cable cannot contact the hold-down bracket.
- Confirm that the battery sits flat and does not move when you give it a gentle wiggle.
- Use Toyota service data or a technician if you need exact torque values.
- Start the RAV4 and watch for warning lights, dim lights, or slow cranking.
After power returns, let the modules wake up and then check normal functions. You may need to reset the clock to local time and restore audio presets or other saved preferences.
[Products Worth Considering]
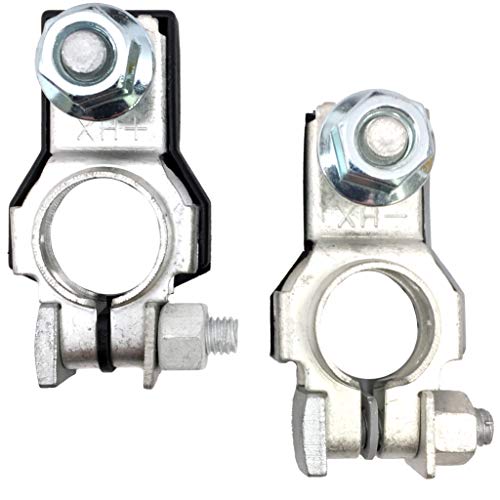
Positive and Negative Terminal Assemblies - 1 Each with M8 Nut
Verify RAV4 Settings and Troubleshoot Common Post-Swap Issues
Check system operation right after the swap. Review the clock, mirrors, audio presets, interior lights, exterior lights, power windows, key fob response, and any driver-assist warnings.
If something does not respond, turn the RAV4 off, wait a short time, and restart it. Then inspect the battery terminals, check relevant fuses, verify connector seating, and scan for Diagnostic Trouble Codes (DTCs) if warning lights stay on.
| Item | Action |
|---|---|
| Clock | Set to local time and save |
| Mirrors | Adjust and confirm movement |
| Audio | Restore presets if needed |
| Fuses | Inspect only after you confirm a symptom |
| Diagnostics | Scan codes if warning lights remain |
Keep notes on any warning lights, slow starts, or repeated setting loss. If the battery moves, the terminals loosen, or the positive terminal sits close to the hold-down bracket, stop driving and get the installation checked.
Frequently Asked Questions
What Is the Correct Sequence for Changing a Car Battery?
Disconnect the negative cable first, then remove the positive cable, hold-down, and old battery. Install and secure the new battery, then connect the positive cable first and the negative cable last.
How Long Does It Take to Replace a 12-V Battery?
A clean 2017 RAV4 battery swap often takes about 20 to 30 minutes. Plan extra time if you need to clean corrosion, disinfect rodent waste, inspect damaged wiring, or troubleshoot warning lights.
What Battery Size Does a 2017 RAV4 Use?
Check your owner’s manual, Toyota parts data, or a trusted parts lookup before you buy. The replacement battery must match the required case size, height, terminal layout, and hold-down fit for your exact vehicle.
Why Do You Disconnect the Negative Terminal First?
The negative terminal connects to the vehicle ground. Removing it first helps reduce the chance that a wrench can create a short if it touches the positive terminal and body metal.
Do You Need to Reprogram a RAV4 After a Battery Change?
You usually only need to reset basic settings such as the clock, audio presets, and some convenience features. If warning lights stay on or a module does not respond, scan for codes or ask a technician to inspect the system.
Safety Disclaimer: This article is for informational purposes only and does not replace professional automotive advice. If you see battery acid, damaged wiring, smoke, heat, loose hold-down parts, or persistent warning lights, stop and consult a qualified technician.
Conclusion
A safe 2017 RAV4 12-V battery swap depends on the correct battery fit, the right cable order, and a secure hold-down. Take your time, disconnect negative first, reconnect positive first, and confirm the battery cannot move in the tray.
After installation, check the clock, presets, lights, starting behavior, and warning messages before you call the job done. A careful final check helps you catch small problems before they become hard-start issues or electrical faults.
References
- How to Replace a Car Battery — Toyota, accessed 2026.
- Safety Recall 23TA13 Remedy Notice, Certain 2013-2018 Model Year RAV4 — Toyota Motor Sales, USA and NHTSA, 2024-2025.
- How to Clean Up After Rodents — Centers for Disease Control and Prevention, 2024.
- How To Replace a 2013-2018 Toyota RAV4 Car Battery — O’Reilly Auto Parts, accessed 2026.
- How to Disconnect a Car Battery? Disconnect Black First — Interstate Batteries, revised 2025.