How to Inspect and Replace a RAV4 Serpentine Belt Tensioner
What’s in This Article
- Before You Begin: Tools, Time, and Safety Checks
- How to Identify Symptoms of a Worn Tensioner
- Preparing Your RAV4 for Tensioner Replacement
- Step-by-Step Guide to Removing the Old Tensioner
- Steps for Correctly Installing the New Tensioner
- Common Issues When Installing the Serpentine Belt
- How to Test Your Engine After Tensioner Replacement
- What to Watch Out for When Replacing Your Tensioner?
- When to Get Professional Help
- Frequently Asked Questions
- Conclusion
A bad RAV4 serpentine belt tensioner can turn a small squeak into belt slip, poor charging, or roadside trouble. You need a cool engine, the correct belt path, and the right tools before you loosen anything. This guide shows you how to inspect the belt drive, replace the tensioner, route the belt, and test the engine safely.
Quick Answer
Inspect the serpentine belt tensioner if you hear squealing, see belt wobble, or notice the tensioner arm bouncing while the engine runs. Replace the tensioner when it has rough pulley bearings, weak spring force, cracks, rust bleed, or poor belt tracking. Always confirm the belt routing and torque value for your exact RAV4 year and engine before you start.
Key Takeaways
- Work only on a cool engine so you avoid burns and rushed mistakes.
- Inspect the belt, tensioner pulley, idler pulleys, and belt routing before you remove parts.
- Use your RAV4 service manual for the correct torque value and belt path.
- Replace the belt if you see cracks, missing ribs, glazing, oil contamination, or frayed edges.
- Run the engine after installation and watch the belt before you drive.
Before You Begin: Tools, Time, and Safety Checks
Plan on about 45 to 90 minutes if you have basic tools and clear access. The job can take longer if your RAV4 has tight engine bay space, rusted fasteners, or a different engine layout.
Gather these tools before you start:
- 14 mm socket or wrench for rotating the tensioner arm.
- 10 mm socket for the coolant reservoir bolts, if removal helps access.
- 12 mm socket or wrench for the tensioner pulley or mounting hardware, where applicable.
- Torque wrench and crow’s foot attachment for tight spaces.
- Serpentine belt routing diagram for your exact model year and engine.
- Replacement belt and tensioner that match your RAV4 powertrain.
Warning: Disconnect unsafe habits before you disconnect parts: keep hands, tools, hair, and clothing away from the belt drive when the engine runs.
Toyota’s maintenance guidance focuses on inspection instead of one universal belt replacement mileage. Inspect drive belts for cracks, excess wear, oil, and proper tension, then replace damaged belts.
How to Identify Symptoms of a Worn Tensioner
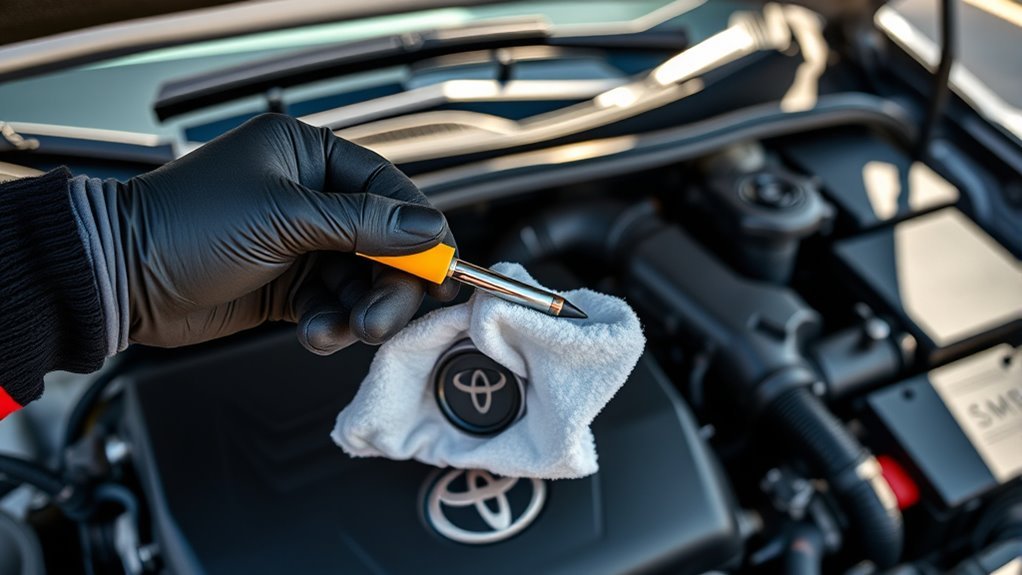
A worn serpentine belt tensioner can cause belt noise, poor belt tracking, and stress on belt-driven accessories. Start with a visual check while the engine stays off. Look for cracks, rust bleed, pulley damage, oil contamination, and a belt that does not sit squarely in the pulley grooves.
Next, watch the tensioner with the engine running from a safe distance. A small amount of movement can happen, but steady bouncing or wide arm movement can point to weak spring force or a failed damping system. Gates also lists squeaks, rattles, pulley wear, arm misalignment, binding, and loss of spring force as common tensioner failure signs.
Shut the engine off before you touch the belt. With the belt removed, spin the pulley by hand and feel for roughness, noise, or resistance. Replace the full tensioner assembly if the pulley bearing feels rough or the arm does not move smoothly.
Preparing Your RAV4 for Tensioner Replacement
Before starting the replacement of your RAV4’s serpentine belt tensioner, make sure the engine has cooled fully. Hot coolant, metal brackets, and pulleys can burn your hands. If the coolant reservoir blocks access, remove its two 10 mm bolts and move it aside without straining the hoses.
Decide whether you can work from above or need access from below. If you must work underneath, use approved jack stands on a level surface and never rely on a jack alone. Clear the work area so your wrench has enough room to move.
Compare the new tensioner with the old one before removal. The mounting points, pulley offset, dowel pin location, and arm shape should match. A wrong tensioner can throw the belt out of line and cause fast belt wear.
Step-by-Step Guide to Removing the Old Tensioner
Use this removal order so you do not lose the belt path or damage nearby parts.
- Photograph the belt routing before you remove the belt, even if your engine bay has a routing sticker.
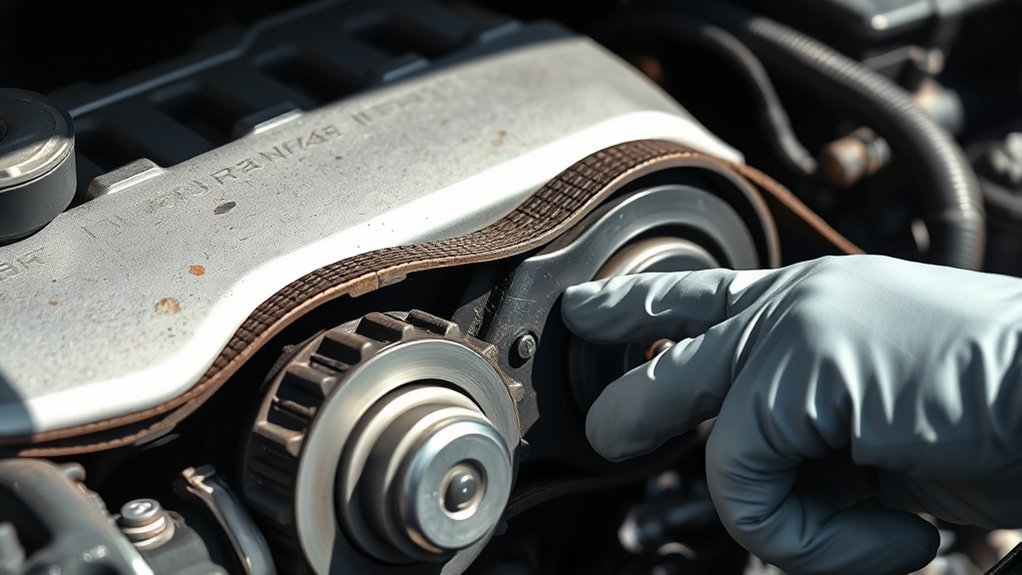
- Rotate the serpentine belt tensioner clockwise with a 14 mm socket or wrench to relieve tension.
- Slide the belt off the tensioner pulley, then remove it from the crank pulley and other pulleys.
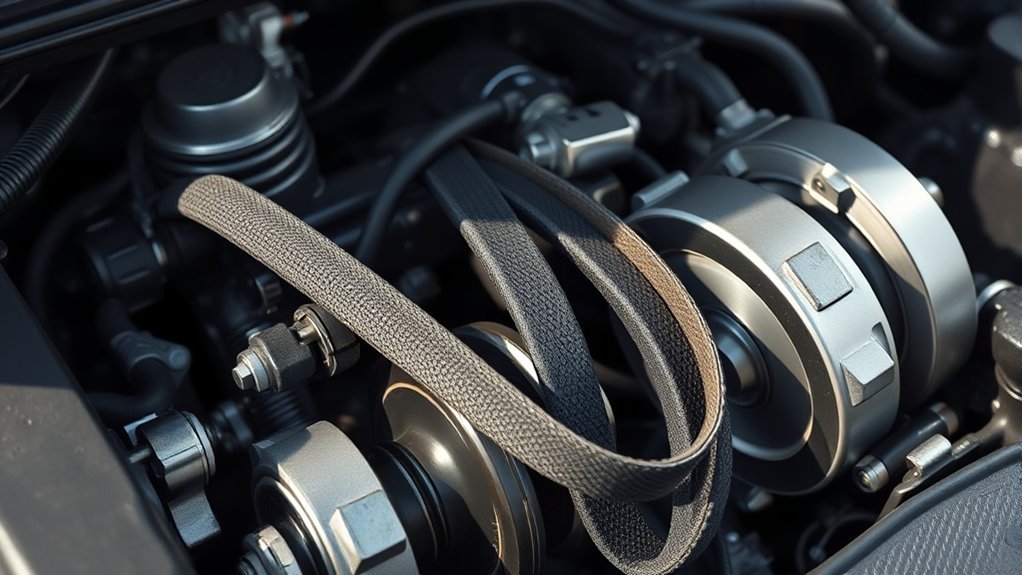
- Inspect the belt for cracks, glazing, missing ribs, oil, frayed edges, and uneven wear.
- Locate the 12 mm bolt or mounting fastener that secures the tensioner or pulley on your engine.
- Remove the bolt carefully with a ratcheting wrench, keeping control of the tensioner as it loosens.
- Clean the mounting surface so corrosion or debris cannot hold the new tensioner crooked.
Different RAV4 engines can use different belt drive layouts. Check your service manual before you remove parts that do not match this guide.
Steps for Correctly Installing the New Tensioner
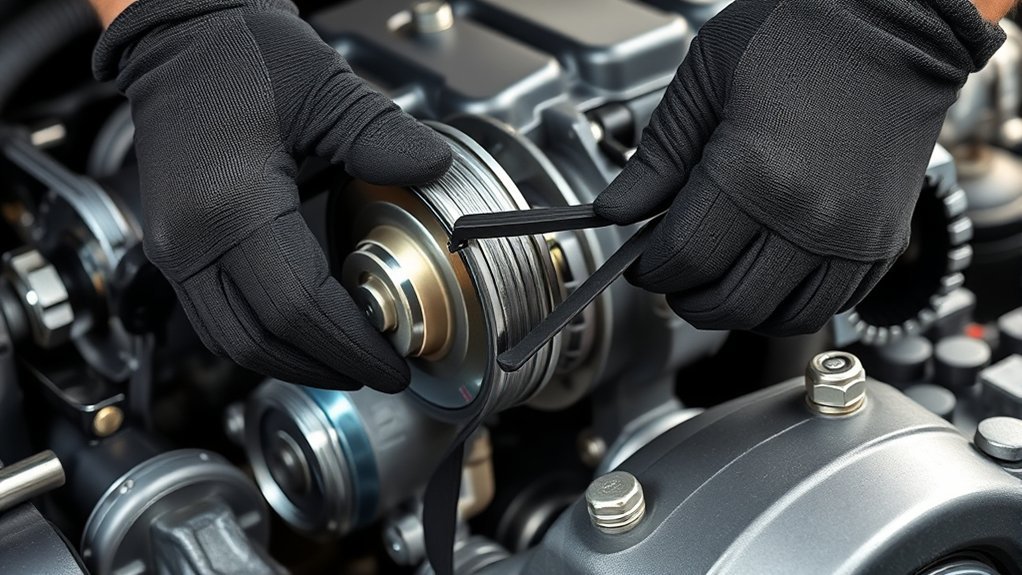
When installing the new tensioner, make sure the dowel pin lines up with the engine block hole. Do not force the tensioner into place. A forced fit can bend the bracket, damage the dowel pin, or push the pulley out of line.
- Confirm the new tensioner matches the old part before installation.
- Seat the dowel pin fully in the engine block hole.
- Thread the mounting bolt by hand to avoid cross-threading.
- Tighten the bolt with a torque wrench to the value listed in your service manual.
- Route the serpentine belt around every pulley according to the RAV4 routing diagram.
- Release the tensioner slowly so the belt seats in all pulley grooves.
- Check the belt by sight and touch with the engine off before you start the engine.
Note: Use 15 ft-lb only if your service manual lists that torque for your exact engine and tensioner bolt.
Align Dowel Pin Correctly
Aligning the dowel pin correctly helps the new tensioner sit flat and hold the belt in line. Follow these checks before you tighten the bolt.
| Step | Action |
|---|---|
| Inspect | Check the dowel pin for damage or debris. |
| Position | Gently slide the tensioner into place. |
| Align | Confirm the dowel pin is fully seated in the hole. |
| Secure | Tighten the tensioner bolt after double-checking alignment. |
| Torque | Use a torque wrench and your service manual’s torque value. |
This process gives the tensioner a solid fit and lowers the chance of belt misalignment. Take your time here, because a small alignment error can create a loud belt drive later.
Why Torque Specifications Matter
Correct dowel pin alignment starts the job, but correct bolt torque finishes it. Use a torque wrench with a crow’s foot attachment if engine bay space blocks a straight socket. Keep the wrench square to the fastener so the reading stays accurate.
Over-tightening can damage threads, brackets, or the tensioner body. Under-tightening can let the tensioner move, which can cause belt slip, poor tracking, or early belt wear. Always use the torque value from your RAV4 service manual instead of guessing.
Common Issues When Installing the Serpentine Belt
When installing the serpentine belt, misalignment of pulleys can cause noise, edge wear, and belt walk-off. You also need the correct routing path, clean pulley grooves, and a tensioner that sits flush. Most belt problems after replacement come from one of these basic errors.
Misalignment Of Pulleys
Misaligned pulleys can cause excessive wear and early belt failure. Check that each pulley sits straight and that the belt tracks in the center of each grooved pulley. If the belt rides near the edge, stop and inspect the tensioner, idler pulleys, and mounting surfaces.
A straightedge can help you spot obvious pulley alignment issues. Gates lists abnormal belt tracking and tensioner arm misalignment as signs that the tensioner or mounting bracket may need attention. Replace damaged parts before you install a new belt.
Incorrect Belt Routing
Incorrect belt routing can cause slippage, noise, and poor accessory operation. Always use the routing diagram for your exact RAV4 engine. The sticker may sit in the engine bay, but a service manual or parts database can help if the sticker is missing.
Make sure the belt sits firmly in every pulley groove. One rib off the pulley can shred a new belt fast. After installation, rotate the belt drive by hand where safe and confirm the belt moves without binding.
Tensioner Installation Errors
Installing the serpentine belt tensioner requires careful alignment and clean mounting surfaces. Dirt, corrosion, or a missing dowel pin can hold the tensioner at an angle. That angle can shorten belt life and create a chirp that sounds like a bad belt.
Double-check the belt path after you release tension. Confirm that all pulleys turn freely and that the belt sits flat in each groove. Inspect the tensioner arm before and after installation to make sure it moves smoothly and holds steady pressure.
How to Test Your Engine After Tensioner Replacement
After replacing the tensioner, test your engine before you drive. Start the engine and listen for squealing, chirping, grinding, or rattling. Shut the engine off right away if the belt walks, smokes, or jumps out of a pulley groove.
Watch the serpentine belt from a safe distance. It should run smoothly without slipping, wobbling, or riding against a pulley edge. The tensioner arm should not swing back and forth in wide movements.
Let the engine run for a few minutes, then turn it off and inspect the belt again. Look for fresh dust, rubber smell, shiny edges, or a belt rib that has shifted. Confirm that you reinstalled the coolant reservoir and removed all tools from the engine bay.
What to Watch Out for When Replacing Your Tensioner?
Focus on fitment, routing, and safety during the whole repair. Make sure the engine is cool before you start. Remove the coolant reservoir only if you need better access to the serpentine belt tensioner.
Use a 14 mm socket to rotate the tensioner and slide the belt off without prying against pulley edges. When installing the new tensioner, line up the dowel pin and tighten the bolt to the service manual’s torque value. Recheck every pulley before you start the engine.
Do not ignore the belt itself. Replace it if you see cracking, glazing, missing ribs, fraying, oil, or uneven wear. A new tensioner cannot fix a damaged belt.
When to Get Professional Help
Get professional help if the belt keeps slipping after you confirm the routing. A bent bracket, failing idler pulley, or damaged crank pulley can mimic a bad tensioner. A technician can check pulley alignment and accessory drag with the right tools.
You should also stop if you cannot reach the tensioner safely or cannot confirm the torque spec. Guessing on a belt drive part can cause repeat failure. If your RAV4 has a hybrid powertrain or a layout that does not match this guide, verify the repair procedure before you continue.
Frequently Asked Questions
When Should You Replace the Serpentine Belt on a Toyota RAV4?
Replace your Toyota RAV4’s serpentine belt when it shows cracks, fraying, glazing, missing ribs, oil contamination, or noise. Toyota maintenance guidance tells you to inspect drive belts and replace damaged belts instead of relying on one universal mileage.
What Else Should You Replace When Replacing a Serpentine Belt?
Inspect the belt tensioner, idler pulleys, and any belt-driven accessory pulleys. Replace worn parts before they damage the new belt. Gates recommends replacing the complete tensioner assembly when tensioner wear signs appear.
How Much Does It Cost to Replace a Serpentine Belt on a Toyota RAV4?
RepairPal lists Toyota RAV4 serpentine belt replacement around $122 to $162, but local labor rates and model year can change the price. Replacing the tensioner or idler pulley adds more cost.
Can You Drive With a Bad Serpentine Belt Tensioner?
You should avoid driving if the belt slips, squeals, wobbles, or starts to shred. A slipping belt can affect charging, cooling, power steering on some models, and air conditioning. Have the belt drive inspected before the belt comes off.
Should You Replace Only the Tensioner Pulley?
Replace the complete tensioner assembly when the arm, spring, bearing, or damping system shows wear. A pulley-only fix can leave a weak spring or worn pivot in place, which may cause the same problem again.
Safety Disclaimer: This article gives general information for vehicle maintenance. It does not replace your RAV4 service manual or help from a qualified technician. Stop the job and get professional help if you feel unsure, lack safe access, or see a belt drive layout that differs from this guide.
Conclusion
A smooth belt drive starts with a good belt, a steady tensioner, and correct routing. Inspect every pulley, confirm the belt path, and use the torque value for your exact RAV4 before you start the engine. After installation, watch the belt run and listen for noise before you drive. Careful checks now can help you avoid repeat repairs and keep your RAV4 running with confidence.
References
- 2025 RAV4 Warranty & Maintenance Guide — Toyota, 2025
- Basic Car Maintenance Tips & Services Checklist — Toyota
- Belt Tensioner Failure Signs — Gates Corporation
- Toyota RAV4 Serpentine Belt Replacement Cost Estimate — RepairPal, 2026