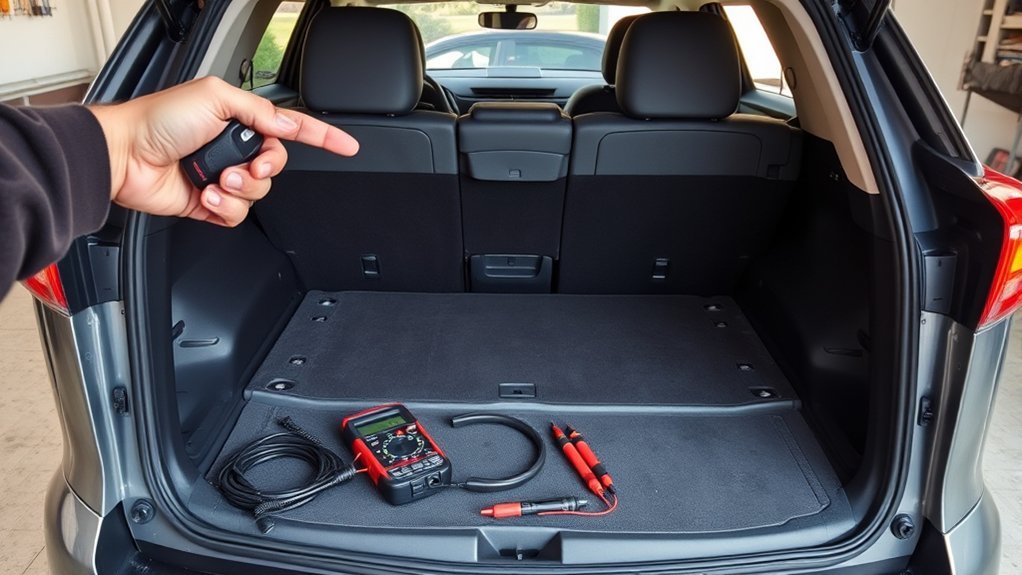
A RAV4 power liftgate that stops short often has a simple cause: the stored opening height is set too low. Before you assume the motor, actuator, latch, or wiring has failed, check the Power Back Door settings and the area around the liftgate. This guide walks you through the quick height-setting fix, safe testing steps, reset options, and signs that mean you should stop DIY troubleshooting and get professional help.
Quick Answer
If your RAV4 power liftgate will not open fully, check the Power Back Door menu first. Choose the highest displayed opening-height setting, often level 5 on equipped models, then test the liftgate in a clear area. If it still stops short, inspect for obstruction, weak battery power, fuse issues, wiring faults, or actuator problems.
Key Takeaways
- Use the Power Back Door menu before you replace parts.
- Pick the highest displayed liftgate-height level if your RAV4 supports height adjustment.
- Clear people, pets, cargo, and tools from the liftgate path before each test.
- Check battery condition, fuses, wiring, connectors, struts, and actuator behavior if settings do not fix the issue.
- Stop DIY work if the liftgate drops, binds, reverses without a clear obstruction, or repeatedly blows a fuse.
At a Glance
| Time Required | 5 to 10 minutes for the height setting; 20 to 40 minutes for basic checks |
| Difficulty | Easy for menu settings; moderate for battery, fuse, and connector checks |
| Tools Needed | Key fob, owner’s manual, flashlight, and a multimeter for deeper electrical checks |
| Cost | Usually free for a settings change; repair cost varies if parts or diagnosis are needed |
What’s in This Article
- Quick Fix: Set RAV4 Power Liftgate to the Highest Height
- How the 2017 RAV4 Power Liftgate Works
- Safety Checks Before You Adjust the Liftgate
- Access RAV4 Power Back Door Settings From the Steering Wheel
- Set the Liftgate Height: Step-by-Step
- Troubleshoot: Liftgate Still Won’t Reach Full Height
- Mechanical and Electrical Checks for RAV4 Liftgates
- Resetting and Relearning Liftgate Travel Limits
- DIY Vs Dealer: Repair Costs and Options
- When to Seek Professional Help
- User Tips, Reporting Persistent Issues, and Community Advice
- Frequently Asked Questions
- Sources
Quick Fix: Set RAV4 Power Liftgate to the Highest Height

Start with the easiest fix. Turn the vehicle on, use the steering-wheel arrow keys to open the display menu, and look for Settings → Power Back Door. If your RAV4 shows an opening-height or trunk-height setting, choose the highest available level. On many equipped models, that highest setting is level 5.
Save the setting if the display prompts you. Then open and close the liftgate once from a clear position behind the vehicle. Watch whether the liftgate reaches the new height, stops early, reverses, or hesitates.
If the liftgate still stops short, go back into the menu and confirm that the Power Back Door feature remains enabled. A disabled power back door setting can make a working liftgate act like it has a failed switch or actuator.
Note: Menu names can vary by trim, market, and display type. If your RAV4 does not show a height-level menu, use the power back door section in your owner’s manual before trying reset steps.
How the 2017 RAV4 Power Liftgate Works
On equipped 2017 RAV4 models, the power liftgate uses a motorized back door system, control switches, position monitoring, and stored height settings to open and close the rear door. You can usually command it from the key fob, the driver-area switch, or the liftgate-mounted switch, depending on trim.
The control system watches door movement and resistance. If it senses obstruction, excess load, weak power, or a stored stop point, the liftgate may stop before it reaches full height. That is why the best diagnosis starts with settings and safety checks before part replacement.
Useful features may include height memory, audible beeps, dashboard menu controls, and obstruction detection. When you test the liftgate, note which switch you used, how far the door moved, and whether it made noise or reversed.
Consistent failure at the same height often points to a stored height limit or calibration issue. Grinding, weak movement, sudden dropping, or random reversal points more toward a mechanical, electrical, or support-strut problem.
Safety Checks Before You Adjust the Liftgate
Before you adjust the liftgate, clear the surrounding area of people, pets, tools, bags, and loose cargo. Park on a level surface, shift into Park, and keep the key fob under your control so no one triggers the door by mistake.
Warning: Keep hands, heads, pets, and cargo out of the liftgate path during every test. A power liftgate can pinch, reverse, or drop if a support or control fault is present.
Check Surrounding Area
Scan the rear bumper, cargo opening, hinges, latch area, and roof clearance. Remove anything that could touch the liftgate as it moves. Also check for dents, loose trim, bent brackets, or cargo mats that may interfere with the latch.
| Checkpoint | What to Do |
|---|---|
| Rear opening | Remove bags, tools, straps, and loose trim pieces. |
| People and pets | Move everyone away from the liftgate path. |
| Liftgate condition | Look for dents, binding, loose trim, or latch damage. |
| Power supply | Confirm the battery is strong enough for repeated cycles. |
Proceed only when the area is clear. If the door rubs, binds, or sags, stop testing and inspect the mechanical parts before using the power function again.
Secure Vehicle Power
Shift the vehicle into Park and avoid standing under the door while testing. Then verify that the Power Back Door setting is turned on in the vehicle display if your RAV4 has that menu.
Check for obstructions around the hinges, struts, latch, and weatherstripping. A small piece of cargo, loose rubber seal, or shifted trim panel can trigger obstruction detection and stop the door early.
Assess the 12-volt battery if the liftgate moves slowly or quits mid-travel. Weak voltage can affect power back door operation, especially after battery replacement, long parking, or repeated liftgate cycles.
Access RAV4 Power Back Door Settings From the Steering Wheel
Use the steering-wheel arrow keys to open the multi-information display. Move to the settings area, then look for Power Back Door. If your display shows a height option, select the highest level available and save the change.
Accessing Settings Menu
Start the vehicle or turn the ignition to the mode that powers the instrument display. Use the steering-wheel controls to move through the main display menu until you reach the settings section.
Select Power Back Door if it appears. Confirm that the power function is enabled. Then open the height setting and choose the highest available option. On many equipped RAV4 models, the highest option is level 5.
Exit the menu and test the liftgate once. Do not keep pressing switches rapidly. Give the system a few seconds between open and close commands.
Setting Power Back Door
When you open the Power Back Door settings, review each active option. If the display shows trunk height or opening height, raise it from a lower level to the highest level.
Confirm that automatic open and close functions remain enabled if your display shows those settings. A disabled power function can mimic a failed switch, even when the height level looks correct.
If the setting does not save, write down what happens. A setting that reverts after you save it can point to a low-voltage condition, control issue, or a procedure mismatch for your trim.
Set the Liftgate Height: Step-by-Step
Estimated time: 5 to 10 minutes.
Before You Begin
You do not need many tools for the height-setting check. You need the key fob, access to the driver’s seat, a clear space behind the vehicle, and your owner’s manual if the display menu differs from the steps below.
- Park the RAV4 on level ground.
- Move people, pets, and cargo away from the rear door.
- Keep the key fob nearby and under your control.
- Confirm the battery has enough charge for repeated liftgate cycles.
- Check overhead clearance before opening the liftgate fully.
-
Turn the vehicle on or power the display so the steering-wheel menu works.
-
Use the steering-wheel arrow keys to open the settings menu.
-
Select Power Back Door if your RAV4 shows that option.
-
Open the height or trunk-height setting.
-
Choose the highest available level, often level 5 on equipped models.
-
Confirm the selection, save it if prompted, and exit the menu.
-
Open the liftgate using the key fob, interior switch, or liftgate switch.
-
Verify that the liftgate reaches the desired height without binding, reversing, or sagging.
Test after each change. If the liftgate still will not reach the highest setting, continue with obstruction, battery, fuse, wiring, and reset checks.
Troubleshoot: Liftgate Still Won’t Reach Full Height
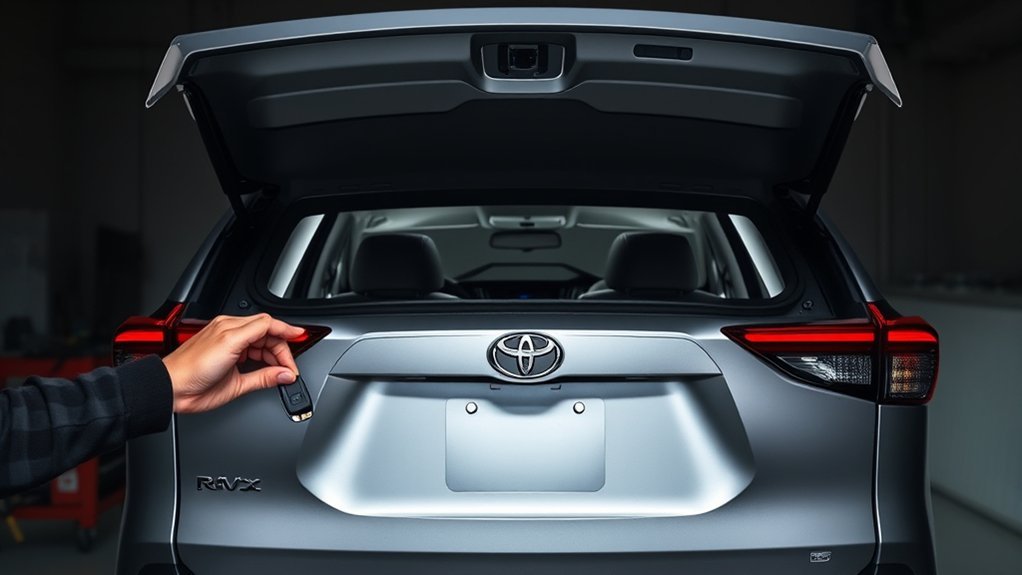
If the liftgate still will not reach full height after you set the highest opening level, verify the software setting again. Then inspect for mechanical or electrical causes.
Run one controlled cycle. Close the liftgate fully, wait five seconds, and reopen it. Watch for soft stops, unusual noises, intermittent movement, or reversal. Those signs can point to interference, weak struts, hinge binding, actuator strain, or weak power.
Try each available control once: key fob, interior button, and liftgate-mounted switch. If one switch fails while the others work, focus on that switch or its wiring. If every control fails the same way, look at battery power, fuses, the actuator, the latch, or the control module.
Also check whether another driver profile or recent battery service changed the stored height. If the setting keeps returning to a lower level, review the owner’s manual procedure and consider professional diagnosis.
A liftgate that stops at the same point every time often points to a stored height limit. A liftgate that grinds, drops, or stops at random points needs mechanical or electrical inspection.
[Products Worth Considering]

This front left door lock actuator assembly is a direct replacement for select Toyota and Lexus models, helping restore reliable power door locking and latch operation. Built as an OEM-quality aftermarket part, it includes the latch assembly and is factory tested for dependable performance. It is designed for driver-side front door fitment across a wide range of compatible vehicles and comes with replacement support for added peace of mind.

This replacement rear exterior door handle is designed for select Toyota RAV4, RAV4 Prime, and Highlander models, restoring smooth and reliable access when your original handle is cracked, faded, or loose. It directly replaces the specified factory part number and is intended for non-smart-entry rear doors, with a smooth black finish that matches factory black handles on compatible trims.

This rear trunk lid weatherstrip is designed to fit select Toyota Camry and RAV4 models, helping restore a secure seal around the trunk area. It supports protection against dust, moisture, and road noise while offering a reliable replacement for worn or damaged factory seals. Made for straightforward installation, it provides a practical fit-and-finish upgrade for everyday driving.
Mechanical and Electrical Checks for RAV4 Liftgates
Start with simple checks before you remove trim. Inspect the fuse, visible wiring, battery condition, liftgate struts, latch area, and actuator behavior. If the liftgate feels heavy, drops suddenly, or binds, do not keep cycling the power function.
[Products Worth Considering]

This replacement key fob set is designed for select Toyota RAV4 and XB models with regular key systems, offering lock, unlock, and panic functions in a convenient two-pack. Each remote comes pre-tested with battery and electronics installed, and it must be cut and programmed by a qualified dealer or locksmith for proper use. Built from durable materials and backed by warranty support, it provides a reliable solution when replacing worn or missing remotes.

This Fel-Pro valve cover gasket set is designed to help restore a reliable seal on compatible Toyota, Lexus, and Scion engines. It uses a proprietary cork-rubber formulation that conforms well to imperfect sealing surfaces, and each set includes the parts needed for the repair. Real-world testing helps ensure dependable performance and long-lasting sealing confidence.

[Fitment] Marsflex Power Liftgate Supports are compitable with Toyota RAV4 2013-2018. Each strut comes with 2 connectors.(After you receive these parts, please make sure you have got all of them, any part misses, please EMAIL US AT ONCE)
Power Module Inspection
Inspect the liftgate power circuit in a steady order. Check connectors for corrosion, loose fit, or water intrusion. Verify the liftgate fuse and relay if your fuse diagram identifies them. Replace a blown fuse only with the specified amp rating.
If you have a multimeter and know how to use it safely, test voltage while the liftgate is commanded to move. A circuit can look normal with no load but fail when the motor draws power.
| Item Inspected | Action Required |
|---|---|
| Connectors | Clean, reseat, and inspect for moisture or corrosion. |
| Fuse or relay | Test continuity and replace only with the correct rating. |
| Module voltage | Measure under load if you have the tools and experience. |
| Obstructions | Clear the pathway, hinges, weatherstrip, and latch area. |
Pro Tip: Test voltage while the liftgate moves. A weak battery, loose terminal, or poor ground may only show up when the actuator is under load.
Motor and Actuator Check
Listen for signs of mechanical failure. Grinding, clicking, humming without movement, or uneven movement can point to worn gears, binding hinges, weak supports, or a failing actuator.
Inspect the actuator area for visible damage, bent links, play at pivot points, or loose fasteners. Do not remove a support strut or actuator unless the liftgate is safely supported and you understand the repair procedure.
If motion feels weak or erratic, check alignment and binding through the full range of travel. When the motor does not respond despite good voltage and solid connections, use a dealer or qualified technician for deeper testing.
Wiring and Fuse Diagnostics
Wiring and fuse diagnostics confirm that the liftgate’s electrical path delivers power when commanded. Visually trace the harness near the liftgate hinge area, latch, switch, and body harness junctions.
Look for exposed conductors, broken insulation, corrosion, pinched sections, or loose connectors. Flex the harness gently while watching for intermittent liftgate behavior. Stop if you find damaged wiring.
Check the liftgate fuse listed in the fuse diagram. If a replacement fuse blows again, do not install a larger fuse. Repeated fuse failure points to a short, seized motor, damaged wiring, or a component fault that needs proper diagnosis.
Resetting and Relearning Liftgate Travel Limits
If the RAV4 power liftgate does not stop where you want, first close the liftgate fully and verify the Power Back Door setting in the display. Then use the height-memory procedure listed in the power back door section of your Toyota owner’s manual.
On many Toyota power back door systems, the relearn process involves moving the liftgate to the preferred height and holding the correct liftgate switch until the vehicle confirms the setting with a beep or buzzer. The exact switch name and timing can vary, so do not force a procedure if your RAV4 responds differently.
Close and reopen the liftgate to confirm the new limit. If it will not store the height, check battery condition, confirm the menu setting, and inspect for binding before repeating the process.
You may need to repeat the relearn after battery replacement, liftgate service, or a control reset. If the door drops, reverses, or refuses to calibrate, stop and get professional help.
DIY Vs Dealer: Repair Costs and Options
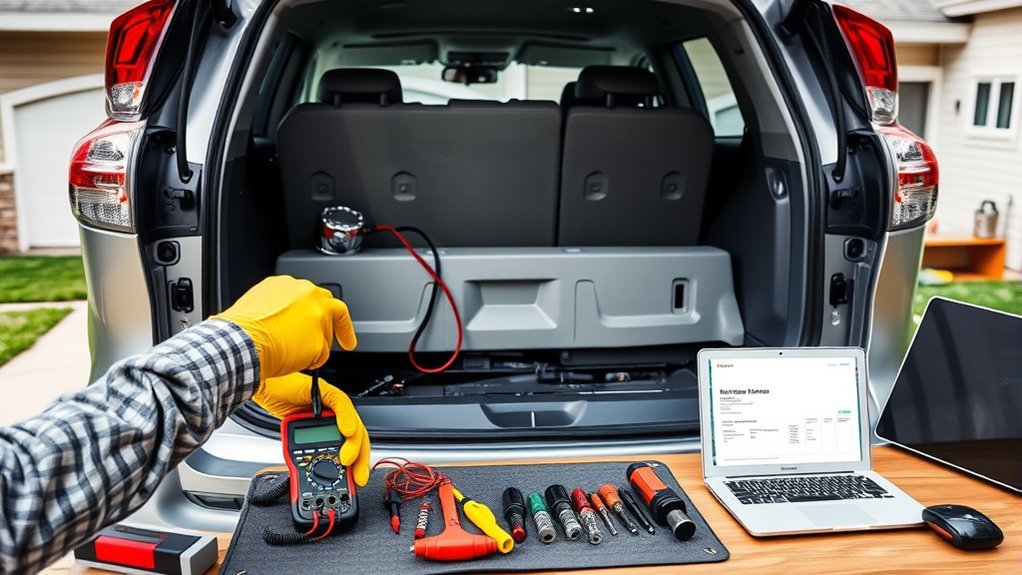
When you choose between DIY and dealer service for a RAV4 power liftgate, compare parts, tools, time, safety, and warranty implications. Settings changes, obstruction checks, and basic fuse checks are good DIY starting points. Actuator, latch, sensor, and control-module faults are better handled with diagnostic tools.
If the issue is only trunk-height calibration, you may fix it for free through the display menu. A dealer may still charge for diagnosis if you bring the vehicle in. Check your warranty status and open recalls before paying for repair.
- DIY: best for settings, visible obstruction checks, basic battery checks, and simple fuse inspection
- Dealer or qualified technician: best for actuator replacement, control-module faults, repeated fuse failure, and wiring damage
- Calibration-only issue: often no-cost if the menu setting or height memory solves it
- Warranty or recall concern: check coverage before altering parts or wiring
- Safety concern: avoid DIY work if the liftgate drops, binds, or will not stay supported
Use DIY for simple checks and settings changes. Use a dealer or qualified technician when the repair affects liftgate support, electrical wiring, actuator alignment, or control-module logic.
[Products Worth Considering]

[Attention] Fits vehicles with power liftgate exclusively.

Fuction: Damaged car trunk tailgate lock will cause the trunk can not be opened or closed normally, which will affect the privacy of the car and safe driving, it is necessary to replace the car tailgate lock, our tailgate lock is made of high quality material, durable makes longer life
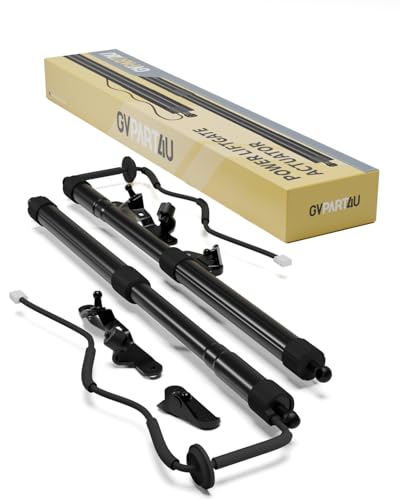
[Application] GVPART4U rear tailgate struts are compitable with Toyota RAV4 2013 2014 2015 2016 2017 2018. Each strut comes with 2 connectors.(Please check whether you have received all the parts upon receipt. If any part is missing, please send us an email immediately.)
When to Seek Professional Help
Get professional help when the liftgate reverses for no clear reason, makes grinding sounds, drops suddenly, or will not respond to any switch. These symptoms can involve actuator force, sensor feedback, hinge alignment, latch operation, or control-module logic.
You should also stop DIY work if you find damaged wiring, repeated fuse failures, water inside connectors, or a battery terminal problem. Those faults can spread if you keep cycling the liftgate without repair.
Before scheduling paid repair, check your VIN through the NHTSA recall lookup. A recall or service campaign may change the next best step, especially if recent battery service or electrical symptoms are involved.
User Tips, Reporting Persistent Issues, and Community Advice
Do not assume a mechanical fault before you verify the Power Back Door settings and opening-height level. Set the height to the highest available level, test after each change, and confirm whether the configuration limits the travel.
Record each setting, switch used, sound, stopping point, and battery history. Clear notes help a technician, service advisor, or owner forum member understand your exact issue.
| What to Record | Why It Helps |
|---|---|
| Height setting used | Shows whether the stored limit caused the short opening. |
| Switch used | Helps separate a bad switch from a system-wide fault. |
| Stopping point | A repeatable stop suggests memory or calibration; random stops suggest faults. |
| Noise or reversal | Grinding, humming, or reversal can point to binding or actuator strain. |
| Battery or service history | Recent battery work can affect settings, voltage, and electrical diagnosis. |
When you report persistent issues, include settings tried, weather, battery history, and symptoms. Ask focused questions in owner forums, and share the final fix when you find it. Good records help you move from guesswork to repeatable repair steps.
Frequently Asked Questions
Why is my Toyota power tailgate not working?
Your Toyota power tailgate may stop working because the Power Back Door setting is off, the saved height is too low, the 12-volt battery is weak, the travel path is blocked, a fuse has failed, wiring is damaged, or the actuator is struggling. Start with settings and obstruction checks before replacing parts.
Why does my RAV4 liftgate stop halfway?
A RAV4 liftgate can stop halfway when the saved height is set too low, the obstruction system senses resistance, the battery voltage drops under load, or the actuator binds. Set the opening height to the highest available level, clear the path, and listen for grinding, clicking, or humming.
How do I reset the RAV4 power liftgate height?
First, use the Power Back Door menu to choose the highest opening-height setting if your RAV4 shows that option. If you need manual height memory, follow the power back door procedure in your owner’s manual. The correct switch and confirmation beep can vary by trim and model market.
Can a weak battery affect the RAV4 power liftgate?
Yes. A weak or poorly connected 12-volt battery can reduce voltage under load and cause slow, partial, or failed liftgate movement. Check battery condition and terminal fit before you diagnose the motor, actuator, or control module.
Should I replace the actuator myself?
Only replace a liftgate actuator yourself if you have the right tools, safe liftgate support, and repair experience. Actuator work involves alignment, support force, electrical checks, and pinch-risk safety. Choose a qualified technician if the liftgate drops, binds, or shows control-module faults.
Can I open or close the liftgate manually?
You may be able to move the liftgate manually when the power function is disabled or unavailable, but do not force it. If the door feels unusually heavy, binds, drops, or will not latch, stop and inspect the supports, latch, and power back door system before using it again.
What should I do if the height setting keeps resetting?
If the height setting keeps resetting, confirm that you saved the menu change correctly, check battery condition, and repeat the procedure from the owner’s manual. If the setting still will not hold, the vehicle may need professional diagnosis for a control, switch, wiring, or module issue.
Conclusion
The fastest first step is to set the RAV4 power liftgate to the highest available opening-height level and test it in a clear area. If the liftgate still stops short, move through obstruction, battery, fuse, wiring, actuator, and reset checks in order.
Keep notes on each symptom and change, especially before you contact a dealer or technician. A careful process helps you avoid needless parts, protect the liftgate system, and restore reliable cargo access.
Sources
- Toyota Owners: Warranty and Owner’s Manuals — model-specific power back door procedures and owner manual lookup.
- NHTSA Recalls Lookup — VIN-based recall checks before paid repair.
- Associated Press: Toyota RAV4 battery recall report — context for 2013–2018 RAV4 battery hold-down recall concerns.
- Reuters: NHTSA closes Toyota SUV battery investigation — current context on RAV4 battery-related investigation closure.