First check fuses, the key‑fob battery, and that all doors are fully closed; replace any blown fuse with the correct amperage and swap the fob battery. Determine if all doors fail or only one to isolate a bad actuator. If a single door, remove the door card, inspect the actuator, gears and wiring for corrosion or chafe, and measure voltage during lock commands. If tests are inconclusive or ECU faults appear, consult a dealer — continue for detailed steps and testing.
Quick Fix: How to Check Why Your RAV4 Door Won’t Lock or Unlock
If your RAV4 won’t lock or open, start with the simplest electrical and mechanical checks to isolate the fault: inspect the related fuses for continuity, verify the key fob battery and replace it if weak, confirm every door is fully closed, and test whether the issue is isolated to one door—since a single stuck actuator will need the door panel removed for inspection or replacement; if these steps don’t resolve it, have a Toyota technician evaluate the central locking system and relays. Next, follow concise troubleshooting steps: identify whether the failure is global or door-specific, then map affected door lock mechanisms to their fuses and wiring. Replace any blown fuses and verify continuity before testing the fob and manual lock. If one door alone fails, remove its panel, inspect the actuator motor and linkage for seizure or broken clips, and replace the actuator if it draws power but doesn’t move. If electrical faults persist across doors, escalate to professional diagnostics for relay or module faults to regain practical freedom and control.
Check Easy Fixes First: Fuses, Battery, and Key Fob Replacement
Start by checking the fuse box for any blown fuses linked to the door locks, using the owner’s manual to identify the correct circuits. If the key fob is unresponsive, open it carefully and replace the battery with the specified type. Verify all doors are fully closed and perform a manual lock test with the physical key to isolate electronic faults from mechanical issues.
Check Fuses First
Because electrical faults are a common and easily fixed cause of door lock failure, check the fuse box first for any blown fuses related to the door lock system and consult your owner’s manual to identify their locations and amperages. Open the fuse panel, use the manual’s diagram for fuse identification, and visually inspect each relevant fuse for a broken element. If a fuse is blown, remove it and perform a fuse replacement with one of the same amperage — never substitute a higher rating. After replacement, test the locks; if they work, you reclaim control without unnecessary parts or expense. If fuses blow repeatedly, stop and seek professional diagnostics to avoid electrical hazards and protect your right to safe, reliable mobility.
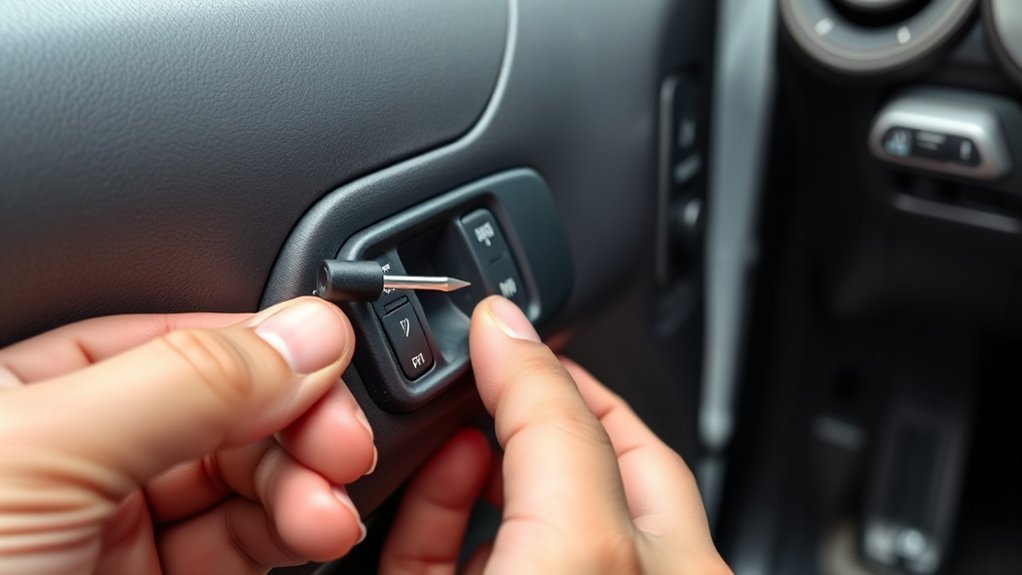
Replace Key Fob Battery
Check the key fob battery next, since a dead cell is a frequent, easy-to-fix cause of remote failure. You’ll perform simple key fob maintenance: squeeze the sides to separate the front and back, expose the battery compartment, and remove the old cell. Confirm battery types in the owner’s manual before buying replacements—using the correct cell avoids damage and guarantees range.
Install the new battery with correct polarity, reassemble the housing, and test locking/unlocking at multiple distances. If the fob still fails, don’t accept defeat: proceed to inspect fuses and electrical relays or consult a technician. Replacing the battery is a quick step toward reclaiming control and restoring reliable remote access.
Is It All Doors or One Door? Test Central Locking vs. a Single Actuator
Wondering whether the problem is with the central locking system or a single actuator? Start by testing central locking: lock/unlock with the key fob and the driver’s master switch. If none of the doors respond, check the fob battery and relevant fuses; a single blown fuse or weak battery often disables central locking. Confirm all doors are fully closed before testing, since an ajar door can prevent engagement.
If only one door fails, isolate actuator issues. Operate central locking while observing the suspect door—listen for motor noise or feel for movement. If the door shows no response, disconnect the negative battery, then access the panel later for replacement. Inspect wiring at the connector for corrosion or damage; intermittent connectivity often mimics actuator failure. Proceed with actuator replacement when wiring is intact but the motor remains dead. These steps free you to target the exact fault and avoid replacing functioning components.
Remove the Door Card and Inspect: What to Look for Inside
Before you reattach anything, remove the door card and inspect the cavity methodically: unscrew visible fasteners, pry clips with plastic trim tools to avoid damage, then peel the panel back enough to expose the actuator, linkages, wiring harnesses, and window components. Start with door card removal to gain clear access; keep screws and clips organized. Perform a lock actuator inspection visually for cracked housings, broken gears, or burnt plastic—these signs mean mechanical failure or imminent seizure.
Trace wiring harnesses for corrosion, chafing, or loose terminals; wiggle connectors to reveal intermittent faults. Verify the window switch plug and other electrical plugs are fully seated. Check linkages and rods for bends, detached clips, or binding points that limit travel. Remove debris, rust flakes, or insulation fragments that obstruct movement. Document any damaged parts and their exact locations so you can reclaim control of the system without guessing during reassembly.
How to Test and Replace a Faulty Door Actuator or Lock Motor
Start by confirming the actuator is at fault: with the door panel removed and the battery reconnected, press the lock/unlock switch while listening for clicks or watching the actuator linkage—no sound or movement usually indicates a defective motor or a wiring/connector issue. For actuator testing, use that observation first; a mechanical tap can reveal a stuck gear but absence of response points to replacement.
For replacement procedure, disconnect the negative battery terminal, then remove the interior door panel by unscrewing visible fasteners and carefully prying out clips. Unbolt the actuator assembly, detach its connector and linkage, and inspect connectors for corrosion or damage—clean or document faults for further electrical troubleshooting. Install the new actuator, reconnect linkage and connector, and secure mounting hardware per torque recommendations. Reassemble the door panel, reconnect the battery, and perform final functional tests of the lock/unlock cycle. If it operates, you’ve reclaimed control and completed a safe, precise repair.
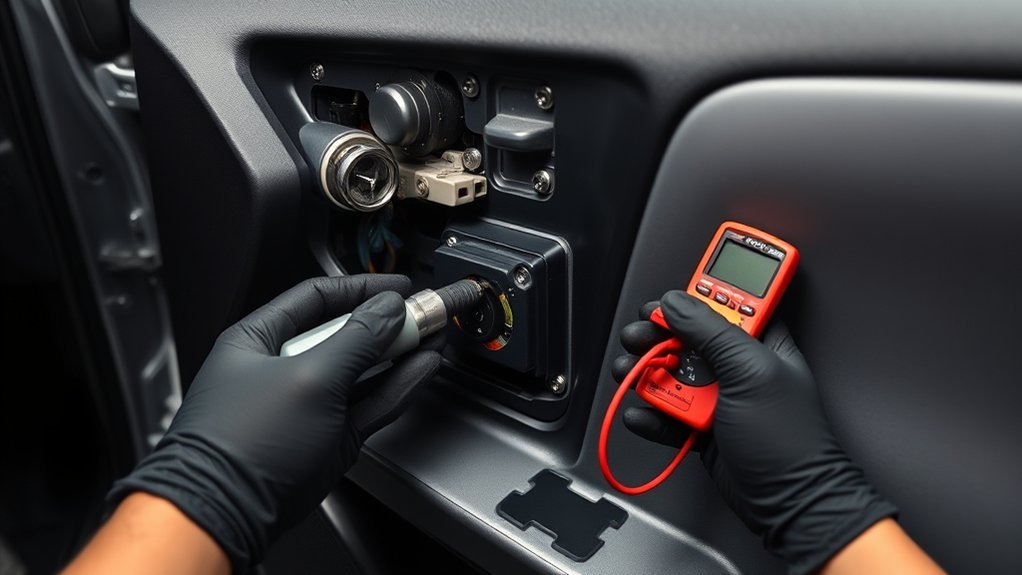
Check Wiring, Fuses, Relays, and ECU Signals (Electrical Troubleshooting)
If the actuator itself checks out, trace the electrical side: inspect the door wiring harness for chafing, pinched sections, broken strands, or corrosion at connectors, then secure or repair any damaged runs. Verify wiring integrity at the door and frame grommet; repair splices with solder and heat-shrink or replace the harness if insulation’s compromised. Check the fuse box for blown fuses tied to door locks and swap with correct-rating replacements. Perform relay testing: bench-test or swap with a known-good relay to confirm switching under load. Use a multimeter to measure voltage at the actuator during lock/unlock commands; no or intermittent voltage points to wiring or ECU signaling faults. Confirm the body ECU communicates with the locking circuit—monitor CAN or signal lines if you can—to rule out intermittent ECU output. Document each test and repair step so you can restore systems confidently and reclaim control of your vehicle’s security.
| Item | Action |
|---|---|
| Harness | Inspect/repair |
| Fuses | Check/replace |
| Relay | Test/swap |
| Voltage | Measure at actuator |
| ECU | Verify signals |
When to Call a Pro, Warranty Steps, and Next Actions
When DIY steps don’t restore reliable locking, call a qualified technician to perform advanced electrical diagnostics and repairs, since intermittent CAN signals, hidden harness faults, or ECU faults often require dealer-level tools and procedures. You should seek a professional diagnosis when symptoms persist, when faults are intermittent, or when you lack access to OEM scan tools.
Before authorizing repairs, review your warranty coverage. Check terms for door module, actuator, and wiring coverage; use authorized dealers and OEM parts to avoid voiding coverage. Document everything: timestamps, diagnostic reports, part numbers, invoices, and communications. That record strengthens any claim and speeds escalation.
Authorize only necessary repairs after a clear estimate. If the issue continues post-repair, escalate to the service manager and customer support with your documentation. Demand retest with OEM tools and written confirmation of persistent faults. If needed, request dealer escalation or manufacturer intervention to resolve unresolved electrical or ECU-level failures.
Frequently Asked Questions
Can Water Damage Inside the Door Cause Intermittent Locking Issues?
Yes — water intrusion and moisture buildup inside the door can corrode actuators, short electrical connectors, and stick linkages, so you should inspect, dry, clean contacts, and replace damaged seals or components to restore reliable locking.
Can a Warped Door Latch Prevent Electronic Locking From Working?
Yes—you’ll find a warped door latch can stop electronic locking. Check latch alignment first; misalignment binds the locking mechanism, so you’ll realign or replace the latch, test actuator operation, and restore reliable, liberated access.
Will Aftermarket Alarm Systems Interfere With Central Locking?
Yes—you can experience conflicts: poor aftermarket compatibility during alarm system installation can disrupt central locking. Check wiring diagrams, use proper adapters, ground connections, and program modules correctly so your system remains autonomous and doesn’t get restrained.
Do Cold Temperatures Affect Actuator Performance Long-Term?
Yes—you’ll see gradual wear: temperature extremes thicken lubricants, stress seals, and strain motors, so you’ll perform regular actuator maintenance, clean contacts, replace degraded seals, and store vehicle sheltered to preserve long-term actuator performance.
Can Door Alignment Issues Trigger ECU Error Codes?
Yes — door misalignment effects can trigger ECU error codes. You’ll inspect gaps, sensors, and switches, use ECU diagnostic tools to read fault codes, clear/replicate faults, and adjust alignment until sensors report normal signals.
Conclusion
Think of your RAV4 like a small ship: when a latch won’t hold, don’t drift—check fuses, battery, and the key fob first, then isolate whether it’s all doors or a single actuator. Pry off the door card, inspect and test the motor, wiring, relays, and ECU signals methodically. If repairs exceed your tools or warranty covers it, call a pro. Steady hands and systematic checks will get your “ship” secure again.