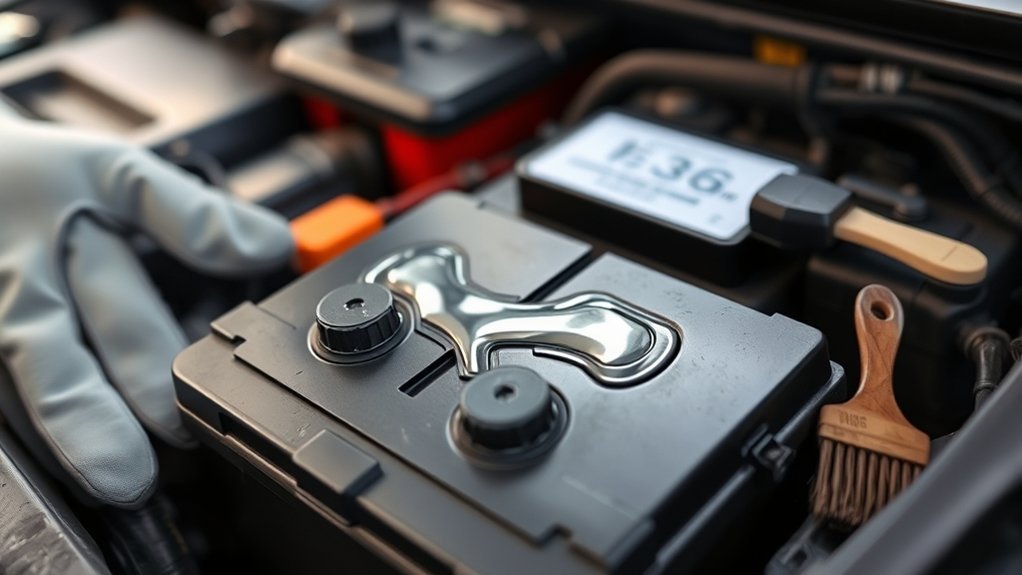
Battery terminal corrosion on a Toyota RAV4 usually starts as a small white, blue, or green powder around the battery posts, but it can eventually cause weak starts, warning lights, charging problems, and poor electrical contact. The best prevention is simple: keep the terminals clean and dry, make sure the battery is secured tightly, use the correct replacement battery, and protect the posts after cleaning.
Quick Answer
To prevent RAV4 battery terminal corrosion, inspect the terminals every 3 to 6 months, clean light buildup with baking soda and water, dry everything completely, tighten the clamps, and apply battery terminal protectant spray, dielectric grease, or petroleum jelly. Always disconnect the negative cable first and reconnect it last.
Key Takeaways
- Corrosion usually appears as white, blue, or green powder around the battery posts or cable clamps.
- Moisture, road salt, battery age, loose clamps, overcharging, and poor battery fit can all speed up corrosion.
- Clean terminals only with the engine off, protective gear on, and the battery cables disconnected in the correct order.
- After cleaning, a thin protective coating and properly tightened clamps help slow corrosion from returning.
- Owners of certain 2013–2018 RAV4 models should also check whether their vehicle is affected by the 12-volt battery recall.
At a Glance
| Time Required | 15 to 30 minutes |
| Difficulty | Easy DIY, as long as corrosion is light to moderate |
| Tools Needed | Gloves, eye protection, 10 mm wrench or socket, baking soda, water, brush, rags, terminal protectant |
| Cost | Usually under $15 if you already have basic tools |
Understanding the Importance of Battery Terminal Maintenance
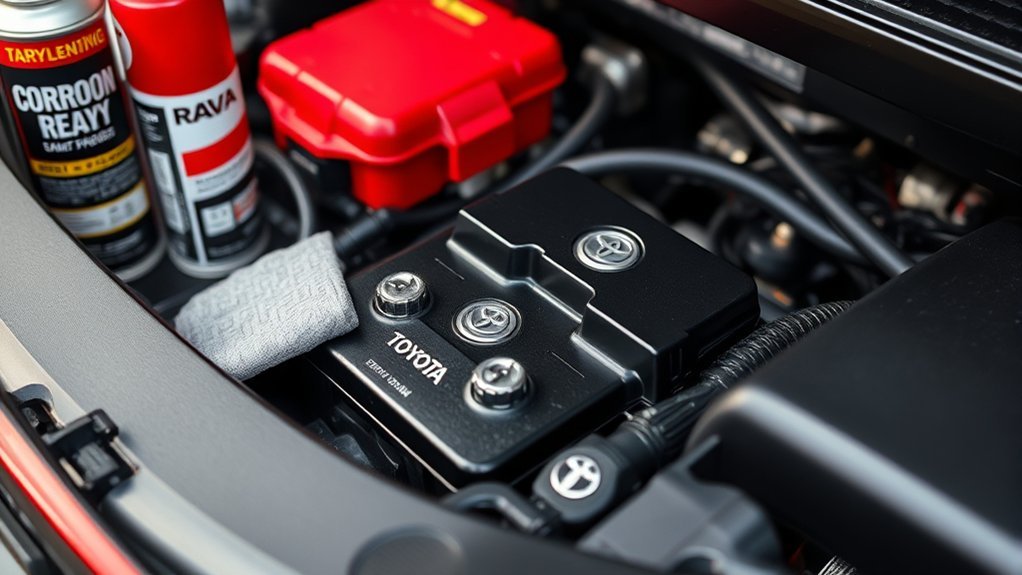
Your RAV4 relies on clean, tight battery connections to start reliably and keep electrical systems stable. Corrosion creates resistance between the battery post and cable clamp, which can make the starter work harder and may lead to slow cranking, flickering lights, or intermittent electrical issues.
Battery terminal corrosion is usually caused by a mix of battery chemistry, moisture, heat, vibration, and age. Lead-acid batteries can release gases during charging, and when those gases react with moisture and metal around the posts, corrosion can form. That is why prevention is not just about wiping the terminals once; it is about keeping the battery clean, dry, secure, and properly protected.
Warning: Car batteries can expose you to acid, electrical shorts, and flammable gas. Work in a ventilated area, keep sparks and flames away, wear gloves and eye protection, and stop immediately if the battery case is cracked, swollen, leaking, or hot.
Common Causes of Battery Terminal Corrosion
Corrosion does not always mean the battery is bad, but it does mean the connection needs attention. These are the most common reasons it appears on a RAV4 battery.
Environmental Factors
Moisture is one of the biggest corrosion accelerators. If your RAV4 is exposed to high humidity, heavy rain, road salt, coastal air, or repeated temperature swings, the terminals can corrode faster. Salt and moisture help create a conductive path on the battery case and around the clamps, which encourages oxidation and buildup.
Hot climates can also shorten battery life and speed chemical activity inside the battery. Cold climates add another challenge: weak batteries have to work harder during starts, and road salt can collect around the battery tray and hold-down area.
Poor Connections
Loose or dirty clamps create resistance. Resistance creates heat and unstable current flow, and the small gaps around the clamp can trap moisture and residue. If the clamp can rotate by hand or the terminal bolt is bottomed out before the clamp is tight, the connection needs repair or replacement.
| Cause | What It Does | What You May Notice |
|---|---|---|
| Loose terminal clamp | Creates poor electrical contact | Slow start, flickering lights, repeat corrosion |
| Moisture or road salt | Speeds oxidation | White, blue, or green powder |
| Overcharging | Can increase battery gassing | Corrosion returns quickly, battery odor, swelling |
| Wrong battery size or poor fit | Allows movement and cable strain | Loose hold-down, damaged covers, possible short risk |
Battery Age
Most 12-volt car batteries become more vulnerable as they age. Internal wear, sulfation, heat exposure, and repeated deep discharges can all reduce performance. If corrosion keeps coming back soon after cleaning, or if the RAV4 starts slowly even with clean terminals, have the battery and charging system tested.
Note: A small amount of surface corrosion can be cleaned at home. Heavy corrosion, melted plastic, a swollen battery case, acid leakage, or a hot battery should be handled by a qualified technician.
How to Identify Corrosion on Your RAV4 Battery Terminals
Open the hood and inspect the 12-volt battery area with the engine off. On most gas RAV4 models, the battery is in the engine bay. Some hybrid models may use a different 12-volt battery location depending on model year, so check your owner’s manual before disconnecting anything.
Look for these signs:
- Powdery residue: White, bluish, or greenish buildup around the posts, clamps, or cable ends.
- Crust around the clamp: Buildup between the battery post and cable terminal can block good contact.
- Rust or oxidation: Check the hold-down bracket, tray, and nearby fasteners.
- Damaged insulation: Corrosion can travel into the cable end and weaken the connection.
- Starting symptoms: Slow cranking, clicking, dim lights, or intermittent electrical behavior can point to a poor battery connection.
Essential Tools for Cleaning Battery Terminals
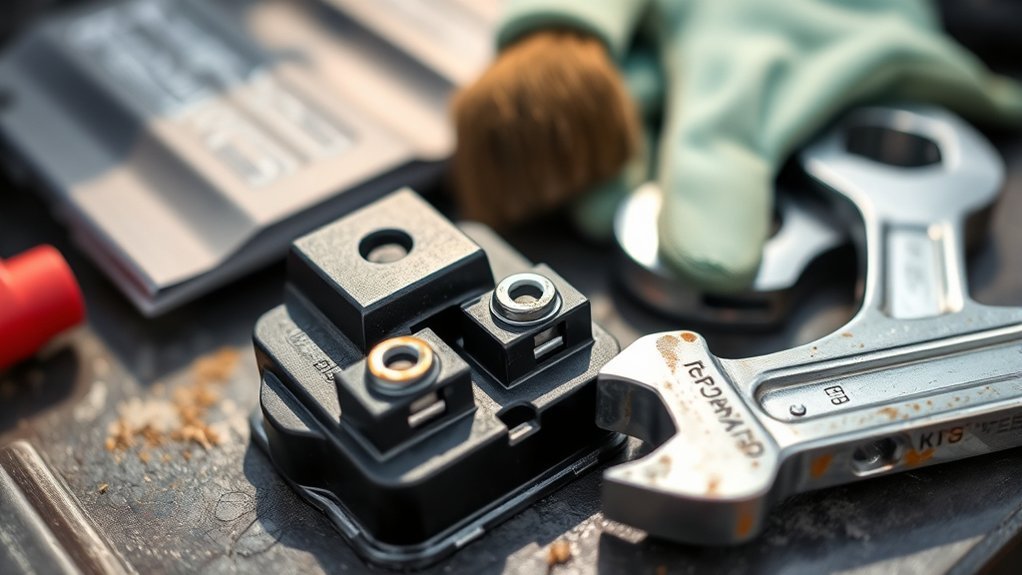
You do not need many tools to clean light corrosion, but safety gear matters. Gather everything before you disconnect the battery so you are not searching for tools with loose cables exposed.
[Products Worth Considering]

This flexible oil funnel is designed to make fluid changes cleaner and easier by guiding oil around obstacles like skid plates and crossmembers. Its shape-retaining core and silicone body can be molded for custom positioning, while the heat-resistant, leak-proof design helps prevent spills during draining and filter removal. Reusable and easy to clean, it works well for cars, trucks, motorcycles, and other hard-to-reach fluid fill or drain applications.
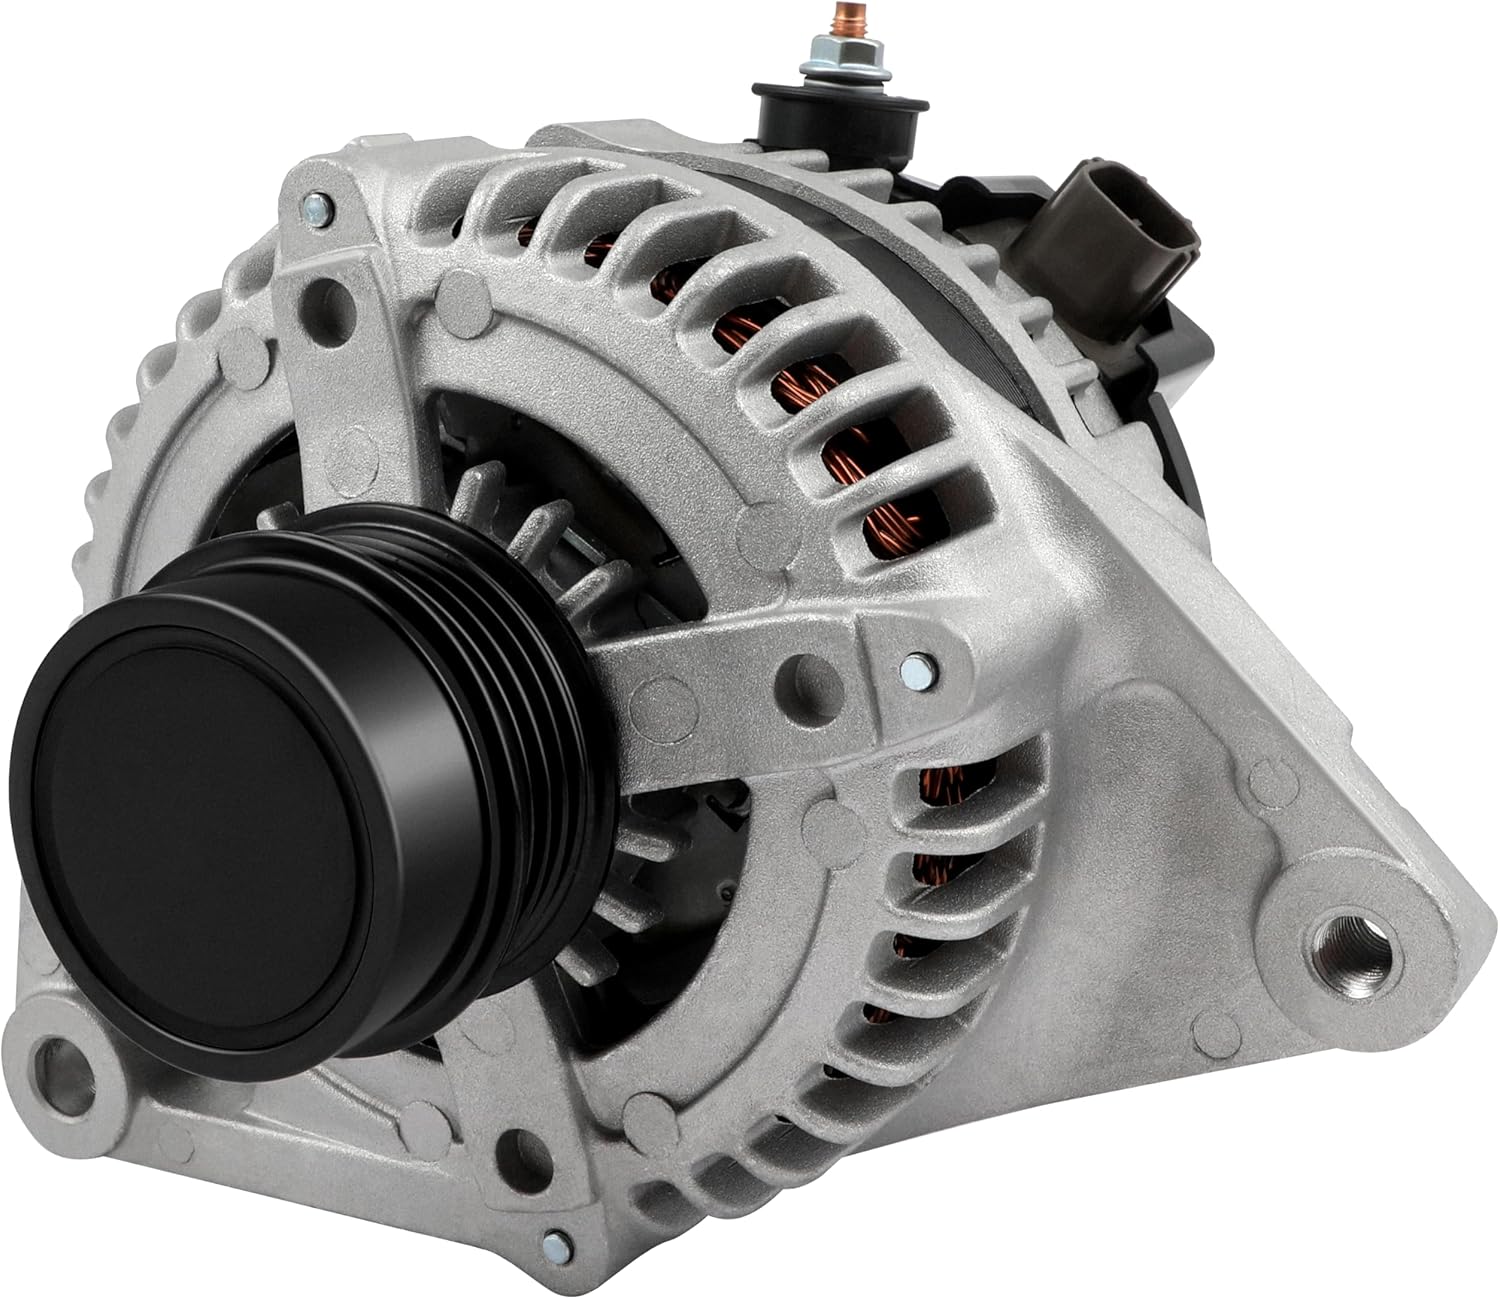
This high output alternator is designed to fit select Toyota, Scion, and RAV4 2.5L applications, delivering reliable charging performance for everyday driving. Built with a 12-volt, 100-amp design and precision-engineered components, it helps support battery recharge, stable electrical output, and consistent operation when your vehicle shows signs of charging issues.

This heavy-duty windshield wiper arm removal tool kit is built to help you quickly and safely detach stubborn wiper arms on many cars, trucks, SUVs, and RVs. Made from high-hardness carbon steel with a practical lever-style design, it offers strong gripping power, smooth force distribution, and reliable performance for routine automotive maintenance.
Basic Cleaning Supplies
- 10 mm wrench or socket: Many Toyota battery terminal clamps use 10 mm hardware, though you should verify your specific model.
- Baking soda and water: Mix about 1 tablespoon of baking soda with 1 cup of water to help neutralize acidic residue.
- Battery terminal brush or toothbrush: A dedicated terminal brush cleans posts and clamps more evenly, while an old toothbrush works for light buildup.
- Clean rags or paper towels: Use them to wipe and dry the battery case and terminals.
- Battery terminal protectant: Use terminal spray, dielectric grease, or a very thin layer of petroleum jelly after cleaning.
Protective Gear Essentials
Wear chemical-resistant gloves and safety glasses. Battery residue can irritate skin and eyes, and brushing dry corrosion can send dust into the air. Work in a well-ventilated area and avoid smoking, open flames, or sparks around the battery.
What Not to Use
Avoid pouring large amounts of water into the engine bay, using metal tools across both terminals, or scraping aggressively enough to damage the posts. Do not use cola or sugary drinks; they leave sticky residue and are not a proper battery cleaner.
Step-by-Step Guide to Cleaning Battery Terminals
Follow this process when the corrosion is light to moderate and the battery is not leaking, cracked, swollen, or physically damaged.
- Turn everything off. Park on a level surface, set the parking brake, turn the ignition off, and remove the key or keep the smart key away from the vehicle.
- Put on safety gear. Wear gloves and eye protection before touching the battery area.
- Disconnect the negative cable first. Loosen the negative (-) terminal and move the cable away so it cannot spring back onto the post.
- Disconnect the positive cable second. Loosen the positive (+) terminal and keep it separated from metal parts.
- Apply the baking soda solution. Dip a brush into the solution and scrub the posts, clamps, and top of the battery case where residue is visible.
- Clean the contact surfaces. The inside of each clamp and the outside of each battery post should look clean and metallic, not powdery or dull.
- Wipe and rinse carefully. Use a damp rag or a small amount of clean water to remove residue. Do not flood the battery or surrounding electronics.
- Dry everything completely. Moisture left around the terminals can restart corrosion.
- Reconnect the positive cable first. Tighten the positive (+) clamp securely without over-tightening.
- Reconnect the negative cable last. Tighten it securely, then check that neither clamp twists by hand.
- Apply protection after tightening. Coat the outside of the assembled terminals lightly with battery terminal protectant spray, dielectric grease, or petroleum jelly.
Pro Tip: Take a photo of the battery area before disconnecting anything. It helps you confirm cable routing, terminal orientation, hold-down position, and protective cover placement when you reconnect the battery.
[Products Worth Considering]

The ANCEL BA101 helps diagnose 12V batteries quickly with clear readings for battery health, charge level, voltage, CCA, cranking, and charging system performance. Designed for a wide range of vehicles and battery types, it offers easy-to-read results, reliable clamp connections, and built-in protection to make testing safer and more convenient.

This 4-piece automotive electrical disconnect pliers set helps safely remove stubborn push-tab connectors from mass air flow sensors, fuel injectors, and ignition coils without damaging delicate tabs. It includes straight and 60-degree angled pliers, a hose clamp plier, and a dual-ended terminal pin remover to handle a wide range of under-hood wiring tasks. Organized in a rugged storage case, it is built for mechanics and DIYers who need reliable access to tight engine bay spaces.

This replacement filter set is designed for a range of Toyota hybrid vehicles, including popular models like RAV4 Hybrid, Camry Hybrid, Highlander Hybrid, Sienna, Venza, and more. It combines cabin and engine filtration to help support cleaner airflow, reduce dust and odors, and protect your HVAC and engine systems. Built for easy installation and extended service life, it offers a convenient maintenance upgrade for compatible hybrid and gas-only Corolla models.
Applying Protective Coatings for Longevity
Protective coatings work best after the terminals are already clean, dry, and tightened. The coating should seal out moisture and air from the outside of the connection, not sit between the battery post and clamp where it could interfere with metal-to-metal contact.
[Products Worth Considering]

This replacement fuel gas cap is designed to fit a wide range of Toyota and Lexus vehicles, making it a practical solution for a lost, worn, or damaged original cap. It helps restore a secure fuel tank seal and supports proper vehicle operation while offering broad compatibility across many popular model years. The package includes one gas cap, and buyers should confirm fitment before ordering.

This upgraded engine oil funnel kit makes oil changes cleaner and easier with a spill-proof design, flow control valve, and transparent body for precise filling. Built from durable polycarbonate and equipped with 12 adapters, two 45-degree elbows, and a debris filter, it fits a wide range of vehicles and works well in tight engine spaces. The secure, hands-free setup helps reduce mess while improving control during oil filling and fluid transfers.

This battery cable crimper kit is built for creating secure, low-resistance connections on automotive, marine, solar, and DIY wiring projects. It includes multiple die sizes for a wide range of cable gauges, a rotating head for quick size changes, and durable carbon steel construction for dependable performance. The kit also comes with copper lugs, heat shrink tubing, and a cable cutter for convenient all-in-one wiring work.
Effective Coating Products
- Battery terminal protectant spray: A purpose-made spray is the cleanest option and is designed for battery posts and clamps.
- Dielectric grease: Apply a thin film around the outside of the assembled connection after tightening.
- Petroleum jelly: A light coating can help repel moisture if terminal spray is not available.
- Felt anti-corrosion washers: These sit under the cable clamps and can help slow corrosion when installed correctly.
Application Techniques
Clean first, tighten second, coat third. Do not pack grease between the battery post and cable clamp before tightening. That connection needs clean metal contact. Once the clamps are secure, apply a thin layer around the exposed post, clamp, and nut.
Routine Maintenance Practices
Recheck the coating during every oil change or at least twice a year. If the coating is dirty, washed away, or covered in powder, clean the area and reapply. Also inspect the battery tray and hold-down clamp; a battery that moves can strain cables and create a safety risk.
How to Properly Install Your RAV4 Battery to Prevent Corrosion
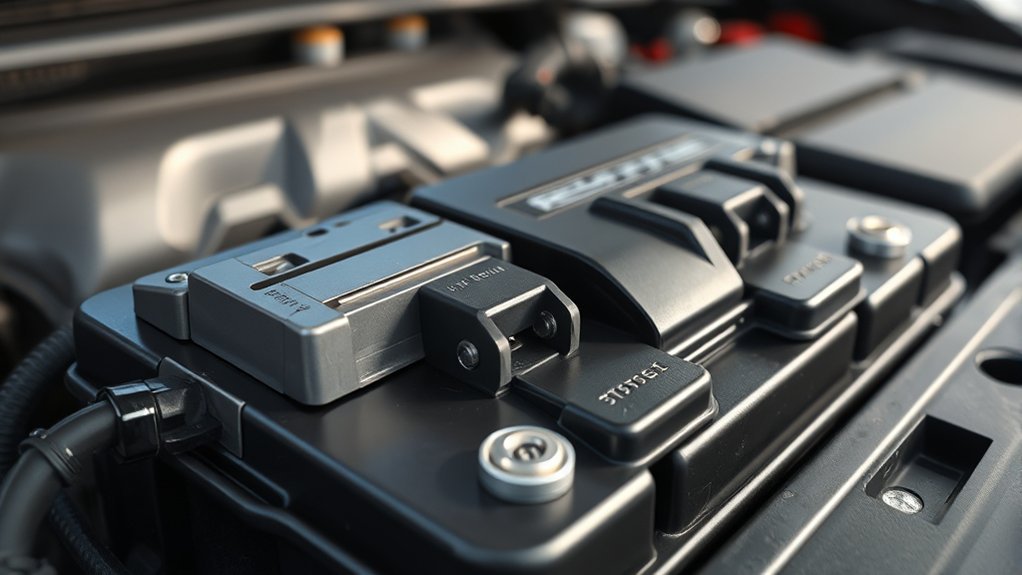
A clean battery can still corrode quickly if it is installed poorly. Correct installation prevents movement, cable stress, moisture trapping, and poor contact.
- Use the correct battery size and type. Match the group size, cold cranking amps, terminal layout, venting requirements, and hold-down fit recommended for your RAV4 model year and engine.
- Clean the tray before installation. Remove dirt, old corrosion, and moisture from the battery tray and hold-down area.
- Secure the hold-down clamp. The battery should not slide, rock, or lift when gently pushed.
- Check the positive terminal cover. Make sure the protective cover is present and correctly positioned.
- Tighten the clamps correctly. They should be snug enough that they do not twist by hand, but not so tight that the clamp cracks or deforms.
- Route cables naturally. Cables should not be stretched, kinked, pinched, or rubbing against sharp metal.
Warning: Certain 2013–2018 Toyota RAV4 vehicles were recalled because some replacement 12-volt batteries could move if the hold-down clamp was not tightened correctly, allowing the positive terminal to contact the hold-down clamp and increase fire risk. Check your VIN on the official NHTSA recall site or with a Toyota dealer.
How Often to Inspect for Battery Terminal Corrosion
For most RAV4 owners, a quick battery inspection every 3 to 6 months is enough. Inspect more often if you live near the coast, drive on salted winter roads, park outside in humid weather, or have recently replaced the battery.
- Every 3 months: Best for salty, humid, coastal, or extreme-temperature conditions.
- Every 6 months: Good for normal driving conditions and a healthy newer battery.
- After a battery replacement: Recheck within a few weeks to confirm the clamps and hold-down are still tight.
- Any time starting feels weak: Inspect the terminals before assuming the starter or alternator is bad.
Reduce Environmental Factors That Cause Corrosion
You cannot control every weather condition, but you can reduce how much moisture and residue sit around the battery.
| Factor | Action | Benefit |
|---|---|---|
| Humidity | Park in a garage when possible | Reduces moisture exposure |
| Road salt | Rinse the engine bay edges carefully after winter, avoiding direct spray on electronics | Removes corrosive residue |
| Heat | Park in shade when practical | Helps reduce battery stress |
| Dirt on battery case | Wipe the top of the battery during inspections | Helps prevent moisture and grime from collecting |
When Corrosion Means a Bigger Problem
Light corrosion after years of service is common. Corrosion that returns quickly can point to a deeper issue. Do not keep cleaning the terminals over and over without checking the cause.
Have the RAV4 inspected if you notice:
- Corrosion returns within a few weeks of cleaning.
- The battery smells like rotten eggs.
- The battery case is swollen, cracked, leaking, or hot.
- The terminals or cable ends are badly pitted or loose.
- The vehicle still starts slowly after the terminals are cleaned and tightened.
- The battery warning light appears while driving.
A technician can test the battery, alternator output, parasitic draw, cable resistance, and charging system health. If the cable end is corroded internally, cleaning the outside may not restore a reliable connection.
Benefits of Lithium Batteries in Reducing Corrosion
Lithium iron phosphate batteries do not vent acid mist the same way traditional lead-acid batteries can, so they may reduce terminal corrosion in some applications. However, that does not automatically make a lithium 12-volt battery the right choice for a RAV4.
Before switching to any lithium battery, confirm that it is approved for automotive starting use, compatible with your RAV4 charging system, properly sized, equipped with a suitable battery management system, and safe for your climate. Many RAV4 owners are better served by a high-quality lead-acid or AGM replacement that matches Toyota’s specifications.
Note: If your RAV4 is still under warranty, ask Toyota or your dealer before changing to a non-original battery chemistry. The wrong battery can create charging, fitment, venting, or warranty issues.
Frequently Asked Questions
What can I put on my car battery terminals to prevent corrosion?
After the terminals are clean, dry, and tightened, apply battery terminal protectant spray, dielectric grease, or a very thin layer of petroleum jelly around the outside of the terminal connection. You can also use treated felt washers under the cable clamps if they fit correctly.
How do you avoid battery terminals getting corroded?
Inspect the battery regularly, keep the top of the battery clean and dry, tighten loose clamps, use the correct battery size, make sure the hold-down bracket is secure, and apply terminal protectant after cleaning. Corrosion prevention works best when the battery is also healthy and properly charged.
How do I clean Toyota RAV4 battery terminals?
Turn the vehicle off, wear gloves and safety glasses, disconnect the negative cable first, then the positive cable. Scrub the terminals with a baking soda and water solution, wipe away residue, dry everything completely, reconnect positive first, reconnect negative last, and apply a light terminal protectant.
Is corrosion on a RAV4 battery terminal dangerous?
Light surface corrosion is common, but it should not be ignored. It can reduce electrical contact and cause starting problems. Heavy corrosion, leaking fluid, melted plastic, swelling, or a hot battery can be dangerous and should be inspected by a professional.
Why does corrosion keep coming back after I clean it?
Repeat corrosion may mean the clamps are loose, the battery is aging, the charging system is overcharging, moisture is collecting around the battery, or corrosion has traveled into the cable end. If it returns quickly, have the battery and charging system tested.
Conclusion
Preventing RAV4 battery terminal corrosion is mostly about consistency. Inspect the battery area a few times a year, clean buildup before it gets heavy, keep the battery dry and secure, and protect the terminals after tightening the clamps. These small maintenance steps help preserve strong electrical contact, reduce starting problems, and extend the service life of your 12-volt battery system.
Sources
- Toyota Owners — 2024 RAV4 battery discharge and jump-start guidance — supports Toyota-specific 12-volt battery safety context.
- Toyota Owners — 2026 RAV4 Hybrid 12-volt battery precautions — supports hybrid battery handling cautions and Toyota guidance.
- NHTSA Safety Recall 23V734 / Toyota 23TA13 Remedy Notice — supports the 2013–2018 RAV4 battery hold-down and short-circuit recall information.
- OSHA 1926.441 — Batteries and battery charging — supports battery ventilation and gas safety precautions.
- Interstate Batteries — How to clean battery corrosion safely — supports cleaning steps, protective gear, and baking soda guidance.
- NAPA Auto Parts — Top post battery washers — supports the use of treated felt washers for corrosion prevention.