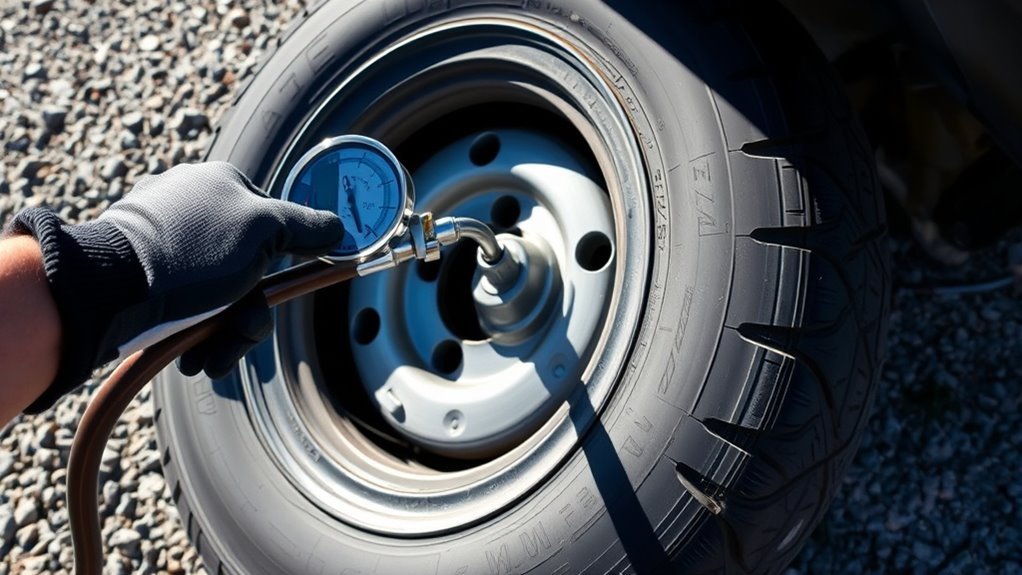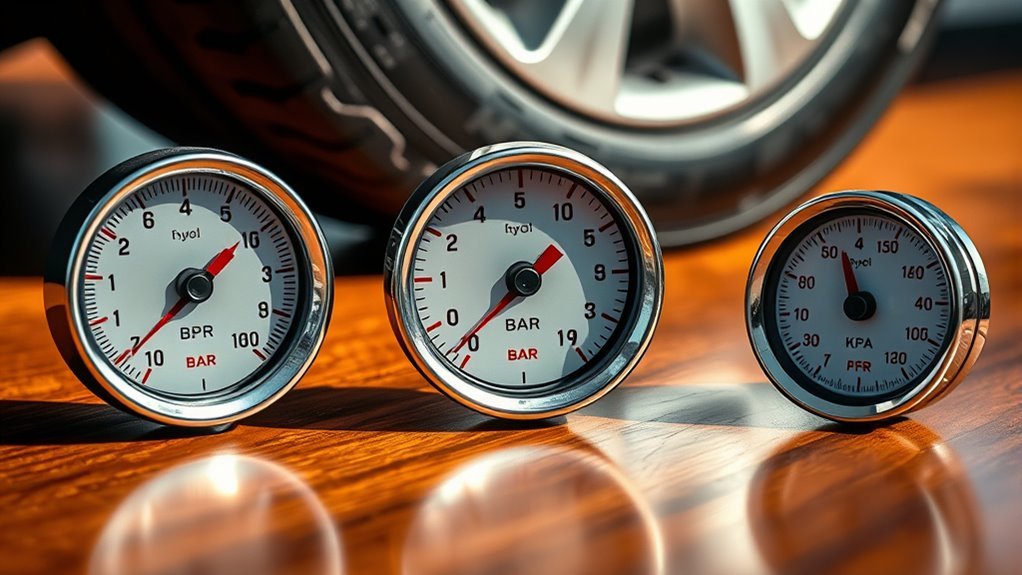
When dealing with tire pressure units, you’ll encounter PSI, BAR, and kPa. PSI (pounds per square inch) is commonly used in the U.S., while BAR and kPa (kilopascals) are preferred in Europe. To convert, remember that 1 BAR equals 14.5 PSI and 100 kPa equals 1 BAR. Accurately measuring your tire pressure guarantees safety, enhances vehicle performance, and promotes tire longevity. Keep reading to discover how to maintain ideal tire pressure effectively.
Understanding Tire Pressure Units: PSI, Bar, and kPa
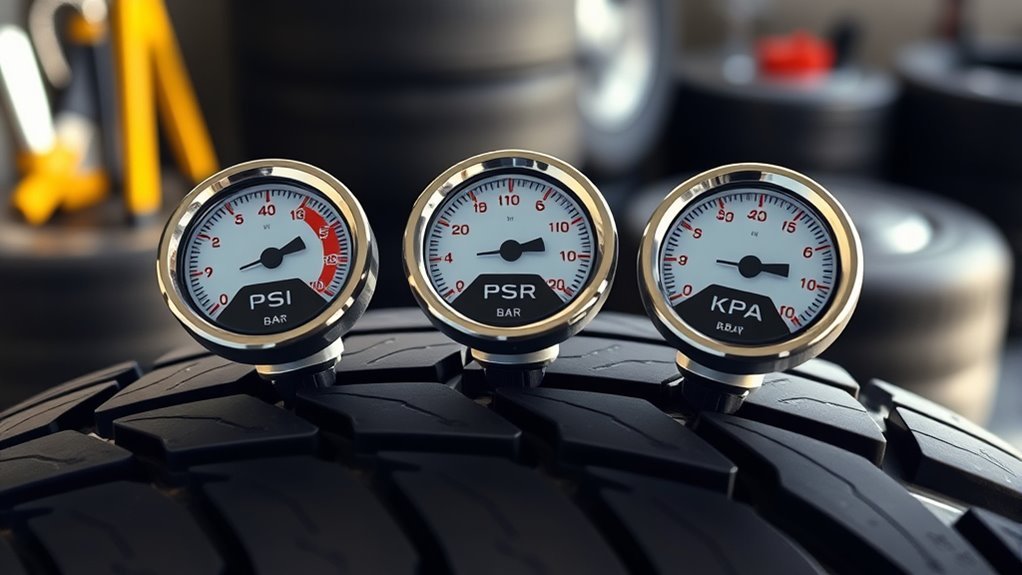
When you check your tire pressure, it’s vital to understand the different units used for measurement, as they can vary by region and vehicle specifications. PSI (pounds per square inch) is commonly used in the U.S., while BAR and kPa are metric units often preferred in Europe. One BAR equals 14.5 PSI, and 1 kPa equals 1,000 pascals, with 100 kPa equating to 1 BAR. Knowing these conversions is fundamental for accurate tire pressure readings. Always consult your vehicle’s handbook or the door sticker for the recommended pressure. Understanding these units guarantees you’re effectively measuring tire pressure, promoting peak performance and safety on the road. Don’t overlook the importance of this knowledge for your driving liberation.
How to Find the Correct Tire Pressure for Your Vehicle
To find the correct tire pressure for your vehicle, start by checking the owner’s manual or the sticker on the driver’s side door jamb for manufacturer recommendations. Many modern vehicles also come equipped with a Tire Pressure Monitoring System (TPMS) that alerts you when tire pressure is too low. Ensuring your tires are inflated to the recommended levels is essential for safety and performance.
Manufacturer Recommendations
Finding the correct tire pressure for your vehicle is essential for ideal performance and safety. To verify you’re meeting manufacturer recommendations, check your owner’s manual or the sticker on the driver’s side door jamb. These sources provide the recommended tire pressure, typically expressed in PSI, BAR, or kPa, depending on your region and vehicle make. For most passenger vehicles, the ideal tire pressure ranges from 32 to 35 PSI, but always refer to your specific guidelines. Remember to measure tire pressure when the tires are cold for accurate readings, as heat from driving increases pressure. Maintaining the correct tire pressure enhances safety, fuel efficiency, and promotes even tire wear, ultimately extending your tires’ lifespan.
Tire Pressure Monitoring System
Understanding your vehicle’s Tire Pressure Monitoring System (TPMS) is vital for maintaining peak tire performance and safety. To find the correct tire pressure, consult your owner’s manual or the sticker on the driver’s side door, which lists recommended pressures in PSI, BAR, or kPa.
- Most passenger vehicles typically require 32 to 35 PSI.
- Check tire pressure when tires are cold for accurate readings.
- Regular checks enhance fuel efficiency, improve handling, and extend tire life.
Your TPMS alerts you when tire pressures drop below manufacturer levels, ensuring top performance. Remember, maintaining correct tire pressure is an important aspect of vehicle maintenance, so don’t overlook those pressure conversions!
Why Proper Tire Pressure Matters
Proper tire pressure is essential not only for your vehicle’s performance but also for your safety on the road. Maintaining the recommended tire pressure, typically ranging from 32 to 35 PSI, guarantees your tires are correctly inflated. This enhances vehicle handling and stability, critical factors for safe driving. Correctly inflated tires greatly improve fuel efficiency by reducing rolling resistance, ultimately saving you money on fuel costs. Additionally, proper tire pressure promotes even tire wear, extending their lifespan and minimizing the need for replacements. Measuring pressure when tires are cold provides the most accurate readings. By guaranteeing your tires are properly inflated, you reduce the risk of tire failures, such as blowouts, further enhancing overall vehicle safety.
Converting Tire Pressure: From PSI to Bar and kPa
To effectively manage your tire pressure, you’ll need to understand how to convert between different units like PSI, BAR, and kPa. The conversion formulas are straightforward, but practical examples can help clarify the process. Additionally, being aware of common mistakes will guarantee you get accurate readings and maintain peak tire performance.
Conversion Formulas Overview
When you need to convert tire pressure measurements, knowing the right formulas can save you time and guarantee accuracy. Here’s a quick overview of essential conversion formulas:
- PSI to BAR: Divide the PSI value by 14.504.
- PSI to kPa: Multiply the PSI value by 6.895.
- BAR to PSI: Multiply the BAR value by 14.5038.
If you’re looking to convert kPa to PSI, just divide the kPa value by 6.895. These conversion formulas are vital for maintaining proper pressure measurements and ensuring your vehicle’s performance aligns with the recommended tyre pressures. Always refer to your vehicle’s handbook for specific needs. Understanding these conversions empowers you to manage your tire pressure effectively.
Practical Conversion Examples
Understanding how to convert tire pressure measurements accurately is essential for guaranteeing ideal vehicle performance. To convert PSI to BAR, simply divide the PSI value by 14.5038. For instance, 30 PSI equals approximately 2.07 BAR. If you’re converting from PSI to kPa, multiply by 6.895; consequently, 30 PSI converts to about 206.85 kPa. When you need to switch from BAR to PSI, multiply by 14.504; for example, 2 BAR becomes around 29.008 PSI. To convert kPa back to PSI, divide the kPa value by 6.895—200 kPa is roughly 29.01 PSI. Finally, to find BAR from kPa, divide by 100—220 kPa results in about 2.2 BAR. Understanding these conversions guarantees you measure atmospheric pressure accurately, optimizing your tire pressure.
Common Conversion Mistakes
How often do you double-check your tire pressure conversions? Many people make common mistakes that can lead to inaccurate pressure readings. To avoid these errors, keep these key points in mind:
- 1 BAR equals approximately 14.5 PSI; forgetting this can skew your tire pressure readings.
- When converting PSI to kPa, remember that 1 PSI equals roughly 6.895 kPa to prevent underestimating pressure.
- 1 BAR is equivalent to 100 kPa, which can confuse conversions between metric and imperial systems.
Always double-check your calculations using established conversion formulas. Consider using an online converter or calculator to verify accuracy when converting tire pressure between PSI, BAR, and kPa. Being meticulous helps maintain peak tire performance.
Common Mistakes in Tire Pressure Maintenance
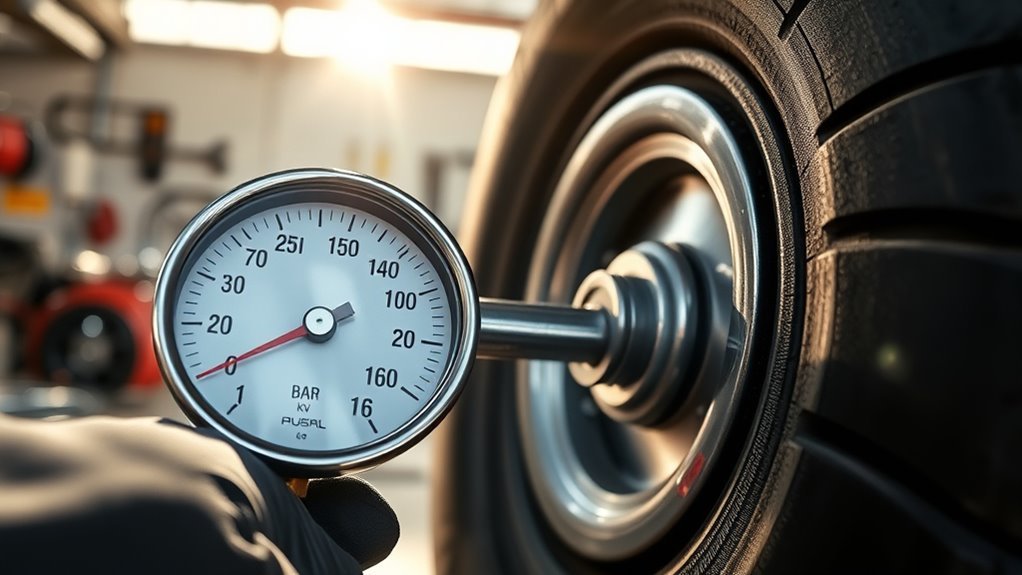
While many drivers may think they know how to maintain proper tire pressure, several common mistakes can lead to serious consequences. One frequent error is checking tire pressure when the tires are hot; always measure when they’re cold for accuracy. Neglecting regular checks can lead to under-inflation, decreasing fuel efficiency by up to 3% for every 1 PSI drop. Relying solely on sidewall ratings instead of the owner’s manual for the Correct Tyre Pressure is another pitfall. Additionally, failing to account for temperature changes can cause under-inflation, as pressure commonly drops by about 1 PSI for every 10°F decrease. Ignoring these factors leads to uneven tire wear and compromises safety and handling. Use tyre pressure gauges to maintain peak performance.
Checking Your Tire Pressure: Tools and Techniques
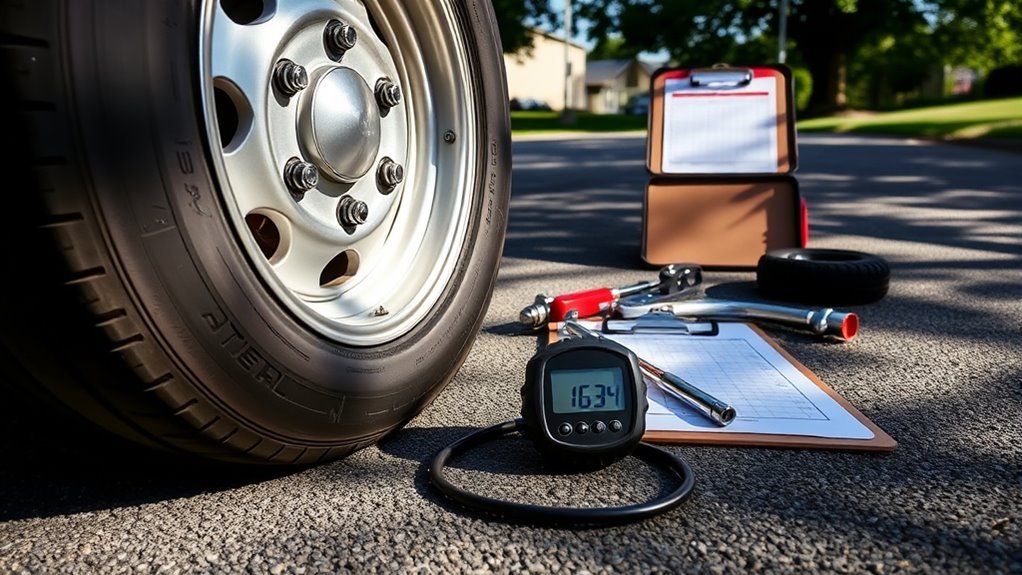
To guarantee your vehicle operates safely and efficiently, checking tire pressure regularly is essential. Use a reliable tire pressure gauge, either digital or analog, to measure tire pressure in psi, bar, or kPa. Here are some tips for accurate measurement:
Regularly checking tire pressure is crucial for safe vehicle operation; use a reliable gauge for accurate measurements.
- Measure tire pressure when tires are cold, ideally before driving.
- Refer to your vehicle’s manual or the sticker on the driver’s side door for the recommended level.
- If tire pressure is low, inflate using an air compressor and recheck to confirm accuracy.
Regular checks, ideally once a month, help maintain ideal tire pressure and enhance safety. By taking these steps, you guarantee your vehicle performs at its best while promoting long-term tire health.
Enhancing Vehicle Performance Through Correct Tire Pressure
Correct tire pressure is essential for improving your vehicle’s performance, as it directly impacts handling, stability, and fuel efficiency. Maintaining tire pressure between 32 to 35 PSI guarantees your tires are properly inflated, which reduces rolling resistance and can enhance fuel efficiency by up to 3%. When your tires are kept at the recommended pressure, they wear evenly, extending their lifespan and saving you money on replacements. Conversely, driving on under-inflated tires increases the risk of blowouts, jeopardizing your safety and that of others. Always check tire pressure when the tires are cold to avoid misleading readings due to heat. Prioritizing correct tire pressure can greatly improve your vehicle performance and guarantee a safer driving experience.
Understanding kPa: Its Impact on Tire Pressure
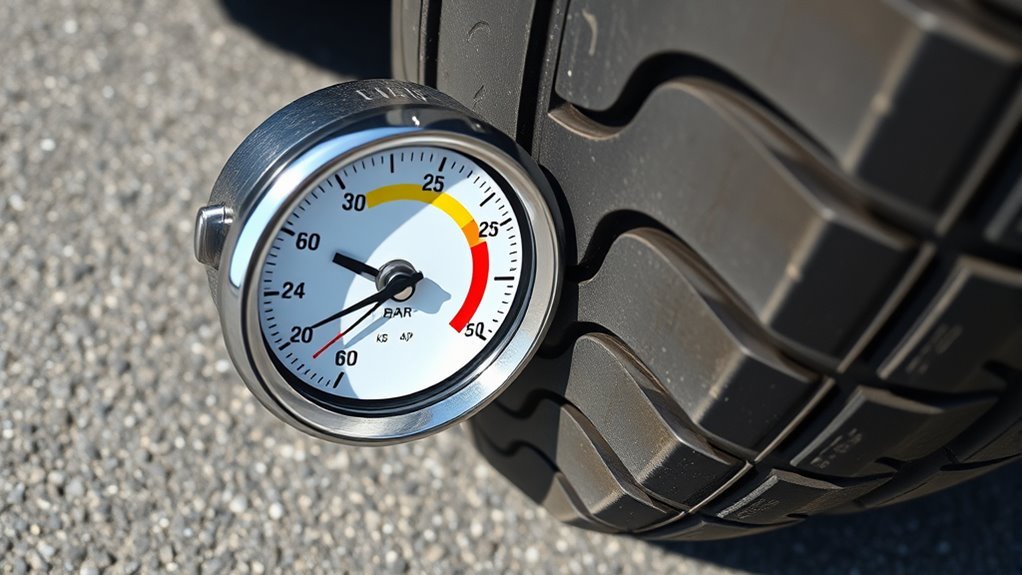
Maintaining proper tire pressure plays a significant role in maximizing vehicle performance, and understanding the measurement units used for tire pressure is equally important. kPa, or kilopascal, is a metric unit that provides a precise way to express tire pressures. Here’s why kPa is essential for tire pressure:
- 1 kPa equals 1,000 pascals, making it suitable for precise measurements.
- A typical passenger car tire pressure of 220 kPa corresponds to about 32 PSI, showcasing the importance of conversion.
- The metric system’s adoption of kPa enhances clarity and standardization in tire pressure specifications.
Using kPa guarantees peak vehicle performance, fuel efficiency, and tire longevity, reflecting a shift towards more accurate pressure measurements.
Tips for Regular Tire Pressure Checks and Maintenance
Regular checks of your tire pressure are vital for safety and performance, ideally done at least once a month or before starting long trips. Always measure tire pressure when the tires are cold for accurate readings, as heat from driving can inflate the pressure. Refer to your vehicle’s handbook or the driver’s side door for the manufacturer’s recommended tire pressure, typically between 32 to 35 PSI. A reliable tire pressure gauge can help you easily monitor and adjust tire pressure as needed. Maintaining tire pressure within this range improves fuel efficiency, enhances handling, and reduces tire wear. By prioritizing tire maintenance, you guarantee peak performance and a safer driving experience on the road.
Frequently Asked Questions
How Do You Convert kPa to BAR to PSI?
To convert kPa to bar, divide by 100, then to psi, multiply by 0.145. Understanding these conversions aids tire maintenance, ensuring safety standards are met, while recognizing kPa’s advantages and psi’s disadvantages in pressure measurement.
Is 1 BAR 14.5 or 14.7 PSI?
1 bar is approximately 14.5 PSI, not 14.7 PSI. For accurate tire pressure, always use correct conversion factors. This guarantees adherence to automotive standards and enhances tire safety through proper inflation techniques and measurement accuracy.
What Is 30-35 PSI in kPa?
30-35 PSI converts to approximately 206.85-241.32 kPa. Understanding these tire pressure measurements enhances safety standards and guarantees ideal tire maintenance, while recognizing PSI limitations and kPa advantages aids in effective unit conversions for performance.
Why Use kPa Instead of PSI?
You should use kPa for its advantages in accuracy and consistency. KPa standardization simplifies comparisons and applications, enhancing readability and precision in measurements. Embracing kPa benefits you by aligning with global automotive practices.
Conclusion
In conclusion, maintaining the correct tire pressure is like tuning a musical instrument; it guarantees your vehicle performs harmoniously on the road. By understanding PSI, bar, and kPa, you can easily convert and monitor your tire pressure. Regular checks and proper maintenance not only enhance safety but also improve fuel efficiency and tire longevity. Stay proactive in your tire care, and your vehicle will thank you with a smoother, more efficient ride.