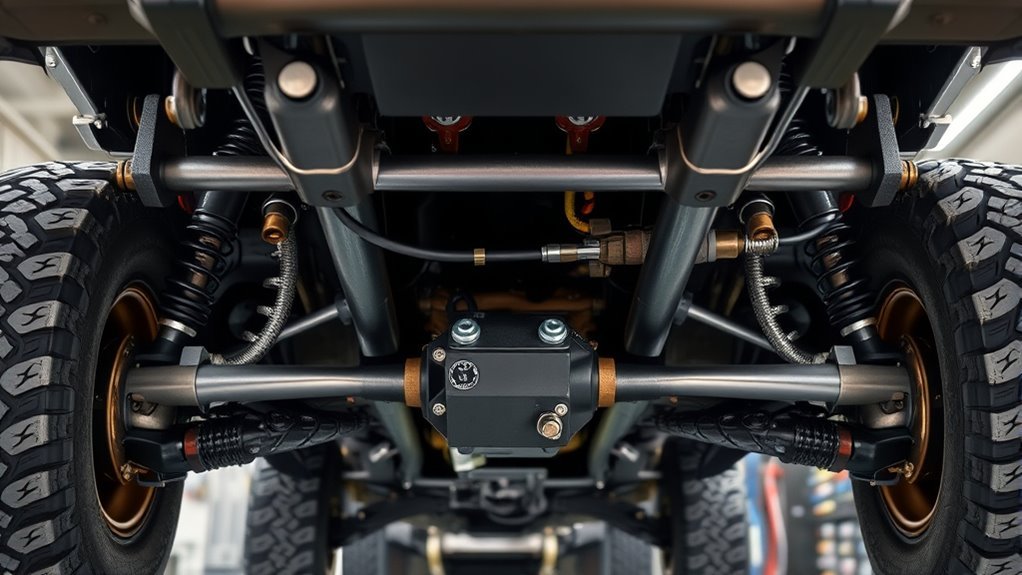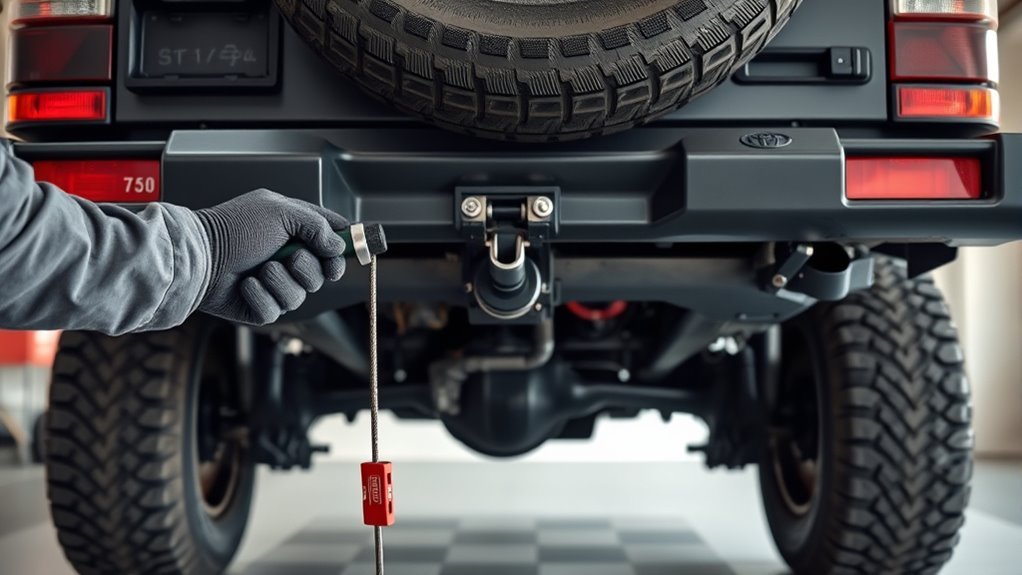
Last updated: July 31, 2026 · Scope: 100 Series Toyota Land Cruiser and 1998–2007 Lexus LX470-style underbody spare carriers. Access details can differ on other Land Cruiser generations, so confirm your exact owner’s manual.
To lower the spare tire on a 100 Series Land Cruiser or Lexus LX470, park on firm, level ground, shift to Park, set the parking brake, and turn on the hazard lights. Assemble the factory jack handle, extension pieces, and jack handle end. Remove the small spare-tire carrier lid in the rear bumper with a slotted screwdriver, protect the paint with a cloth or paper, insert the extension into the lowering screw, and turn it counterclockwise. Keep turning until the tire is fully on the ground, then remove the holding bracket through the wheel center. Do not remove the whole bumper cover, use a power tool, or crawl under a vehicle supported only by a jack.
Source note: This procedure was checked against the 2003 Lexus LX470 owner’s manual. For a different Land Cruiser year or generation, use the matching manual from the Toyota manuals and warranties portal.
Editorial transparency: This is a manual-based procedure and does not claim hands-on testing. [VERIFY: add a real author byline, relevant credentials, and an exact-vehicle inspection note only after checking the procedure on the vehicle.]
Quick Answer: How to Lower the Spare Tire on a Land Cruiser
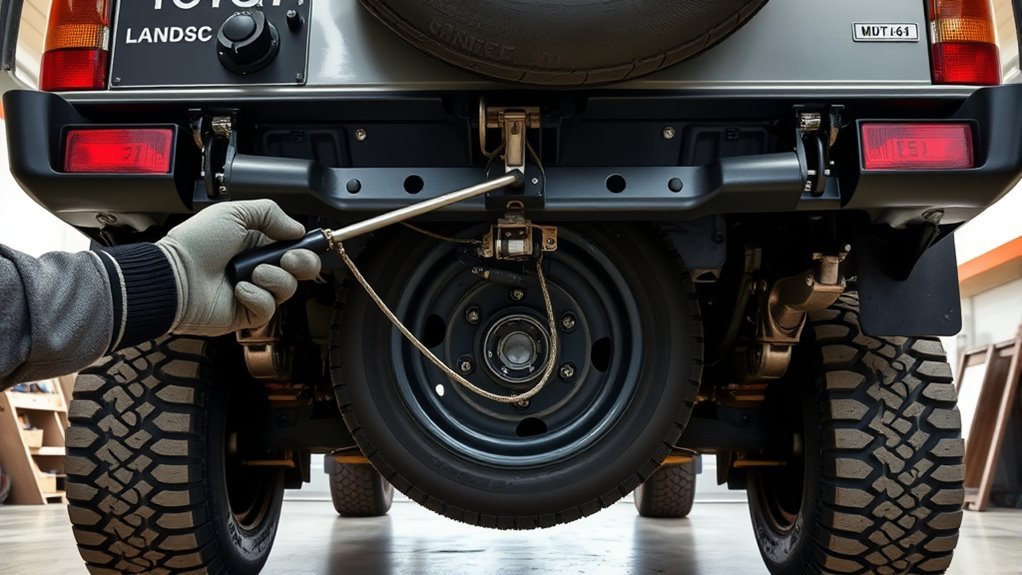
Use the factory three-part jack-handle assembly to operate the spare-tire carrier. On a 2003 LX470, the tool bag and jack are stored on the left side of the luggage compartment. Remove the small carrier lid in the rear bumper with a slotted screwdriver, insert the jack-handle extension into the lowering screw, and turn counterclockwise until the tire rests completely on the ground. Continue only far enough to create slack, then tilt and remove the holding bracket through the wheel center.
| Step | Correct action | Important note |
|---|---|---|
| 1 | Secure the vehicle | Firm, level ground; Park; parking brake; hazards |
| 2 | Assemble the factory handle | Tighten every screw and wing bolt |
| 3 | Remove the small carrier lid | Do not remove the full bumper cover |
| 4 | Turn counterclockwise | Lower the tire fully to the ground |
| 5 | Remove the holding bracket | Tilt it through the wheel center |
Model-year warning: “Land Cruiser” covers several generations and regional versions. The direction of rotation is commonly counterclockwise to lower, but the access point and tool shape can differ. Use this guide only when your carrier matches the 100 Series/LX470 layout described here.
Locate the Spare and Carrier (2003 LX470 Specifics)
The spare tire is stored under the rear luggage-compartment area. The factory tool bag and jack are on the left side of the luggage compartment. The rear bumper has a small spare-tire carrier lid that covers the lowering-screw access point. This lid is not the entire bumper cover.
Where Is the Rear-Bumper Access Point?
Look for the small removable carrier lid in the rear bumper. Protect the surrounding paint with folded paper or a cloth, then use a slotted screwdriver to lift the lid. Behind it is the access path for the jack-handle extension. Keep the tool aligned with the opening so it seats squarely in the lowering screw.
- Remove only the small spare-tire carrier lid.
- Protect the painted surface before using the screwdriver.
- Insert the assembled extension straight through the access opening.
- Do not pry off surrounding trim or the full bumper cover.
- Stop if the access point does not match this description and check the manual for your model.
Where Is the Spare-Tire Lowering Screw?
The lowering screw sits behind the carrier-lid opening in the rear bumper. Insert the jack handle end and extension until the tool is firmly engaged. Turn the handle counterclockwise to lower the spare. The tire must reach the ground before you try to remove the holding bracket.
| Step | Action |
|---|---|
| 1 | Protect the bumper surface |
| 2 | Remove the small carrier lid |
| 3 | Insert the jack handle end and extension |
| 4 | Turn counterclockwise |
| 5 | Lower fully, then remove the holding bracket |
Which Factory Tool-Kit Parts Do You Need?
The 2003 LX470 manual identifies three parts for operating the carrier: the jack handle end, jack handle extension, and jack handle. Assemble them exactly as shown in the owner’s manual. Tighten the screws and wing bolt securely, and make sure each joint’s hollow aligns with its bolt. A loose joint can separate and damage the vehicle.
- Jack handle end
- Jack handle extension pieces
- Jack handle
- Slotted screwdriver for the carrier lid
- Paper or cloth to protect the bumper finish
Tools Needed: Factory Jack Handle, Extensions, and a Slotted Screwdriver
You do not need to remove the bumper cover, and the 2003 LX470 owner’s manual does not list a separate standard “winch key” for this procedure. Use the vehicle’s factory jack-handle assembly and a slotted screwdriver for the small carrier lid. Some vehicles may have an added spare-tire security device or non-original carrier; in that case, identify the exact part before applying force.
[Products Worth Considering]

This 121-piece 4-in-1 clip kit provides a versatile replacement solution for Toyota and Lexus body, bumper, fender liner, and splash shield fasteners. It includes multiple clip and screw styles designed to fit common mounting points across popular models, helping restore secure panel attachment and reduce rattles or loose trim. Ideal for maintenance, repair, and restoration projects, this assortment supports a wide range of wheel well and exterior trim applications.
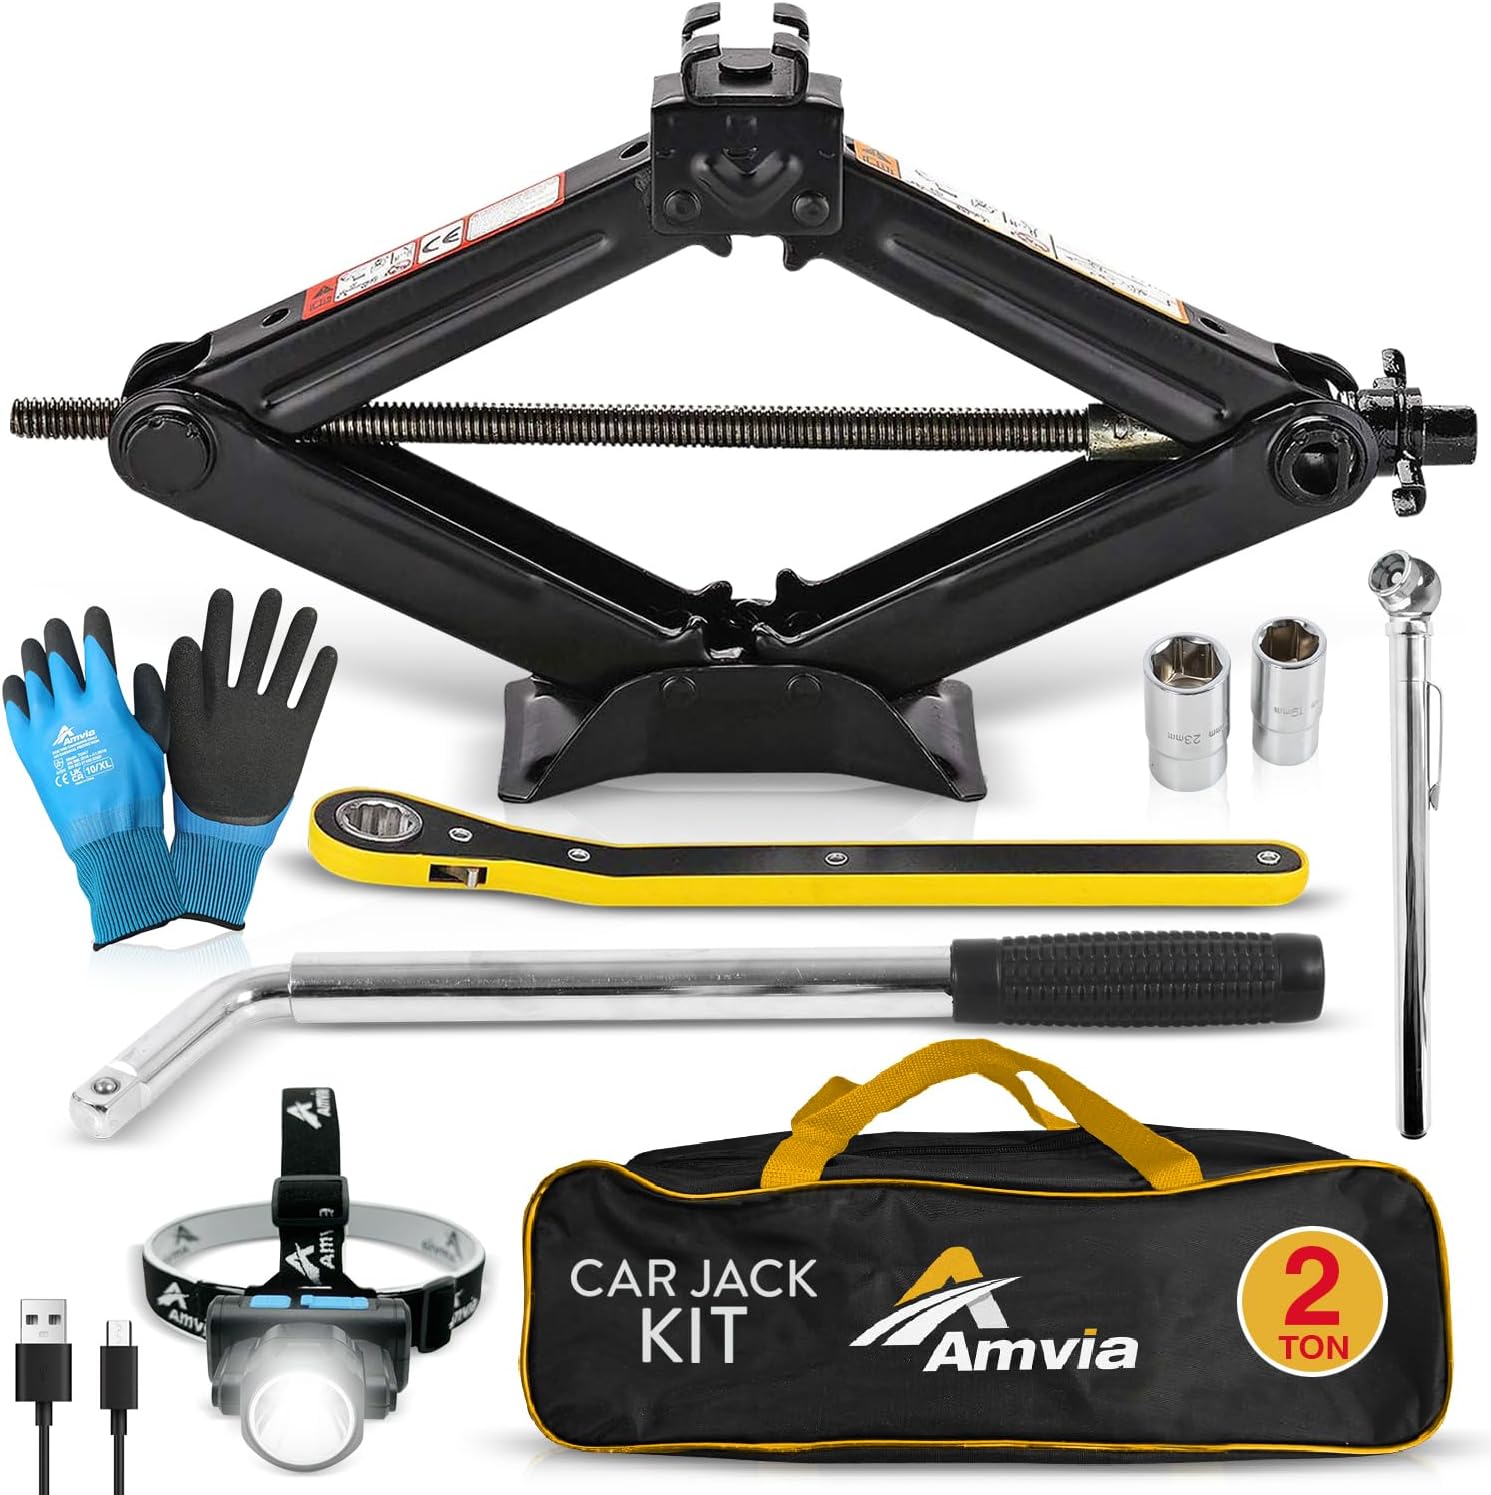
This all-in-one car jack kit is built to help drivers handle flat tire emergencies quickly and safely. It includes a 2 ton scissor jack, telescopic lug wrench, USB rechargeable LED headlamp, tire pressure gauge, gloves, and a storage bag for organized trunk storage. Designed for a wide range of vehicles, it offers a compact, portable solution for roadside tire changes day or night.

The Milwaukee M18 FUEL 1/2" High Torque Impact Wrench delivers powerful fastening and breakaway performance in a compact, easy-to-handle design. Its brushless motor and REDLINK PLUS intelligence help maintain strong output while protecting against overload, overheating, and over-discharge. With multiple control modes, durable all-metal construction, and a friction ring anvil for fast socket changes, this tool is built for demanding automotive and jobsite applications.
How Do You Assemble the Jack Handle?
Connect the jack handle end, the required extension pieces, and the jack handle. Tighten the bolts at the extension joints and secure the wing bolt at the handle joint. Check that every connection is firm before inserting the tool through the bumper. Do not use a partly assembled handle because it can slip out of the lowering screw.
- Lay the pieces on the ground in assembly order.
- Join the handle end to the extension.
- Tighten the extension-joint bolts.
- Attach the jack handle and tighten the wing bolt.
- Pull lightly on each joint to confirm it is secure.
Use only hand force on the factory handle. A Lexus technical bulletin for 1999–2006 LX470 spare-tire carriers warns that power tools can damage the carrier.
How Do You Access the Lowering Screw Without Damaging the Bumper?
Place folded paper or a cloth around the edge of the carrier lid, then use a slotted screwdriver to lift the lid carefully. Insert the assembled jack-handle extension through the opening and keep the handle firmly fitted while turning. If the tool will not engage, remove it and realign it. Do not enlarge the opening, force the tool at an angle, or pry off nearby trim.
Safety Checklist Before Lowering the Spare Tire
Lowering the spare does not require you to crawl under the vehicle. Work from behind the bumper and pull the tire out only after it is fully on the ground. If you are changing a flat tire, the 2003 LX470 manual also requires the active height control suspension to be turned off before jacking.
- Move well away from traffic and park on firm, level ground.
- Stop the engine, turn on the hazard lights, shift to Park, and set the parking brake.
- Have passengers exit on the side away from traffic.
- Chock the wheel diagonally opposite the flat tire if you will jack the vehicle.
- Turn off Active Height Control before jacking an LX470.
- Wear gloves and keep hands clear of the carrier and holding bracket.
- Never place any part of your body under a vehicle supported only by a jack.
If the shoulder is narrow, the ground is soft, visibility is poor, or traffic is close, use roadside assistance instead of attempting the tire change.
Remove the Small Carrier Lid and Access the Lowering Screw
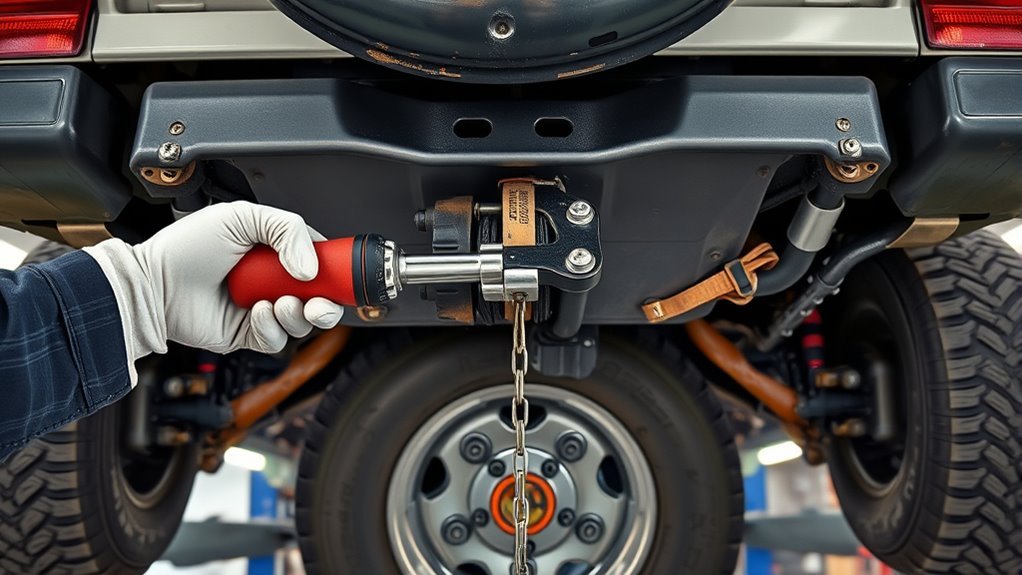
The original wording in this section was too broad: you should not remove the full rear bumper cover. On the 2003 LX470, remove only the small spare-tire carrier lid. Place paper or cloth over the painted edge, insert a slotted screwdriver carefully, and lift the lid without twisting nearby trim.
Once the lid is off, look through the access opening and insert the jack-handle extension into the lowering screw. Keep the tool straight and push it in only until it seats. If the tool repeatedly slips, inspect the handle joints and the tool end before continuing.
Step-by-Step: Engage the Jack Handle and Lower the Spare
- Secure the vehicle. Park on firm, level ground, shift to Park, set the parking brake, stop the engine, and turn on the hazards.
- Get the factory tools. On a 2003 LX470, the tool bag and jack are on the left side of the luggage compartment.
- Assemble the handle. Join the jack handle end, extension pieces, and handle. Tighten every screw and wing bolt.
- Protect the bumper. Place paper or cloth around the carrier lid.
- Remove the lid. Use a slotted screwdriver to lift only the small carrier lid.
- Engage the lowering screw. Insert the extension straight through the opening and keep it firmly seated.
- Lower the tire. Turn the handle counterclockwise with steady hand pressure.
- Set the tire on the ground. Continue until the tire is completely down and the carrier has enough slack to release.
- Remove the holding bracket. Pull the tire outward, tilt the bracket, and pass it through the wheel center.
Do not stop while the tire is still hanging. The owner’s manual specifically instructs you to lower it completely to the ground before removing the holding bracket.
If the Factory Tool Is Missing: Safe Options
Do not substitute a screwdriver, pry bar, socket extension, or power tool for the factory carrier handle. A poor fit can round the lowering screw, slip into the bumper, or damage the carrier. Check the tool bag, luggage-compartment storage areas, and glovebox for loose pieces. If any part is missing, obtain an exact-fit replacement for your model or ask a Toyota/Lexus dealer or qualified repair shop to identify the correct tool.
| Option | Recommendation |
|---|---|
| Correct OEM or exact-fit replacement tool | Preferred |
| Dealer or qualified shop assistance | Use when the carrier is stuck or the tool end is damaged |
| Improvised bar, screwdriver, or power tool | Do not use |
If your vehicle has a separate security lock or an aftermarket carrier, identify its manufacturer and required key before attempting removal.
[Products Worth Considering]

This cordless impact wrench delivers powerful high-torque performance for tire changes, stubborn lug nuts, and heavy-duty repairs around the garage or job site. Its brushless motor, three-speed control, LED work light, and included dual batteries provide reliable runtime, precision, and convenience for automotive and maintenance tasks. The complete kit comes with sockets, an extension bar, charger, and carry case for easy transport and storage.

This car emergency roadside assistance kit helps drivers handle unexpected breakdowns and roadside incidents with confidence. It includes jumper cables and a tire inflator to support quick, practical solutions in emergencies, while the compact bag keeps everything organized in the trunk. Ideal for new drivers, families, road trips, and seasonal travel, it is a thoughtful and useful safety essential for any vehicle.

This cordless impact wrench delivers high torque for fast lug nut removal, stubborn bolt loosening, and heavy-duty repair work on cars, trucks, and machinery. A brushless motor, dual 21V batteries, variable speed control, and built-in safety protections help you work efficiently with less effort. The included sockets, charger, and storage case make it a ready-to-use kit for home garages and professional jobsites.
Locked, Jammed, or Dangling Spare: Troubleshooting
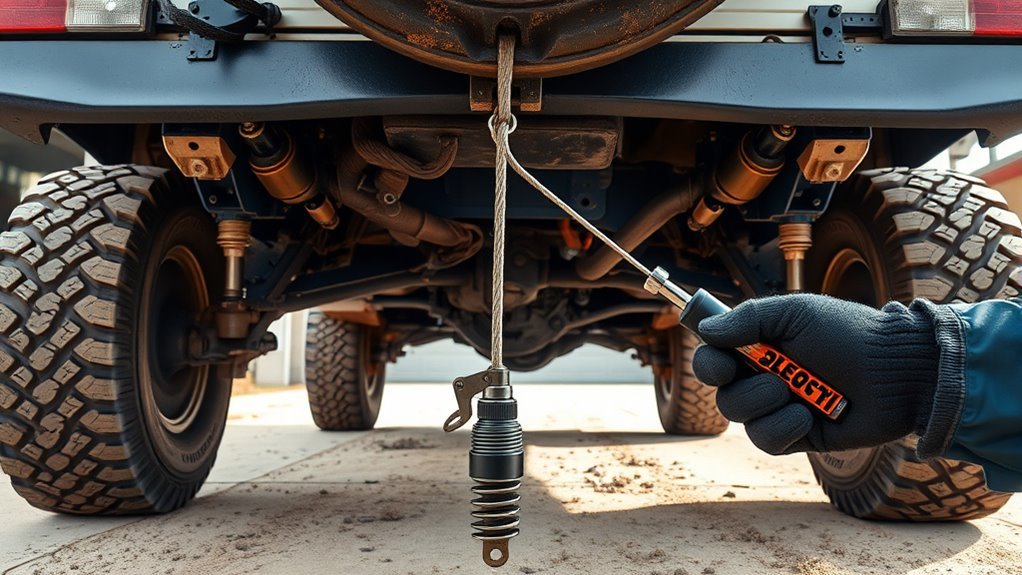
Stop if the handle requires excessive force, the tool slips, the carrier makes grinding sounds, or the tire lowers unevenly. First confirm that the handle is fully assembled and firmly engaged. Look for a tire caught against the exhaust, hitch, frame, or other nearby part. Do not use an impact wrench, strike the carrier, or crawl underneath to pull on a suspended tire.
[Products Worth Considering]

This all-in-one car emergency kit helps drivers stay prepared for roadside breakdowns, flat tires, and dead batteries with essential tools in one compact package. It includes a portable air compressor, heavy-duty jumper cables, a first aid kit, and other safety items designed for year-round peace of mind. Compact enough for easy trunk storage, it makes a practical safety solution and thoughtful gift for drivers of all ages.

This universal scissor car jack kit is designed to make roadside tire changes faster and easier for sedans, SUVs, and MPVs. It offers a strong lifting capacity, a broad height range, and a complete set of tools including wrenches, pads, gloves, and a storage bag for convenient emergency use. Built from high-strength steel with a stable base and protective pads, it helps support safe, reliable vehicle lifting when you need it most.

The SEESII cordless impact wrench delivers high torque for fast tire changes, bolt removal, and demanding automotive or construction tasks. Its brushless motor, variable-speed control, dual batteries, and included socket set help you work longer with less fatigue and greater precision. A compact design, LED work light, and protective carrying case make it a practical all-in-one solution for home garages, roadside repairs, and jobsite use.
What Should You Do if the Carrier Will Not Turn?
- Remove and reassemble the jack-handle joints, then tighten them securely.
- Check that the handle end is aligned with the lowering screw.
- Try light, steady hand pressure only; do not jerk the handle.
- Inspect the visible carrier area for corrosion, a bent bracket, or an obstruction.
- Stop if the screw spins without moving the tire or if the carrier binds.
- Have the carrier inspected by a Toyota/Lexus dealer or qualified shop if normal hand operation does not work.
Do not spray lubricant into an unknown mechanism unless the service information for your exact carrier specifies the product and application point. Uncontrolled lubricant can attract dirt or reach surfaces where it does not belong.
What if a Security Key or Carrier Part Is Missing?
The standard 2003 LX470 manual procedure uses the jack-handle end and extensions, not a separate generic key. However, a previous owner may have installed a security lock or an aftermarket carrier. Check the tool bag and records for a matching adapter. If the part cannot be identified, photograph the access fitting and carrier, then have a dealer or parts specialist match it. Do not hammer off a lock or force a mismatched tool into the lowering screw.
| Issue | Safe action | Avoid |
|---|---|---|
| Factory handle missing | Get an exact-fit replacement | Improvised bars |
| Tool will not engage | Realign and inspect the tool end | Forcing at an angle |
| Carrier jammed | Professional inspection | Impact tools or hammering |
| Tire hanging unevenly | Stop and check for an obstruction from a safe position | Getting under the tire |
Put the Spare Back and Secure It After Use
Place the tire under the vehicle with the outer side of the wheel facing up. Pass the holding bracket through the wheel center and position it correctly. Turn the jack handle clockwise so the tire rises straight upward without catching on the exhaust, hitch, frame, or other components.
Raise the tire straight, confirm the holding bracket is seated, and secure the carrier without using a power tool.
- Keep the wheel centered as it rises.
- Stop and lower it again if one edge catches or the tire tilts.
- Confirm the holding bracket remains correctly positioned.
- Secure the carrier so the tire is held firmly and horizontally.
- Reinstall the small carrier lid.
- Return the jack and tools to their original storage locations.
The 2003 LX470 manual also instructs the user to tighten the spare-tire clamp bolt so the carrier is held securely by its hook. Confirm the exact carrier arrangement on your vehicle before applying final hand tension.
Maintenance Checks and When to Consult the Owner’s Manual or Dealer
Check the spare, carrier, and tools before a long trip and during routine tire-pressure checks. Use the cold pressure listed for your exact vehicle and spare in the owner’s manual or tire-information label. Do not add an arbitrary 15–20 psi above the specified pressure.
| Check | Action |
|---|---|
| Spare pressure | Set to the exact owner-manual or vehicle-label specification |
| Tire condition | Inspect tread, sidewalls, valve, and visible age cracking |
| Tool kit | Confirm all handle pieces, bolts, and the screwdriver are present |
| Carrier operation | Test by hand in a safe driveway before a trip |
| Mounting position | Confirm the tire sits level and does not rattle |
Consult the exact owner’s manual when the access opening, tool shape, or storage layout differs from this guide. Use a dealer or qualified shop when the carrier is seized, bent, heavily corroded, missing parts, or unable to hold the tire securely.
Related internal guides: how to read the tire-pressure label, how Active Height Control works, and Land Cruiser 80 Series vs. 100 Series identification.
Frequently Asked Questions
Can I Lower the Spare Tire With the Vehicle on a Slope?
No. Move to firm, level ground, shift to Park, set the parking brake, stop the engine, and turn on the hazard lights. If you will jack the vehicle, chock the diagonally opposite wheel and turn off Active Height Control on an LX470.
Will an Electric Spare-Tire Carrier Fit My Land Cruiser?
Do not assume universal fit. Compatibility depends on the Land Cruiser generation, mounting points, load rating, carrier travel, exhaust and hitch clearance, and the replacement manufacturer’s instructions. Use an OEM-equivalent or vehicle-specific carrier that is rated for the wheel and tire.
Can I Use a Different Vehicle’s Jack Handle to Lower It?
Only use a substitute if it is confirmed to match the lowering screw exactly and is designed for the carrier. The safer choice is the correct factory or exact-fit replacement tool. A loose or mismatched end can slip and damage the screw or bumper.
How Do I Prevent Rust on the Spare-Tire Carrier?
Rinse away road salt and mud, let the area dry, inspect the visible carrier parts, bracket, and fasteners, and correct damaged coatings. Do not apply an unapproved lubricant or tape to the carrier mechanism. Follow model-specific service information or ask a qualified technician which corrosion product is safe for the exact carrier.
Is a Failed Spare-Tire Carrier Covered by Warranty?
Lowering the spare is normal vehicle operation. Coverage for a failed carrier depends on the vehicle’s age, mileage, original warranty terms, service contract, cause of failure, and any modifications. Check the applicable warranty booklet or ask the manufacturer or service-contract provider for a written coverage decision.
Conclusion
For a 100 Series Land Cruiser or 2003 LX470, the safe sequence is simple: secure the vehicle, assemble the factory jack handle, remove only the small carrier lid, turn the lowering screw counterclockwise, lower the tire fully to the ground, and remove the holding bracket. To store it, place the outer side of the wheel facing up and raise it straight until the carrier is secure. Do not use a power tool, remove the whole bumper cover, or improvise with a poorly fitting bar. Test the carrier at home before a trip so a missing tool or seized mechanism does not become a roadside emergency.