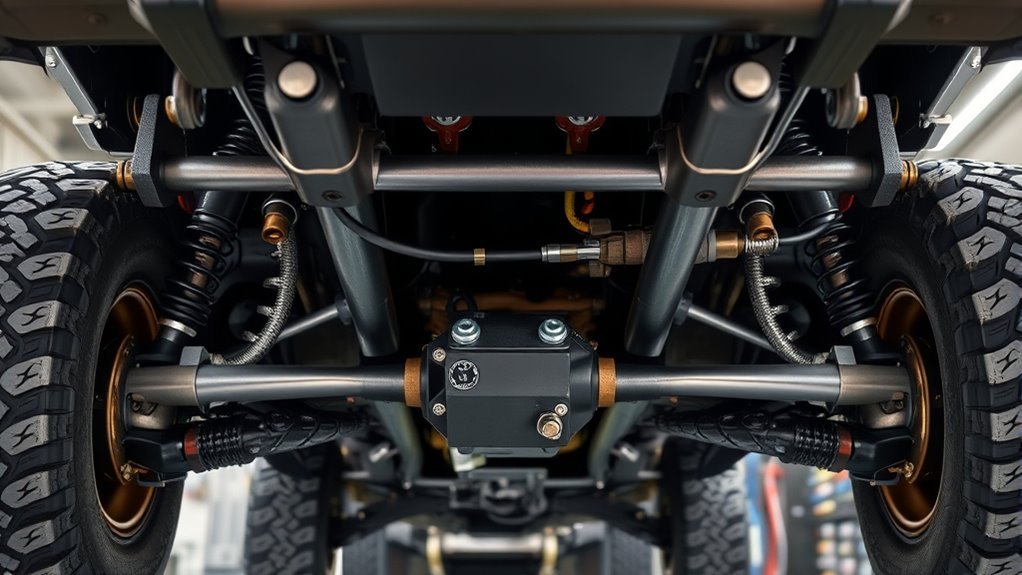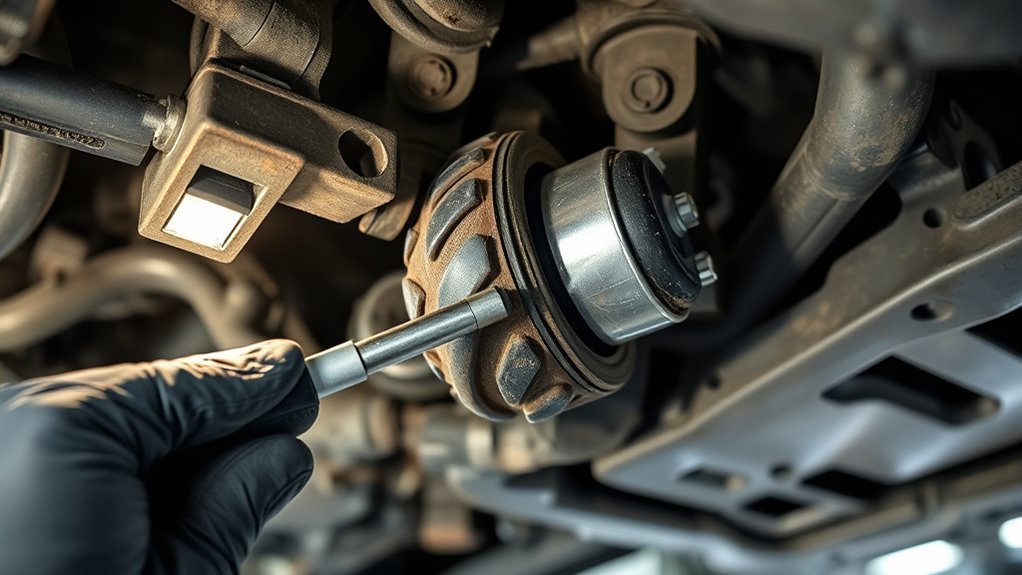
To inspect suspension bushings for wear, look at each rubber bushing with a flashlight for deep cracks, tears, rubber pushed out of its sleeve, or oil soaking, then gently pry the arm next to it to see whether it moves more than it should. Confirm with a short drive, listening for clunks over bumps and feeling for wandering steering or a shift under braking. Worn bushings often also show up as uneven tire wear.
This is a general method that works on most cars, SUVs and trucks. Exact bushing locations and replacement steps vary by vehicle, so use your service manual for specifics.
Signs of Worn Suspension Bushings
| Symptom | Likely bushing area |
|---|---|
| Clunk or knock over bumps | Control arm, sway bar, or shock mount bushings |
| Wandering or vague steering | Front lower control arm bushings |
| Clunk or shift when braking or accelerating | Control arm or trailing arm bushings |
| Steering wheel vibration or shimmy | Front control arm bushings (also check tires and balance) |
| Rattle over small bumps | Sway bar bushings or end links |
| Uneven tire wear (inner or outer edge) | Bushings letting alignment change |
Tools Needed
- Bright flashlight and an inspection mirror
- Pry bar (medium length)
- Floor jack, jack stands, and wheel chocks
- Gloves and safety glasses
- Phone camera to record what you find
How to Inspect Suspension Bushings for Wear: Step by Step
- Park safely. Level ground, parking brake on, wheels chocked.
- Look first with the weight on the wheels. Many control arm bushings are easiest to judge loaded. Use a creeper or drive-on ramps if you need room.
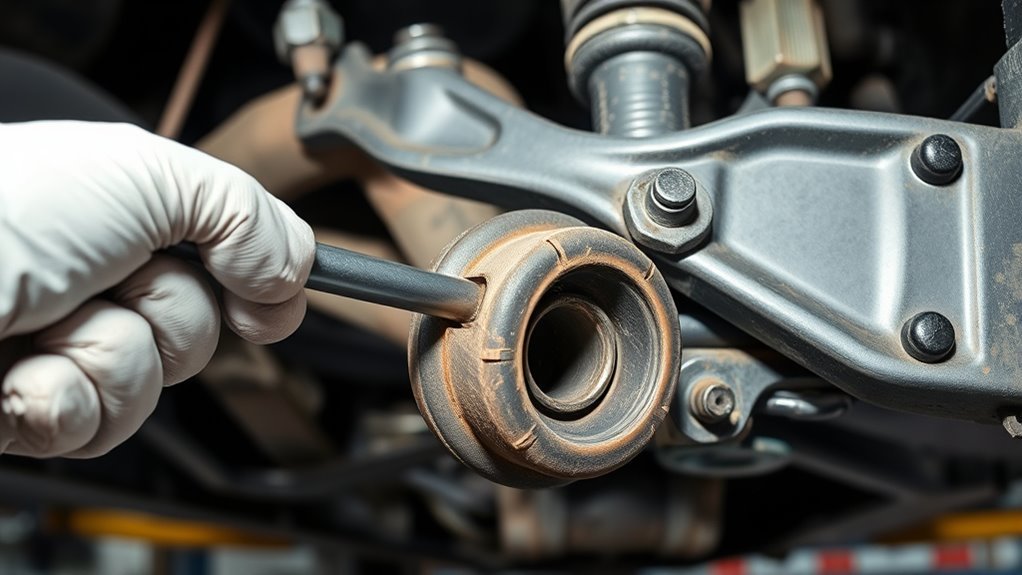
- Inspect every bushing. Front and rear control arms, sway bar, trailing arms or links, and shock mounts. Look for deep cracks, tears, rubber separated from the metal sleeve, and rubber squeezed out to one side.
- Check for oil soaking. Oil or fluid leaks soften rubber; fluid-filled (hydraulic) bushings can leak their own fluid.
- Pry test. Place the pry bar between the arm and its mount and lever gently. Watch the bushing, not the bar. Movement with visible gaps or metal-to-metal knocking means wear. A slight flex of the rubber is normal.
- Compare sides. Left and right should look and feel similar; a big difference points to the worn one.
- Road test. Drive slowly over speed bumps and rough pavement, then brake firmly in a straight line. Note any clunks, pulling, or steering shift.
- Check the tires. Edge wear or feathering supports a bushing or alignment problem.
Note: some bushings have built-in voids or slots by design. Do not mistake those for tears; compare with the other side or a new part photo.
Normal vs Worn: What to Look For
| Finding | Usually OK | Replace |
|---|---|---|
| Fine surface cracks | Yes, from age | If deep or growing |
| Cracks through the rubber | No | Yes |
| Rubber separated from sleeve | No | Yes |
| Movement under gentle pry | Slight flex | Visible gap or knock |
| Oil-soaked, swollen rubber | No | Yes, and fix the leak |
Bushing vs Control Arm Replacement
| Situation | Better option |
|---|---|
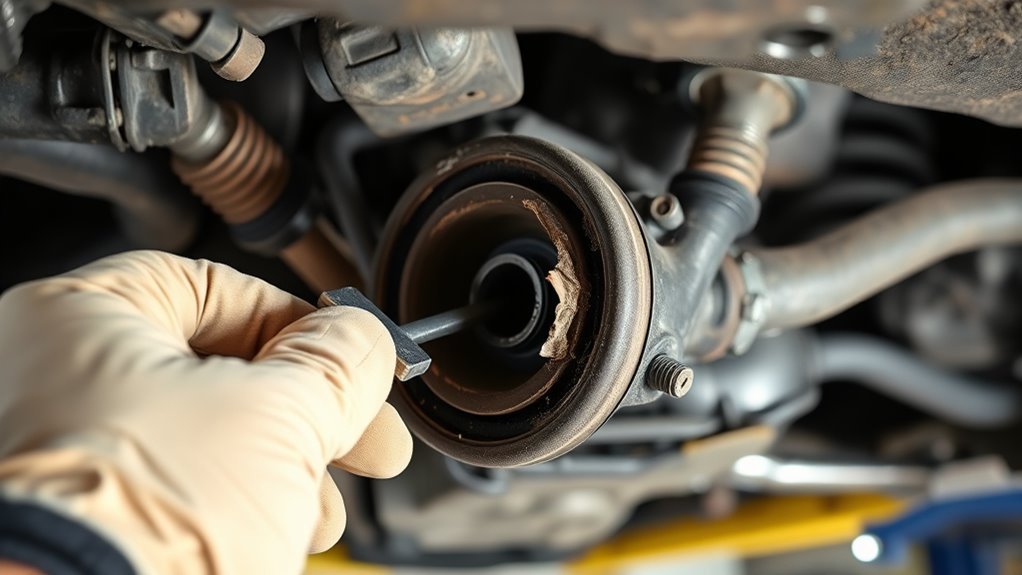
| Arm straight, bushing sold separately, you have a press | Replace bushing |
| Arm bent, cracked, or heavily rusted | Replace arm |
| Ball joint also worn (if built into the arm) | Replace arm |
| Labor cost of pressing bushings is high | Complete arm often makes sense |
Either way, plan a wheel alignment afterward, and tighten bushing bolts with the suspension at normal ride height if the service manual says so; tightening with the wheels hanging can preload the rubber and shorten its life.
Related Checks While You Are Under the Car
- Rock each raised wheel to rule out a bad bearing. See our guide to checking wheel bearings for play.
- Look at the brakes while wheels are off: inspect brake pads and rotors at home.
- Rotate tires to spread wear evenly. Our tire rotation patterns guide shows four- and five-tire patterns.
What Causes Premature Bushing Wear
- Potholes, curbs, and off-road impacts
- Oil and fluid leaks soaking the rubber
- Heat, ozone, and road salt ageing the rubber
- Bolts tightened with the suspension hanging instead of at ride height
- Lifted or lowered suspension changing bushing angles
When to See a Professional
- Clunks you cannot trace, or steering that wanders at highway speeds.
- Any doubt about ball joints, tie rods, or steering parts.
- You need a press, special tools, or an alignment.
- Rust around the bushing mounts on the frame or subframe.
Frequently Asked Questions
What are the signs of worn suspension bushings?
Common signs are clunking over bumps, wandering or vague steering, vibration through the steering wheel, a shift or clunk when braking or accelerating, and uneven tire wear. Visible cracks, tearing, or rubber pushed out of the sleeve confirm it.
How often should suspension bushings be inspected?
A sensible habit is to look at them at every tire rotation or oil change and whenever you notice new noises or handling changes. Check the inspection items in your owner's maintenance schedule for your vehicle.
Are small cracks in a bushing a problem?
Fine surface cracking from age is common and not always a reason to replace. Deep cracks, tears that go through the rubber, separation from the metal sleeve, or visible movement under a gentle pry are signs of real wear.
Can I replace just the bushing instead of the control arm?
Often, yes, if the arm is straight and undamaged and the bushing is sold separately. Pressing bushings needs a press or special tool. Many people choose a complete arm with new bushings and ball joint to save labour.
Do I need an alignment after replacing bushings?
In most cases, yes. Replacing control arm or other locating bushings can change alignment angles, so a wheel alignment afterwards protects your tires and steering.
Bottom Line
Look closely, pry gently, and confirm on the road. Replace bushings that are torn, separated, oil-soaked, or showing clear play, and get an alignment afterward.