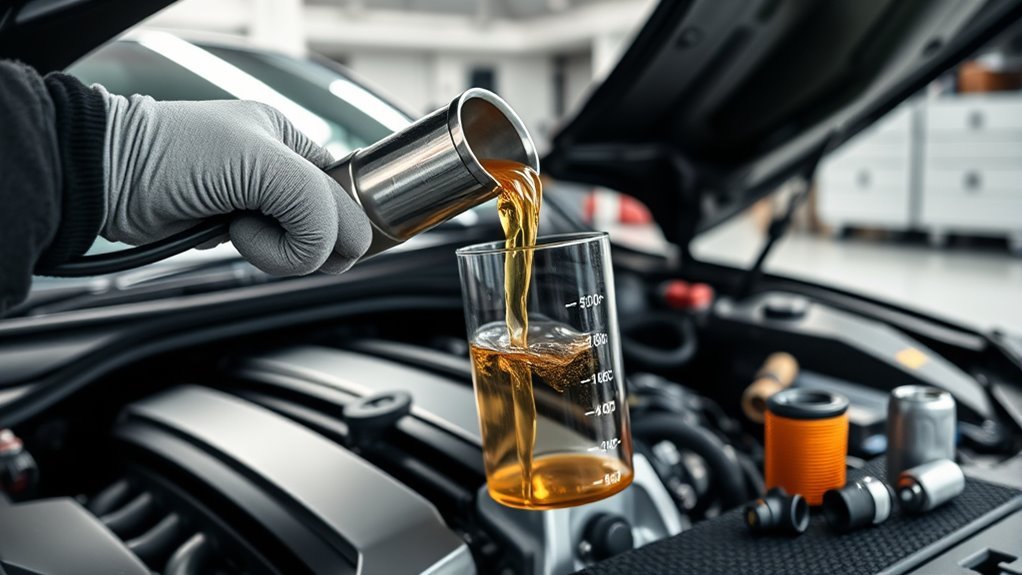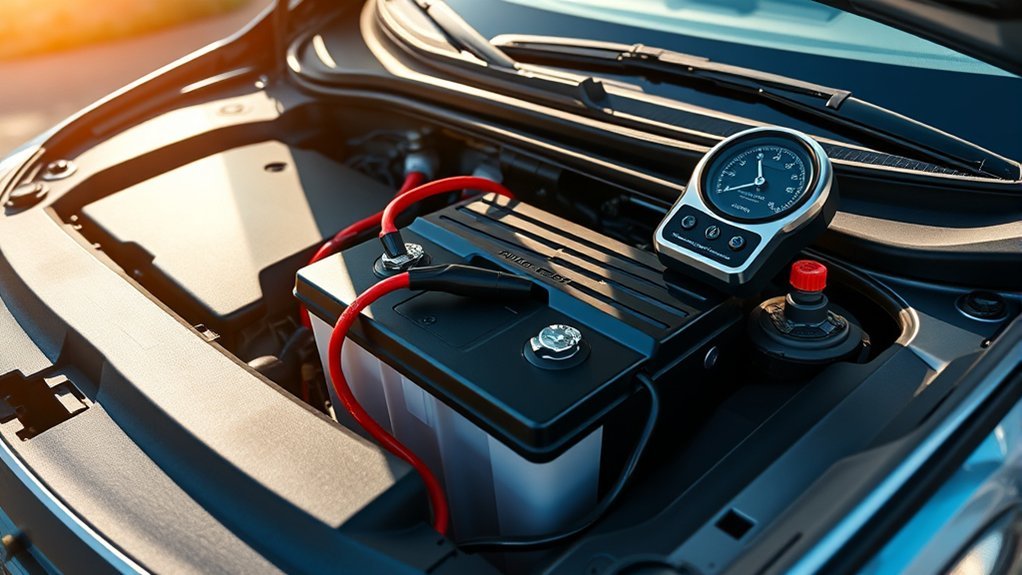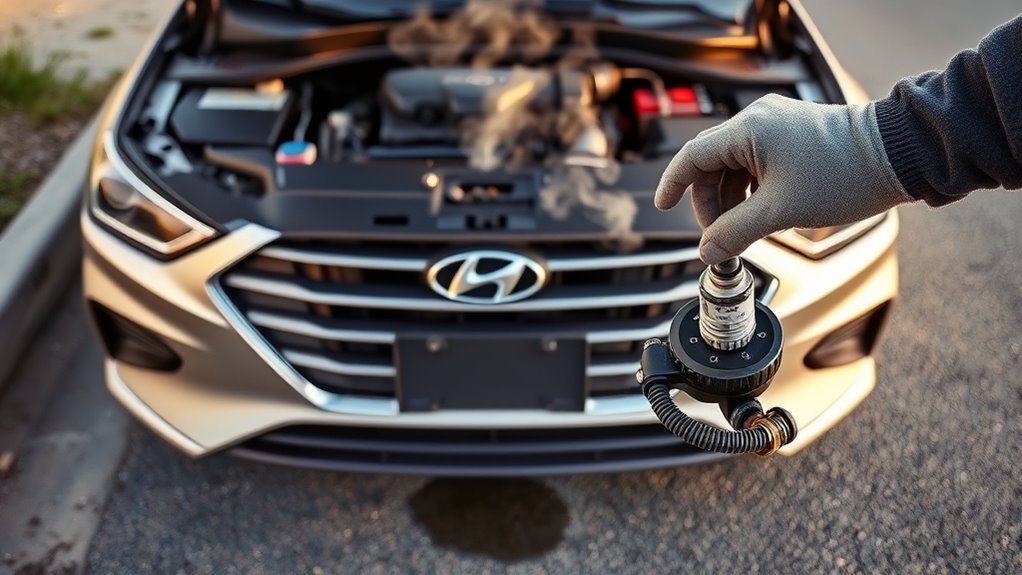
If your Hyundai Sonata is overheating, pull over, shut off the engine, and let it cool. Check coolant level and radiator cap, inspect hoses for leaks or bulges, and verify thermostat operation by feeling hose temperatures. Confirm electric fan, relays, and fuses work, and assess water pump noise, belt condition, and radiator airflow for debris. You can often fix clogged radiators, faulty thermostats, bad fans, or leaks yourself—keep going to get step-by-step checks and repair options.
Immediate Triage: Is Your Sonata Overheating?
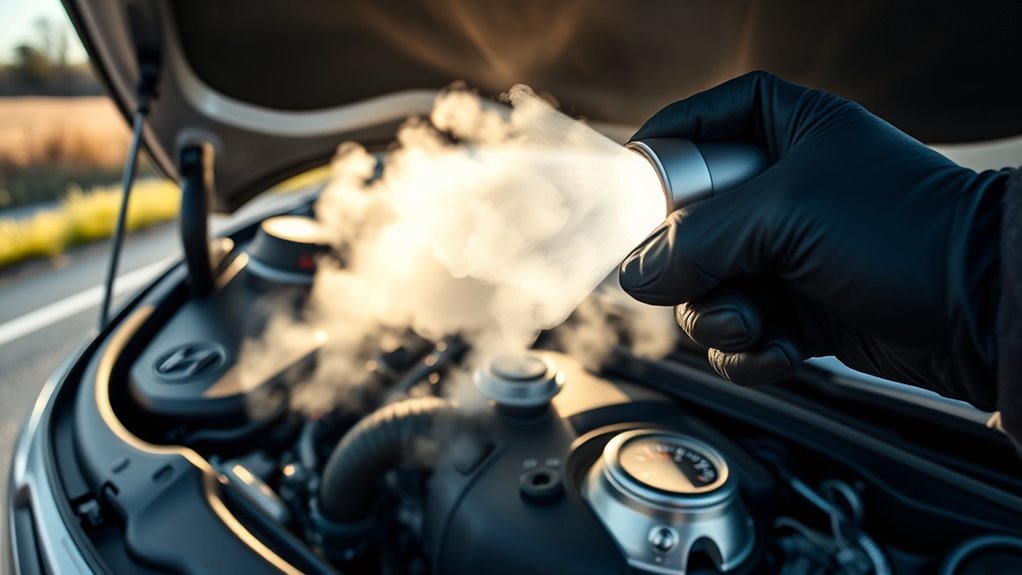
Notice engine temp climbing or steam from the hood? You act fast: pull over safely, shut the engine off, and assess visible overheating symptoms—rising gauge, steam, or lack of heater output. Check for obvious airflow obstructions like debris on the radiator and inspect the fan operation once the engine cools; stop-and-go overheating often means a failed electric cooling fan. Be alert for erratic temperature swings that indicate a stuck thermostat preventing circulation. You’ll also verify coolant system integrity without opening a hot radiator: inspect hoses and the cap for signs of failure that cause pressure loss. Know recommended coolant types for your Sonata so future refills and flushes restore correct chemistry. This triage secures your mobility and choice.
Check Coolant Level And Radiator Cap Safely
Before you touch anything, make sure the engine is cold to avoid burns from hot coolant or steam. Check the coolant level in the reservoir and radiator (if accessible), verify the overflow bottle is at the recommended mark, and use only manufacturer-specified coolant. Inspect the radiator cap for secure fit and visible damage, and if levels are low, look for leaks in hoses, the radiator, or the water pump before refilling.
Check Coolant Level
Start by inspecting the coolant level in the overflow bottle and radiator only when the engine is cold to avoid burns and get an accurate reading; a low level can cause overheating, so check for leaks, evaporation, or a failing radiator cap that can’t hold system pressure. Verify the fluid level against the min/max marks on the overflow bottle. Confirm coolant types match manufacturer specifications and maintain the proper 50/50 antifreeze/water mixture for freeze and boil protection. If levels are low, top to the correct mark and document frequency. Consistent loss signals a system leak—inspect hoses, clamps, radiator, and water pump for seepage or failure. You’ll reclaim control by diagnosing persistent loss promptly and restoring correct system pressure and volume.
Inspect Radiator Cap
With coolant levels confirmed cold and stable, move on to inspecting the radiator cap, since it holds system pressure and prevents boiling and loss. You’ll verify seal integrity visually: check the rubber gasket for cracks, deformities, or corrosion on the spring and mating surfaces. A compromised cap won’t hold the specified pressure and lets coolant vaporize, undermining cooling system importance. Use a radiator cap tester to quantify holding pressure; replace the cap if it fails to reach specs. For older Hyundai Sonata models inspect caps more frequently as deterioration accelerates. Record cap part number and pressure rating when replacing to maintain system balance. These radiator maintenance tips keep pressure stable, prevent overheating, and support your autonomy over vehicle reliability.
Safety Precautions First
When the engine’s cold, check the coolant level and inspect the radiator cap carefully to avoid burns from hot coolant or steam. You’ll follow a clear sequence: verify the overflow tank level, confirm coolant reaches manufacturer minimums, then examine the radiator cap for cracks, rubber-seat deterioration, or corrosion. For coolant safety, never force-remove a warm cap; instead, wear gloves and eye protection and slowly loosen the cap to release residual pressure while shielding your face. A compromised cap reduces system pressure, lowering the coolant’s boiling point and risking boil-over. Maintain records of inspections and replace suspect caps promptly to restore correct pressurization. This disciplined radiator maintenance protects you, preserves cooling function, and prevents unnecessary overheating failures.
Check Radiator Flow And Find Visible Leaks
Start the engine and let it reach operating temperature while you observe coolant movement in the radiator to confirm proper flow. Inspect the radiator, hoses, and connections with a flashlight for damp spots, residue, or staining that indicate leaks. Feel the upper hose—if it stays cool or you find wet areas at clamps or fittings, suspect a blockage, failed thermostat, or leaking connection.
Inspect Radiator For Leaks
1 clear visual and tactile inspection will quickly reveal many radiator issues; check beneath the Sonata for coolant puddles or stains, run your hand (carefully when cool) along the upper and lower radiator hoses to compare temperatures, and scan the radiator fins for corrosion or physical damage that could restrict airflow. You’ll perform radiator maintenance and leak detection in a direct, liberated way: verify hose temperature symmetry, inspect seams and solder joints for wetness or crusted coolant, and use a pressure tester on the radiator cap to confirm sealing at spec. If you see corrosion, punctures, or a cap that won’t hold pressure, plan repair or replacement to restore reliable cooling.
- Check undercarriage for puddles or stains
- Compare hose temperatures
- Scan fins for corrosion/damage
- Pressure-test radiator cap
- Replace compromised components
Check Coolant Flow
Verify coolant flow by checking temperature, levels, and visible leaks before assuming the radiator is the problem. You’ll confirm coolant circulation by feeling the upper radiator hose after the engine reaches normal temperature; it should be hot. Check cold-levels in the radiator and overflow bottle to guarantee adequate volume. Inspect radiator fins for debris that reduces radiator performance. Look for visible leaks at the radiator, water pump, and hose clamps. Murky coolant or particles suggest contamination that impairs flow and cooling efficiency.
| Checkpoint | Action |
|---|---|
| Hose temp | Feel upper radiator hose when warm |
| Fluid level | Inspect radiator + overflow cold |
| Visual leaks | Scan radiator, pump, clamps |
| Radiator fins | Clear debris to restore airflow |
Examine Hose Connections
Inspect the radiator hoses and their fittings closely for cracks, soft spots, bulges, loose clamps, or seepage that can interrupt coolant flow and cause overheating. You’ll perform hose maintenance and coolant inspection to liberate yourself from repeat breakdowns: verify upper and lower hoses are secure, straight, and free of kinks; feel temperature between both hoses—large differences indicate poor flow or thermostat issues; observe coolant flow through the radiator while the engine runs; look for seepage at clamps or joints that signals replacement; replace any hose exhibiting wear or softness.
- Check for visible leaks at connections
- Confirm clamps are tight and corrosion-free
- Ascertain hoses aren’t kinked or obstructed
- Compare upper vs lower hose temperatures
- Watch coolant movement while running
Test A Stuck Thermostat: Quick Checks
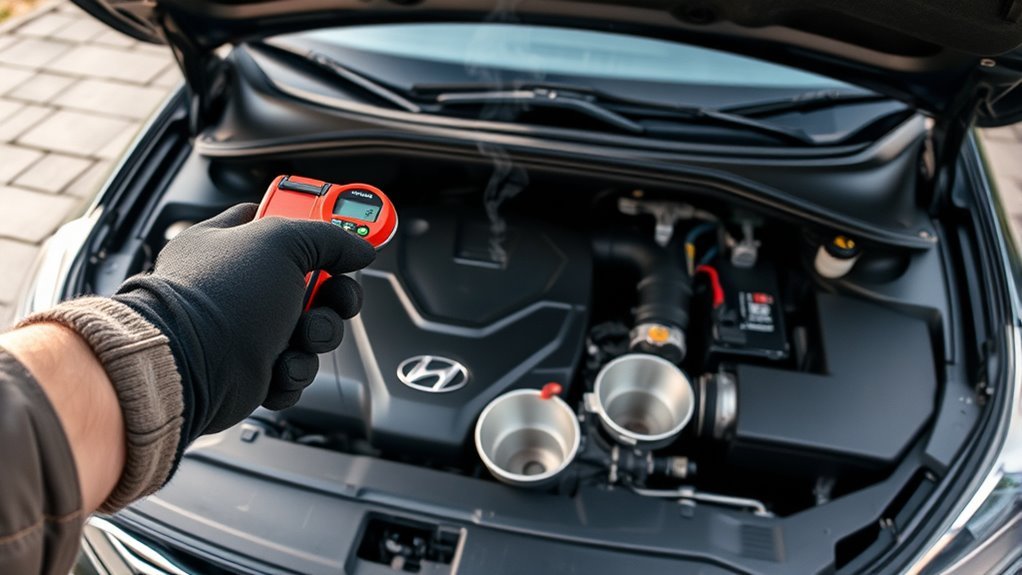
When your Sonata shows overheating, start by checking the upper radiator hose while the engine warms—if the hose stays cool as the engine reaches operating temperature, the thermostat may be stuck closed. You’ll use simple thermostat symptoms and testing techniques: feel the hose temperature, note delayed or absent heat transfer, and if suspect, remove the thermostat for bench testing. Place it in boiling water; a healthy unit should open at about 195–203°F (90–95°C). Inspect for corrosion, debris, or distorted springs that block movement. If it won’t open or shows damage, replace it. If it opens correctly, you’ve ruled out the thermostat and must liberate your diagnostics to other cooling components—probe hoses, water pump, and coolant condition next.
Check Electric Cooling Fan And Relays (Sonata)
Start the engine and bring it to normal operating temperature, then engage the AC to see if the electric cooling fan comes on; if it doesn’t, you’ve got a likely fan, relay, or wiring fault causing inadequate airflow at low vehicle speeds. You’ll perform fan diagnostics and relay troubleshooting to restore freedom from overheating. Verify fan spins when powered, inspect relay clicks under load, and confirm connectors are clean and tight. Use a multimeter to check relay coil voltage and fan motor supply; back-probe harnesses, not pins. Replace a non-spinning motor or a non-clicking relay. Secure grounds and treat corrosion.
- Confirm fan operation with AC on
- Listen for relay click at operating temp
- Measure voltage at relay output
- Check connector integrity and grounds
- Replace faulty fan or relay
Electrical Faults That Stop The Fan Or Pump
Check the fan relay and fuse first, since a failed relay or blown fuse will prevent the fan from receiving power. Inspect wiring and grounds for breaks, corrosion, or loose connections that could interrupt power to the fan or pump. Use a multimeter to verify continuity and proper voltage at the relay, fan connector, and pump ground to pinpoint the fault.
Fan Relay And Fuse
If the Sonata’s cooling fan stops operating, you’ll often find a failed fan relay or a blown fuse at the root of the problem; the relay switches high current to the fan while the fuse protects the circuit, so either can interrupt power and allow the engine to overheat, especially at low speeds. You should inspect the fan relay and fuse first. Test the relay with a multimeter for coil resistance and switched continuity; replace a relay that shows open coil or no contact closure. Check the fuse for continuity and perform fuse replacement if blown. Regular inspection prevents failure and frees you from avoidable breakdowns.
- Test relay coil and contacts with a multimeter
- Verify fuse continuity visually and electrically
- Replace defective relay promptly
- Perform fuse replacement as needed
- Inspect relay socket for wear
Wiring And Ground Issues
Having ruled out relay and fuse faults, inspect the wiring and grounding that supply the fan and water pump, because damaged conductors or poor grounds will stop current flow even when control components look good. You’ll perform a wiring inspection looking for chafed insulation, corrosion, or broken strands at connectors and splice points; any intermittent contact can prevent the electric cooling fan from activating and cause overheating in stop-and-go traffic. Check for grounding issues at engine blocks, radiator supports, and chassis ground straps; a high-resistance ground can starve the water pump and disrupt coolant circulation. Measure voltage and continuity under load, clean and tighten terminals, and replace compromised harness sections. Regular electrical checks liberate you from avoidable overheating and restore dependable cooling system operation.
Inspect The Water Pump, Belts, And Coolant Flow
Start by verifying that the water pump is circulating coolant effectively: run the engine to normal operating temperature, observe the radiator or coolant reservoir for steady flow, and listen at the pump for grinding or whining that indicates bearing or impeller failure. You’ll perform a water pump inspection focused on leaks, shaft play, and noise, since failed pumps halt coolant circulation and cause overheating. Check drive belts for glazing, cracks, and correct tension; a slipping or broken belt disables the pump. Confirm visible coolant flow in the radiator and maintain proper overflow bottle level to avoid air pockets.
Verify the water pump circulates coolant: check for leaks, shaft play, noise, belt condition, and visible radiator flow.
- Inspect pump for leaks and shaft play
- Listen for abnormal bearing or impeller noise
- Verify coolant circulation in radiator
- Check belt condition and tension
- Top up overflow to prevent air pockets
Clear Airflow: Clean Radiator And Remove Debris
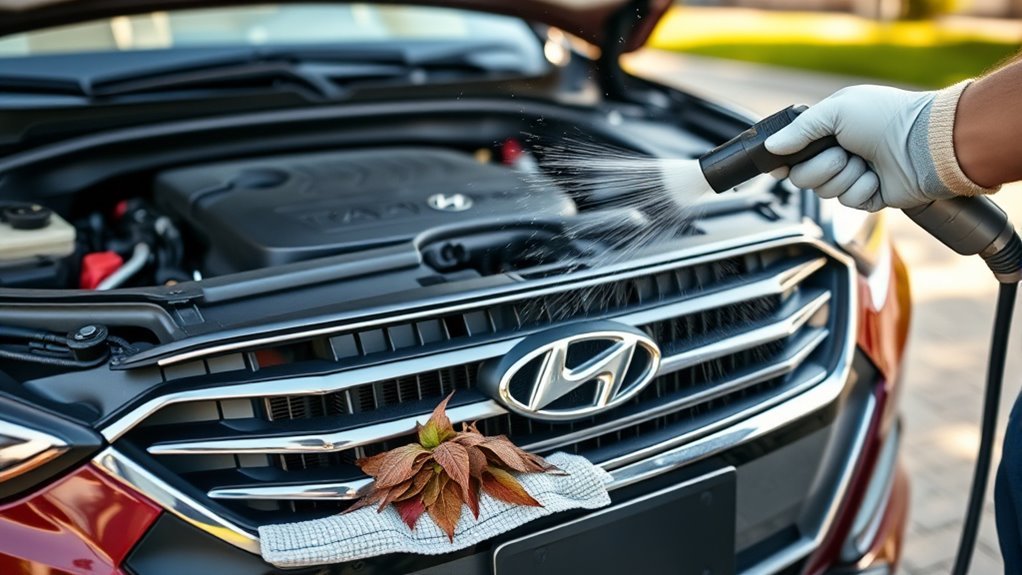
After confirming the water pump and belt system are functioning, clear external airflow paths so the radiator can shed heat efficiently. You’ll inspect the radiator for leaves, dirt, and insects that block airflow; remove debris by hand or with compressed air from the engine bay side to avoid pushing it deeper. For radiator maintenance, brush fins gently with a soft brush or use low-pressure water from the front to restore fin spacing and flow. Keep the grille and surrounding intake areas free of obstructions to preserve airflow optimization while driving. Fit a protective screen or cover that blocks large debris but preserves intake capacity. If the core shows corrosion or physical damage, plan for a professional flush or replacement to reclaim full cooling performance.
DIY Fixes, Parts, And Estimated Costs
While you inspect airflow and belts, you should also prioritize a sequence of DIY checks and simple parts swaps that commonly resolve Sonata overheating: start with the radiator cap (seal and pressure) — cheap, quick, $10–$15. Next isolate thermostat malfunction symptoms and replace the thermostat ($20–$100) to restore proper temperature control and protect the cooling system. Check and clean radiator fins and clear debris at no cost. Diagnose the electric cooling fan; replacement runs $50–$300. If you detect pump failure, plan for water pump replacement ($100–$500) and consider professional help.
Prioritize radiator cap, thermostat, radiator fins, cooling fan, and water pump checks to fix Sonata overheating.
- Verify radiator cap seal and pressure
- Replace thermostat if stuck
- Clear radiator fins and airflow
- Swap electric cooling fan as needed
- Inspect and replace water pump promptly
When To Stop Driving And Tell Your Mechanic
If your Sonata’s temperature gauge climbs into the red, pull over immediately and shut the engine off to prevent catastrophic damage. You’ll act decisively: note overheating symptoms, inspect visually, and call for help. Stop driving if coolant leaks, steam rises, or unusual engine noises occur. Continuous overheating in traffic suggests cooling fan failure; don’t push it. If levels and thermostat checks don’t fix it, you need a pro.
| Signal | Immediate action | Likely on mechanic checklist |
|---|---|---|
| Red gauge | Stop, shut off | Inspect head gasket, coolant |
| Steam | Exit, call tow | Check leaks, pressure test |
| Leak on ground | Don’t drive | Replace hoses, radiator |
| Noisy engine | Stop safely | Diagnose bearings, water pump |
Report precise observations to free yourself from uncertainty.
Frequently Asked Questions
Why Does My Hyundai Sonata Keep Overheating?
Your Sonata keeps overheating because the cooling system’s compromised—thermostat issues, radiator blockage, failing water pump or fan reduce coolant flow and pressure; inspect and replace faulty components to regain reliable, liberated engine performance.
Which Hyundai Sonata Has an Engine Recall?
Like a cracked compass, 2011–2014 Sonatas with 2.0L and 2.4L engines have an engine recall; you’ll check VINs, track recall history, and pursue free inspections and replacements for documented engine issues to regain driving freedom.
Conclusion
You’ve triaged, tested, and tracked potential trouble—now take swift, sensible steps. If coolant checks, cap seals, radiator flow, thermostat action, fan function, pump integrity, belt tension, and airflow cleaning don’t cure the complaint, schedule professional service. Do basic DIY fixes and part swaps only if you’ve got tools, torque specs, and time; otherwise entrust trained technicians. Prioritize prevention: periodic pressure checks, prompt leak repair, and regular radiator rinses keep your Sonata stable.