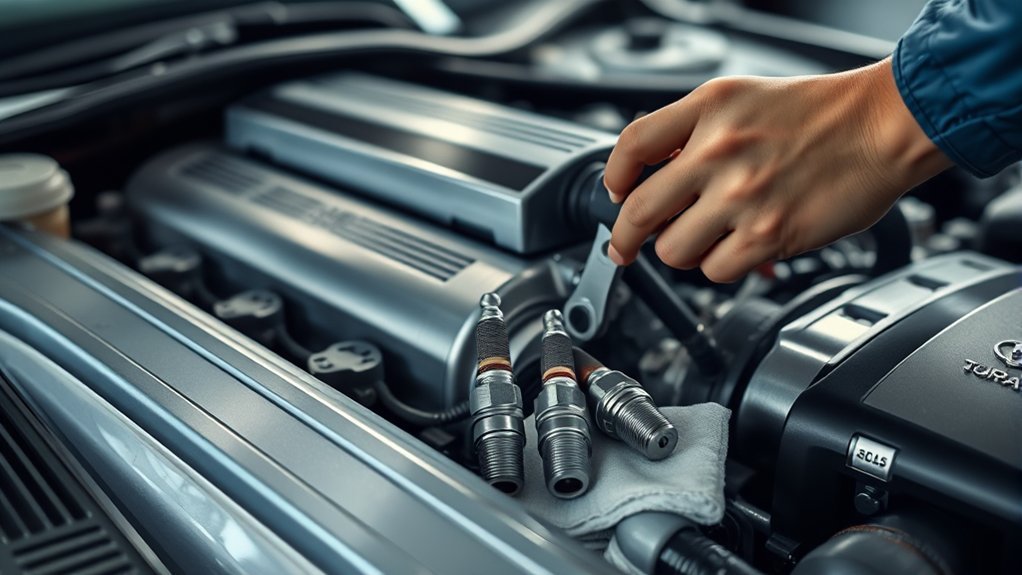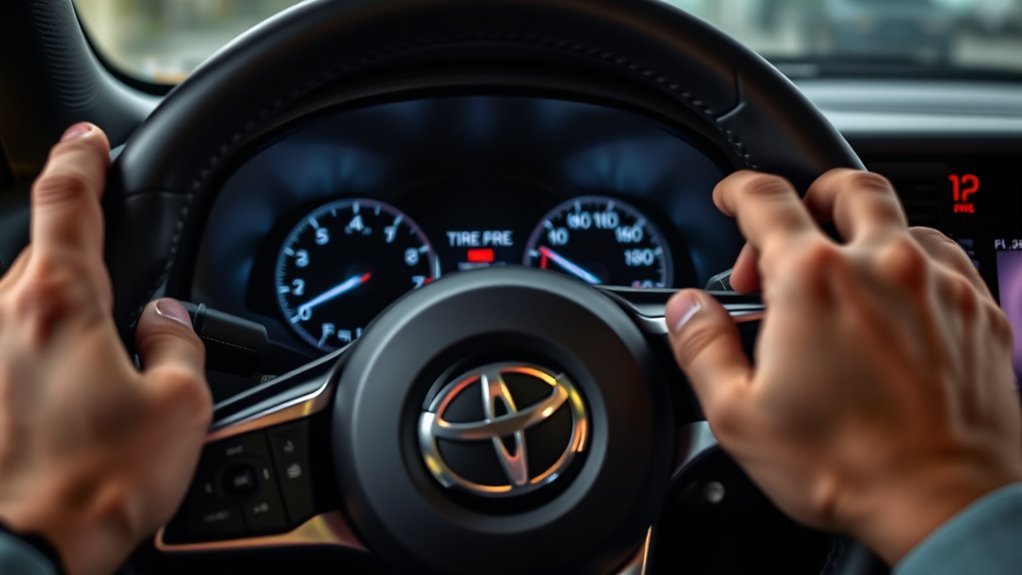
Toyota GR Supra TPMS setup starts with the correct sensor application, correct cold tire pressure, and the correct tire settings in Toyota Supra Command. Toyota parts catalogs list both a GR Supra sensor “with 315 MHz” and another “without 315 MHz,” so do not choose a replacement by frequency alone. Verify the VIN, model year/market, protocol, and sensor maker’s current application data. For a manual pressure reset, set all four tires correctly, open My vehicle > Vehicle status > Tire Pressure Monitor > Tire settings, confirm the mounted tire setup, and drive faster than 19 mph (30 km/h) for a short period.
Last updated: September 16, 2026. Rechecked against current Toyota GR Supra parts listings, Toyota owner information, NHTSA TireWise, and TPMS service guidance. Technical review:.
Quick Answer
Toyota parts catalogs list both 42607-WAA01 (“with 315 MHz”) and 42607-WAA02 (“without 315 MHz”) for GR Supra applications, so there is no safe one-frequency-fits-all rule. Verify the exact sensor by VIN and application data before mounting. Program or clone universal sensors as required, use fresh clamp-in service parts, confirm the tire settings, and drive faster than 19 mph (30 km/h) for a short period when the manual reset procedure calls for it.
Key Takeaways
- Verify sensor fitment by VIN, model year/market, frequency, protocol, valve type, and programming status before the tire is mounted.
- A TPMS program/clone, vehicle registration or detection, and pressure reset are different steps. A pressure reset cannot program a blank sensor or make an incompatible sensor communicate.
- Use a new grommet, retaining nut, nickel-plated valve core, and valve cap whenever an aluminum clamp-in sensor is removed.
- After confirming the tire settings, drive above 19 mph (30 km/h) for a short period so the reset can complete.
- A warning that flashes for about 60–90 seconds and then stays on indicates a TPMS malfunction, not simply low pressure.
Choose the Correct TPMS Action
| Situation | Correct Action | What a Reset Will Not Fix |
|---|---|---|
| OEM or direct-fit sensor replacement | Verify the exact VIN/application, install with new service parts, confirm tire settings, then follow the required drive or relearn procedure | A dead, damaged, blank, or incompatible sensor |
| Universal programmable sensor | Program or clone it to the exact GR Supra application before mounting, then use the sensor maker’s specified relearn method | A blank sensor, wrong protocol, or unsupported application |
| Seasonal or track wheel swap | Select the stored summer or winter/all-season setup, confirm load state, then drive | Wheels that have no compatible TPMS electronics |
| Yellow wheel or low-pressure warning | Stop safely, check with a gauge, inspect for a leak, and correct cold pressure | A puncture, valve leak, bead leak, or damaged wheel |
| Flashing warning followed by a steady light | Scan all sensors and diagnose the TPMS malfunction | Wrong frequency, failed battery, damaged sensor, or communication fault |
Which TPMS Sensor Fits a Toyota GR Supra?
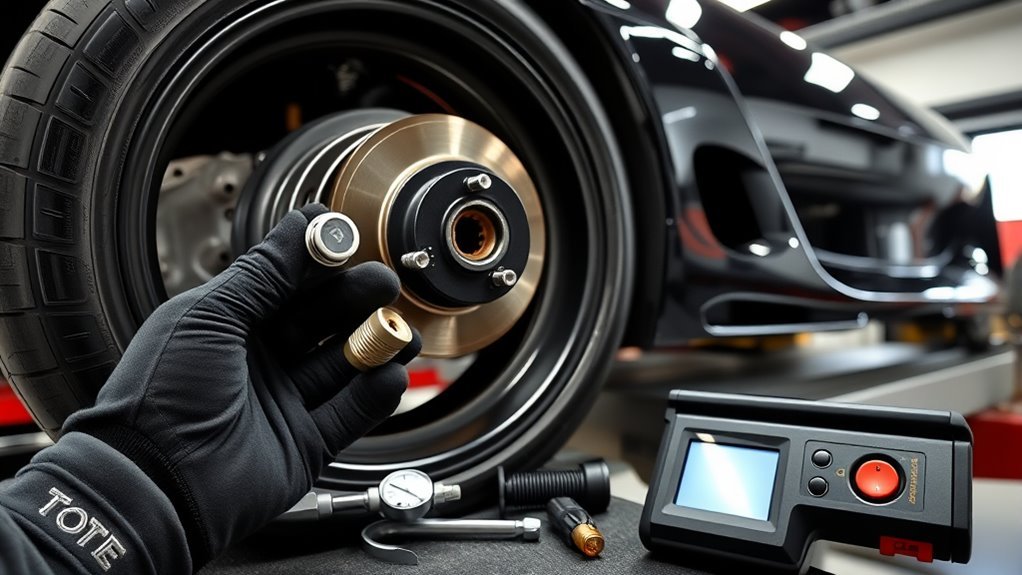
Start with the exact vehicle application, not a frequency label by itself. A current Toyota GR Supra parts listing shows 42607-WAA01 as “with 315 MHz” and 42607-WAA02 as “without 315 MHz.” Some aftermarket TPMS catalogs describe or cross-reference these OE numbers differently, so the safest fitment check is the VIN, model year/market, sensor label, protocol, and the sensor manufacturer’s current coverage guide.
Use this checklist before installation:
- Confirm frequency and protocol: do not rely on a generic “fits Toyota” label. Match the exact GR Supra application.
- Confirm programming status: a direct-fit preprogrammed sensor may be ready to install, while a universal sensor must be programmed to the vehicle application before mounting.
- Use fresh service parts: for an aluminum clamp-in sensor, use the correct new grommet, retaining nut, nickel-plated valve core, and valve cap.
- Set the correct tire details: the Toyota GR Supra Owner’s Manual uses the Tire settings menu to confirm the mounted tire type, load state, and related pressure settings; use Other tire and Perform reset when the mounted tire is not available in the stored pressure information.
- Check cold pressure: use the driver-door placard or the owner’s manual table for the installed tire size and operating conditions, not the tire sidewall maximum.
Warning: Do not install random “Toyota-style” TPMS sensors just because the valve stem fits. The Supra’s TPMS must receive the correct sensor signal, and the wrong frequency or unprogrammed universal sensor can leave you with no pressure readings after the tire is already mounted.
[Products Worth Considering]

Pre-programmed: Marsflex TPMS Sensors are pre-programmed, do not need to programmed again. And the tire sensor is manufactured to OEM specification, it is very easy to install. After installation, you just need to activate them with scan tool

HIGH QUALITY: Marsflex tire pressure sensors include a CR2450 battery and a cutting-edge technology chip. The upgraded battery improves the operating temperature range to -40℃~+125℃, and has 5-8 years lifespan. The chip provides best signal strength, real-time reading the condition of your tire

Ensure Fit for: ISINLASSO tire pressure sensor fit for 2007-2020 Toyota Sienna, 2008-2017 Toyota Sequoia, 2007-2017 Toyota Tundra. Please refer to Product Description for specific application of model and year.
How Do You Install GR Supra TPMS Sensors?
Once compatibility is confirmed, install the sensors during tire mounting. The valve hardware seals the wheel, so use the sensor or service-kit torque specification rather than tightening by feel. Tire Rack advises replacing the rubber grommet, retaining nut, nickel-plated valve core, and valve cap whenever an aluminum clamp-in TPMS sensor is removed; reusing the sealing parts can cause an air leak.
- Program universal sensors first: if using a programmable sensor, use the manufacturer’s application guide and a compatible TPMS tool before the tire is mounted.
- Install the sensor on the wheel: seat it squarely against the valve hole and use the correct service kit for the valve style.
- Torque the nut or valve components to spec: follow the sensor or service-kit instruction sheet. Over-tightening can damage the seal or sensor body.
- Mount and balance the tire: keep the tire bead and tools away from the sensor body during mounting.
- Inflate to the correct cold pressure: use the door-jamb label or the GR Supra manual’s pressure table for your tire size and trim.
- Check for leaks: use a leak-check solution around the valve stem before the wheel goes back on the car.
Pro Tip: Record each sensor ID, wheel location, and tire size before installation. If the display does not update later, those notes make it much easier for a shop to diagnose the issue without dismounting every tire.
How Do You Reset and Relearn GR Supra TPMS?
After the wheels are installed, set all four tires to the correct cold pressure. Open Toyota Supra Command and go to My vehicle > Vehicle status > Tire Pressure Monitor > Tire settings. Select Summer tires or Winter tires/all-season tires, confirm the current tire details and load state, then drive. Select Other tire and Perform reset only when the mounted tire is not available in the stored pressure information.
How Fast Must You Drive After a TPMS Reset?
Toyota states that the reset accepts the current pressures after the car has been driven faster than 19 mph (30 km/h) for a short period. The reset completes automatically while driving, and an interrupted reset resumes when the trip continues. There is no manufacturer-stated mileage target in the cited procedure.
If a wheel remains gray or a pressure value does not appear after the drive, stop repeating resets. Recheck the sensor part number, frequency, programming status, battery/signal with a TPMS scan tool, and the selected tire settings. Reset only after the tire pressures are set correctly while cold.
What Happens During the Confirmation Drive?
During the confirmation drive, the display updates pressure data and completes any selected pressure reset once the required conditions are met. The drive itself does not program a blank universal sensor. If a replacement sensor still does not appear, confirm that it was programmed or cloned for the correct application and that any required registration/relearn step was completed. Drive normally and check the displayed values again after the system becomes active.
| Action | Purpose |
|---|---|
| Set cold tire pressure first | Gives the system correct baseline values |
| Drive briefly and smoothly | Lets the display update current pressure data |
| Check the TPMS screen again | Confirms whether all four wheels are recognized |
| Reset only when needed | Applies new settings for tires not found in the display |
Does the GR Supra Auto-Learn New TPMS Sensors?
The owner-facing GR Supra procedure does not tell you to type sensor IDs into Toyota Supra Command; it tells you to confirm the tire settings and drive. However, that does not mean every replacement sensor is automatically accepted. TPMS application databases can specify different relearn methods depending on the sensor and vehicle application, including automatic detection or a tool-assisted/OBD procedure. Treat “auto-learn” as application-specific: program or clone universal sensors first, then follow the exact sensor maker’s relearn instructions.
Use this order when adding a new wheel set:
- Install known-compatible sensors that match the exact VIN/application, frequency, and protocol.
- Set the correct tire size in the Control Display so the system compares pressure against the right reference value.
- Set cold pressures according to the placard or owner’s manual.
- Follow the required relearn method for that sensor/application, then drive as the vehicle procedure requires.
- Use the tire-settings menu or perform a reset only when the mounted tire information is not recognized as expected.
Note: A TPMS tool can read sensor IDs, frequency, battery status, and signal strength, and it may also be needed for programming, cloning, or an OBD relearn depending on the replacement sensor. If a wheel does not appear on the Supra’s display, scanning the sensor is more useful than repeating the pressure reset.
What Do Green, Yellow, and Gray TPMS Wheels Mean?
After the system updates, use the Tire Pressure Monitor screen to check each wheel. Toyota’s owner manual describes these practical display states:
- All wheels green: the system is active and warnings are based on the displayed target pressures. For tires with special approval, warnings may be based on the pressures stored during the last reset.
- One to four yellow wheels: a flat tire or major pressure drop has occurred in the indicated tire or tires. Slow down, stop safely, and check the tire with a gauge.
- Gray wheels: the system may be unable to identify a pressure loss because of a malfunction, an active pressure measurement after confirming tire settings, or a reset in progress for tires with special approval.
Do not rely on color alone. If the display warns of a pressure loss, confirm with a handheld gauge and inspect for a puncture, damaged valve, bent wheel, or bead leak.
Warning-light pattern: a steady low-pressure warning calls for an immediate pressure check. A warning that flashes for about 60–90 seconds and then remains on indicates that the TPMS has detected a system malfunction and may not be able to warn correctly.
TPMS is a warning system, not a replacement for manual pressure checks. Federal TPMS language still tells drivers to check tires monthly when cold and inflate to the vehicle placard pressure.
Why Is the GR Supra TPMS Not Reading a Sensor?
If the display does not update after installation, separate the problem into three stages: sensor programming, vehicle detection, and pressure reset. A blank universal sensor fails at the first stage; a compatible sensor with no signal fails detection; an incorrect tire setting or target pressure affects the reset. Random resets cannot repair the first two problems.
| Problem | Likely Cause | Fix |
|---|---|---|
| No pressure reading on one wheel | Sensor not transmitting, failed internal battery, damaged sensor, or incorrect application | Trigger and scan the sensor at the wheel, check the valve for leaks, and confirm frequency and ID before dismounting |
| No readings on all four wheels | Wrong frequency/protocol, four blank universal sensors, or incorrect tire settings | Verify all part numbers, scan each sensor, program universal sensors, and confirm the tire setup |
| Yellow warning after install | Actual low pressure, wrong pressure target, or tire-size setting mismatch | Set cold pressure to the placard/manual value, store the correct tire size, then reset if required |
| Warning returns after reset | Slow leak, reused or damaged valve seal, damaged rim, or failed sensor battery | Perform a cold-pressure and leak check, then scan every sensor for battery and signal status |
| Universal sensor will not learn | Blank sensor not programmed to Supra protocol | Program with the correct application data or use an OEM-compatible replacement |
315 MHz vs. 433 MHz: Which GR Supra TPMS Sensor Is Correct?
The correct answer is application-specific. Toyota parts catalogs list 42607-WAA01 as a GR Supra sensor “with 315 MHz” and 42607-WAA02 as “without 315 MHz,” while some aftermarket catalogs cross-reference the OE numbers differently. That makes frequency a necessary check, but not final proof of fitment. Confirm the VIN, market/build application, OE or replacement part number, protocol, and programming requirements before mounting the tire.
[Products Worth Considering]

【Important Note Before Purchase】1)This is the Autel MX-sensor with Metal Valve Press-in. Please avoid any confusion with rubber screw-in sensors ; 2) This product is packed as a single unit. If you want a pack of four, please check out other models available in our store. 3) This product requires the use of AUTEL TPMS SCAN TOOLS (such as TS408, TS508, TS601, MK808S-TS, MP808S-TS) for programming and cannot be programmed using TPMS devices from other brands.

👍【Autel TPMS Sensor 315MHz 433MHz】 Autel MX-Sensor 2-in-1 offers an efficient and cost-less solution for TPMS repair shops through its 1-SKU inventory model.1 TPMS Sensor with dual frequencies, interchangeable rubber/ metal valve stems, Programmed by Autel TPMS Tools, 100% clone-able, easy press-in installation and covering 99% of vehicles worldwide.This Autel tire pressure sensor is far exceeding OEM sensors, greatly simplifies user inventory management, reduces investment and sales losses.

Schrader Ez-Sensor Combines 314.9, 315, And 433 Mhz applications into one sensor, optimizing inventory levels and eliminating potential lost sales
Frequency Compatibility Overview
Before mounting the tire, confirm the frequency from the sensor label, packaging, parts catalog, or TPMS scan tool. If the sensor listing says it fits “Toyota” but does not specifically cover the GR Supra year and trim, do not assume it will work.
| Check | Why It Matters | Action |
|---|---|---|
| VIN fitment | Confirms the correct Toyota/BMW-derived Supra application | Verify with Toyota parts catalog or dealer |
| Frequency | A mismatched band prevents communication | Match the exact VIN/application; do not assume 315 or 433 MHz solely from model year |
| Programming | Universal sensors may ship blank | Program or clone before tire mounting |
| Valve type | Wrong valve hardware can leak | Use the matching service kit and torque spec |
How to Verify Frequency
Use one of these methods before the tire goes on the wheel:
- Read the OEM part listing: verify the Toyota part number and application by VIN.
- Check the sensor label: many sensors show frequency and part number on the body.
- Use a TPMS scan tool: a shop can trigger the sensor and read frequency, ID, pressure, and battery status.
- Check the universal-sensor catalog: if using an aftermarket programmable sensor, confirm the exact Supra application in the manufacturer’s coverage guide.
Consequences of the Wrong Frequency
A wrong-frequency sensor can look perfect from the outside but still fail electronically. The common symptoms are missing pressure readings, gray wheel indicators, a TPMS malfunction warning, or a warning that returns after every reset.
| Issue | Effect |
|---|---|
| Sensor frequency/protocol does not match the vehicle application | The vehicle will not receive or interpret the expected sensor signal |
| Blank universal sensor | Sensor may transmit nothing useful until programmed |
| Dead internal battery | Sensor cannot wake or transmit normally |
| Incorrect tire-size setting | The system may compare pressure against the wrong reference value |
Can You Run GR Supra Track Wheels Without TPMS?

Track setups often use different wheels, tire compounds, and hot-pressure targets, but coding out TPMS removes a useful street-safety warning. In the United States, FMVSS No. 138 sets TPMS performance requirements for new vehicles. NHTSA’s “make inoperative” rule applies to manufacturers, distributors, dealers, and motor-vehicle repair businesses; it does not apply in the same way to an owner modifying their own vehicle. State inspection and equipment rules can still vary, so check the rules where the car is registered and driven.
For a track-focused GR Supra, choose one of these safer paths:
- Use TPMS-equipped track wheels: this keeps the dash useful and avoids nuisance warnings during street driving to and from the track.
- Transfer OEM sensors carefully: only reuse sensors if the valve hardware is renewed and the sensor batteries are healthy.
- Use compatible aftermarket sensors: program them before mounting and confirm all four wheels display correctly before the event.
- Manual-check pressures anyway: TPMS is not precise enough to replace a quality gauge during track sessions.
Warning: Do not treat TPMS removal as a normal street-car modification. If the car is driven on public roads, keep the tire pressure monitoring system functional and correct any warning instead of masking it.
Should You Buy OEM Sensors, Program Aftermarket Sensors, or Hire a Shop?
You have three realistic options when adding wheels or replacing failed TPMS sensors. Choose by how much uncertainty exists before the tire is mounted.
- Buy OEM sensors: best when you want the clearest VIN-based part match and do not want to manage universal-sensor programming.
- Use programmable aftermarket sensors: useful when a shop already owns the correct programming tool and confirms current vehicle coverage before mounting.
- Hire a tire or TPMS shop: best when the existing sensors are unknown, a warning is flashing, or you need each sensor triggered and scanned before buying parts.
If you are working with a shop, ask them to scan all four sensors before mounting and again after installation. That small step catches dead batteries, wrong frequency, and unprogrammed sensors before you lose time chasing a dashboard warning.
[Products Worth Considering]

Warm Note: 1.TP150 tpms tool is not for all sensors, but only works for pre-programmed sensors or XTOOL TS100/ TS100 PRO sensors. 2. Need to update the TP150 tire pressure sensor reset tool but shows system configuration error? Please follow the user maual first install "TP200 software" from xtooltech, and connect TP150 with Windows PC(ios cannot be supported), go "settings – About" to check the SN and pasword required, and click the TP150 disk and the mouse right button to format it and then upload the software again. Any issue you can find XTOOL for help

✿REMINDING: ❶ GM VEHICLES ONLY: ONLY for Chevrolet, GMC, Cadillac and Buick, Check Compability List before buying. NOT support Ford, Toyota, Nissan, Honda and other non-GM brands; ❷ SENSOR REQUIREMENTS: Optimized for OE/OEM sensors. Most aftermarket sensors can work BUT some may be failure due to incompatible parameters as the original. NOT for UNIVERSAL TPMS sensors.❸NOTE: If one or some sensors can't be activated after multiple attempts (because they were dead, low power or damaged, not our tool's not work), please replace them with new sensors then try again.

🏆【Need assistance? Reach Out Directly】Need OBD2 Programming & Relearn, MX-SENSORS, vehicle compatibility, startup, registration or update help? Something not right with your device? Reach out to 📩autelcare@outlook,com📩 for prompt assistance. Autel TS408 is a professional TPMS tool offering excellent long-term value, with the same core functions as TS501/TS508WF plus Lifetime Free Upgrades. Unsure about compatibility? Send your VIN# via 💌autelcare@outlook,com💌 for tech assistance.
How Should You Manage Tire Pressure at the Track?
TPMS is helpful on the street, but track pressure management still requires a calibrated gauge, a log, and repeated checks. Tire pressure changes quickly with tire temperature, driving pace, compound, alignment, and ambient conditions.
Pre-Track Pressure Targets
Do not copy another driver’s pressure target blindly. Start with the tire manufacturer’s guidance for the exact tire, size, load, and track use. Adjust from measured hot pressure, tread temperature, tire wear, and handling balance. Use this repeatable process:
- Set a conservative cold starting pressure before the first session.
- Measure hot pressure immediately after the session, before the tires cool.
- Bleed down or add air in small steps to reach your target hot pressure.
- Write down the results with ambient temperature, session length, and track conditions.
Manual Pressure Monitoring
Use the same gauge every time. Check all four tires cold before the first session, immediately after each session, and again before going back out. If one tire changes differently from the others, look for a slow leak, valve issue, puncture, or alignment problem.
Bring these basics to the paddock:
- Accurate tire pressure gauge
- Portable inflator or air tank
- Valve caps and valve-core tool
- Notebook or pressure log app
- Infrared or probe-style tire thermometer if you are tuning pressure and alignment seriously
TPMS Removal Considerations
If you use wheels without TPMS for a closed-course-only setup, understand what you are giving up. You lose the automatic warning for a fast pressure drop, and the car may show a warning while those wheels are installed. That means your manual process has to be stricter, not looser.
- Confirm the car is safe for the event: inspect valve stems, tires, tread, wheels, and lug torque.
- Check pressures repeatedly: before the session, immediately after, and after cooldown.
- Reinstall TPMS-equipped wheels for street use: confirm the display returns to normal before relying on the car on public roads.
Frequently Asked Questions
How does the Toyota GR Supra TPMS system work?
The GR Supra uses a direct Tire Pressure Monitor system that displays current tire pressure through Toyota Supra Command. The system compares actual pressure to the stored target pressure for the selected tire size and warns when pressure drops significantly or when a sensor cannot be read.
What PSI should a Toyota GR Supra use?
Use the driver-door tire placard for the installed tires. Toyota’s current 2026 U.S. lineup is 3.0-based, and the owner-manual pressure tables list 2.6 bar / 38 PSI for the common 18- and 19-inch 3.0 tire entries at speeds up to 100 mph / 160 km/h. Earlier model years and other approved tire sizes can differ, so the placard on your car remains the final authority. See the Supra tire-pressure guide for the detailed pressure setup.
Do new Supra TPMS sensors auto-learn?
Do not assume every replacement sensor will auto-learn. The owner-facing procedure uses the Tire settings menu and a confirmation drive, but replacement-sensor relearn requirements can vary by application. Program or clone universal sensors before mounting, follow the sensor maker’s specified relearn method, and scan the frequency, ID, battery, and signal if a wheel does not appear.
Where is the GR Supra TPMS reset menu?
Open Toyota Supra Command, then go to My vehicle > Vehicle status > Tire Pressure Monitor > Tire settings. Select the tire type and current setup. For an “Other tire” setup, switch on drive-ready state without driving, select Perform reset, then drive above 19 mph / 30 km/h for a short period.
Can I use 315 MHz TPMS sensors on a GR Supra?
Possibly, but only if the exact application calls for one. Toyota parts catalogs list both a “with 315 MHz” sensor and a “without 315 MHz” sensor for GR Supra applications. Verify the VIN, market/build application, part number, protocol, and current sensor coverage before buying.
Can I drive with a TPMS warning light?
You should stop safely and check tire pressure with a gauge. A yellow wheel or TPMS warning can mean a flat tire or major pressure drop. If pressure is correct but the warning remains, the system may have a sensor, programming, or communication fault that needs diagnosis.
How fast must I drive after resetting GR Supra TPMS?
Drive faster than 19 mph / 30 km/h for a short period. The system accepts the current pressures as target values and completes the reset automatically while driving. If the trip is interrupted, the reset resumes when you continue driving.
Why does the TPMS light flash and then stay on?
A flashing warning for about 60–90 seconds followed by a steady light indicates a TPMS malfunction. The system may not be able to detect low pressure correctly. Scan the sensors for frequency, ID, battery, and signal, and confirm that the replacement wheels and sensors are compatible.
Conclusion
The reliable Toyota GR Supra TPMS workflow is simple: verify the exact sensor application by VIN, confirm frequency and protocol, program or clone universal sensors before mounting, install new valve service parts, set the correct cold pressures and tire details, then follow the required relearn/reset procedure. For the manual pressure reset, Toyota specifies driving faster than 19 mph / 30 km/h for a short period. If a wheel still does not appear, scan the sensor and diagnose the failed stage instead of repeating the reset.
For track use, keep the mindset the same: TPMS is useful, but it is not a substitute for a gauge and pressure log. The best track-wheel setup keeps compatible sensors installed whenever practical, then uses manual pressure checks between sessions for safe, repeatable performance.
Sources
- Toyota GR Supra Owner’s Manual: Wheels and Tires — TPMS menu, pressure display behavior, tire-size settings, color indicators, and cold tire pressure tables
- Toyota GR Supra TPMS parts listing — shows 42607-WAA01 as “with 315 MHz” and 42607-WAA02 as “without 315 MHz” for the application
- TPMS.com Toyota Supra sensor cross-reference — aftermarket cross-reference showing why OE part-number and VIN/application verification should take priority over a frequency-only label
- Toyota 2026 GR Supra lineup — current U.S. 3.0, 3.0 Premium, and MkV Final Edition lineup reference
- 49 CFR 571.138, FMVSS No. 138 — federal TPMS performance standard and required owner-manual safety language
- NHTSA TPMS “make inoperative” interpretation — federal treatment of repair businesses installing wheel sets without functioning TPMS
- NHTSA owner-modification interpretation — explains that the federal “make inoperative” provision does not apply to owner-installed modifications in the same way and notes possible state requirements
- NHTSA TireWise — placard pressure, monthly manual checks, low-pressure warnings, and malfunction-light behavior
- Tire Rack: How to Service TPMS — service-kit replacement and TPMS valve hardware guidance
- Alligator TPMS Support — application guides, programming support, install manuals, and sensor documentation for aftermarket TPMS products