To seat a tubeless tire bead, first remove the valve core to enhance airflow. Clean the rim and tire bead thoroughly to eliminate debris. Use a track pump with an air chamber or a CO2 inflator for faster inflation. Inflate the tire while listening for the pop sound indicating the bead has seated. If it doesn’t seat, check for compatibility or add more sealant. Follow these steps for ideal results, and you’ll find additional tips for success ahead.
Why You Should Consider Tubeless Tires for Your Bike
If you’re looking to enhance your biking experience, tubeless tires are worth considering. These tires greatly reduce the risk of pinch flats, allowing you to run lower air pressures for improved traction across various terrains. The absence of an inner tube not only offers a more comfortable ride by absorbing shocks and vibrations but also contributes to a lighter overall setup, enhancing your bike’s performance and speed. Additionally, the sealant used in tubeless tires provides a self-sealing capability for small punctures, which minimizes the likelihood of flat tires during your rides. Over time, shifting to tubeless tires can lead to long-term cost savings due to less frequent replacements and repairs, making them an excellent investment for any cyclist seeking liberation from traditional tire limitations.
Preparing for Tubeless Tire Installation
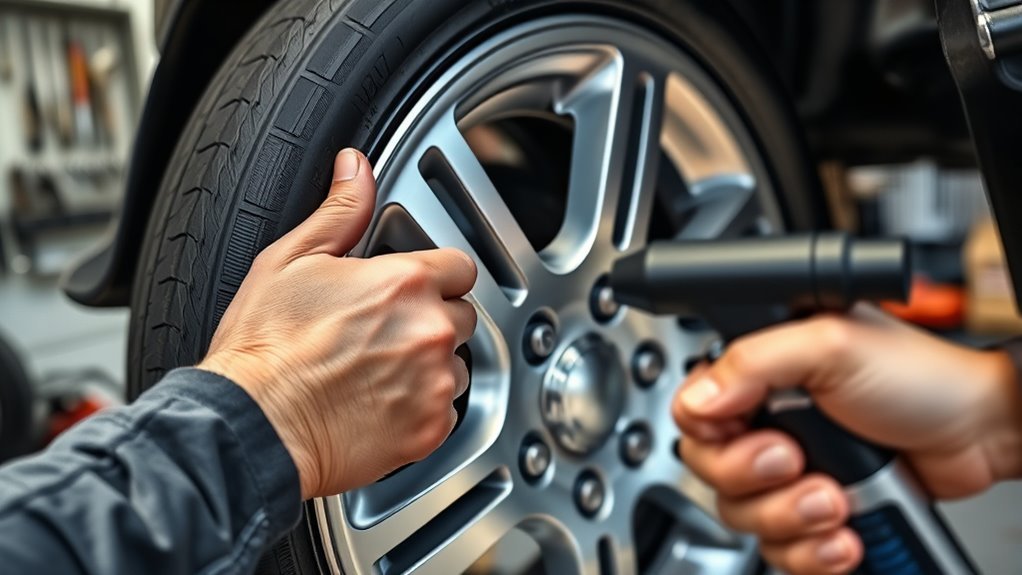
Preparing for tubeless tire installation requires a systematic approach to guarantee a successful setup. First, gather all necessary tools, including a valve core remover, pump, and possibly a CO2 inflator kit. Next, clean both the rim and tire bead thoroughly to eliminate any debris or residue that might disrupt the sealing process. It’s essential to check the compatibility of the tire and rim, ensuring the tire is designed for tubeless use and fits correctly. Before mounting the tire onto the rim, pre-install tire sealant inside; this step enhances the seal once inflated. Finally, arrange a workspace that allows for easy access to your tools, as quick adjustments may be necessary during installation.
Choosing the Right Inflation Method for Your Tubeless Tires
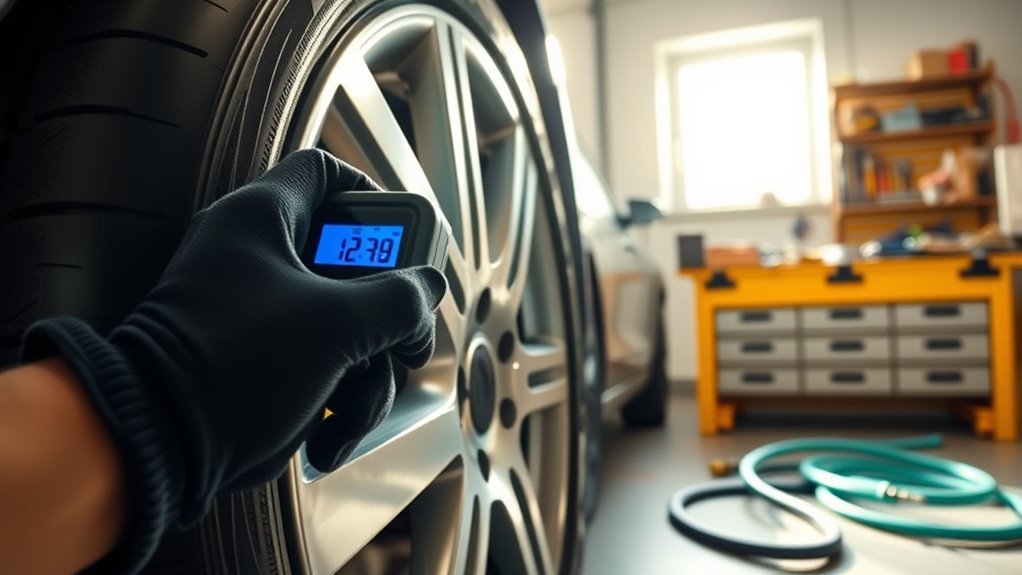
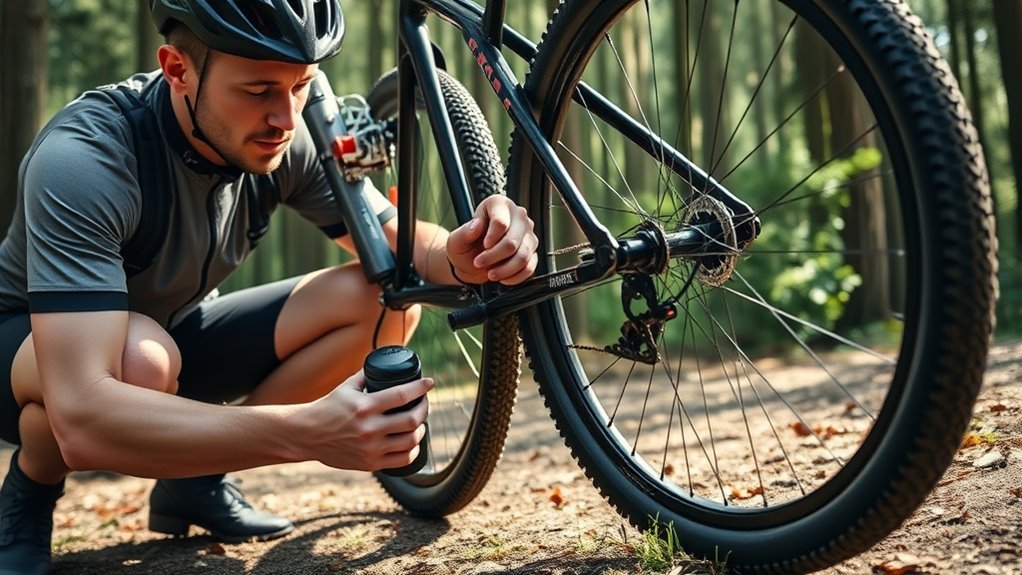
Choosing the right inflation method for your tubeless tires is essential for achieving a proper seal and ensuring peak performance. For larger tires, like mountain bike tires, opt for a track pump with an air chamber to deliver a strong airflow. This method enhances your chances of successfully seating the bead. For road tires, a standard track pump is effective and user-friendly for beginners. If you’re on the go, a CO2 inflator kit offers a quick solution, providing a burst of air without removing the valve core. However, for ideal bead seating, consider removing the valve core to improve airflow, increasing the likelihood of that satisfying pop sound when the bead seals against the rim. Always monitor air pressure during this process.
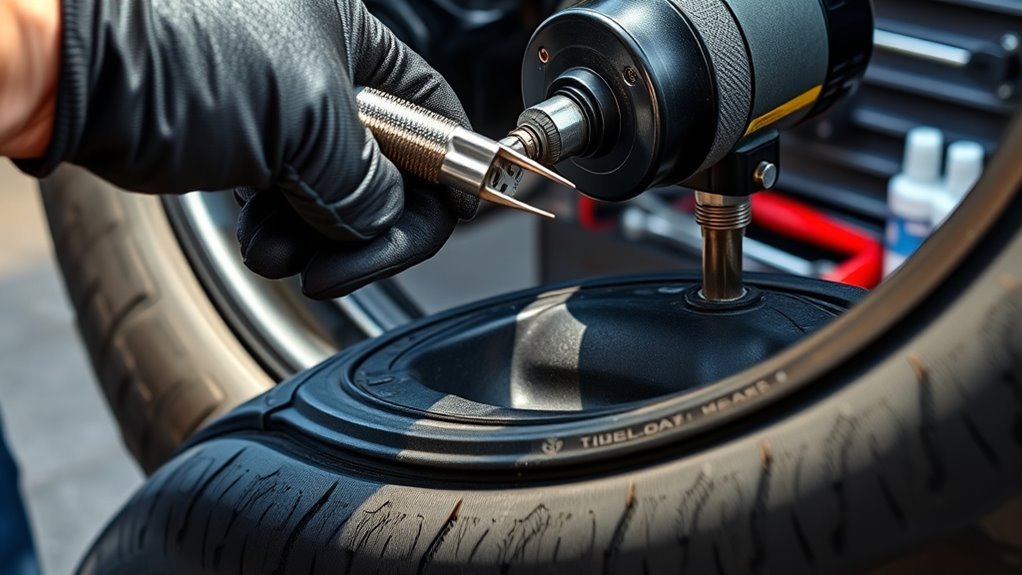
How to Use a Standard Track Pump for Tubeless Tire Installation

Seating a tubeless tire bead successfully requires careful attention and the right technique. First, verify the tire is properly mounted on the rim. Next, remove the valve core to maximize airflow during inflation. Begin inflating the tire slowly, monitoring the pressure with the pump’s gauge—aim for about 30-40 psi, depending on the tire specifications. As you inflate, listen for the distinct pop sound that indicates the bead has seated correctly. A standard track pump works best for road tires due to their smaller air volume, making it easier to achieve the necessary pressure. Once the bead is seated, replace the valve core and inflate to the recommended pressure for regular riding conditions.
Why a Track Pump With Air Chamber Makes Tire Setup Easier
When you’re tackling tubeless tire setup, using a track pump with an air chamber can greatly simplify the process. This tool allows you to pre-store air and release it in a sudden rush, making it easier to seat the tire bead effectively. It’s especially beneficial for larger volume tires, like those on mountain bikes, providing more power than standard pumps. The burst of air helps overcome resistance, ensuring the tire bead seats properly on the rim. Additionally, a track pump with an air chamber reduces the effort needed for inflation, making the setup more user-friendly. Optimizing airflow is essential for achieving that characteristic pop sound, signaling successful bead seating, and enhancing your overall tire setup experience.
Inflating Your Tire With a CO2 Inflator Kit
A CO2 inflator kit is an important tool for quickly inflating tubeless tires, especially during on-the-go repairs. This compact device allows you to inflate your tire without removing the valve core, streamlining the process considerably. To use your CO2 inflator, first verify the CO2 cartridge is securely attached to the inflator. Release the air in a controlled burst; this strong airflow is vital for seating the tire bead effectively, creating the pop sound that confirms proper seating. Always check your CO2 cartridges for expiration and store them in appropriate conditions to assure peak performance. With a CO2 inflator, you’re equipped for swift, efficient tire repairs, giving you the freedom to ride without worry.
How to Troubleshoot Tubeless Tire Bead Seating Problems?
Troubleshooting tubeless tire bead seating problems requires a systematic approach to identify and resolve potential issues. First, verify the valve core is removed to maximize airflow during inflation. Inspect the rim and tire bead for debris or dirt that could disrupt the seal; clean as needed. If you’re using a standard track pump, switch to an air chamber pump or CO2 inflator for a more powerful burst of air. Keep an ear out for the distinct pop sound indicating the bead has seated correctly; if you don’t hear it, reinflate or try another method. If repeated attempts fail, consider reapplying tire sealant or checking the compatibility of your tire with the rim, as mismatched sizes can lead to persistent seating problems.
Ensuring Your Tubeless Tires Perform Well After Installation
To guarantee your tubeless tires perform well after installation, regular maintenance is essential. Start by checking the sealant inside your tires; it can dry out or lose effectiveness over time, so adding a little bit can enhance performance. Inspect the tire bead and rim for debris or damage that could compromise sealing. Regularly monitor tire pressure, ensuring it matches the recommended PSI to prevent pinch flats and improve ride quality. Rotate and inspect your tires periodically to catch uneven wear, which can affect handling. Finally, consider the right inflation method based on tire volume; larger tires often require a little bit more airflow to maintain peak performance after installation.
Safety Tips for Working With Tubeless Tires
When working with tubeless tires, following safety precautions is essential to prevent accidents and injuries. Start by ensuring you wear safety goggles to protect your eyes from debris or sudden bursts of air. Maintain a clear workspace, free from obstacles and bystanders, to mitigate risks from unexpected tire movement. Use a tire pressure gauge to monitor the pressure closely, as over-inflation can lead to tire bursts. Handle CO2 inflators with care, as the canisters can become extremely cold and cause frostbite. Ultimately, keep a fire extinguisher nearby when working with inflators and compressed air systems, as they can pose a fire hazard.
- Always wear safety goggles.
- Clear the area of obstacles.
- Monitor tire pressure closely.
- Handle CO2 canisters with care.
- Keep a fire extinguisher nearby.
Frequently Asked Questions
How to Get a Tubeless Tire Bead to Seat?
To get a tubeless tire bead to seat, apply bead lubrication before inflating. Remove the valve core for maximum airflow, then use a high-volume pump or CO2 inflator to achieve the necessary pressure burst for seating.
How to Fix Tubeless Tire That Won’t Seat?
Isn’t it frustrating when a tubeless tire won’t seat? To fix it, remove the valve core, use a high-volume inflator, and check compatibility. Proper tire maintenance guarantees a smooth ride and peace of mind.
How to Seat a Tire Bead That Won’t Bead?
To seat a tire bead that won’t bead, remove the valve core for airflow, use a CO2 inflator for bursts, and apply bead lubrication like dish soap to guarantee a proper fit and seating.
Can You Seat a Tubeless Tire With a Standard Pump?
You can definitely seat a tubeless tire with a standard pump. Using effective pump techniques, just remember to remove the valve core for better airflow. It’s a straightforward method that can liberate you from frustration.
Conclusion
In summary, successfully seating a tubeless tire bead is an essential step in enhancing your bike’s performance and reliability. Did you know that tubeless tires can reduce punctures by up to 30%? By following the methods outlined, you’ll not only improve your riding experience but also enjoy the benefits of lower maintenance. Remember to stay vigilant with proper inflation and maintenance to guarantee peak performance on your rides. Happy cycling!