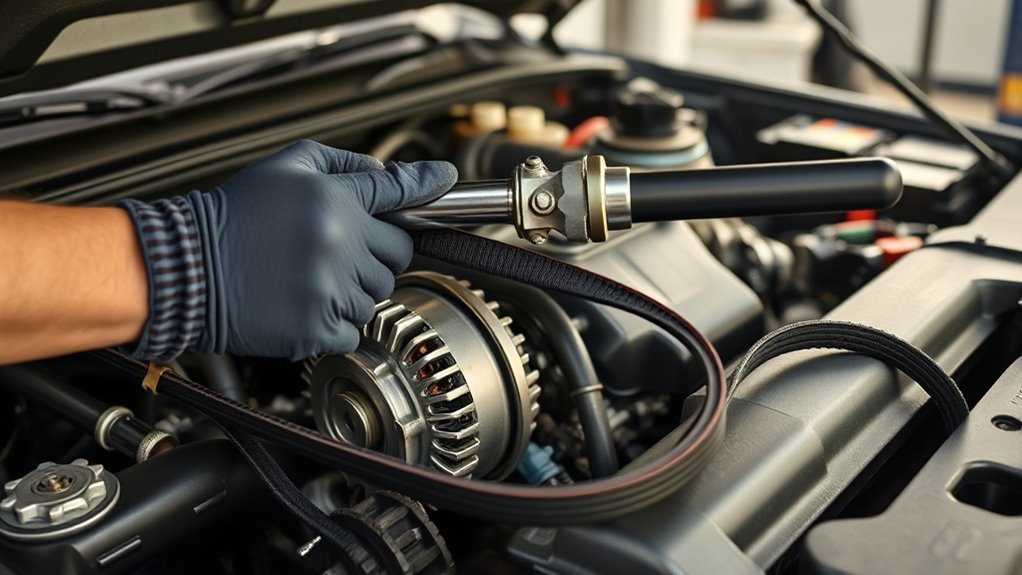
Replacing a Toyota Tacoma serpentine belt is a manageable DIY job when the engine is cool, the truck is parked safely, and you verify the belt routing before removing anything. This guide is written for the common Tacoma accessory-drive layout and includes fitment cautions because belt length, tensioner design, and routing can vary by model year, engine, and accessory package.
Quick Answer
To replace a Toyota Tacoma serpentine belt, relieve tension at the automatic belt tensioner, slip the old belt off, route the correct new belt around every pulley using the under-hood diagram, then slowly release the tensioner. Before driving, confirm the belt ribs sit fully in the pulley grooves.
Key Takeaways
- Always confirm the correct belt by VIN, engine, accessory layout, and the under-hood routing label before buying parts.
- Use steady pressure on the tensioner; do not pry against plastic fan blades, pulleys, hoses, or wiring.
- Replace the belt sooner if you see cracking, fraying, glazing, missing ribs, squealing, or uneven tracking.
- A new belt will not fix a seized pulley, weak tensioner, bad bearing, or oil leak onto the belt.
At a Glance
| Time Required | 30–60 minutes for most DIYers |
| Difficulty | Beginner to moderate |
| Tools Needed | Socket or wrench for the tensioner, breaker bar or long ratchet, belt-routing diagram, gloves, safety glasses, flashlight |
| Cost | Usually the cost of the belt only if the tensioner and pulleys are healthy; more if worn hardware must be replaced |
Tools, Time, and the 5-Step Swap
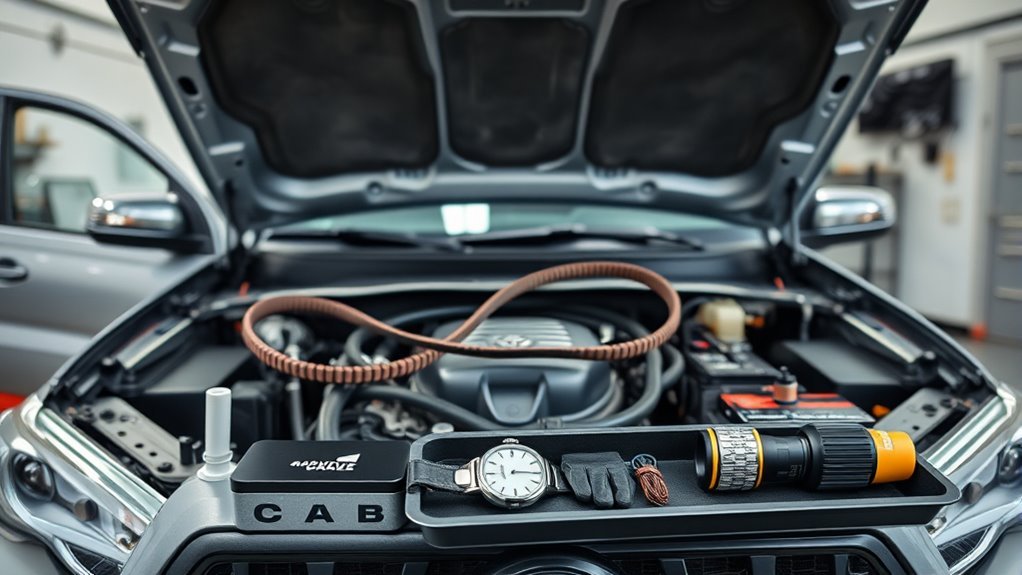
For many 2005–2015 Tacoma V6 models, the job commonly uses a 14mm socket or wrench on the tensioner, a breaker bar or long ratchet for leverage, and a small Allen key or pin to hold the tensioner when the service hole is aligned. Four-cylinder Tacomas and newer generations can use different tensioner access points, rotation direction, and belt sizes, so check your exact engine before starting.
- Park safely: Set the parking brake, shut off the engine, remove the key, and let the engine cool.
- Record the routing: Photograph the old belt path and compare it with the under-hood routing decal or service information.
- Release the tensioner: Rotate the tensioner only as needed to create slack. Use controlled pressure instead of jerking the tool.
- Remove and inspect: Slip the old belt off the easiest upper pulley first, then remove it from the rest of the drive path. Spin accessible idlers by hand and check for roughness or wobble.
- Install and verify: Route the new belt around every pulley, release the tensioner slowly, and confirm the belt ribs sit squarely in every groove before starting the engine.
Warning: Never work near the belt, fan, or pulleys with the engine running. Keep hands, tools, loose sleeves, jewelry, and hair away from the fan and accessory drive.
Tools & Parts Checklist for a Tacoma Serpentine Belt
Gather everything before you loosen the tensioner. You do not want to hold the tensioner under load while searching for a tool or trying to confirm routing.
[Products Worth Considering]

Tacoma 4Runner FJ Cruiser Tundra Drive Belt Tensioner Idler Pulley Kit

【FITMENT】Compatible with Toyota Vehicles: 2005-2015 Tacoma V6 4.0L 2004-2009 4Runner V6 4.0L 2007-2009 FJ Cruiser V6 4.0L 2005-2010 Tundra V6 4.0L
Essential Tools Needed
- Socket or wrench for the tensioner: Many 4.0L V6 Tacoma jobs use a 14mm socket, but verify your engine layout.
- Breaker bar or long ratchet: Gives controlled leverage to move the automatic tensioner.
- Small Allen key, drill bit, or retaining pin: Useful on tensioners with a locking/service hole. Some procedures call for a 5mm or 6mm pin depending on the engine and tensioner.
- Flashlight or work light: Helps confirm the belt is seated on the lower pulleys.
- Gloves and safety glasses: Protect your hands and eyes while working around the fan shroud and pulleys.
- Phone camera: Take a clear picture of the original belt path before removal.
Replacement Belt Details
The correct replacement belt depends on the Tacoma’s year, engine, accessory package, and pulley layout. Continental 4070834 is a 7-rib, 83.4-inch multi-V belt and is listed by retailers for several 2005–2015 Tacoma 4.0L V6 applications, but it is not a universal Tacoma belt. Confirm fitment by VIN, the old belt number, the under-hood routing label, or a Toyota parts lookup before installing it.
Note: Toyota’s owner resources and service publications should be treated as the final authority for your exact truck. If your Tacoma has a swapped engine, aftermarket accessories, or a missing routing label, verify the belt path with model-specific service information before removing the old belt.
Before You Remove the Old Belt
A few minutes of prep prevents most belt-installation mistakes. The most common DIY problems are wrong belt length, incorrect routing, one rib hanging off a pulley, or ignoring a bad tensioner that ruined the old belt in the first place.
- Check the routing label: Look under the hood or near the radiator support. If the label is missing, save a reliable diagram before starting.
- Inspect belt wear: Look for cracks, missing chunks, frayed edges, shiny glazing, oil contamination, or separated ribs.
- Check pulley alignment: A belt that is worn on one edge often points to a tilted pulley, failing tensioner, or misrouted belt.
- Listen before teardown: A squeal, chirp, grinding noise, or rattling tensioner can indicate a pulley or bearing problem, not just an old belt.
- Compare parts: Lay the new belt beside the old one. A used belt may be slightly stretched, but the rib count and general length should match the correct application.
A serpentine belt should be inspected as part of routine maintenance, but replacement should be based on condition, symptoms, and the service schedule for the exact vehicle—not a random mileage number.
Removing the Old Belt: Step-by-Step Safety First
Work slowly and keep one hand on the tool whenever the tensioner is loaded. A tensioner can snap back if the tool slips.
- Make the truck safe: Park on level ground, set the parking brake, turn the ignition off, and let the engine cool completely.
- Take a routing photo: Capture the full belt path, especially the lower crankshaft, A/C compressor, and idler pulley area.
- Place the tool on the tensioner: Use the correct socket or wrench on the tensioner bolt or hex boss. Keep the tool square so it does not slip.
- Rotate the tensioner to unload the belt: On many 4.0L V6 Tacomas, the tensioner is rotated counterclockwise to relieve tension. Some four-cylinder layouts differ, so follow the correct procedure for your engine.
- Lock the tensioner if equipped: If the service holes align, insert the correct pin or Allen key. Do not force a pin into a misaligned hole.
- Slip the belt off an easy pulley: Removing it from the alternator or an upper idler first usually gives the best access.
- Remove the belt from the fan and lower pulleys: Guide it around the fan blades carefully without bending blades or pulling on hoses.
- Clean and inspect: Remove belt debris and check every accessible pulley for wobble, rough bearings, or oil contamination.
Pro Tip: If the old belt shredded, look deeper before installing the new one. Belt pieces can wrap behind pulleys, and a seized idler or weak tensioner can destroy a fresh belt quickly.
Installing the New Tacoma Serpentine Belt: Routing Guide
Route the new belt with the grooved side on ribbed pulleys and the smooth side on smooth idlers. The belt must follow the exact path for your engine. If your diagram disagrees with a generic online drawing, trust the diagram for your truck’s engine and accessory layout.
- Start with the lower pulleys: Loop the belt around the crankshaft pulley and other hard-to-reach lower pulleys first while you still have slack.
- Work around accessories: Route the belt over the alternator, power steering pump if equipped, water pump/fan pulley, idlers, and A/C compressor according to the diagram.
- Leave an accessible pulley for last: Many DIYers find it easier to slip the belt over the alternator or smooth idler last.
- Move the tensioner again: Rotate the tensioner just enough to create room for the final belt placement.
- Seat every rib: Use a flashlight to check the hidden lower pulley grooves. One rib off by one groove is enough to shred the belt.
- Release the tensioner slowly: Let it apply tension gradually. Do not let it slam into place.
- Rotate and recheck: With the engine off, visually trace the belt path again before starting the truck.
Warning: Do not route the belt around the A/C condenser. The condenser is in front of the radiator; the belt drives the A/C compressor pulley on the engine accessory drive.
[Products Worth Considering]

Compatible Model: The drive belt kit is compatible with Toyota Tacoma 3.4L V6 1995-2004, compatible with Toyota 4Runner 3.4L V6 1996-2002, compatible with Toyota Tundra 3.4L V6 2000-2004 and compatible with Toyota T-100 3.4L V6 1995 1996 1997 1998
Troubleshooting: Misalignment, Tight Fit, and Stuck Tensioner

If the new belt seems impossible to install, stop and verify the part number and routing. A belt that is too short, routed around the wrong side of a pulley, or not seated in the crankshaft pulley grooves will feel like the tensioner does not move far enough.
[Products Worth Considering]

Compatible Vehicles: Fit for Toyota Tacoma 2.7L l4 GAS DOHC 2007-2020, for Toyota Tacoma 2.7L l4 GAS DOHC 2022, for Toyota 4Runner 2.7L l4 GAS DOHC 2010 (for SR5 Sport Utility 4-Door)
Belt Tracking Issues
A belt that walks toward the edge of a pulley, squeaks, or shows uneven edge wear is not tracking correctly. Shut the engine off and inspect before driving.
- Verify the route: Compare the belt path with the under-hood diagram again.
- Check rib seating: Look at every pulley from multiple angles, especially the crankshaft and lower accessories.
- Inspect pulleys by hand: With the belt removed, spin accessible idlers and the tensioner pulley. Roughness, wobble, or grinding means replacement is needed.
- Look for oil or coolant leaks: Fluid on the belt can cause slipping, swelling, squealing, and premature failure.
- Check tensioner position: A tensioner at the end of its travel can indicate the wrong belt length or a worn tensioner.
Tight Belt Maneuvering
A new serpentine belt may feel snug, but it should not require prying with a screwdriver. If you are tempted to force it, the belt is probably not seated fully somewhere or the route is wrong.
- Recheck that the belt is not riding on the lip of a ribbed pulley.
- Make sure the grooved side and smooth side match the pulley type.
- Route the hardest lower pulleys first and save an easy smooth pulley or alternator pulley for last.
- Confirm the belt part number, rib count, and effective length.
- Use steady tensioner pressure instead of bouncing the breaker bar.
Jammed Tensioner Release
If the tensioner will not move smoothly, do not keep adding force until something breaks. A good automatic tensioner should move under controlled pressure and return smoothly.
- Confirm tool placement: Make sure you are turning the correct bolt or hex boss for your engine.
- Check for obstructions: Look for trapped belt pieces, hoses, wiring, or brackets blocking travel.
- Move slowly: Apply steady pressure in the correct direction. Do not use impact tools on the tensioner.
- Inspect the pulley bearing: Noise, wobble, or roughness means the tensioner or pulley should be replaced.
- Replace a weak or seized tensioner: A new belt cannot compensate for a tensioner that no longer controls belt load.
Post-Install Checks, Testing, and Maintenance Tips
Before starting the engine, visually confirm that the belt sits centered on every pulley and fully inside every ribbed groove. Pay extra attention to pulleys that are partly hidden by the fan shroud.
- Initial visual check: Trace the entire belt path from the crankshaft pulley around every accessory.
- Short engine test: Start the engine for a few seconds while watching the belt from a safe distance. Shut it off immediately if the belt wanders, squeals, or jumps.
- Listen for noise: Chirping, squealing, or grinding can point to misalignment, contamination, or a bad pulley bearing.
- Recheck after a short drive: Let the engine cool, then inspect belt seating and tensioner position again.
- Keep records: Note the date, mileage, belt brand, part number, and any pulley or tensioner repairs.
For long belt life, keep pulleys clean, repair oil or coolant leaks quickly, and inspect the accessory drive during routine service. Toyota maintenance guides recommend regular scheduled maintenance by mileage or time, and the belt should be checked during those service opportunities rather than ignored until it fails.
When to Replace the Tensioner or Idler Pulleys
Replace the belt tensioner or idler pulley if you find any of these problems during the belt job:
- The pulley wobbles or does not spin smoothly by hand.
- The tensioner arm chatters, bounces heavily, or sits at the end of its travel.
- The bearing grinds, squeaks, or feels rough.
- The belt keeps walking off the same pulley.
- There is oil or grease coming from the tensioner assembly.
- The spring feels weak or the tensioner does not return smoothly after being moved.
Note: If the belt failed while driving and the battery light, overheating warning, or power steering symptoms appeared, inspect the full accessory drive before assuming the belt was the only failed part.
Frequently Asked Questions
How much does it cost to replace a serpentine belt on a Toyota Tacoma?
DIY cost is usually limited to the belt and any tools you do not already own. Professional replacement costs vary by shop labor rate, engine layout, and whether the tensioner or idler pulleys also need replacement. Get a current parts quote for your exact Tacoma before comparing DIY versus shop pricing.
How often should you change the serpentine belt on a Toyota Tacoma?
There is no single mileage that fits every Tacoma. Inspect the belt during routine maintenance and replace it when it shows cracks, fraying, glazing, missing ribs, contamination, noise, or tracking problems. Also follow the maintenance guidance for your model year and the belt manufacturer’s recommendations.
Is Continental 4070834 the right serpentine belt for every Toyota Tacoma?
No. Continental 4070834 is a 7-rib, 83.4-inch belt that fits several Tacoma applications, especially some 2005–2015 4.0L V6 models, but Tacoma belts vary by year, engine, and accessory layout. Always confirm fitment by VIN, engine, old belt number, or a trusted parts catalog.
Can I drive with a squealing Tacoma serpentine belt?
Avoid driving until you identify the cause. A squeal can mean the belt is slipping, contaminated, misrouted, or riding on a failing pulley. If the belt fails, the alternator may stop charging and engine cooling or power steering assistance may be affected depending on the engine layout.
Do I need to disconnect the battery before replacing the serpentine belt?
For a basic belt-only replacement, the key safety steps are usually shutting the engine off, removing the key, letting the engine cool, and keeping hands away from the fan and pulleys. If you will remove electrical components, work near the starter circuit, or follow a model-specific service procedure that calls for it, disconnect the battery as instructed.
Conclusion
You can replace a Toyota Tacoma serpentine belt at home with basic hand tools, but the job depends on correct fitment, careful routing, and a healthy tensioner. Take a photo before removal, confirm the belt path, seat every rib fully, and test briefly before driving. If the belt tracks poorly or the tensioner feels rough, fix that problem first so the new belt lasts.
Sources
- Toyota Owners Manuals and Warranties — official owner manual and maintenance guide access for Tacoma model years.
- Toyota Technical Information System support page — Toyota’s official source for service publications and repair information access.
- Toyota V-Ribbed Belt Tensioner Assembly — official Toyota parts information explaining the tensioner’s role in maintaining engine drive belt tension.
- Continental Multi-V Belts — manufacturer information on OE Technology Series multi-V belt construction and EPDM materials.
- Continental Serpentine Belt 4070834 specifications — belt rib count, effective length, material, and fitment-check reminder for this example replacement belt.