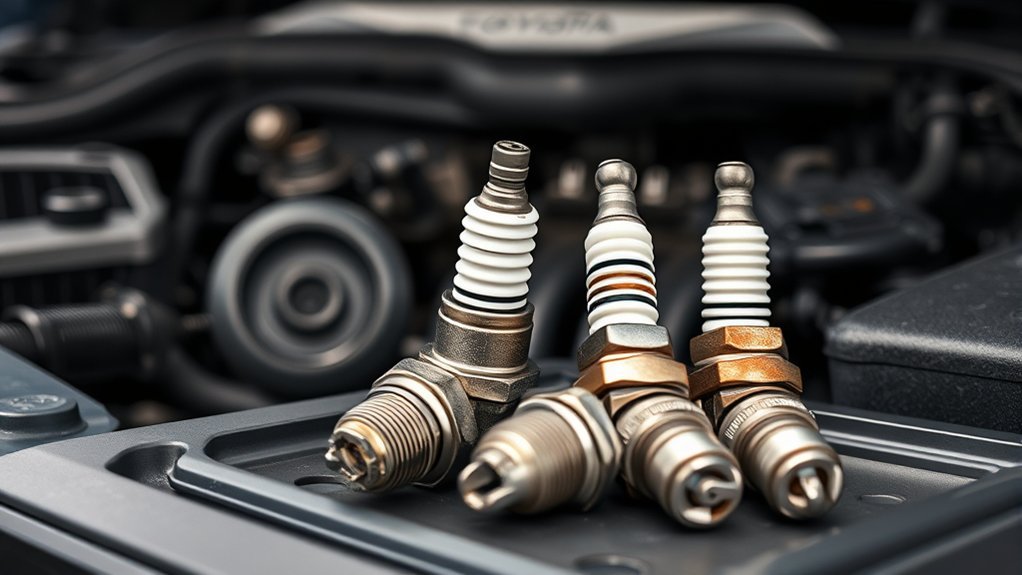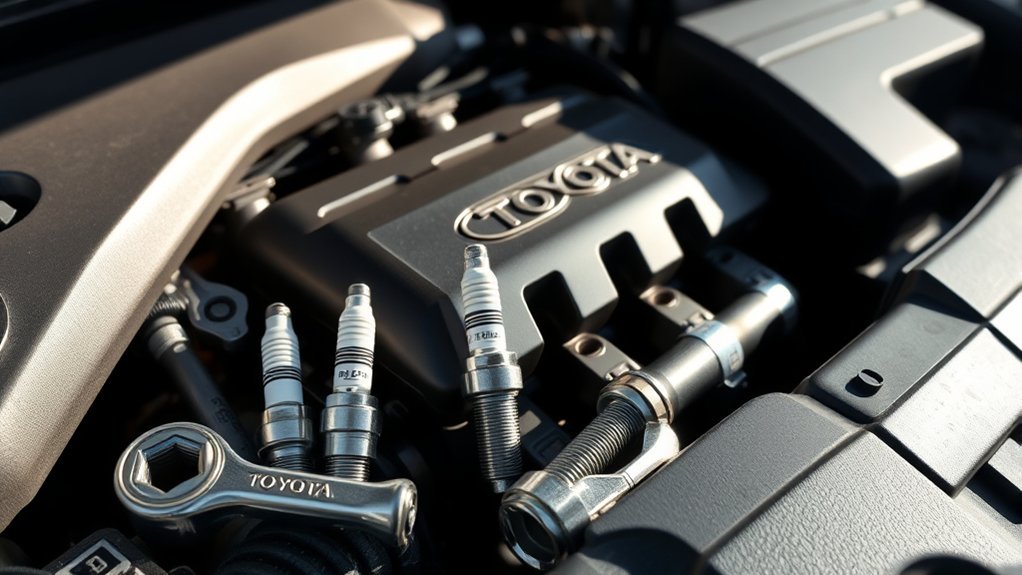
Replacing the spark plugs in a Toyota Camry is a manageable DIY job on many 4-cylinder models, but the correct plug, gap, torque, and service interval depend on the model year and engine. This guide focuses on the common 2.5L 4-cylinder Camry layout, with notes for hybrid and V6 owners so you can avoid buying the wrong plugs or damaging the cylinder head.
Quick Answer
To replace Toyota Camry spark plugs, confirm your engine code and plug part first, let the engine cool, remove the engine cover and ignition coils, clean debris from each plug well, remove the old plugs, hand-thread the new plugs, torque them to the correct engine-specific spec, reinstall the coils, and check for misfires.
Key Takeaways
- Do not assume every Camry uses the same plug, gap, or torque spec; verify by VIN, model year, and engine code.
- Many 4-cylinder and hybrid Camrys use long-life iridium plugs, often replaced around 120,000 miles, but some V6 schedules differ.
- Start every new spark plug by hand before using a ratchet to prevent cross-threading the aluminum cylinder head.
- Ignition coils do not need routine replacement unless they are cracked, oil-soaked, damaged, or tied to a confirmed misfire.
At a Glance
| Time Required | 45–90 minutes for most 4-cylinder models; longer for V6 models |
| Difficulty | Beginner to intermediate on 4-cylinder models |
| Tools Needed | 10 mm socket, spark plug socket, extension, ratchet, torque wrench, compressed air or vacuum, gloves, and eye protection |
| Cost | Usually parts-only for DIY; cost varies by plug type, engine, and local pricing |
Toyota maintenance guides commonly list long-life Camry spark plugs at 120,000 miles or 144 months, but some engines, especially V6 applications, can have different service points. Always verify your exact maintenance guide.
Identifying the Right Spark Plugs for Your Toyota Camry
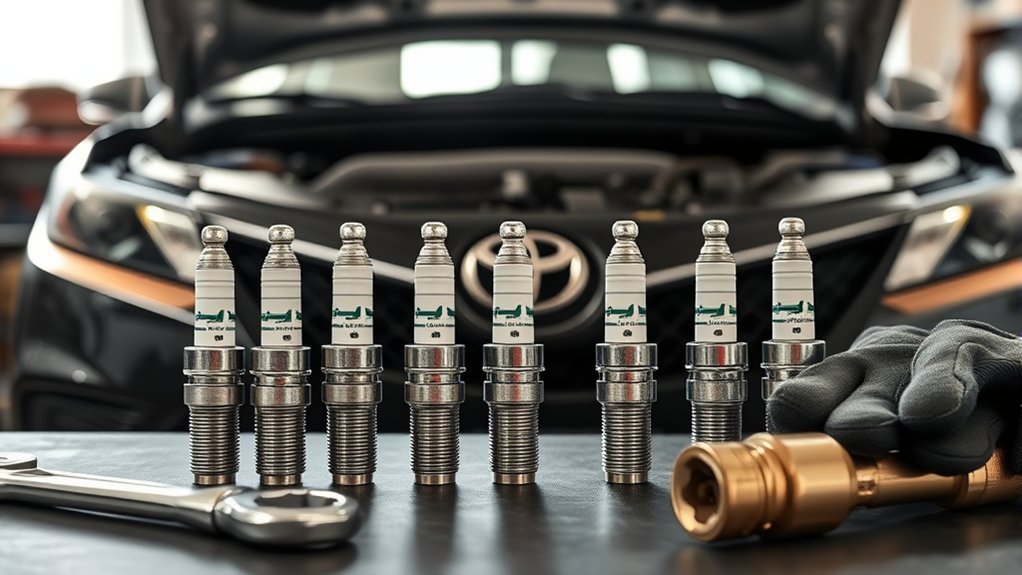
Before you remove anything, confirm your Camry’s model year, engine code, and plug part number. A 2010–2017 2.5L 2AR-FE, a 2018–2024 2.5L A25A-FKS, a hybrid A25A-FXS, and a V6 Camry can use different spark plugs. The safest method is to check your owner’s maintenance guide, use Toyota’s owner resources, or match the original-equipment plug by VIN.
Toyota’s maintenance guidance also says to install new plugs of the same type as originally equipped. That matters because modern Camry plugs are often fine-wire iridium designs, and swapping to a generic “fits all” plug can create misfires, poor cold starts, or shorter plug life.
| Camry engine example | Common OE-style plug family | Important note |
|---|---|---|
| 2010–2017 2.5L 2AR-FE | DENSO SK16HR11 / Toyota equivalent | Often associated with a 0.043-inch gap, but still verify by VIN and service data. |
| 2018+ 2.5L A25A-FKS | DENSO FC16HR-Q8 / Toyota equivalent | Do not assume the older 0.043-inch spec applies. |
| Hybrid 2.5L A25A-FXS | DENSO FC16HR-Q8 / Toyota equivalent | Work only on the ignition components; never touch orange high-voltage cables. |
| V6 2GR-FE / 2GR-FKS | Toyota/DENSO equivalent by engine year | Rear-bank access can be more involved than this 4-cylinder guide. |
Note: Most iridium and platinum fine-wire plugs come with a preset gap. Check the gap only if the service information tells you to, and do not pry against the fine center electrode.
[Products Worth Considering]


Engine L4, Engine Size 2.5L/2494cc

Package: 4pcs Ignition Coils for TOYOTA 2.0L L4 / 2.5L L4 Engine & 4pcs Double Iridium Spark Plug.
Gathering the Right Tools for Spark Plug Replacement
Gather your tools before the engine is opened. You do not want dirt, dropped bolts, or the wrong socket slowing you down once the ignition coils are out.
- Correct spark plugs: Buy the exact plug type for your engine and model year. Use four plugs for most 4-cylinder Camrys and six for V6 models.
- 10 mm socket: Used for ignition coil bolts and, on many models, engine cover fasteners.
- 5/8-inch or 16 mm spark plug socket: Use a rubber insert or magnetic socket to hold the plug securely.
- Extension and ratchet: A 6-inch extension works well on many 4-cylinder engines.
- Torque wrench: Use the correct engine-specific torque. For many 2AR-FE applications, 18 lb-ft is commonly listed, but newer engines may differ.
- Compressed air, vacuum, or clean brush: Clean around the plug wells before removing the old plugs.
- Dielectric grease: Optional, used sparingly inside the ignition coil boot to help seal out moisture. Do not put it on the spark plug threads or electrode.
- Gloves and safety glasses: Protect your hands and eyes from dirt, heat, and debris.
Warning: Work only on a cold engine. Removing or installing spark plugs in a hot aluminum cylinder head increases the risk of thread damage and burns.
[Products Worth Considering]

❏ SUPERIOR QUALITY - Our 3/8 inch spark plug socket is forged from integral heat-treated superior CRV steel, high hardness, high torque, polished surface, not easy to rust and deform, and can be used for a long time without damage, we are proud of its quality, it is the ideal professional tool for replacing spark plugs in cars.

Quality Material: The spark plug removal tool is made of high-performance chrome vanadium steel, with matte nickel-plated rust-resistant surface, resistant to abrasion and corrosion, to ensure that it will not be damaged in long time use
How to Easily Remove Your Engine Cover
Park on a level surface, set the parking brake, switch the ignition off, and keep the key fob away from the vehicle. Open the hood and locate the plastic engine cover. On many Camrys, the cover lifts off rubber grommets; on others, it may use small bolts or clips.
Remove any visible fasteners first. Then lift the cover evenly rather than bending one corner. If it feels stuck, check again for hidden clips or wiring nearby. Set the cover aside where it will not be scratched or stepped on.
Hybrid note: Camry Hybrid spark plug replacement is still an engine-bay job, but do not touch orange high-voltage wiring, connectors, or service plugs. If you are unsure what a component is, stop and consult a qualified technician.
Disconnecting and Removing the Ignition Coil
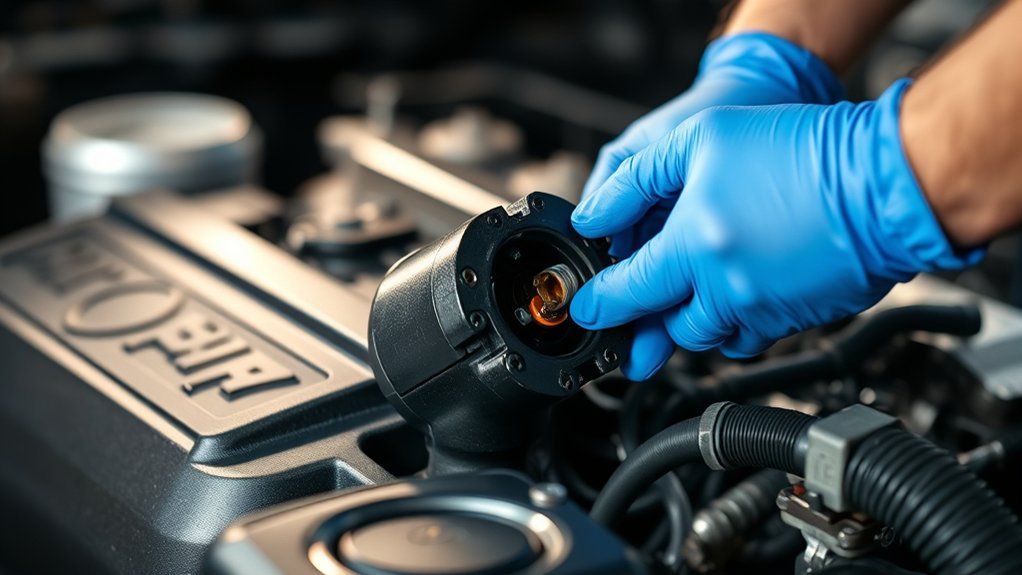
Each spark plug sits under an ignition coil. Work on one cylinder at a time if you are new to the job, or label the coils so they go back where they came from.
- Release the connector: Press the tab on the ignition coil connector and pull it straight back. Do not yank on the wires.
- Clean the area: Blow or vacuum dirt from around the coil and plug well before opening the cylinder head area.
- Remove the coil bolt: Use a 10 mm socket to remove the bolt holding the coil in place.
- Lift the coil straight up: Twist gently if the boot sticks, then pull upward without bending the coil body.
Pro Tip: Look inside the coil boot. Oil, water, white tracking marks, cracks, or swelling can point to a valve-cover leak, moisture problem, or failing coil boot.
Remove and Install Spark Plugs Safely
After the ignition coil is out, look down the plug well. If you see sand, leaves, oil, or loose debris, clean it before removing the old plug. Anything that falls into the cylinder can cause damage.
- Loosen the old plug: Place the spark plug socket and extension squarely over the plug. Turn counterclockwise with steady pressure.
- Remove the plug carefully: Lift it out with the socket. If it feels unusually tight, stop and work slowly rather than forcing it.
- Inspect the old plug: Light tan or gray deposits are usually normal. Wet oil, heavy black carbon, melted electrodes, or a cracked insulator may point to a deeper engine or ignition issue.
- Check the new plug: Confirm the part number and inspect the tip for shipping damage. Do not coat the electrode or threads with dielectric grease.
- Start by hand: Place the new plug in the socket and thread it in using only the extension at first. It should turn smoothly several rotations.
- Torque correctly: Tighten with a torque wrench to the service specification for your engine. Do not guess and do not overtighten.
Warning: If the new spark plug does not thread in smoothly by hand, back it out and restart. Forcing it with a ratchet can cross-thread the cylinder head.
Reinstalling the Ignition Coil and Engine Cover
Once the new plug is installed, reinstall the ignition coil before moving to the next cylinder. This keeps the plug well clean and reduces the chance of mixing parts.
Proper Coil Installation
Apply a small amount of dielectric grease inside the ignition coil boot if the boot is dry and clean. Slide the coil straight down onto the plug until it seats fully. Reinstall the original bolt and tighten it snugly. Do not overtighten the small coil bolt.
Reconnect the electrical connector until it clicks. A connector that is not fully seated can create an immediate misfire and check engine light.
Secure Engine Cover
After all plugs and coils are installed, reinstall the engine cover. Align the cover pins with the rubber grommets or reinstall the bolts you removed earlier. Press down evenly so the cover sits flat and does not rattle.
Final System Check
Before starting the engine, look over the work area. Confirm every coil connector is plugged in, every coil bolt is installed, and no tools or rags are left in the engine bay. Then start the engine and let it idle.
Final Checks and Troubleshooting After Spark Plug Replacement
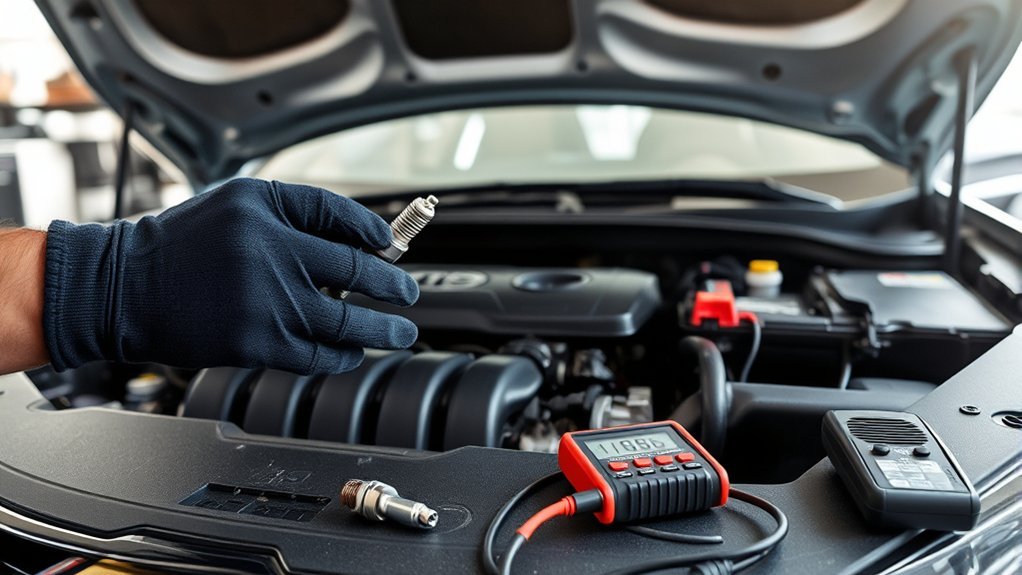
A smooth idle, normal acceleration, and no warning lights usually mean the job went well. If the engine shakes, idles roughly, or the check engine light flashes, shut the engine off and recheck your work.
| Symptom | Likely cause | What to check |
|---|---|---|
| Rough idle right after startup | Loose coil connector or coil not seated | Recheck every coil connector and coil bolt. |
| Check engine light | Misfire code or connector issue | Scan for codes such as P0300, P0301, P0302, P0303, or P0304. |
| Oil in plug well | Possible valve cover gasket leak | Repair the leak before it damages coils or boots. |
| Ticking or puffing sound | Loose or improperly seated spark plug | Shut down and verify plug installation carefully. |
| Misfire moves with coil swap | Faulty ignition coil | Replace the faulty coil after confirming the diagnosis. |
If the engine ran poorly before the repair and still runs poorly afterward, the spark plugs may not have been the only problem. Common causes include a weak ignition coil, vacuum leak, clogged injector, low compression, or oil leaking into the plug tube.
Frequently Asked Questions
How often should spark plugs be changed on a Toyota Camry?
It depends on the engine and model year. Many late-model 4-cylinder and hybrid Camrys list spark plug replacement around 120,000 miles or 144 months, while some V6 maintenance schedules can call for earlier service. Check your Toyota maintenance guide by VIN instead of relying on a universal mileage number.
Can I replace my Toyota Camry spark plugs myself?
Yes, many 4-cylinder Camry owners can replace spark plugs with basic tools, patience, and a torque wrench. The job is harder on V6 models because rear-bank access may require more disassembly. If a plug feels stuck, cross-threaded, or unusually tight, stop and get professional help.
Should I replace ignition coils with spark plugs on my Toyota?
Not automatically. Ignition coils are not routine wear items in the same way spark plugs are. Reuse them if they are working and undamaged. Replace a coil if it is cracked, oil-soaked, has a damaged boot, or is linked to a confirmed cylinder misfire.
Do Toyota Camry spark plugs need to be gapped?
Usually, you should verify the gap but avoid adjusting fine-wire iridium or platinum plugs unless the plug maker and service information say it is required. Many modern plugs are preset, and careless gapping can damage the center electrode.
How much does it cost to replace spark plugs on a Toyota Camry?
DIY cost is usually the price of the correct plugs and any tools you do not already own. Professional replacement costs more because you pay for labor, and V6 models generally cost more than 4-cylinder models due to access. Confirm plug pricing by VIN before buying parts.
Sources
- Toyota Owners Manuals and Warranty Guides — confirms where owners can verify year-specific Camry maintenance information.
- 2017 Toyota Camry Warranty & Maintenance Guide — supports the 120,000-mile / 144-month spark plug service point for that generation.
- 2024 Toyota Camry Warranty & Maintenance Guide — supports model-specific Camry maintenance intervals, including V6 spark plug notes.
- Toyota Genuine Parts Spark Plug Application Chart — supports using engine/year-specific original-equipment spark plug types.
- DENSO Spark Plug Installation Guidance — supports careful handling and checking preset gaps before adjustment.
- NGK Spark Plug Gap Guidance — supports verifying the gap for the application and avoiding excessive adjustment.
Conclusion
Replacing Toyota Camry spark plugs can be a satisfying DIY repair when you slow down and verify the details first. The biggest mistakes are buying generic plugs, assuming every Camry uses a 0.043-inch gap, overtightening the plugs, or replacing good ignition coils unnecessarily. Confirm the correct plug by engine and VIN, work on a cold engine, start each plug by hand, torque it properly, and finish with a careful idle and warning-light check. Done correctly, new plugs help your Camry start cleanly, idle smoothly, and keep its ignition system reliable.