
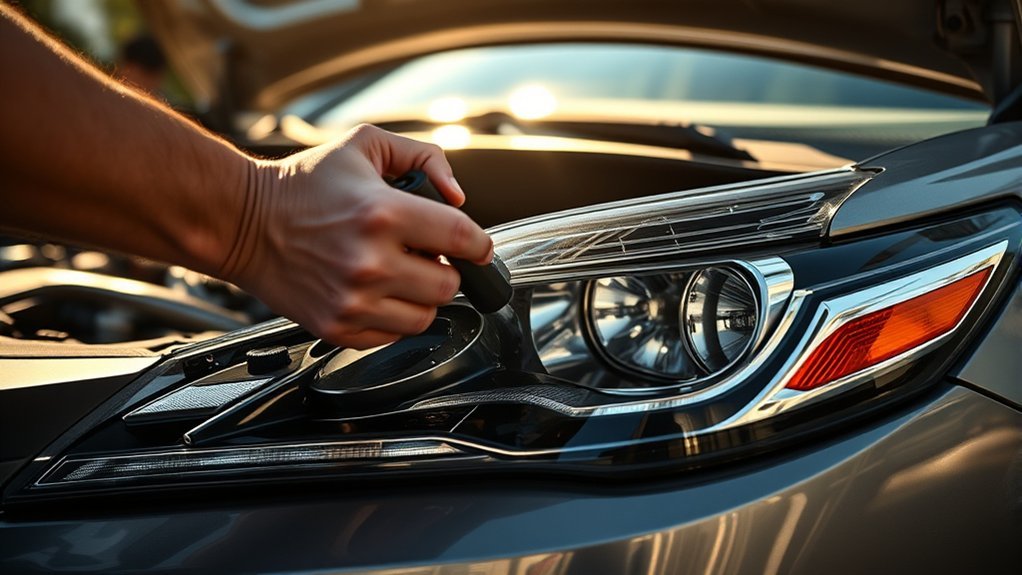
To replace a Toyota Camry headlight bulb safely, first confirm that your exact model year and trim uses a serviceable halogen bulb (mainly 2007–2017 models) rather than a sealed factory LED headlamp (standard on 2018–2024 models). Then turn the vehicle and lights off, let the lamp cool, remove the rear cover if equipped, disconnect the bulb, release its twist-lock base or retaining clip, and install the exact replacement without touching the glass. Camrys with factory LED headlamps or some HID systems may require assembly-level service instead of a simple bulb swap.
Last reviewed: July 23, 2026. This guide was checked against Toyota owner-manual guidance and current U.S. headlamp rules.
[VERIFY: add real reviewer name and credentials here, e.g. “Reviewed by [Name], ASE-certified technician” — do not publish a fabricated name or certification]
Quick Answer
If your Camry has a replaceable halogen bulb, open the hood, identify the failed low beam or high beam, remove any rear dust cover, disconnect the plug, and release the bulb using the method shown in your model-year owner’s manual. Some bulbs twist counterclockwise; others use a retaining clip. Install the exact matching bulb by its base, secure the connector and cover, then test both beams. Do not use this procedure for an integrated factory LED headlamp.
Key Takeaways
- Verify the bulb by model year, trim, lamp position, owner’s manual, VIN-based Toyota parts lookup, and the code on the old bulb.
- Do not assume every Camry uses a twist-lock bulb. Some assemblies use a dust cap, spring clip, HID hardware, or an integrated LED unit.
- Handle a halogen bulb only by its base while wearing clean gloves; oil on the glass can shorten its life.
- Stop if you find melted wiring, a damaged socket, standing water in the lamp, or a factory LED or HID system you cannot identify safely.
At a Glance
| Time Required | Varies by model year and access; an exposed halogen bulb is faster than a blocked or assembly-level repair |
| Difficulty | Easy for an accessible halogen bulb; advanced for HID, LED, wiring, or bumper-removal work |
| Tools Needed | Clean gloves, lint-free towel, flashlight, and only the tools listed for your model-year access panels |
| Main Risk | Wrong bulb fitment, damaged connectors, poor seating, glare, or high-voltage HID components |
Which Bulb Does Your Camry Generation Use?
Bulb type is tied to the Camry’s generation, not just the model name. Use this as a starting point, then confirm with your exact VIN before buying anything — trims within a generation can still differ.
| Generation / Years | Typical Headlamp Type | Owner-Serviceable? |
|---|---|---|
| 2002–2006 (5th gen) | Halogen, socket-and-bulb design | Typically yes — confirm exact bulb codes for your trim `[VERIFY]` |
| 2007–2011 (6th gen) | Halogen — 9005 (high beam), H11 (low beam) on most trims | Yes, on most trims — confirm by VIN and old-bulb code |
| 2012–2017 (7th gen) | Halogen — 9005 (high beam), H11 (low beam) on most trims | Yes, on most trims — confirm by VIN and old-bulb code |
| 2018–2024 (8th gen) | Factory-sealed LED headlamp on most trims | No — not a serviceable plug-in bulb; dealer or assembly-level service required |
| 2025–2026 (9th gen) | Not yet confirmed for this guide | `[VERIFY: confirm headlamp type for current-generation Camry before publishing]` |
[Products Worth Considering]
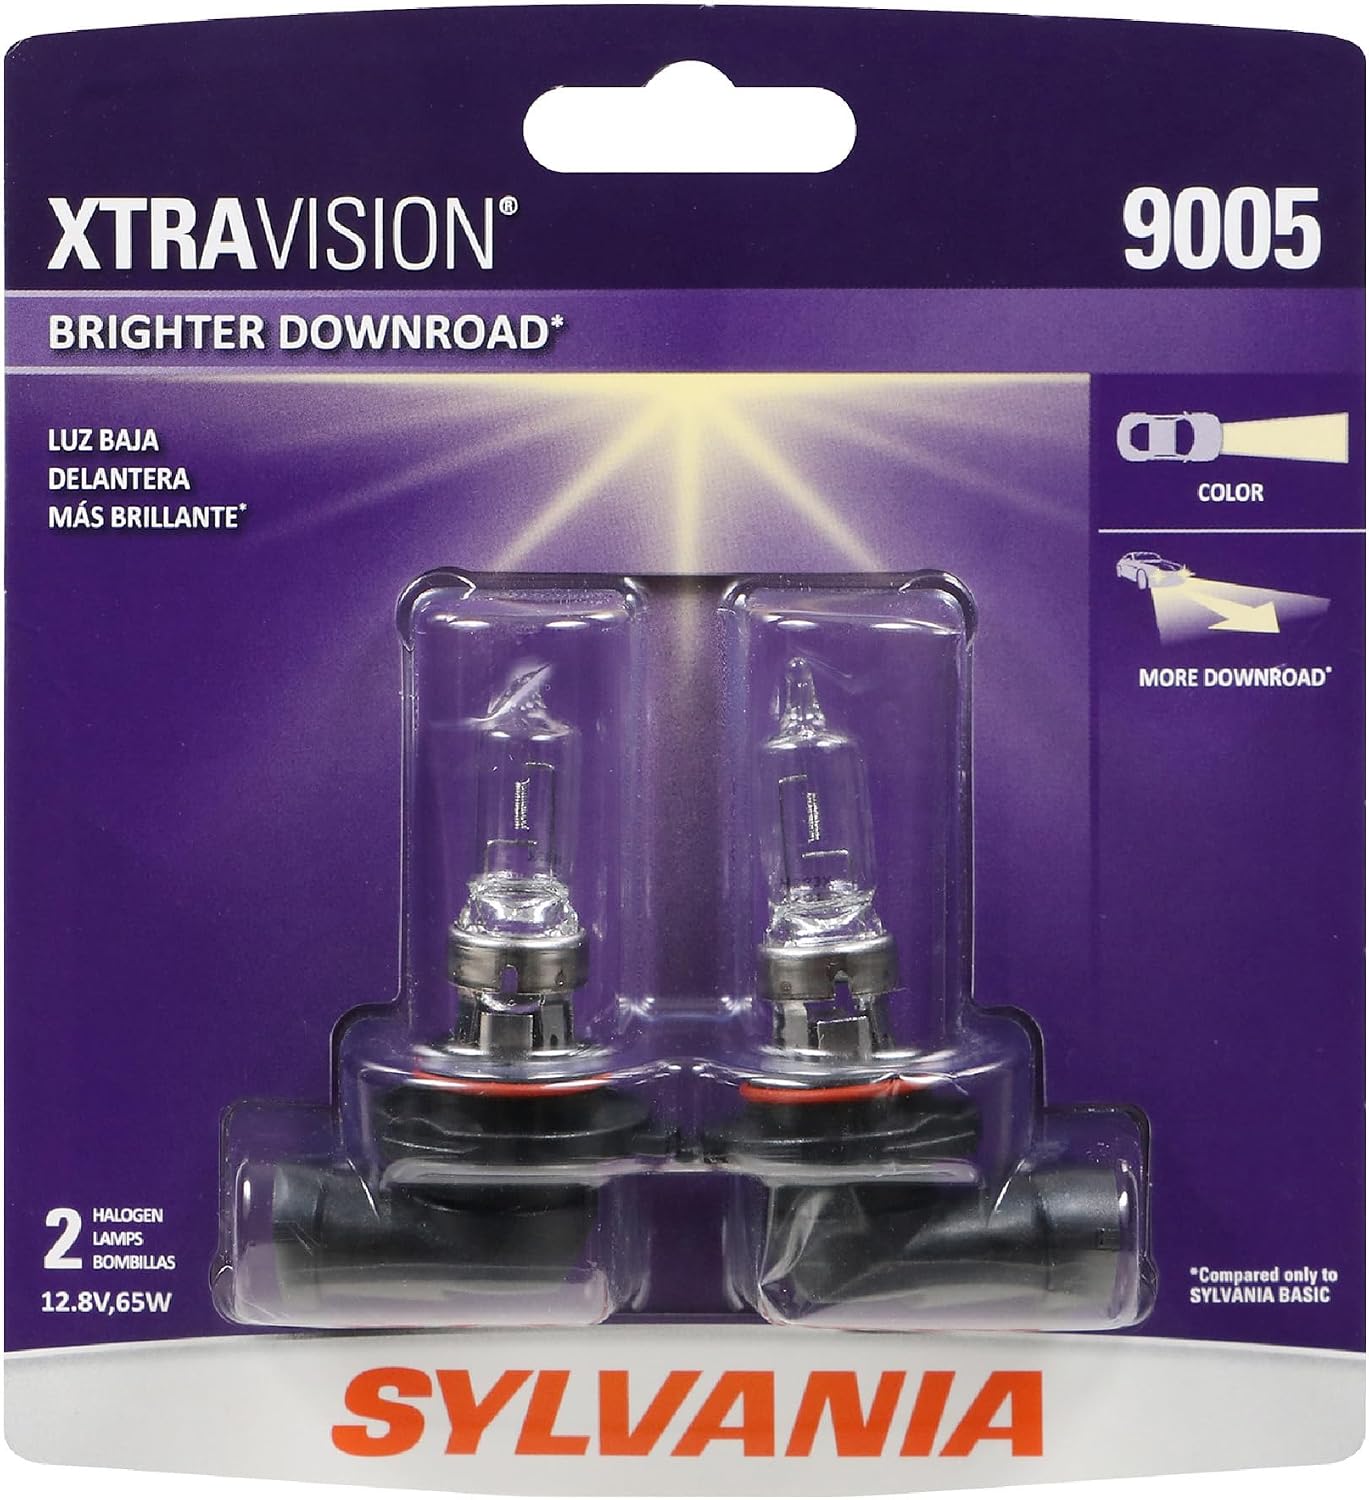
SYLVANIA XtraVision halogen headlight bulbs are designed to improve down road visibility without adding glare, helping you see farther and drive more confidently. Built with a robust filament and proprietary gas mixture, these bulbs are made for reliable performance and lasting durability. Replacing headlights in pairs helps maintain balanced lighting and optimal results.

SYLVANIA 9003 XtraVision halogen headlight bulbs deliver enhanced down-road visibility with no added glare, helping improve nighttime driving confidence. Designed for high beam, low beam, and fog light replacement applications, these bulbs are built with a durable filament and proprietary gas mixture for reliable performance. Replacing bulbs in pairs helps maintain balanced light output and consistent visibility.

SYLVANIA H11 XtraVision halogen headlight bulbs are designed to improve down-road visibility without adding extra glare. Built with a robust filament and proprietary gas mixture, they deliver reliable performance and durable illumination for high beam, low beam, or compatible fog light applications. Replacing headlight bulbs in pairs helps maintain balanced lighting and optimal driving confidence.
What Bulb Does Your Toyota Camry Need?
Do not buy a bulb from a broad “fits Toyota Camry” listing. Headlamp designs vary by model year, trim, market, and equipment. Start with the Toyota owner’s manual lookup, check the section for bulbs you can replace yourself, and confirm the part with a VIN-based Toyota parts lookup.
After removal, compare the old and new bulbs side by side. The printed bulb code, base tabs, electrical connector, wattage, and lamp position must match. Codes such as H11, 9005, and 9006 appear on some Camry applications, but they are examples—not a universal Camry bulb chart. The generation table above is a starting point, not a substitute for confirming your own VIN.
| What You Find | Likely Service Method | Best Next Step |
|---|---|---|
| Removable bulb base and wiring plug | Replaceable halogen bulb | Follow the model-year removal method: twist-lock or retaining clip |
| Rear dust cap with bulb and igniter behind it | Possible HID system | Use the factory procedure and avoid energized high-voltage components |
| No serviceable bulb listed in the owner’s manual | Possible integrated LED headlamp | Confirm assembly-level service with Toyota parts information or a qualified technician |
| Old bulb, manual, and parts lookup disagree | Unconfirmed fitment or modified lighting | Stop and verify by VIN before installing anything |
Note: A factory LED headlamp is not the same as a plug-in LED replacement bulb. If Toyota does not list the headlight light source as owner-replaceable, do not cut, drill, or modify the housing to install a universal bulb.
What Tools and Safety Steps Do You Need?
Park on a level surface, set the parking brake, switch the exterior lights off, and shut the vehicle down. Keep the smart key away from the car so the lighting system is not activated while your hands are behind the headlamp. Let the bulb and housing cool before you begin.
- Replacement bulb verified for the exact Camry year, trim, lamp position, and headlamp type
- Nitrile gloves or clean mechanic’s gloves
- Clean lint-free towel or shop towel
- Flashlight
- Small screwdriver or socket set only if the owner’s manual identifies a removable duct, cover, or fastener
- Isopropyl alcohol and a clean cloth if halogen glass is accidentally touched
HID warning: HID headlamps can use a high-voltage igniter and ballast. OSRAM marks xenon HID lamps for dangerous voltage and recommends professional replacement. Do not probe an HID connector, energize the lamp while it is open, or continue if you cannot identify the system.
Warning: Never force a connector, pry against the housing, or install a bulb that does not match the socket. Stop if you see melted plastic, burnt terminals, broken wiring, or water pooled inside the lamp.
[Products Worth Considering]

SYLVANIA SilverStar Ultra H11 halogen bulbs are designed to deliver brighter down-road visibility and a whiter light for improved clarity at night. Patented Tri-Band Technology enhances contrast to help you spot road signs and hazards more easily, while replacing bulbs in pairs supports more consistent performance. Built for exact-fit compatibility in H11 applications, this two-bulb pack is a practical upgrade for safer nighttime driving.
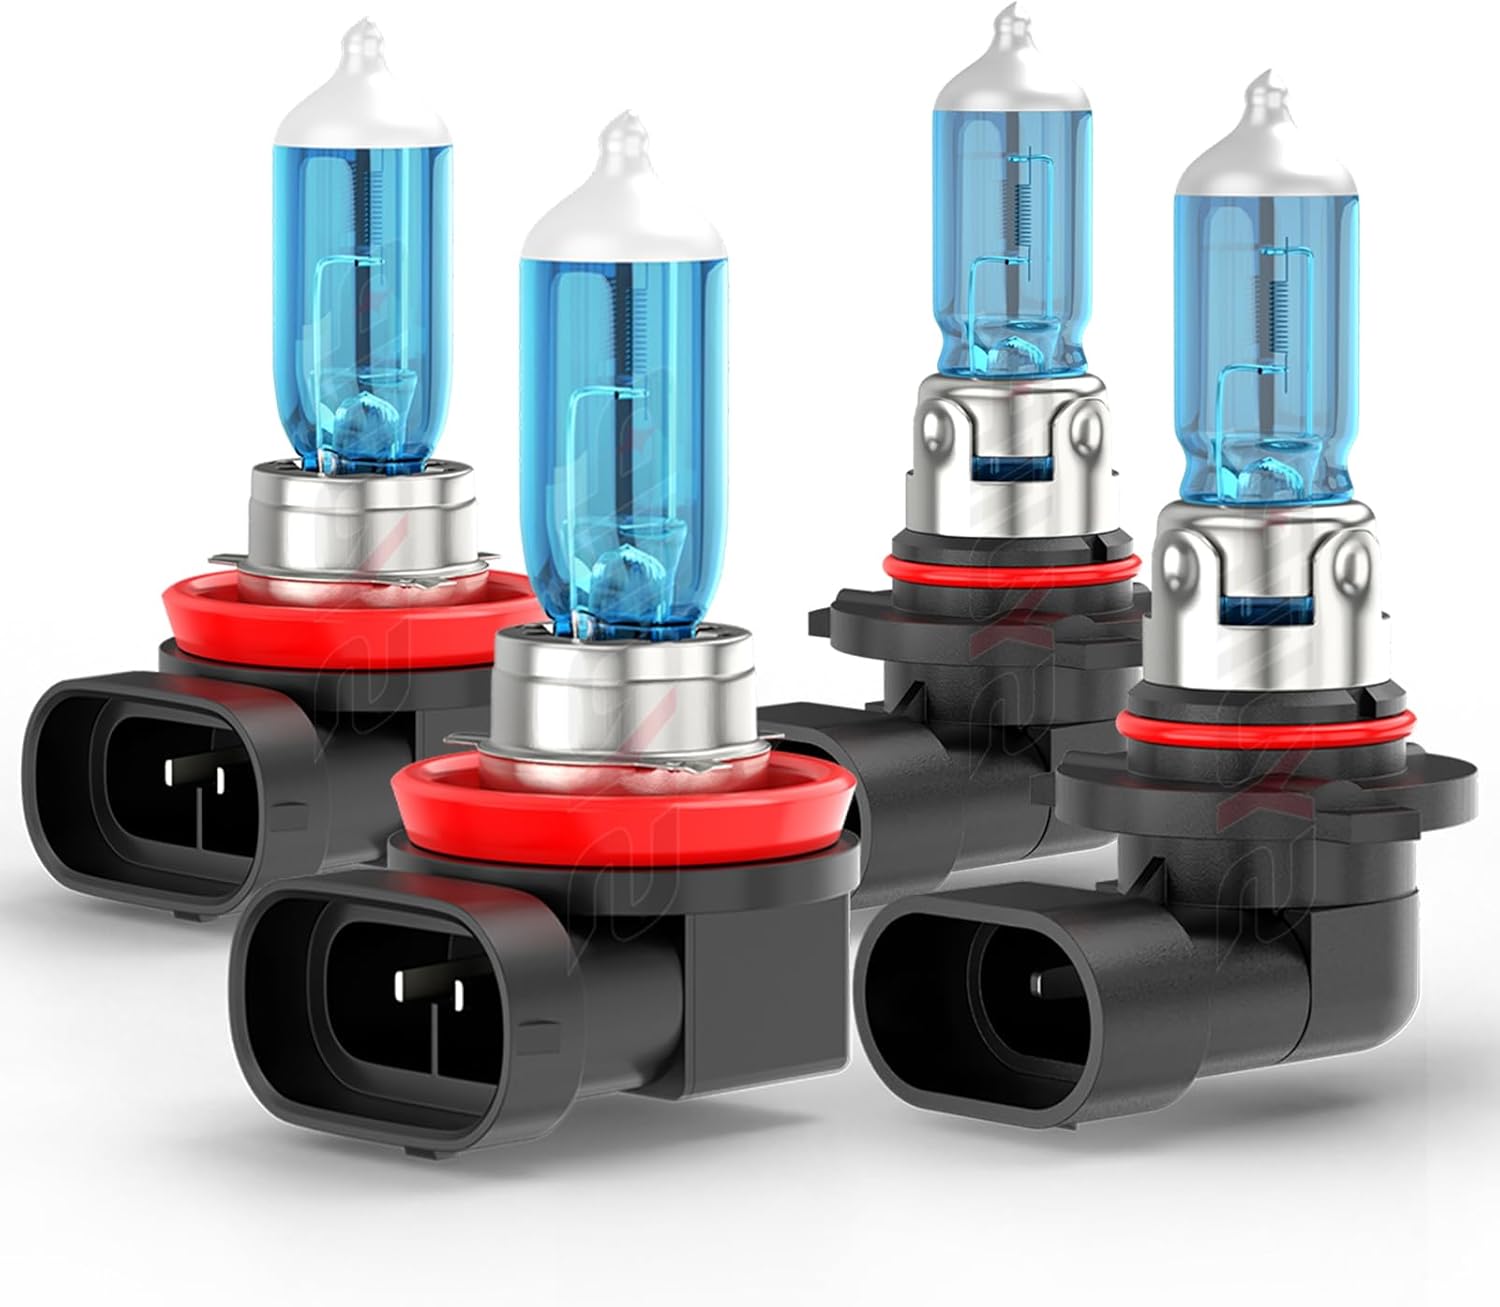
Designed for Toyota Camry models from 2007 to 2018, these SYJIIP halogen headlight bulbs offer a direct plug-and-play upgrade for high and low beam applications. They deliver brighter white light for improved nighttime visibility while maintaining a safe beam pattern that helps reduce glare and supports more confident driving.
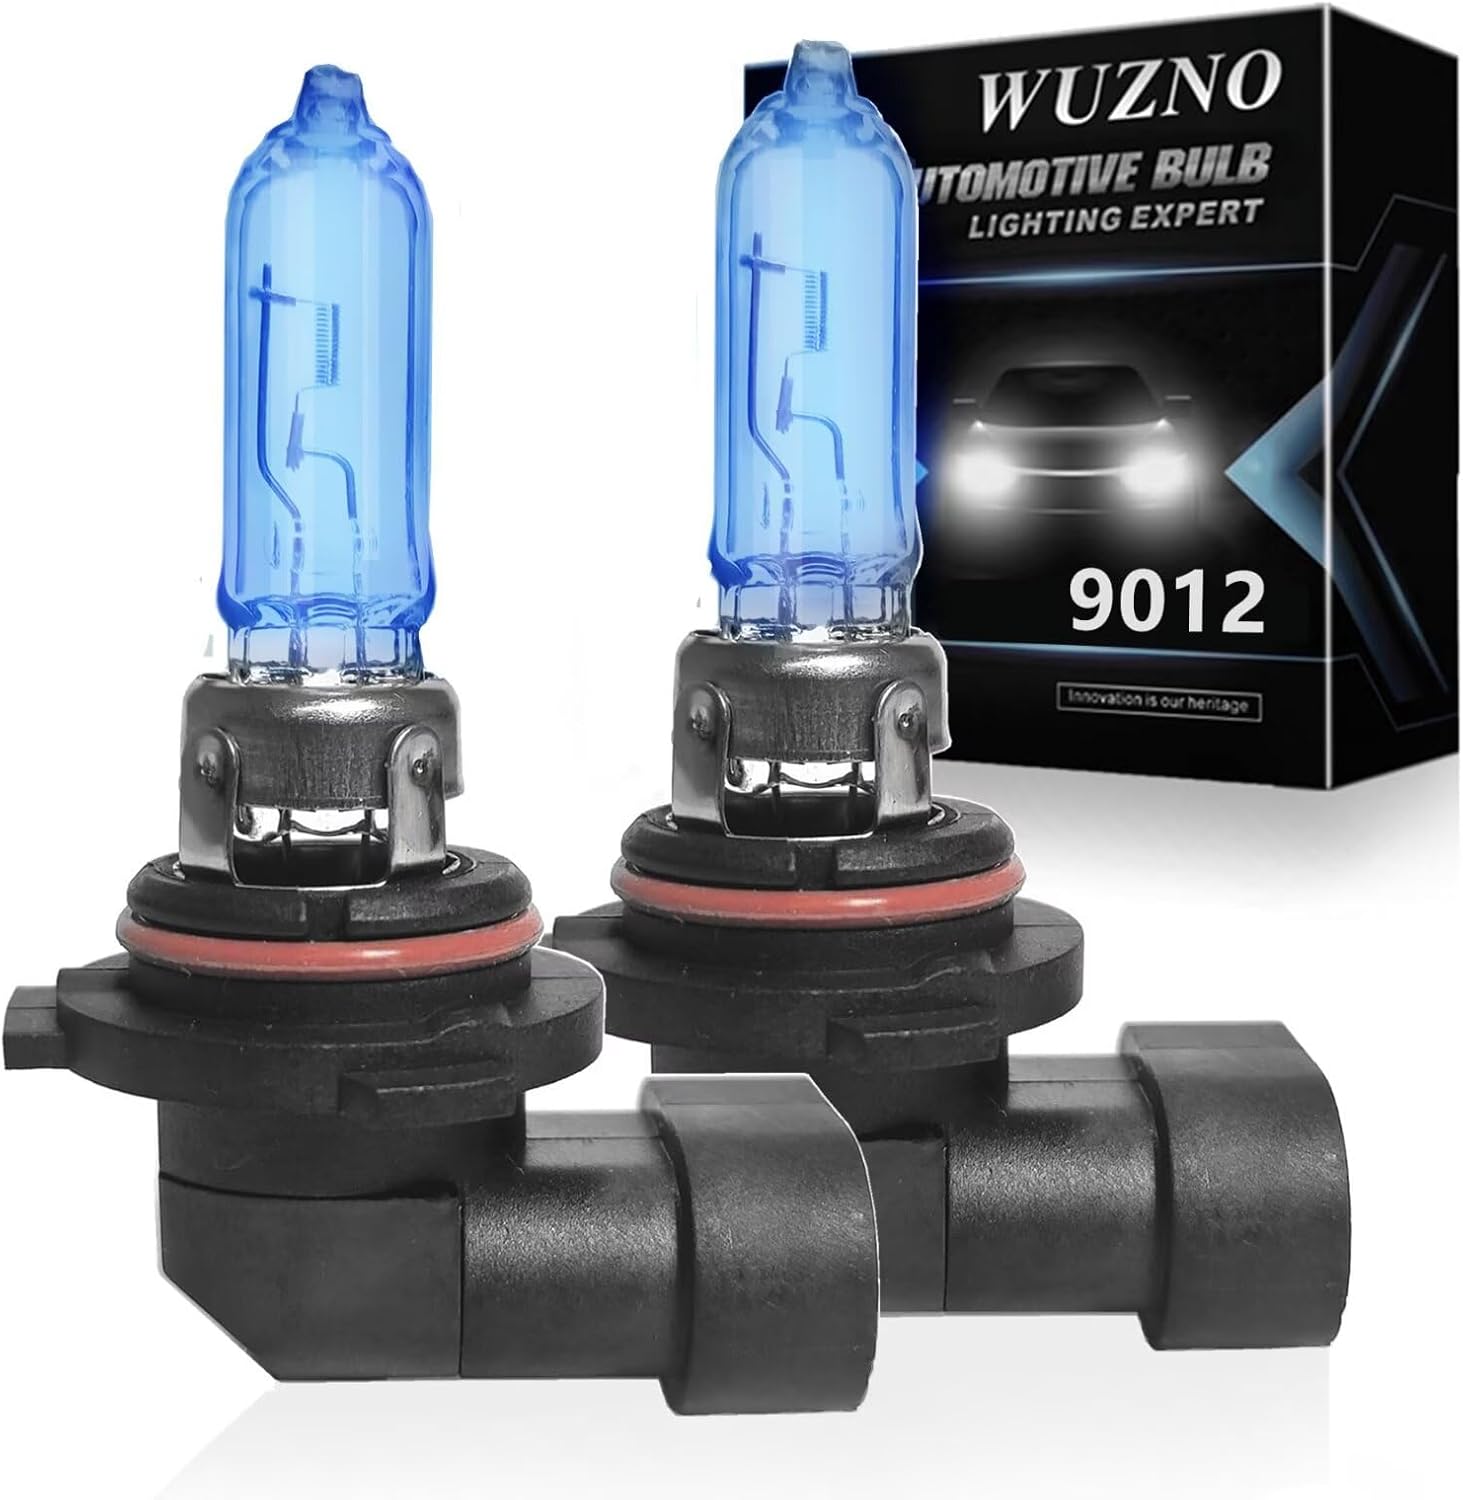
These halogen headlight bulbs are designed as a direct replacement for compatible Toyota models, offering plug-and-play installation with the same base and connector as the original bulbs. They deliver brighter, whiter light for improved visibility and a more modern look while helping reduce eye fatigue during night driving. Built for long life and reliable performance, this two-pack is ideal for restoring or upgrading your vehicle's headlight output.
How Do You Open the Hood Safely?

Pull the hood release lever below the driver’s side dashboard. At the front of the car, release the secondary latch under the hood’s front edge, then raise the hood fully.
If your Camry uses a prop rod, secure it in the marked slot before reaching into the engine bay. Confirm the hood is stable and keep tools away from the latch area.
Where Is the Toyota Camry Low-Beam Bulb?
This section applies to 2007–2017 Camrys with replaceable halogen headlamps; 2018–2024 models use a sealed LED unit with no serviceable low-beam bulb behind the lens (see the generation table above). The low beam is the normal nighttime driving light. On a Camry with replaceable halogen headlamps, its service point is behind the headlight housing. Depending on the generation, you may see the bulb base directly or first remove a rear dust cover.
Do not identify the socket by position alone. From the front of the parked car, briefly confirm which lamp is out, switch the lights off again, and let the area cool. Then match that lamp to the rear service point shown in your owner’s manual.
How Do You Remove the Low-Beam Bulb?
- Confirm the vehicle and headlights are off and the lamp is cool.
- Remove the rear dust cover if your headlamp has one; note how its seal sits.
- Locate the low-beam connector and release it without pulling on the wires.
- Use the owner’s-manual method to release the bulb. A twist-lock bulb normally turns counterclockwise, while another design may use a spring retaining clip.
- Withdraw the bulb straight back so the glass and base do not strike the housing.
- Compare the old and new bulbs. The code, base tabs, connector, wattage, and position must match.
Pro Tip: For halogen headlamps, replacing both sides as a matched pair helps maintain even brightness and color. Sylvania also recommends pair replacement when upgrading or replacing an aged bulb.
How Do You Install the Low-Beam Bulb?
Wear clean gloves and hold a halogen bulb only by its plastic or metal base. Halogen-bulb manufacturers warn against touching the glass. If contact occurs, clean the glass with isopropyl alcohol and let it dry fully.
- Orient the bulb tabs exactly as the old bulb was positioned.
- Insert the bulb without forcing it or scraping the glass.
- Lock it using the correct method: turn a twist-lock base clockwise or secure the retaining clip.
- Reconnect the plug until its latch is fully engaged.
- Reinstall the dust cover and confirm its seal sits evenly, if equipped.
- Test the low beam. If the pattern looks uneven, switch it off and recheck the bulb seating.
Where Is the Toyota Camry High-Beam Bulb?
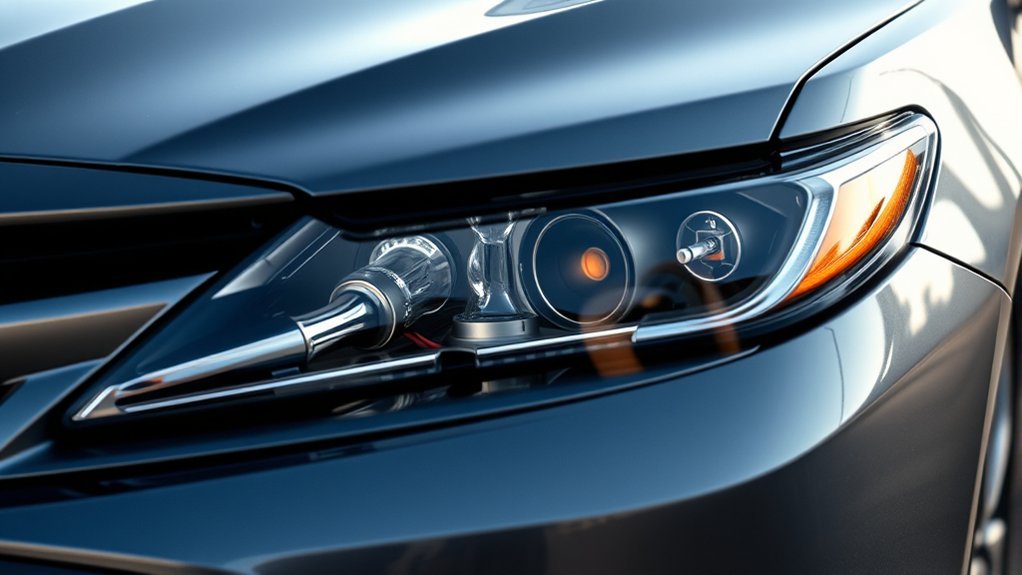
The high beam provides longer-distance lighting and may also support daytime-running-light operation on some Camry configurations. Its rear service point is usually near the low beam, but the exact location and bulb type vary by year and trim.
| Bulb / Light Type | What It Does | DIY Note |
|---|---|---|
| Low beam | Normal nighttime road lighting | May be owner-replaceable on a halogen assembly |
| High beam | Long-distance bright lighting | May have a different bulb code and release method than the low beam |
| Factory HID | High-intensity discharge lighting | High-voltage components require the factory procedure |
| Factory LED assembly | Integrated LED lighting system | Usually not serviced as a standard plug-in bulb |
How Do You Remove the High-Beam Bulb?
Use the same identification process as the low beam, but do not assume the two bulbs share a code or release method.
- Turn the vehicle and lights off and let the lamp cool.
- Identify the high-beam service point from the owner’s manual.
- Remove a dust cover if equipped, then release the electrical connector without pulling on its wires.
- Release the bulb with the specified twist-lock or retaining-clip method.
- Pull the bulb straight out and inspect the base and connector.
- Stop if the connector is melted, corroded, loose, or missing its lock tab.
How Do You Install the High-Beam Bulb?
Confirm the new high-beam bulb matches the old bulb’s code, base, connector, and wattage. A low-beam bulb that looks similar may still be incorrect.
- Hold the bulb by its base and align its tabs with the housing.
- Insert it straight into the opening without force.
- Lock the twist base or retaining clip as specified for the assembly.
- Reconnect the wiring plug and reinstall the rear cover, if equipped.
- Turn on the high beams and confirm the blue high-beam indicator appears on the instrument panel.
- Compare both sides for stable, even output.
What If Access Behind the Headlight Is Too Tight?
Some Camry engine bays have limited hand clearance behind one headlamp. Check the owner’s manual before moving anything. A removable intake duct, filler neck, cover, or fastener may provide access on a specific model, but that does not make the same removal safe on every Camry.
Photograph every part before removal and keep fasteners organized. Do not pull on wiring, pry against the lens or housing, or move the fuse box or battery only to “make room.” If access requires bumper-cover or headlamp-assembly removal, use the factory repair procedure or a qualified technician.
What Mistakes Should You Avoid?
- Buying by vehicle name alone: Verify the exact year, trim, lamp position, and lighting system.
- Assuming every bulb twists out: Check for a dust cap or retaining clip before applying force.
- Touching halogen glass: Skin oil can create hot spots and shorten bulb life.
- Leaving a cover or connector loose: A poor seal can admit moisture, while a loose plug can flicker or overheat.
- Ignoring socket damage: A new bulb will not correct a melted terminal, corroded pin, or damaged ground.
- Skipping the beam check: A bulb can illuminate while still being seated incorrectly.
U.S. road-use warning: Do not install a plug-in LED light source in a replaceable-bulb halogen headlamp merely because it fits the socket. NHTSA states that LED replacement light sources are not currently permitted in replaceable-bulb headlamps under FMVSS No. 108. Use the specified replaceable light source or a complete compliant headlamp assembly.
How Do You Test the Headlights After Installation?
Test the lighting before driving at night. Have a helper operate the controls, or park where you can safely view the lamps from the front.
- Turn on the parking lights.
- Turn on the low beams and compare left and right output.
- Turn on the high beams and confirm the dashboard indicator.
- Check the front turn signals and hazard lights.
- Watch for flicker, delayed startup, color mismatch, or an intermittent connection.
- Switch the lights off and recheck the bulb seating, connector, and rear cover.
If a new bulb does not illuminate, do not keep cycling the switch. Recheck the connector and bulb code first. If both headlights fail, or the problem changes with engine speed, use the Toyota Camry headlight flickering guide and Camry charging-system warning guide to separate a bulb problem from a fuse, relay, ground, switch, or power-supply fault.
How Do You Check Headlight Aim After Replacing a Bulb?
A bulb that is not fully seated can make the beam look dim, scattered, or tilted. On level ground, park facing a flat wall or garage door and compare the left and right low-beam patterns. A distance of about 25 feet can help you spot a side-to-side difference, but this is only a seating check—not a complete aiming procedure.
If one pattern looks much higher, lower, dimmer, or less defined, switch the lights off and reseat the bulb. Do not turn the headlamp adjusters unless you have the model-specific aiming procedure and a suitable level surface. Have the aim checked professionally if the pattern remains uneven or creates glare.
How Do You Close the Hood Safely?
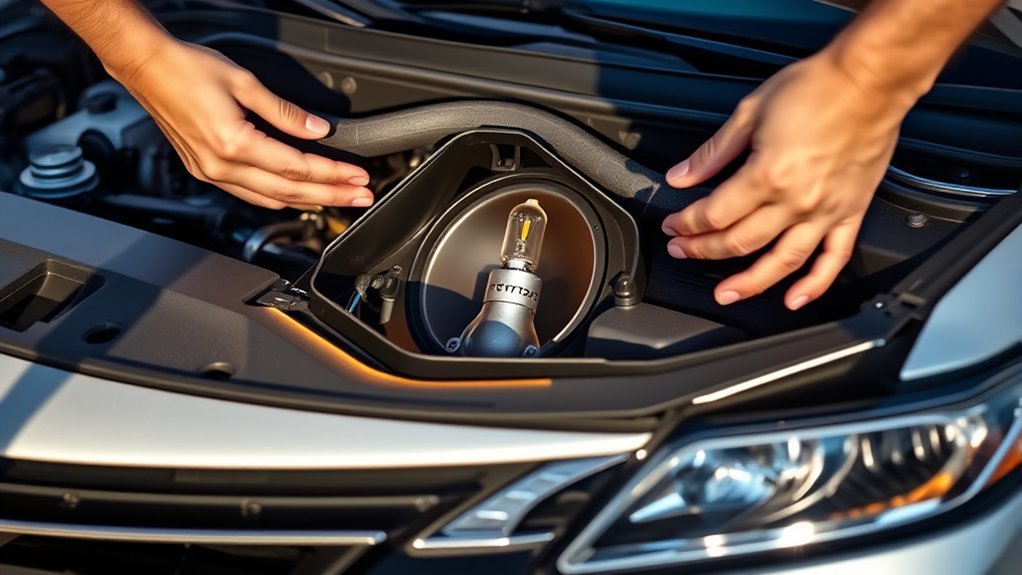
Remove every tool, old bulb, package, glove, and towel from the engine bay. Reinstall any covers, ducts, clips, and fasteners you moved.
- Return the prop rod to its retaining clip if equipped.
- Lower the hood while keeping hands and tools clear of the latch.
- Close it using the method in your owner’s manual.
- Listen for the latch to engage.
- Gently lift the front edge to confirm the hood is fully secured.
Why Is the New Camry Headlight Bulb Not Working?
| Problem | Likely Cause | What to Check |
|---|---|---|
| New bulb does not turn on | Loose connector, wrong bulb, blown fuse, damaged socket, or defective bulb | Bulb code, connector latch, socket condition, and model-year fuse chart |
| Bulb flickers or cuts out on bumps | Loose terminal, broken wire, poor ground, or overheated connector | Pins, harness strain, corrosion, heat marks, and ground connection |
| Beam looks scattered or unusually high | Bulb not seated, wrong base, or incorrect light source | Tab alignment, retaining clip, dust cover, and wall pattern |
| Both headlights are out | Fuse, relay, switch, module, ground, or power-supply problem | Owner’s-manual fuse chart and circuit diagnosis before buying more bulbs |
| Moisture or water inside the lens | Loose rear cover, damaged seal, cracked housing, or vent problem | Cover seal, housing cracks, vents, connector corrosion, and pooled water |
| Replacement keeps failing | Contaminated bulb, vibration, moisture, wrong wattage, socket damage, or voltage fault | Bulb handling, mounting security, housing condition, and charging-system test |
Stop condition: Do not drive at night with inadequate forward lighting. Seek professional diagnosis if a fuse blows again, wiring is hot or melted, water reaches the connector, or an LED/HID assembly fault remains after basic checks.
[Products Worth Considering]

AUTOONE LED bulb combo delivers brighter road illumination with a halogen-like beam pattern for clearer side and front visibility. The fanless, plug-and-play design helps ensure quiet operation, easy installation, and reliable performance in tight housing spaces. Built with a CANbus-ready driver and weather-resistant construction, these bulbs are designed to reduce flicker and work dependably in challenging driving conditions.

These SYJIIP halogen headlight bulbs are designed for Toyota RAV4 models from 2013 to 2015, offering a plug-and-play replacement with stock-size fitment for easier installation. They deliver brighter warm white light for improved night visibility while maintaining a safe beam pattern with reduced flicker and fewer CANBUS issues. The four-pack makes it convenient to refresh multiple bulbs or keep spares on hand for reliable driving performance.

These H7 halogen headlight bulbs are designed to deliver stronger illumination for better nighttime and adverse-weather visibility. Built with quartz material for heat and pressure resistance, they offer bright white light and reliable performance for compatible vehicles. The easy plug-in design makes installation quick and convenient for a wide range of cars, trucks, vans, SUVs, and trailers.
Frequently Asked Questions
What type of headlight bulb does my Toyota Camry use?
The bulb depends on the model year, trim, market, lamp position, and headlamp assembly. Most 2007–2017 Camrys use a halogen 9005 high beam and H11 low beam; most 2018–2024 Camrys use a sealed factory LED headlamp with no owner-replaceable bulb. Check the Toyota owner’s manual, a VIN-based Toyota parts lookup, and the code printed on the old bulb. Do not use a generic “fits Camry” chart as the only fitment check.
How often should I replace my headlight bulbs?
Replace a bulb when it burns out, becomes noticeably dim, changes color, or flickers after the connector and wiring are checked. Halogen bulbs on the same vehicle are usually the same age, so replacing them as a pair can keep the two sides closer in brightness and color.
Can I replace Toyota Camry headlight bulbs without professional help?
You can often replace an accessible halogen bulb at home when the owner’s manual lists it as owner-serviceable — this is common on 2007–2017 Camrys. Use professional service for an integrated LED assembly (standard on most 2018–2024 Camrys), an HID system you cannot identify, melted wiring, pooled water, or access that requires bumper or headlamp removal.
Are LED bulbs compatible with my Toyota Camry?
Factory LED headlamps are complete engineered systems, not the same as plug-in LED bulbs sold for halogen sockets. For U.S. road use, NHTSA says LED replacement light sources are not currently permitted in replaceable-bulb headlamps. Use the specified replaceable light source or a compliant complete headlamp assembly.
What tools do I need for headlight bulb replacement?
Many accessible halogen bulbs need only clean gloves, a lint-free towel, and a flashlight. Use a screwdriver or socket only when the model-year instructions identify a removable cover, duct, or fastener. Do not remove major components just to create space.
Why does my new headlight bulb keep burning out?
Repeated failure can come from touching halogen glass, using the wrong wattage or bulb type, loose mounting, vibration, moisture, a damaged socket, or a voltage problem. Inspect the connector and housing and test the charging system before installing another bulb.
Is fogging or condensation inside my Camry’s headlight normal?
Light condensation that clears on its own after washing the car or driving in rain is often normal and not a sign of a leak. Large drops of water or condensation that does not clear should be checked by a Toyota dealer, since it can indicate a seal or vent problem. `[VERIFY: confirm current Toyota owner’s manual wording for your specific model year before treating this as a universal rule]`
Conclusion
A Toyota Camry headlight bulb replacement is a reasonable DIY job only when the exact vehicle uses an owner-serviceable bulb and the access method is clear — mainly 2007–2017 halogen headlamps. Verify fitment by VIN and old-bulb code, follow the correct twist-lock or retaining-clip procedure, keep halogen glass clean, restore every cover and connector, and compare both beam patterns before driving.
Stop and use a qualified technician when the lamp is an integrated LED unit (standard on most 2018–2024 Camrys), the system includes unfamiliar HID hardware, access requires major disassembly, or you find heat damage, wiring faults, or water inside the housing.
Sources
- Toyota Owners Manuals and Warranties — official model-year manual lookup and owner-service guidance.
- Toyota Genuine Camry Parts and Accessories — official Toyota parts lookup starting point for VIN- and model-aware fitment.
- Sylvania Automotive Bulb Replacement Guide — bulb lookup and matched-pair guidance from an automotive lighting manufacturer.
- Sylvania Halogen Bulb Guidance — handling guidance to avoid touching halogen glass.
- OSRAM XENARC HID Safety Guidance — manufacturer guidance showing dangerous-voltage precautions and recommending professional xenon-lamp replacement.
- NHTSA Interpretation on LED Headlights — U.S. guidance on integral LED headlamps and LED replacement light sources.
- 49 CFR 571.108, FMVSS No. 108 — federal definitions and requirements for headlamps and replaceable light sources.

[…] Use the same code, wattage, base, and road-use classification specified for the installed headlamp. For the physical removal and installation procedure, see the Toyota Camry headlight bulb replacement guide. […]