What’s in This Article
- How to Replace a Toyota Camry Serpentine Belt
- Before You Begin: Check Belt Fit and Routing
- Essential Tools for Replacing the Serpentine Belt
- Step-by-Step Instructions for Loosening the Tensioner
- Route and Install the New Serpentine Belt
- Final Checks After Installing the Serpentine Belt
- Common Issues With Serpentine Belt Replacement and Solutions
- Frequently Asked Questions
A worn serpentine belt can leave your Camry with poor charging, weak air conditioning, belt noise, or a sudden breakdown. You can replace it at home if you have the right belt, the correct routing, and enough room to work safely. This guide shows you how to release the tensioner, remove the old belt, route the new belt, and check the installation before you drive.
Estimated total time: 30 to 60 minutes for most DIY owners, depending on your Camry year, engine size, and access space.
Quick Answer
To replace a Camry serpentine belt, let the engine cool, confirm the belt route, and use a 14 mm wrench or the correct tool for your tensioner. Rotate the tensioner to release belt pressure, remove the old belt, route the new belt through each pulley groove, then release the tensioner slowly. Start the engine only after you confirm the belt sits straight on every pulley.
Key Takeaways
- Match the new belt to your Camry year, engine, and pulley layout before you start.
- Use the belt routing diagram or a clear photo so you don’t install the belt incorrectly.
- Release the tensioner slowly because sudden movement can damage parts or hurt your hand.
- Check every pulley groove before you start the engine.
- Replace a noisy, sticking, or loose tensioner before it damages the new belt.
How to Replace a Toyota Camry Serpentine Belt
Replacing your serpentine belt can feel simple when you follow a clear order. First, inspect the old belt for cracks, fraying, glazing, oil, or missing ribs. Toyota’s maintenance guidance says you should check your owner’s manual for the correct inspection interval for your vehicle.
Before you remove the belt, take a photo of the routing or find the routing diagram under the hood. Then loosen the tension by rotating the 14 mm nut on the tensioner counterclockwise, if your Camry uses that design. Some Camry engines may use a different access point, so confirm your exact setup before you apply force.
Route the new belt around the crank pulley first, then follow the correct path around the tensioner, air conditioning (AC) compressor, alternator, and other pulleys shown on your diagram. Once the belt sits on the AC compressor, reattach your wrench to the tensioner, rotate it counterclockwise, and slip the belt over the alternator pulley. Release the tensioner slowly, then inspect every pulley before you start the engine.
Before You Begin: Check Belt Fit and Routing
Buy a belt that matches your Camry’s model year, engine size, and accessory layout. A belt that looks close can still sit wrong if it has the wrong rib count or length. Check the part number with your vehicle identification number (VIN), owner’s manual, or a trusted parts catalog.
Let the engine cool fully before you reach near pulleys, belts, or the radiator fan. Park on level ground, set the parking brake, and remove the key from the vehicle. If you feel unsure about clearance, routing, or tensioner movement, ask a qualified mechanic to handle the job.
Warning: Keep your hands, hair, sleeves, and tools away from moving engine parts, and never inspect belt tracking with the engine running.
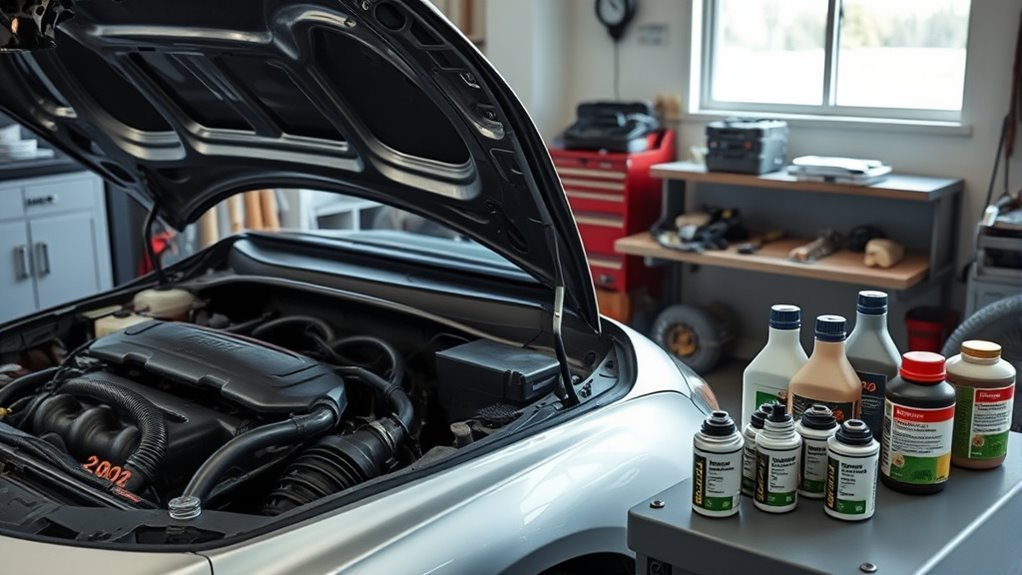
Essential Tools for Replacing the Serpentine Belt
When you replace a serpentine belt, the right tools make the job safer and cleaner. Gather these items before you loosen the tensioner:
| Tool | Purpose | Belt Maintenance Tip |
|---|---|---|
| 14 mm Wrench | Moves many Camry tensioners | Confirm the tool size for your engine. |
| Flashlight | Improves pulley and belt visibility | Check the belt grooves from above and below. |
| Ratchet Set | Helps remove covers or access parts | Keep fasteners organized while you work. |
| New Serpentine Belt | Replaces the worn belt | Match the belt to your exact Camry engine. |
| Phone Camera | Records the old belt route | Take photos before removal. |
Use steady pressure when you work around the engine bay. Place tools where they cannot fall into the belt path or near the radiator fan. With the right equipment ready, you can focus on routing and alignment instead of stopping mid-job.
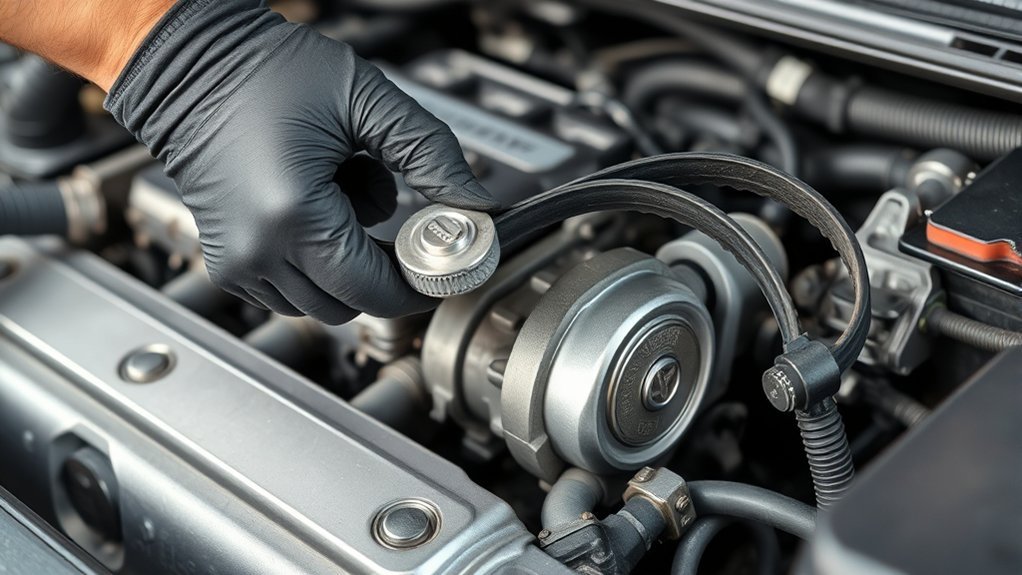
Step-by-Step Instructions for Loosening the Tensioner
To loosen the tensioner, locate the 14 mm nut or tensioner tool point near the front of the engine. Place your 14 mm wrench on the nut and rotate it counterclockwise, if that matches your Camry’s tensioner design. This movement relieves pressure on the serpentine belt and gives you enough slack to remove it.
- Find the tensioner: Look near the belt path and confirm the moving arm before you apply pressure.
- Place the wrench: Seat the tool fully so it does not slip off the nut.
- Rotate the tensioner: Move it counterclockwise with slow, steady pressure.
- Slide the belt off: Remove the belt from the alternator pulley first while you hold the tensioner.
- Release the tensioner: Let it return slowly after the belt clears the pulley.
Do not yank the belt from the pulleys. Sudden force can damage plastic covers, nearby hoses, or the tensioner. Keep the old belt nearby until the new belt sits correctly, since it can help you compare length and rib count.
Route and Install the New Serpentine Belt

Install the new serpentine belt only after you confirm the route. The ribbed side must sit in grooved pulleys, and the smooth side must ride against smooth pulleys. Follow the belt routing diagram for your Camry because pulley layouts can change by engine.
- Position the belt: Seat the new serpentine belt around the crank pulley first.
- Route the lower pulleys: Guide the belt under or around the tensioner and AC compressor as your diagram shows.
- Check the rear path: Use a flashlight to verify the belt does not miss a hidden pulley.
- Move the tensioner: Rotate the tensioner counterclockwise and hold it steady.
- Finish at the alternator: Slip the belt over the alternator pulley, then release the tensioner slowly.
After you release the tensioner, inspect all pulleys from more than one angle. The belt should sit centered and flat with every rib inside the pulley grooves. Correct any misalignment before you start the engine.
Pro tip: Keep the final pulley easy to reach so you can slide the belt on without fighting the full belt path.
Final Checks After Installing the Serpentine Belt
After the belt sits in place, verify its alignment on every pulley. Check the tensioner function and inspect nearby parts for wear, wobble, or oil leaks. This final check helps the new belt last longer and reduces the chance of noise or slippage.
Verify Belt Alignment
After you install the new serpentine belt, confirm the alignment before you start the engine. Proper alignment reduces belt wear and lowers the risk of early failure.
- Check seating: Confirm the belt sits inside every pulley groove, especially around the crank pulley and AC compressor.
- Inspect the belt path: Look for a centered belt on each pulley.
- Move the tensioner: Rotate the tensioner counterclockwise again if the belt needs a small correction.
- Check for twists: Remove any twist or crossed section before you run the engine.
Check Tensioner Function
To secure the serpentine belt, check how the tensioner moves. Reattach your 14 mm wrench to the tensioner and rotate it counterclockwise to create slack. Then let it return slowly and watch for sticking, grinding, or weak spring pressure.
Verify the belt sits correctly on all pulleys, especially around the alternator and AC compressor. If you hear tensioner noise or see the belt jump, the tensioner may have wear. Replace a weak or noisy tensioner before it ruins the new belt.
Inspect Surrounding Components
Inspect nearby components after you install the serpentine belt. This check helps you catch pulley, bearing, and tensioner problems before they damage the new belt.
- Check pulleys: Inspect each pulley and confirm the belt sits flat.
- Look for wear: Check the tensioner and pulleys for cracks, wobble, rust, or rough movement.
- Confirm alignment: Make sure the belt does not twist or rub against engine parts.
- Listen after startup: Start the engine briefly and listen for squeal, chirp, or grinding.
If the belt walks off center or makes noise, shut the engine off right away. Re-loosen the tensioner, reposition the belt, and inspect the pulleys again before another test.
Common Issues With Serpentine Belt Replacement and Solutions
When you replace a serpentine belt, you may face misalignment, weak tension, or pulley wear. These problems can cause squealing, slippage, or early belt damage. Fix them before you drive for more than a short test.
Misalignment of Belt
Misalignment can make a serpentine belt wear fast or come off the pulleys. Follow these checks before you call the job done:
- Inspect routing: Confirm the belt follows the correct path around all pulleys.
- Check the tensioner: Make sure the tensioner fully returns after you release it.
- Inspect visually: Confirm the belt sits flat and centered on each pulley.
- Listen for noises: Shut the engine off if you hear squeal, chirp, or rubbing.
Tensioner Malfunction Issues
A bad tensioner can stop a new serpentine belt from working correctly. Common signs include tensioner noise, belt slippage, shaky belt movement, and visible tensioner wear. Rotate the tensioner nut by hand with the correct tool; it should move smoothly and return without sticking.
If you notice rough movement, weak spring tension, or pulley play, replace the tensioner. A damaged tensioner pulley can affect charging, AC operation, and overall belt life. Do not depend on a new belt to fix a worn tensioner.
| Issue | Symptoms | Solution |
|---|---|---|
| Tensioner Noise | Squeak, chirp, or grinding | Inspect and replace the tensioner |
| Tensioner Wear | Weak spring action or rough movement | Replace the worn tensioner |
| Pulley Damage | Wobble, rough bearing noise, or belt walk | Check and replace the damaged pulley |
| Wrong Belt | Poor fit or missing tension | Match the belt by VIN, engine, and part number |
Note: A Camry may not have a fixed serpentine belt replacement mileage, so replace the belt when inspection shows damage or your manual recommends it.
Frequently Asked Questions
Can I Replace My Serpentine Belt by Myself?
Yes, you can replace your serpentine belt yourself if you have basic DIY skills and enough room to work safely. You need the correct belt, the right tensioner tool, and a clear routing diagram. Stop and call a mechanic if the belt route, tensioner movement, or pulley condition looks unclear.
How Often Do You Change the Serpentine Belt on a Toyota Camry?
Many serpentine belts last about 60,000 to 100,000 miles, but the right interval depends on your Camry year, engine, belt quality, and driving conditions. Toyota advises owners to follow the owner’s manual for inspection intervals. Replace the belt sooner if you see cracks, fraying, glazing, oil, missing ribs, or hear belt noise.
What Happens if the Serpentine Belt Is Routed Wrong?
A wrong belt route can stop accessories from spinning correctly and may make the belt slip or come off. You may see a battery light, poor AC performance, squealing, or overheating depending on your engine layout. Shut the engine off and correct the route before you drive.
Should I Replace the Tensioner With the Serpentine Belt?
You do not need to replace the tensioner every time you replace the belt. You should replace it if it sticks, makes noise, wobbles, or fails to hold steady tension. A worn tensioner can damage a new belt quickly.
How Do I Know if the New Belt Is Too Loose?
A loose belt may squeal, flutter, slip, or fail to charge the battery well. You may also see the belt move unevenly while the engine runs. Recheck the belt part number, routing, and tensioner condition if the belt does not feel secure.
Safety Disclaimer: This article gives general vehicle maintenance information only. Your Camry’s exact belt route, tensioner design, and safety steps may vary by year and engine. Check your owner’s manual or ask a qualified mechanic before you repair parts that affect safe vehicle operation.
Conclusion
A successful Camry serpentine belt replacement depends on the right belt, correct routing, and careful final checks. Take a photo before removal, release the tensioner slowly, and confirm that every rib sits inside the pulley grooves. If you notice squealing, belt walk, or a weak tensioner, fix the issue before you drive. With a careful approach, your Camry can return to smooth, reliable performance.
References
- What Are the Types of Belts in a Car? — Toyota, accessed 2026
- Scheduled Maintenance Guide — Toyota, 1998
- Toyota Camry Serpentine Belt Replacement — RepairPal, accessed 2026
- Serpentine Belt Cost & Replacement — Firestone Complete Auto Care, accessed 2026