Replacing a fuse in a Toyota Camry is usually a simple DIY job when one electrical item stops working, such as a 12V power outlet, interior light, radio, or accessory circuit. The key is to find the correct fuse panel, identify the blown fuse, and replace it with the same amperage and physical fuse type listed on your Camry’s fuse-box cover or owner’s manual.
Quick Answer
To replace a Toyota Camry fuse, turn the ignition or power switch off, open the correct fuse box, pull the suspected fuse with the fuse puller, inspect it for a broken metal strip, then install a new fuse with the same amperage rating and style. If the new fuse blows again, have the circuit inspected.
Key Takeaways
- Most Camry models have fuse panels in the engine compartment and under the driver-side instrument panel, but the exact layout changes by year and trim.
- Always match the amperage rating and fuse style shown on the fuse-box lid or in the correct Toyota owner’s manual.
- Never install a higher-amp fuse, wire, foil, or any substitute object in place of a fuse.
- If the replacement fuse blows again, the problem is usually a short, overload, damaged component, or wiring issue that needs diagnosis.
At a Glance
| Time Required | 5–15 minutes for a standard blade fuse |
| Difficulty | Easy for standard low-amperage fuses |
| Tools Needed | Fuse puller, flashlight, replacement fuse, optional needle-nose pliers or multimeter |
| Cost | Usually only a few dollars for common fuses; specialty fuses and multi-packs cost more |
Warning: Replace a fuse only with the same amperage rating and correct physical type. Do not install a higher-rated fuse, wire, foil, or any substitute object. That can overheat wiring, damage electrical components, or create a fire risk. On hybrid models, do not touch orange high-voltage cables or hybrid-system components.
Before You Start: Check the Right Manual
Toyota Camry fuse locations and fuse labels vary by model year, trim, market, and whether the vehicle is hybrid or non-hybrid. Before removing anything, check the fuse-box lid diagram and the owner’s manual for your exact Camry. Toyota’s current owner resources let you select your vehicle year and manual here: Toyota Camry manuals and warranties.
For current Camry guidance, Toyota’s fuse-replacement procedure says to turn the power switch off, open the fuse-box cover, remove the fuse with the pullout tool where applicable, inspect whether it is blown, and replace it with a fuse of the appropriate amperage rating listed on the fuse-box lid. You can review Toyota’s current fuse-replacement guidance here: Toyota Owners: Checking and replacing fuses.
Locate the Fuse Panel in Your Toyota Camry
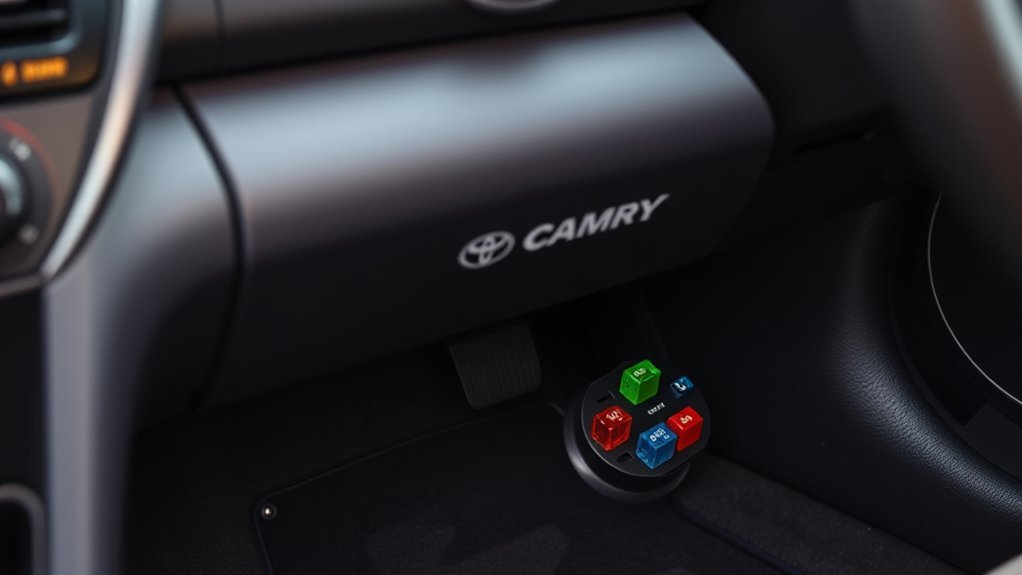
Most Toyota Camry models have more than one fuse panel. The two common places to check are the engine compartment fuse box and the fuse panel under the driver-side instrument panel. On many Camry models, the interior fuse panel is near the driver’s lower dash area, while the engine-compartment fuse box is under the hood near the battery or main electrical distribution area.
Do not guess by position alone. The fuse-box lid usually has a diagram showing fuse names, amperage ratings, and fuse positions. Some older Camry labels may use terms such as “CIG,” “P/OUTLET,” or “ACC,” while newer models may label accessory and outlet circuits differently. Match the stopped-working component to the fuse label in your exact vehicle.
Note: A fuse location shown in one Camry year may not match another. If your fuse-box cover is missing or unreadable, use the owner’s manual for your exact year, trim, and powertrain.
Essential Tools for Replacing a Fuse in a Camry
You do not need many tools to replace a standard Toyota Camry fuse, but using the right tool helps prevent damage to the fuse holder.
- Fuse puller: This is the best tool for many small blade fuses. Some Toyota fuse boxes include one.
- Needle-nose pliers: Use these only if you do not have a fuse puller. Grip the plastic body of the fuse gently, not the metal contacts.
- Flashlight: Helpful for reading the fuse map and seeing small fuses under the dash.
- Replacement fuse: Must match both the amperage rating and the physical fuse style.
- Multimeter or test light: Optional, but useful if a fuse looks good and you still need to confirm continuity.
Common Toyota fuses may be mini, low-profile mini, standard blade, cartridge, or slow-blow styles depending on the circuit and model year. Toyota’s parts catalog includes examples of genuine replacement fuses, such as a Toyota Mini Fuse 15A, but you should always confirm fitment and amperage for your vehicle before buying.
How to Identify a Faulty Fuse
A blown fuse usually means the metal strip inside the fuse has melted and opened the circuit. That stops electrical current from reaching the component, which protects wiring from overload damage.
Visual Inspection Method
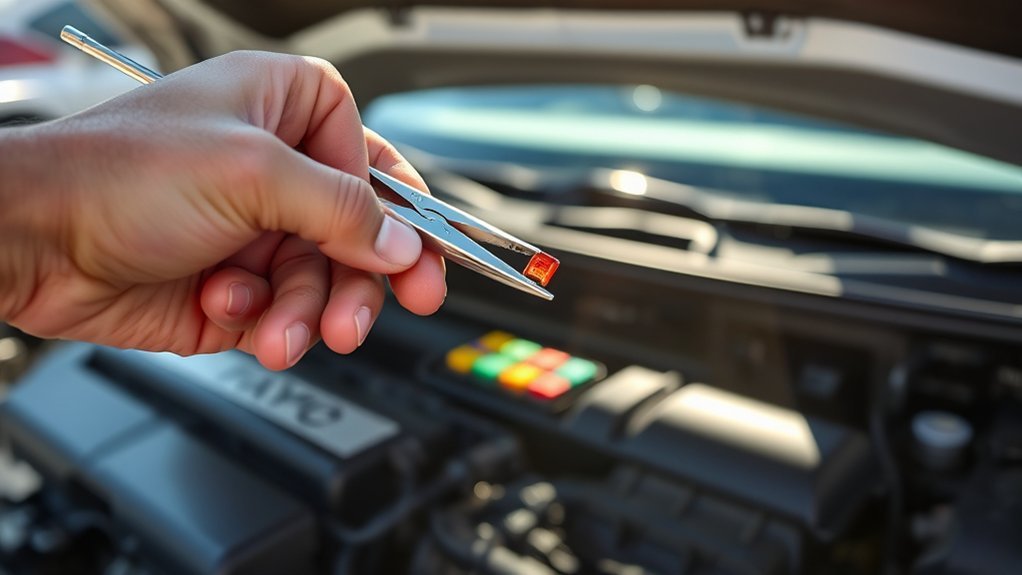
Pull the suspected fuse and hold it up to a light. A good transparent blade fuse usually has an unbroken metal strip inside. A blown fuse often shows a broken strip, melted spot, dark mark, or cloudy/burnt area inside the plastic body.
Visual inspection works well for many blade fuses, but it is not perfect. Some fuses are hard to see through, and some failures are too small to spot quickly.
Filament Integrity Check
When checking the fuse strip, compare it with a known good fuse of the same style. The strip should be continuous from one metal terminal to the other. If there is a gap, the fuse is blown.
Do not swap in a higher-rated fuse just to test a circuit. If you temporarily swap fuses for diagnosis, use the same amperage rating and return each fuse to the correct slot afterward.
Fuse Rating Verification
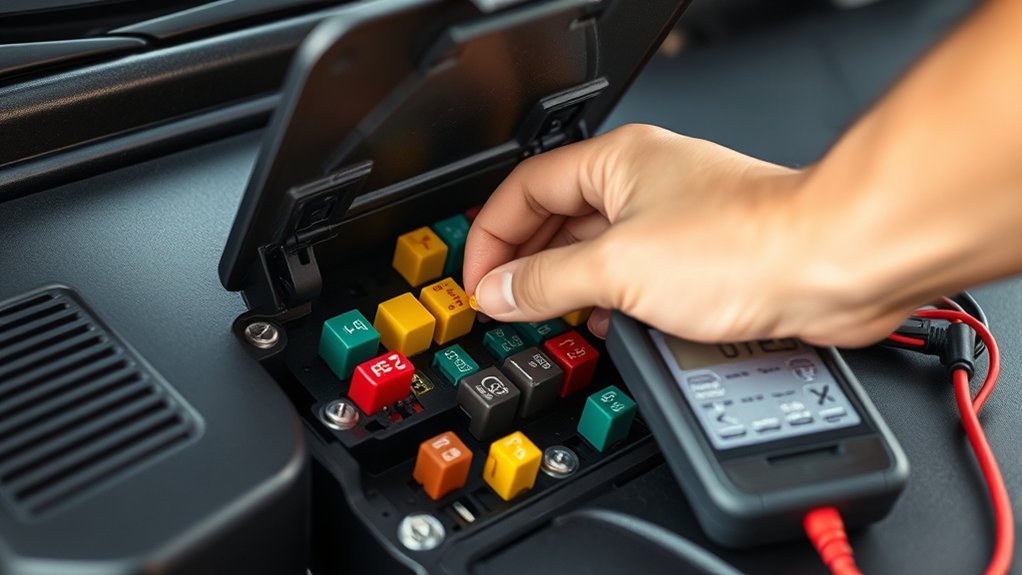
The amperage rating is printed on the top of most fuses and shown on the fuse-box lid. Common ratings include 7.5A, 10A, 15A, 20A, and 30A, but your Camry may use other ratings depending on the circuit.
If the fuse looks normal but you still suspect it is bad, use a multimeter set to continuity mode. A good fuse should show continuity. A blown fuse will show an open circuit.
Steps to Remove a Broken Fuse Safely

Follow these steps for a standard low-amperage Camry fuse. If you are dealing with a large high-current fuse, fusible link, melted fuse box, repeated blown fuse, burning smell, or visible wiring damage, stop and schedule service.
- Turn the ignition or power switch off. Remove the key if your Camry uses one, or make sure the vehicle is fully off on push-button models.
- Turn off the affected accessory. Unplug chargers, dash cams, inverters, or other devices from the power outlet before replacing the fuse.
- Open the correct fuse panel. Use the owner’s manual or fuse-box lid to find the fuse for the failed circuit.
- Remove the fuse with the puller. Pull straight out. If using needle-nose pliers, grip the plastic body gently.
- Inspect the fuse. Look for a broken internal strip or test continuity with a multimeter.
- Install the correct replacement. Match the amperage rating and physical style exactly.
- Seat the fuse fully. Press it in until it sits evenly and securely in the socket.
- Reinstall the fuse-box lid. Make sure the tabs or claws latch securely so the cover protects the fuse box.
- Test the circuit. Turn the vehicle back on and check whether the component works.
| Action | What to Check |
|---|---|
| Find the fuse panel | Use the fuse-box lid or owner’s manual for your exact Camry year. |
| Identify the fuse | Match the failed component to the fuse label and amperage rating. |
| Remove the fuse | Use the fuse puller and pull straight out. |
| Install the new fuse | Use the same amperage and same fuse style; seat it fully. |
Pro Tip: Take a phone photo of the fuse-box lid diagram before removing a fuse. It gives you a quick reference if you need to confirm the fuse position, amperage, or label later.
Choosing the Correct Replacement Fuse
Choosing the correct replacement fuse is the most important part of the job. A fuse is sized to protect the wiring in that circuit. A higher-rated fuse may let too much current flow before it blows, which can damage wiring or components.
Match these three things:
- Amperage rating: Use the same number printed on the blown fuse and listed on the fuse-box lid.
- Physical style: Mini, low-profile mini, standard blade, cartridge, and slow-blow fuses are not interchangeable just because the amperage number looks similar.
- Quality and fit: Use a genuine Toyota fuse or equivalent quality replacement that fits snugly and seats fully.
It is smart to keep a small spare-fuse kit in your glove box, especially for common low-amperage circuits. Still, do not replace fuses randomly. Always diagnose the failed component and confirm the correct fuse before installing a new one.
Installing the New Fuse Properly
A new fuse should slide into the slot with firm, even pressure. It should not feel loose, sit crooked, or stick up higher than nearby fuses of the same type.
Aligning Tabs Correctly
Line up the fuse terminals with the socket. Most blade fuses only need to be pushed straight into place, but the fuse must match the socket style. If it does not fit easily, stop and compare it with the old fuse. Forcing the wrong fuse can damage the terminals inside the fuse box.
Ensuring Flush Installation
Press the fuse until it is fully seated. A properly installed fuse should sit evenly in the fuse panel and make solid contact with the terminals. If it sits loose, the circuit may work intermittently or fail again.
Securing Fuse Properly
After the fuse is installed, reinstall the fuse-box cover. Toyota notes that the cover tab should be secured after fuse replacement. A loose or missing cover can allow dust, moisture, or accidental contact near the fuse box.
Check Fuse Installation and Functionality
Once the new fuse is installed and the cover is back in place, turn the vehicle on and test the affected component. For example, if a 12V power outlet stopped working, plug in a known-working phone charger or accessory. If a light circuit failed, switch the light on and confirm it operates normally.
If the component now works, the blown fuse was likely the immediate cause. If it still does not work, the issue may be a bad bulb, failed outlet, damaged accessory, faulty relay, switch problem, wiring fault, or a fuse in another location.
Common Issues and Solutions
If replacing the fuse does not solve the problem, use the symptoms below to decide what to check next.
| Problem | Likely Cause | What to Do |
|---|---|---|
| New fuse blows immediately | Short circuit, overloaded accessory, or wiring fault | Do not keep replacing fuses. Unplug accessories and have the circuit inspected. |
| Fuse looks good but circuit is dead | Wrong fuse checked, bad component, relay issue, or no power at circuit | Confirm the fuse label and test with a multimeter or repair manual procedure. |
| Power outlet keeps blowing fuses | Faulty charger, metal debris in outlet, or high-draw accessory | Inspect the outlet with the vehicle off and stop using the suspect accessory. |
| Multiple electrical items fail | Main fuse, fusible link, battery, ground, or charging-system issue | Schedule professional diagnosis. |
Warning: If you smell burning plastic, see melted fuse-box material, notice smoke, or find a fuse that is hot to the touch, stop driving if safe to do so and have the vehicle inspected.
Fuse Replacement in the Under-Hood Fuse Box
The under-hood fuse box usually protects larger circuits and engine-compartment electrical systems. Open the hood, locate the fuse-box cover, release the tabs, and read the diagram on the lid before removing any fuse.
Some under-hood fuses are larger cartridge or slow-blow fuses. These may not pull out the same way as small interior blade fuses, and some high-current fusible links are not ideal DIY replacements. If a large fuse is bolted in, melted, difficult to remove, or connected to a major power circuit, let a Toyota dealer or qualified technician handle it.
After replacing an under-hood fuse, secure the fuse-box cover fully. The cover protects the fuse box from water, dust, and vibration.
When to Check for Recalls or Service Campaigns
A normal blown fuse is usually a maintenance or troubleshooting issue, not automatically a recall issue. Still, if your Camry has repeated electrical faults, warning lights, smoke, burning smells, or a safety-related electrical concern, it is wise to check whether your vehicle has an open recall or service campaign.
You can check Toyota-specific recalls with your VIN at Toyota’s recall lookup. You can also use the NHTSA recall search for vehicle safety recalls, investigations, and complaints.
Frequently Asked Questions
How much is a fuse for a Toyota Camry?
A common blade fuse is usually inexpensive, often only a few dollars depending on the store, fuse type, and whether you buy one fuse or a multi-pack. Specialty fuses, cartridge fuses, slow-blow fuses, and OEM parts can cost more. Always match the amperage and fuse style before buying.
Can I replace a Toyota Camry fuse myself?
Yes, many standard low-amperage blade fuses can be replaced at home with the vehicle off and the correct replacement fuse. Do not attempt high-voltage hybrid work, melted fuse-box repairs, bolted fusible links, or repeated-blown-fuse diagnosis unless you are qualified.
What happens if I use a higher-amp fuse?
Using a higher-amp fuse can allow too much current through the wiring before the fuse opens. That can damage the circuit, overheat wiring, or create a fire risk. Use only the rating shown on the fuse-box lid or in the correct owner’s manual.
Why does my new Camry fuse keep blowing?
A fuse that blows again usually means the circuit still has a problem, such as a short, overloaded accessory, damaged outlet, bad component, or wiring fault. Do not keep installing new fuses. Unplug aftermarket accessories and have the circuit inspected.
Where is the power outlet fuse on a Toyota Camry?
The power outlet or accessory fuse location depends on the Camry year and trim. Check the driver-side interior fuse panel and the fuse-box lid diagram first, then confirm the label in your owner’s manual. Older models may use labels such as CIG, ACC, or P/OUTLET.
Conclusion
Replacing a Toyota Camry fuse is straightforward when you slow down and match the exact fuse shown on the fuse-box lid or owner’s manual. Turn the vehicle off, use the fuse puller, inspect the old fuse, install the same amperage and style, then test the circuit. If the fuse blows again or you find heat, melting, smoke, or repeated electrical failures, stop replacing fuses and get the circuit diagnosed by a qualified technician.
Sources
- Toyota Owners: 2025 Camry Hybrid Checking and Replacing Fuses — official procedure for turning the vehicle off, opening the fuse box, removing fuses, matching amperage, and follow-up guidance.
- Toyota Camry Manuals and Warranties — official Toyota manual hub for selecting the correct Camry year and owner resources.
- Toyota Mini Fuse 15A — example of an OEM Toyota replacement fuse listing; fitment should be verified before purchase.
- Toyota Recall Lookup — official Toyota VIN recall and service campaign lookup.
- NHTSA Recall Search — U.S. vehicle safety recall, investigation, and complaint search resource.