Bug splatter and road tar can stick hard to a Toyota Camry’s front bumper, hood edge, mirrors, rocker panels, and wheel arches, but you do not need harsh scrubbing to remove them. The safest method is to cool the paint, rinse away grit first, use a paint-safe bug-and-tar remover for a short dwell time, wipe with clean microfiber, then wash and protect the finish with wax or sealant.
Quick Answer
To remove bugs and tar from a Toyota Camry without scratches, work on cool paint in the shade, pre-rinse thoroughly, apply a dedicated bug-and-tar remover, let it dwell only as directed, wipe gently with microfiber, rinse, wash, dry, and finish with wax or sealant.
Key Takeaways
- Start with a full rinse so grit is not dragged across the clear coat.
- Use a bug-and-tar product that says it is safe for automotive paint, and always test a hidden spot first.
- Do not let solvent-based removers dry on paint, plastic, decals, or rubber trim.
- Use clay only after washing and only with plenty of lubricant.
- Apply wax, sealant, or a ceramic spray afterward so bugs and tar are easier to remove next time.
At a Glance
| Time Required | 25–60 minutes, depending on buildup |
| Difficulty | Easy to moderate |
| Tools Needed | Hose or pressure washer, car wash soap, bug-and-tar remover, microfiber mitts, microfiber towels, bucket with grit insert, gloves, clay bar and lubricant for stubborn bonded spots |
| Cost | About $15–$60 if you already have basic wash supplies |
Quick: Remove Bugs & Tar From a Toyota Camry
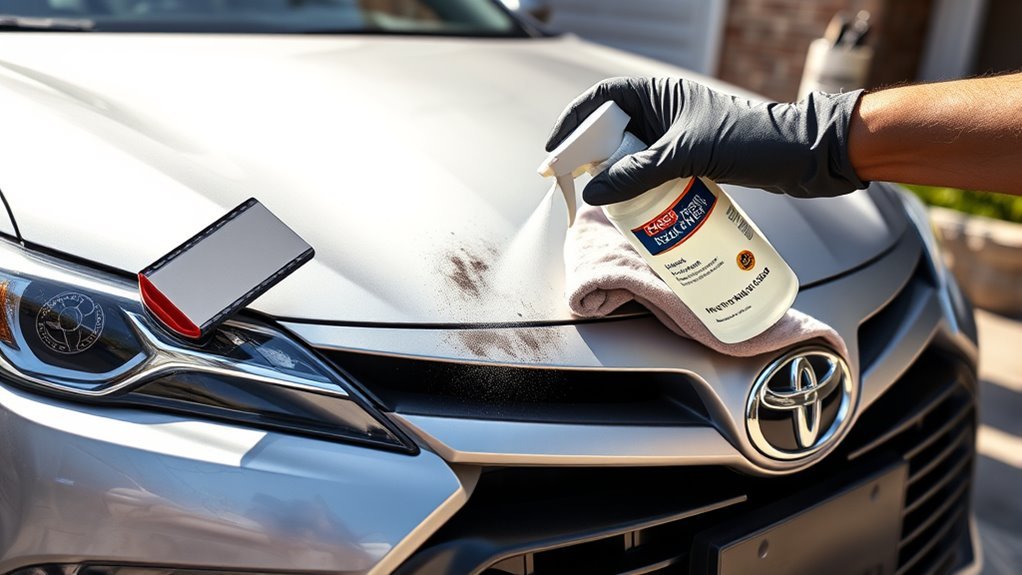
Start by parking your Camry in the shade and letting the panels cool. Rinse from top to bottom with steady water flow to float away loose dust and grit. Then treat the contaminated spots with a dedicated bug-and-tar remover, following the label exactly. Many ready-to-use products should not be diluted, while some concentrates must be mixed only at the manufacturer’s recommended ratio.
Let the cleaner dwell long enough to soften residue, but do not let it dry. For many solvent-based tar removers, that dwell window is about 30–60 seconds. Wipe gently with a clean microfiber towel or microfiber wash mitt, turning the towel often so you are not rubbing loosened tar back into the paint. Rinse, wash the area with car shampoo, dry with microfiber, and finish with wax or sealant.
Warning: Do not use gasoline, acetone, lacquer thinner, abrasive kitchen pads, dry magic erasers, or household degreasers on Camry paint. These can stain trim, dull clear coat, or strip protection. Use automotive products only and test first in an inconspicuous area.
Prep for Camry Cleaning: Shade, Tools, and Safety
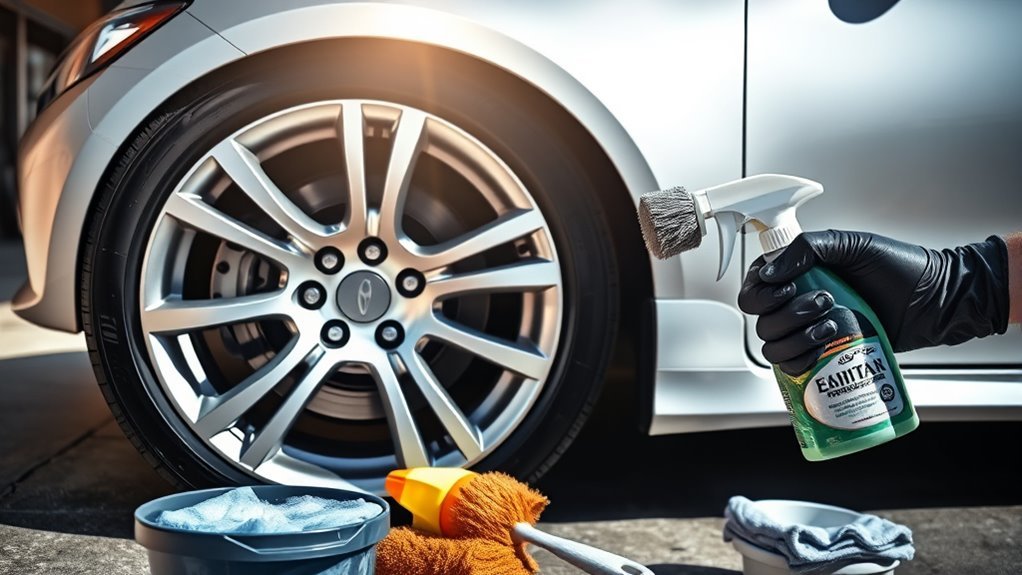
One clear rule comes first: work on cool paint in the shade. Toyota’s exterior-care guidance recommends washing from top to bottom, using water first to remove dirt and dust, then washing with a sponge or soft cloth and applying wax when water no longer beads on a clean surface. That same low-friction approach is what keeps bug and tar removal safe.
Gather everything before you spray any cleaner:
- Dedicated bug-and-tar remover that is labeled safe for automotive paint
- Car wash soap, not dish soap
- Two buckets or one bucket with a grit guard or dirt trap
- Microfiber wash mitts and several plush microfiber towels
- Nitrile gloves for chemical handling
- Clay bar or synthetic clay mitt with clay lubricant for bonded residue
- Wax, paint sealant, or ceramic spray for final protection
Keep a separate mitt or towel for the lower rocker panels, wheel arches, and areas near the tires. These zones collect heavier grit and tar, so using the same mitt on the hood or bumper can create fine scratches.
Pro Tip: Fold each microfiber towel into quarters. Wipe with one clean face, then flip to a fresh face before the towel looks dirty. This gives you eight clean wiping surfaces from one towel.
Pre-Rinse and Inspect Affected Areas
With your Camry in the shade, give it a thorough pre-rinse using a garden hose or pressure washer. Work top to bottom and keep the spray moving. The goal is not to blast tar off the paint; it is to remove loose grit before any towel touches the surface.
Inspect the high-impact areas first:
- Front bumper and grille surround
- Leading edge of the hood
- Windshield and side mirrors
- Lower doors and rocker panels
- Wheel arches and rear bumper corners
Make sure the surface is fully wet before applying cleaner. Moisture helps reduce friction during the first wipe and gives you a better view of raised tar dots, dried bug splatter, and tree sap spots.
Pick & Mix the Right Bug-and-Tar Cleaner
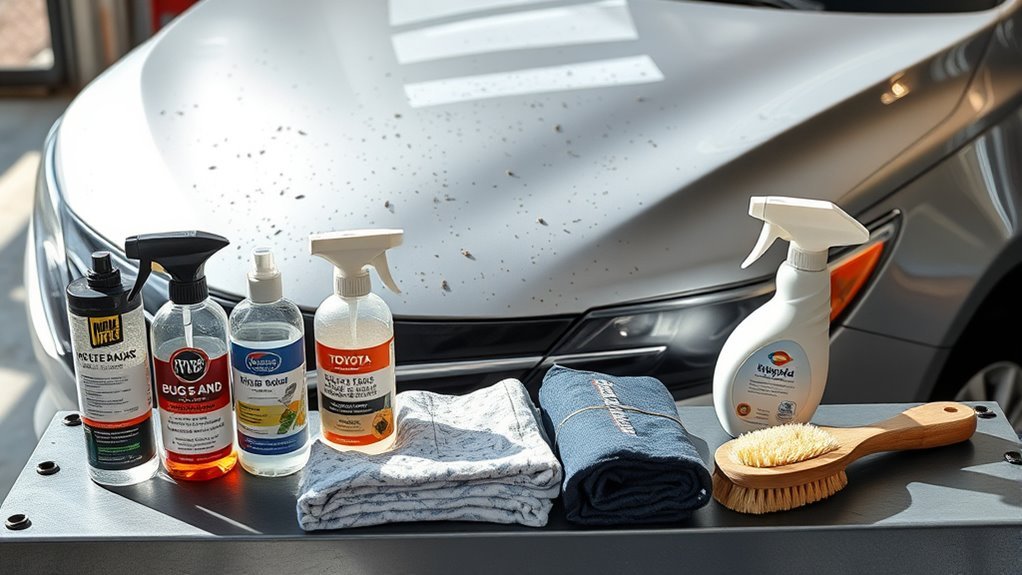
Bug residue and road tar behave differently. Bugs are usually organic residue that can dry hard on the clear coat. Tar and asphalt are petroleum-based and often need a stronger solvent or specialized tar remover. Choose the least aggressive product that will do the job.
Good product signs include:
- The label says it is safe for clear-coat automotive paint when used as directed.
- The instructions clearly state where it can and cannot be used.
- The product gives a specific dwell time or tells you not to let it dry.
- The manufacturer recommends wiping with microfiber and rinsing afterward.
Some products, such as Stoner Tarminator, are solvent-based and work quickly on tar, sap, bugs, and adhesive residue, but they must be kept off clear plastics, decals, rubber trim, and other solvent-sensitive surfaces. Other pH-neutral tar removers, such as Gyeon Q²M Tar, are designed for paint, glass, and plastic trim. Always follow the specific product label instead of using a one-size-fits-all dilution ratio.
If you prefer an eco-conscious option, look for car-care products with safer-ingredient certifications or lower-VOC claims from credible programs. The U.S. EPA Safer Choice program lists certified products, including car-care products, that meet its safer-ingredient criteria.
Note: A mild car shampoo mix can soften fresh bug splatter, but it is not a true tar remover. For black tar dots on lower panels, use a dedicated tar product rather than scrubbing harder.
[Products Worth Considering]

This A-Premium serpentine belt drive kit is designed for compatible Toyota Camry, RAV4, and Scion tC models with a DOHC 2.5L L4 engine. It includes a serpentine belt and belt tensioner to help maintain smooth engine operation, reduce noise, and support reliable power transfer. Built for dependable replacement performance, it also comes with a one-year unlimited-mileage guarantee for added peace of mind.

This front bumper license plate bracket is designed for Toyota Camry and Camry Hybrid models from 2018 to 2026, offering a secure and street-legal way to mount your plate. Built from durable, rust-proof plastic with included screw bolts and a wrench, it helps protect your bumper paint while making installation straightforward. The bracket fits US and Canada plates and is made to keep your license plate and registration sticker visible.

This plastic razor blade scraper set is designed to remove stickers, decals, glue, grease, and paint without scratching delicate surfaces. It includes four ergonomic scrapers and 100 replacement plastic blades for convenient, long-term use on glass, windows, cars, walls, appliances, and more. Easy blade changes and a comfortable grip make it a practical choice for everyday cleaning and removal tasks.
Apply Cleaner and Follow Safe Dwell Times
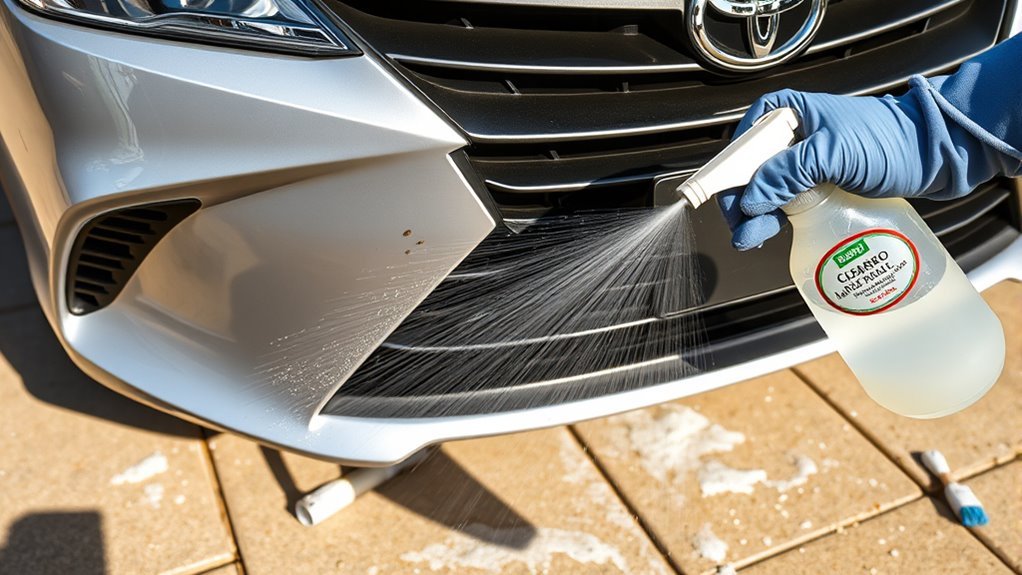
Spray the bug-and-tar remover directly on the affected area, or spray it onto a microfiber towel for more controlled application near trim, badges, headlights, decals, or parking sensors. Work one small section at a time so the product stays wet and controlled.
Use this safe dwell-time process:
- Rinse the area first to cool the paint and remove loose dirt.
- Apply the cleaner only to the contaminated section and a small border around it.
- Let the product dwell for the label’s recommended time.
- Wipe gently with microfiber in straight, overlapping passes.
- Rinse the section immediately after the residue lifts.
- Repeat once if needed instead of scrubbing aggressively.
Allow Proper Dwell Time
Proper dwell time lets the chemistry do the hard work. For quick-acting solvent tar removers, 30–60 seconds is common, and some labels specifically warn not to leave the product on the surface longer than one minute without rinsing. Water-based bug removers or pH-neutral tar removers may have different directions, so the product label always wins.
During the dwell window, prepare a clean microfiber towel or mitt. After the residue softens, wipe lightly. If a spot remains, repeat the dwell-and-wipe process rather than pressing harder.
Avoid Surface Drying
Drying is one of the easiest ways to turn a safe cleaner into a paint or trim problem. Direct sun, hot panels, wind, and thin overspray can make bug-and-tar products evaporate fast. If the product starts to dry, rinse it off and restart on a smaller section.
- Work in shade or inside a garage with good ventilation.
- Keep panels cool to the touch.
- Use small sections on the bumper, hood edge, and lower doors.
- Rinse after each section before moving to the next.
Scrub: Microfiber Mitts, Mesh Pads, and Dryer Sheets
Use microfiber first. A plush microfiber towel or microfiber wash mitt lifts softened bug residue with far less risk than a stiff brush or kitchen scrub pad. Work in straight, overlapping strokes instead of circles to reduce visible swirl marks.
For tougher spots, use a detailing-safe bug sponge or mesh pad made for automotive paint, and use only light pressure. Keep the surface wet, rinse the pad often, and stop if you feel grit under the pad.
[Products Worth Considering]

This windshield sun shade uses premium vinyl coating and thermal materials to deliver full blackout protection that helps keep your vehicle cabin cooler. It blocks UV rays to help protect your dashboard, seats, and skin from sun damage while maintaining a wrinkle-free, clean appearance. Designed for a secure fit on select Toyota vehicles, it folds easily for convenient storage and everyday use.

This all-in-one 14-piece car interior detailing kit gives drivers the tools needed to clean windshields, dashboards, vents, cup holders, and other hard-to-reach areas with ease. The extendable windshield cleaner features a swivel head and reusable microfiber pads for streak-free results, while the brushes and cleaning gel help lift dust and debris without scratching delicate surfaces. A durable storage bag keeps everything organized for convenient at-home or on-the-go car care.
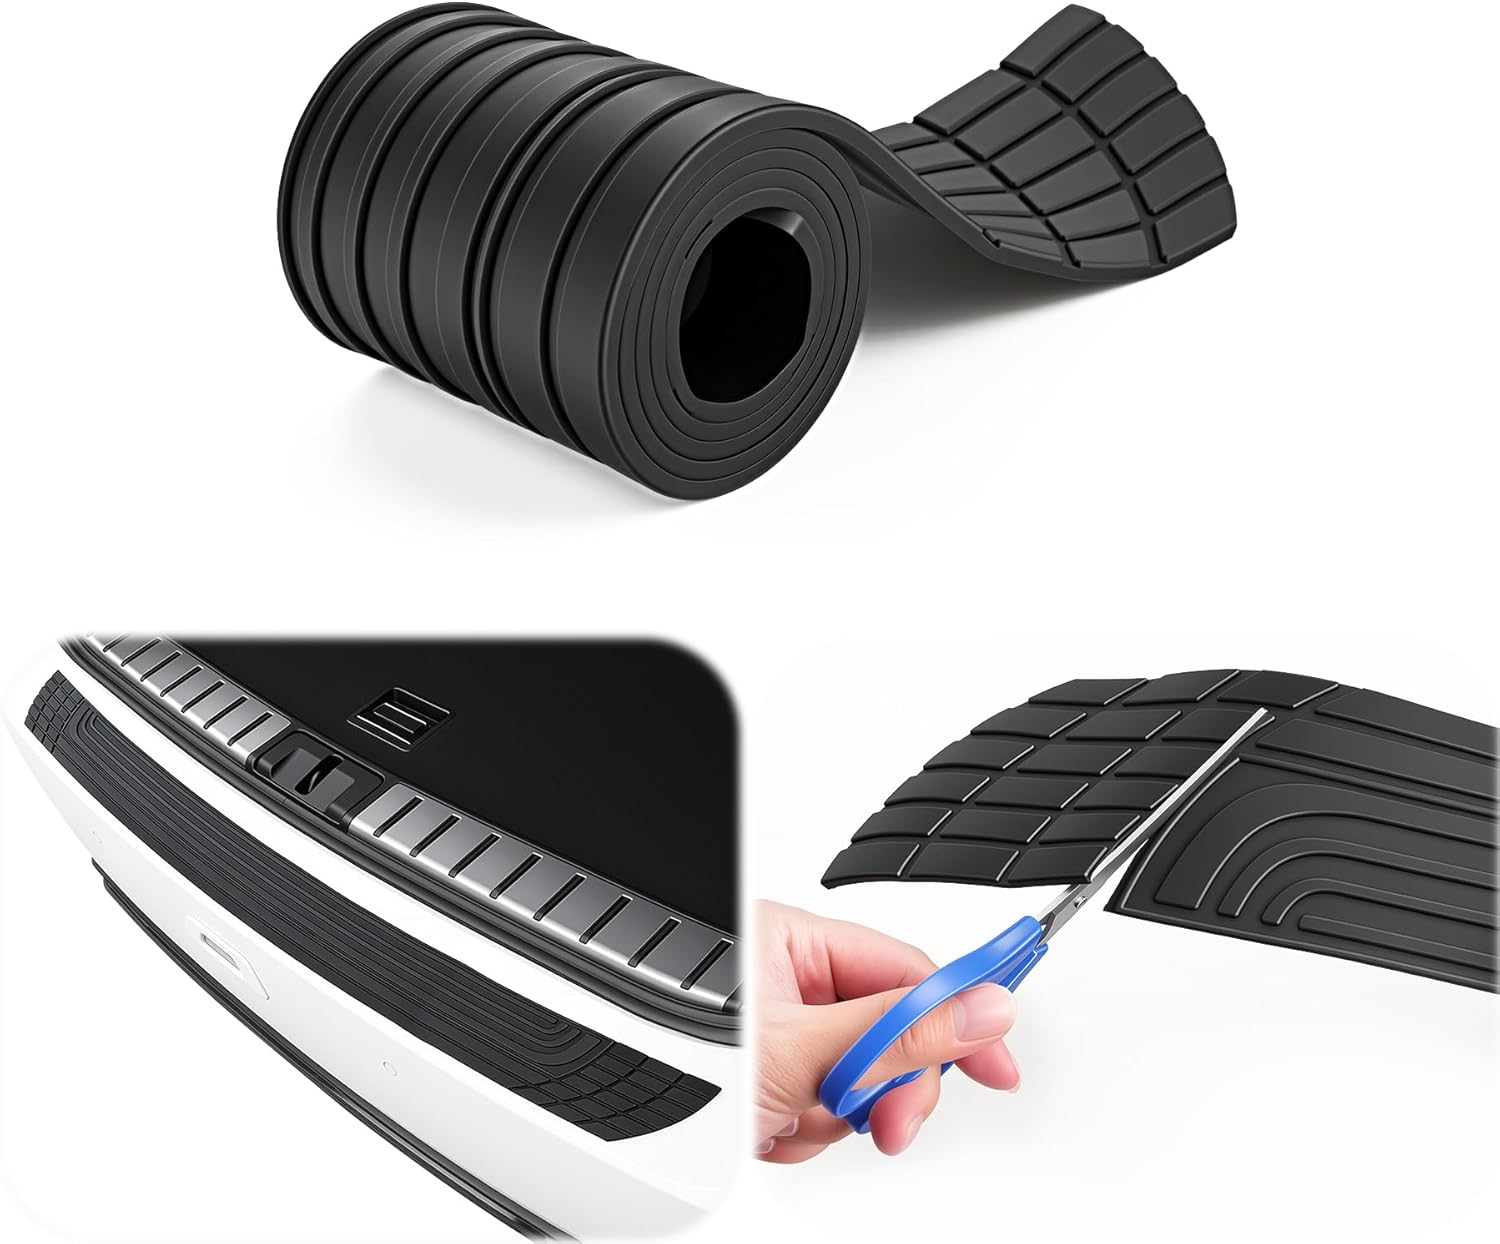
Protect your vehicle’s rear bumper from scratches, scuffs, and everyday loading damage with this universal bumper protector. Its flexible rubber design helps absorb impact and features an anti-slip groove pattern for added security when placing cargo in the trunk. Easy to install without drilling or welding, it is a practical exterior accessory for most cars and SUVs.
Microfiber Mitt Techniques
Soak the area, wipe in one direction, then rinse the mitt in a dirt-trap bucket before the next pass. If your mitt picks up black tar streaks, switch to a fresh towel or a new side of the towel. Tar can smear, and a contaminated mitt can spread it across nearby paint.
Use this order for safest results:
- Fresh microfiber towel for bug residue on the hood, bumper, and mirrors.
- Separate microfiber or bug sponge for lower panels.
- Dedicated tar remover on black tar dots.
- Clay bar only after washing, rinsing, and lubricating the surface.
Dryer Sheet Method
A damp dryer sheet is a common home remedy for bugs, but it is not the best first choice for Camry paint. Dryer sheets can contain softeners and fibers that may leave residue, and rubbing too hard can mar a dirty surface. Use a paint-safe bug remover and microfiber towel first.
If you still choose to try a dryer sheet, limit it to a small test area, keep it soaking wet, use almost no pressure, and wash the panel immediately afterward. It is safer to use this trick on glass than on painted panels. Never use a dry dryer sheet on paint.
Stubborn Stains? Clay Bar, Tar Removers, and Spot Fixes
For bonded contamination that remains after washing and tar treatment, use a clay bar or synthetic clay mitt. Clay is useful for raised specks of road tar, overspray, rail dust, and environmental fallout, but it must glide on lubrication. Never rub clay on dry paint.
Clay safely with this method:
- Wash and rinse the area first.
- Spray clay lubricant generously on a small section.
- Glide the clay lightly until the surface feels smoother.
- Fold the clay to expose a clean face when it looks dirty.
- Wipe dry with microfiber and inspect the paint.
- Apply wax, sealant, or ceramic spray because clay can reduce existing protection.
For tar that smears rather than lifts, return to a dedicated tar remover. Apply it to the spot, let it dwell as directed, wipe with microfiber, and rinse. Repeat carefully instead of turning to abrasive compounds.
Warning: Do not clay a panel if you can still feel sand or road grit on the paint. Wash again first. Clay can trap grit and drag it across the clear coat.
[Products Worth Considering]

These HOMEXCEL microfiber cleaning cloths deliver excellent absorbency and gentle, scratch-free cleaning for cars, homes, and glass surfaces. The soft, lint-free towels help remove dirt, water, and streaks quickly for a polished finish, and they are machine washable for repeated everyday use.

This all-in-one car detailing kit brings together a wide range of cleaning tools for interior, exterior, wheel, and glass care. It includes brushes, polishing pads, a vacuum, a foam gun, a collapsible bucket, and other useful accessories to help tackle dust, dirt, stains, and hard-to-reach areas with ease. Designed for versatile vehicle cleaning, it also comes with a storage bag for convenient organization at home or on the go.

This rear trunk lid weatherstrip is designed to fit select Toyota Camry and RAV4 models, helping restore a secure seal around the trunk area. It supports protection against dust, moisture, and road noise while offering a reliable replacement for worn or damaged factory seals. Made for straightforward installation, it provides a practical fit-and-finish upgrade for everyday driving.
Rinse, Dry, and Protect With Wax or Sealant
After bug and tar residue is gone, rinse thoroughly to remove cleaner residue. Then wash the treated areas with car shampoo so the paint is clean before protection. Dry each panel with a clean microfiber towel to prevent water spots and streaks.
Choose protection based on how long you want it to last:
- Carnauba wax: Warm shine and easy application, but shorter durability.
- Synthetic sealant: Longer-lasting protection and slickness.
- Ceramic spray: Good hydrophobic behavior and easier maintenance when applied correctly.
- Professional ceramic coating: Stronger long-term protection, but higher cost and more prep.
Apply thin, even coats according to the product label. More product does not mean more protection; it usually means harder buffing and more streaks. Once protected, bugs and tar have a harder time bonding to the paint, which makes future cleanups faster.
Maintain & Prevent Future Bug and Tar Buildup
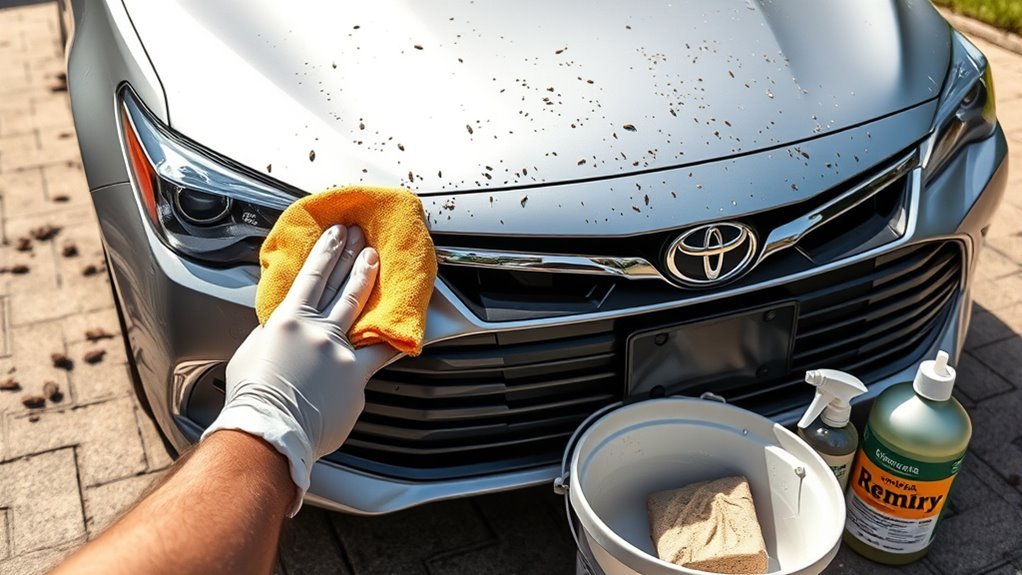
Prevention is easier than rescue cleaning. Wash the Camry after long highway drives, especially in warm months when bug impact is heavier. Keep wax, sealant, or ceramic spray on the front bumper, hood edge, mirrors, and lower doors. These are the areas that collect the most impact and tar sling.
Keep a small road-trip cleanup kit in the trunk:
- Travel-size bug-and-tar remover
- Quick-detail spray or rinseless wash solution
- Two clean microfiber towels in a sealed bag
- Nitrile gloves
- Small trash bag for used towels
Avoid cooking spray, oily household coatings, and improvised barriers on painted panels. They can attract dust, smear across glass, and interfere with proper wax or sealant bonding. If you want physical protection for frequent road trips, consider professionally installed paint protection film on the bumper, hood edge, and mirrors.
The safest bug-and-tar removal strategy is simple: loosen first, wipe gently second, and protect afterward. Scrubbing harder is what usually causes damage.
Common Mistakes That Scratch Camry Paint
Most damage happens when the right product is used the wrong way, or when the wrong tool is used with too much pressure. Avoid these mistakes:
- Skipping the pre-rinse: Dry grit under a towel can create fine scratches.
- Working in direct sun: Cleaners can dry too quickly and leave residue or stains.
- Using one towel for the whole car: Tar and grit spread from panel to panel.
- Scrubbing tar dots: Tar should be dissolved, not sanded off by pressure.
- Letting solvent drip onto trim: Some tar removers can harm clear plastics, decals, adhesives, or rubber.
- Skipping protection: Bare or unprotected paint gives bugs and tar more grip next time.
Frequently Asked Questions
How do you get tar and bugs off your car?
Rinse the car first, apply a paint-safe bug-and-tar remover to the affected areas, let it dwell as directed, wipe gently with microfiber, rinse again, wash with car shampoo, dry, and finish with wax or sealant.
What is the best homemade solution for bug and tar remover on my car?
For fresh bug splatter, warm water with proper car shampoo is the safest homemade-style option. Vinegar can be used carefully on glass, but it is not ideal for repeated use on paint. For tar, use a dedicated automotive tar remover instead of a homemade solvent.
How do you get tar off a car without damaging paint?
Cool and rinse the panel, apply a tar remover labeled safe for automotive paint, wait only as long as the label allows, wipe with a soft microfiber towel, and rinse immediately. Do not use gasoline, lacquer thinner, abrasive pads, or heavy pressure.
How do you get bugs and tree sap off a car?
Rinse first, then use a bug remover for bug splatter and a sap-safe tar or adhesive remover for sticky sap. For stubborn bonded residue, wash the area and use a lubricated clay bar. Finish with wax or sealant to restore protection.
Can I use a pressure washer to remove bugs from a Camry?
Yes, but use it as a rinse tool, not a cutting tool. Keep the nozzle moving and avoid holding a concentrated stream close to paint, trim, sensors, decals, or chipped areas. Let cleaner and microfiber do the residue removal.
Will bug-and-tar remover strip wax?
Some stronger tar removers can weaken or remove wax and sealant in treated areas. That is why you should wash and reapply protection after removing heavy tar, sap, or baked-on bug residue.
Conclusion
You can remove bugs and tar from a Toyota Camry safely by slowing down and using the right order: cool the paint, rinse away grit, apply a dedicated cleaner, let it dwell briefly, wipe with clean microfiber, rinse, wash, dry, and protect. The biggest rule is to avoid aggressive scrubbing. When the product does the work and the towel stays clean, your Camry’s finish stays glossy, smooth, and easier to maintain after every drive.
Sources
- Toyota Owner’s Manual: Cleaning and protecting the vehicle exterior — supports top-to-bottom rinsing, soft washing, and waxing guidance.
- Stoner Car Care Tarminator directions — supports 30–60 second dwell time, paint-safe use when directed, and trim/plastic cautions.
- Gyeon Q²M Tar Redefined product guidance — supports pH-neutral tar-remover use on exterior surfaces and rinse/wipe removal steps.
- Meguiar’s Smooth Surface Clay Kit — supports clay-bar use for bonded contaminants and clear-coat-safe claying when used correctly.
- Turtle Wax Bug & Tar Remover directions — supports washing first, saturating stains, wiping with microfiber, and following with wax.
- U.S. EPA Safer Choice — supports choosing cleaning products with safer ingredients, including car-care product categories.