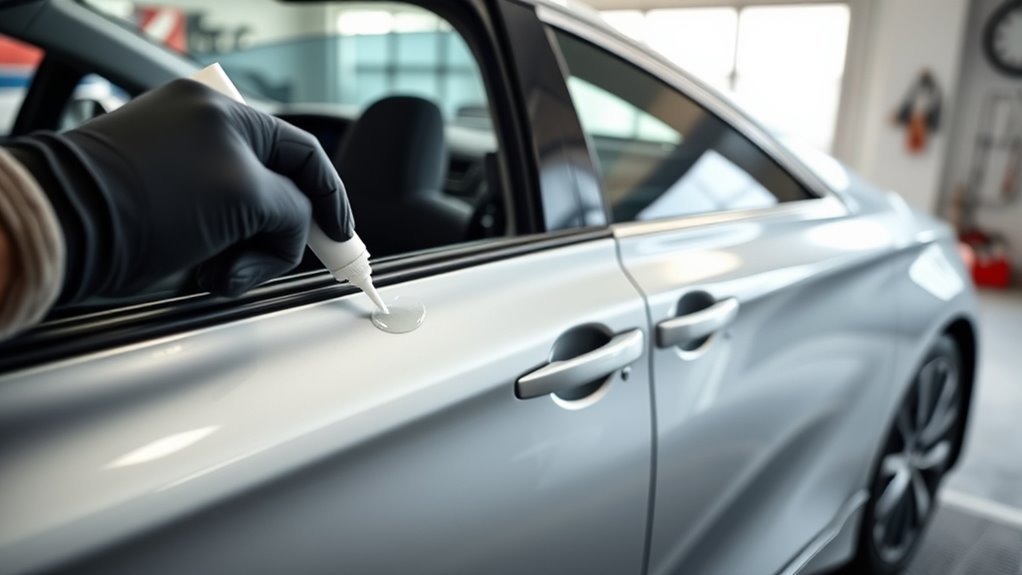
You can stop Camry door seals from sticking, squeaking, or freezing shut by cleaning the rubber weatherstripping and the painted door jamb, drying both surfaces completely, and applying a thin coat of rubber-safe silicone lubricant or rubber seal conditioner. The key is light, even coverage: too much product attracts dirt, while dirty or wet seals can still freeze.
Quick Answer
Clean the Camry door gaskets and surrounding metal with a mild, rubber-safe cleaner, dry them fully, then wipe on a thin layer of silicone spray or rubber seal conditioner using a microfiber cloth. Reapply before winter, after deep washes, or whenever the seals feel dry, stiff, noisy, or sticky.
Key Takeaways
- Always clean and dry the rubber seal and painted door jamb before adding lubricant.
- Use a rubber-safe silicone spray, silicone paste, or dedicated rubber seal conditioner; avoid harsh solvents and heavy petroleum-based products on the gasket.
- Apply product to a cloth first, not directly to the seal, so you avoid overspray and buildup.
- Frozen doors should be thawed gently before opening; forcing the handle can tear the weatherstrip or break the handle.
- Replace weatherstripping if it is torn, flattened, brittle, leaking, or noisy after cleaning and conditioning.
At a Glance
| Time Required | 10–20 minutes for all four doors |
| Difficulty | Easy DIY maintenance |
| Tools Needed | Microfiber towels, mild cleaner, rubber-safe silicone or seal conditioner, gloves, soft brush |
| Cost | Usually $5–$20 if you already have towels and cleaner |
Why Camry Door Seals Stick, Squeak, or Freeze
Your Camry’s door weatherstripping seals the cabin against wind, rain, dust, and road noise. Over time, dirt, road salt, car-wash residue, tree sap, and old protectant can make the rubber tacky. In freezing weather, trapped moisture between the gasket and the painted door frame can turn into ice and bond the door shut.
Sticking can also come from aging rubber. When the seal dries out, hardens, flattens, or cracks, it loses flexibility and may grab the door jamb instead of releasing cleanly. Conditioning helps if the rubber is simply dry, but damaged weatherstripping needs repair or replacement.
Note: Camry weatherstripping shape and part numbers vary by model year, trim, and door position. For replacement parts, verify fitment with your VIN or Toyota parts catalog before ordering.
Quick Fix: Stop Camry Doors From Freezing Shut
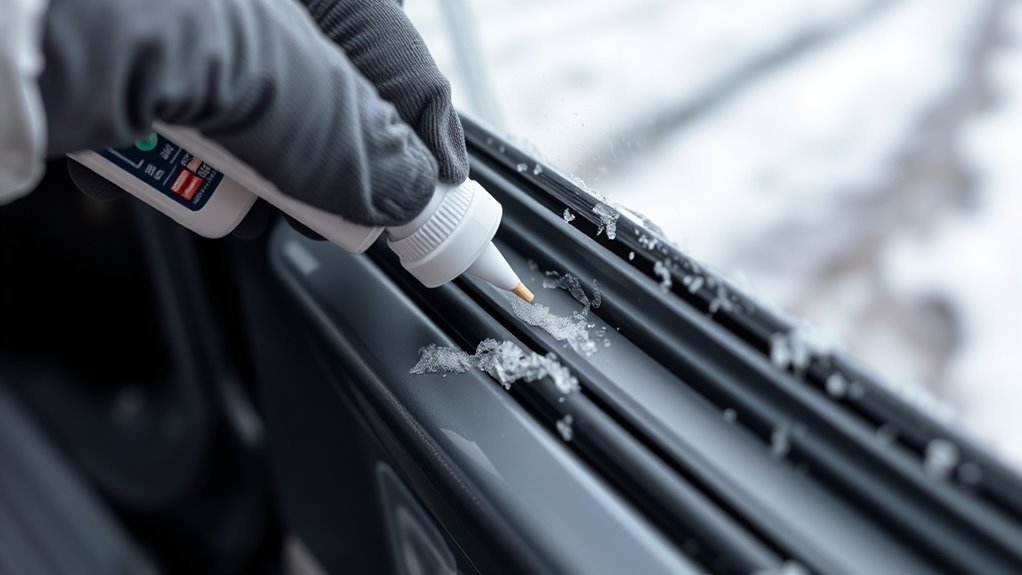
If cold weather is making your Camry doors stick, a thin silicone treatment on the rubber gaskets can help restore slickness and reduce the chance of the seal freezing to the metal. AAA Northeast also recommends lubricating door seals with silicone spray before snowstorms because it helps displace water and reduce freezing risk.
- Open each door and wipe loose dirt from the rubber gasket and painted jamb.
- Clean the seal with mild soap, rubber-safe cleaner, or a gentle detail spray.
- Dry the rubber and metal completely with a clean microfiber towel.
- Spray silicone onto a cloth, not directly onto the car.
- Wipe a thin, even film over the full gasket, including corners and compression points.
- Wipe away excess so the seal feels conditioned, not wet or greasy.
- Open and close the door gently once or twice to check for smooth release.
Pro Tip: Treat the seals before the first hard freeze, not after they are already frozen. Silicone works best as prevention on clean, dry rubber.
Tools & Products for Camry Door Seals
Use gentle cleaning supplies and a product labeled safe for rubber, vinyl, or automotive weatherstripping. A dedicated rubber conditioner, silicone spray, or silicone paste is better than a random household oil because the wrong product can attract grit, stain trim, or shorten seal life.
[Products Worth Considering]

Compatible with Toyota Camry 2007-2016, RAV4 2009-2014.

🚗OE Part Number Replacement: This door weather stripping replacement is designed to replace OE part numbers 75710-33080, 75720-33080, 75730-33080, and 75740-33080, ensuring compatibility with Toyota Camry models from 2002 to 2006. This precise fit guarantees effective sealing, enhancing the vehicle’s insulation and comfort.

A simple spray forms a long-lasting lubricating protective film, instantly smoothing and silencing your garage doors, window and door tracks, bicycle chains, and hinges. No need for repeated disassembly—effortlessly solve daily noise troubles.
Essential Silicone Types
Liquid silicone spray is the quickest choice for routine Camry door seal maintenance. Products such as WD-40 Specialist Silicone are marketed for use on most rubbers, plastics, vinyl, and metals when used as directed. Spray it onto a microfiber cloth first, then wipe the cloth along the seal for controlled coverage.
Silicone paste or silicone grease gives a thicker barrier and can last longer in high-contact areas, but it must be used sparingly. A heavy layer can hold dust and transfer to clothing. For many owners, a dedicated rubber seal conditioner such as Gummi Pflege is a clean alternative because it is designed for automotive weatherstripping and freezing-weather sticking.
Protective Gloves Needed
Wear nitrile gloves when applying silicone or rubber conditioner. Gloves keep the seal clean and protect your skin from repeated contact with cleaners and aerosol residue. If you use an aerosol spray, work outside or in a well-ventilated area and follow the product label. 3M’s silicone lubricant safety information, for example, recommends selecting gloves and eye protection based on the exposure and use conditions.
Cleaning Supplies List
- Microfiber towels for cleaning, drying, and applying product
- Mild soap and water or a rubber-safe automotive cleaner
- Soft-bristled detailing brush for trapped grime in folds and corners
- Rubber-safe silicone spray, silicone paste, or weatherstrip conditioner
- Nitrile gloves
- Small tray or towel to keep supplies off the paint and upholstery
Warning: Do not use harsh degreasers, brake cleaner, gasoline, acetone, or abrasive pads on Camry door seals. They can dry, swell, discolor, or tear the rubber and may damage nearby paint or trim.
Clean Camry Gaskets and Surrounding Metal
Cleaning matters as much as lubrication. Silicone cannot work well if the gasket is coated with mud, salt, wax residue, or moisture. Clean both contact surfaces: the rubber gasket on the door and the painted metal where the gasket touches the body.
Clean Metal Surfaces
Spray a mild detailer or soapy water onto a microfiber towel and wipe the door edges, jamb, striker area, and painted flange around the opening. Do not flood the area. You want to remove grit and old residue, not push water into switches, latch openings, or trim gaps.
After cleaning, dry the metal thoroughly. Moisture left on the jamb can freeze overnight and undo your work.
Wipe Rubber Gaskets
Wipe the rubber weatherstripping with a clean, damp microfiber towel and a rubber-safe cleaner. Work slowly around folds, corners, and the lower section of the door where road grime collects. Use a soft brush only for stubborn debris; avoid scraping with metal picks or screwdrivers.
Finish with a dry towel. The gasket should feel clean and dry before you apply silicone or conditioner.
Apply Liquid Silicone to Camry Door Seals
Liquid silicone is best for fast seasonal protection. It leaves a thin water-resistant film that helps the rubber release from the door frame instead of sticking.
- Shake the silicone spray if the label instructs you to do so.
- Spray a small amount onto a folded microfiber cloth.
- Wipe the cloth along the full length of the rubber door seal.
- Press lightly into corners, seams, and compression zones.
- Repeat on the body-side contact area if your Camry has a second rubber contact strip there.
- Buff off any wet-looking excess with a clean towel.
Do not spray silicone directly toward upholstery, glass, pedals, brake parts, tires, or painted exterior panels. Direct spraying is messy and makes it harder to control the amount of product on the gasket.
Apply Paste Silicone for Thicker, Longer Protection
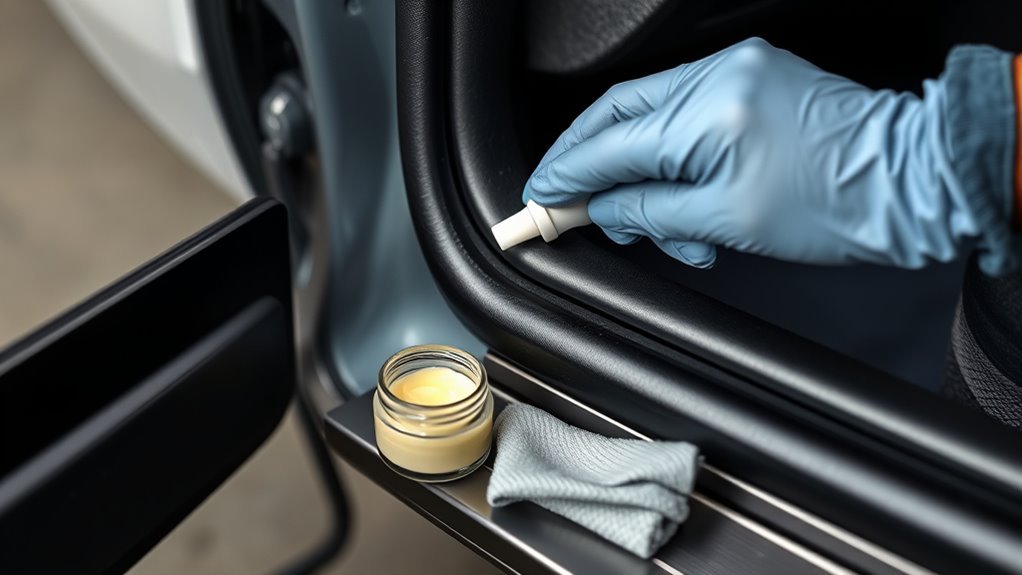
If you want longer-lasting protection than a quick spray, use a rubber-safe silicone paste or weatherstrip conditioner. This method is helpful on older seals that feel dry but are not torn.
- Clean and dry the seal first.
- Put on gloves.
- Place a pea-sized amount of paste on your fingertip or a foam applicator.
- Work it into the rubber in a thin, even film.
- Focus on the upper corners, hinge-side bends, and lower seal where moisture collects.
- Wipe away extra product so the seal is slick, not greasy.
More is not better. Thick buildup traps dirt and can make the seal look dirty faster. The goal is a light protective film that keeps the rubber flexible and reduces moisture bonding.
Aftercare: Let It Set and Check the Door Fit
After applying silicone or conditioner, leave the doors open for a few minutes if the product label calls for drying time. Then close each door gently and reopen it. The seal should release smoothly without squeaking, grabbing, or leaving heavy residue on the painted jamb.
If you see product smeared on the paint, wipe it down with a clean microfiber towel. If the door still sticks after cleaning and conditioning, inspect for misalignment, flattened weatherstripping, or a torn section that is folding into the jamb.
When to Reapply Silicone: Schedule and Signs
For most Camry owners, reapplying every 3–6 months is a practical schedule. Use the shorter interval in cold, wet, salty, or dusty climates. Use the longer interval if the car is garaged and the seals still feel soft and clean.
| Condition | Best Reapplication Timing |
|---|---|
| Cold winters or freezing rain | Before winter and again mid-season if doors start sticking |
| Frequent car washes | After washing, once seals and jambs are fully dry |
| Dry, hot, sunny climate | Every 4–6 months to help slow drying and cracking |
| Visible cracking, flattening, or tearing | Conditioning may help temporarily, but plan repair or replacement |
Also reapply when the seals feel stiff, look dull, squeak during opening, or leave black residue on your fingers after cleaning.
Troubleshooting Camry Door Seals: Frozen, Torn, Hardened
If your Camry door still sticks after basic cleaning, diagnose the symptom before adding more product. Too much lubricant can hide the real problem.
| Symptom | Likely Cause | Action |
|---|---|---|
| Door frozen shut | Moisture froze between rubber and metal | Use warm air or car-safe deicer around the edge, then clean, dry, and treat the seal |
| Seal squeaks | Dry rubber or dirty contact point | Clean both surfaces and apply a thin silicone film |
| Seal feels sticky | Old residue, grime, or wrong product | Wash with mild soap, dry fully, and switch to a rubber-safe product |
| Torn weatherstrip | Age, ice damage, or forced entry | Trim only loose dangling pieces if needed and replace the damaged section |
| Wind noise or water leak | Flattened, shifted, or missing seal contact | Inspect alignment and replace worn weatherstripping if conditioning does not fix it |
Warning: Do not yank hard on a frozen Camry door handle. AAA warns that excessive force can damage seals or break the handle. Thaw the seal first, then open the door gently.
When to Repair or Replace Weatherstripping and Extra Longevity Tips

Inspect your Camry’s weatherstripping at least twice a year: once before winter and once before the rainy season or summer heat. Run your fingers along the gasket, flex the rubber gently, and look for cracks, missing sections, hard spots, flattened areas, or loose adhesive.
Replace the seal if you notice persistent wind noise, water intrusion, visible tears, or a section that no longer springs back after compression. Toyota lists multiple Camry weatherstrip parts by model year and door position, so use an OEM catalog or dealer parts counter to confirm the correct piece for your vehicle.
For minor localized damage, an adhesive-backed EPDM repair patch may help temporarily, but full replacement is the better fix when a long section is hardened, shrunken, or torn. Conditioning cannot restore missing rubber or correct a seal that no longer contacts the door frame.
Common Mistakes That Make Door Seals Worse
- Using too much silicone: Heavy coating collects dust and can transfer to clothes or trim.
- Skipping the cleaning step: Lubricating over dirt makes a gritty paste that can abrade the rubber.
- Closing doors with wet seals in freezing weather: Water can freeze the gasket to the jamb overnight.
- Using harsh solvents: Strong cleaners can dry or weaken rubber weatherstripping.
- Pouring hot water on frozen doors: It can refreeze quickly and may stress cold glass or paint.
- Ignoring lower-door grime: Salt and slush collect near the bottom seal and speed up deterioration.
Camry Door Seal Maintenance by Season
Fall: Clean and treat all door seals before the first hard freeze. Check the trunk seal too, especially if you park outside.
Winter: Dry the seals after car washes and before overnight freezing temperatures. Keep deicer outside the car, not locked inside it.
Spring: Wash away salt residue from the lower seals and door jambs. Inspect for tears caused by winter ice.
Summer: Check for drying, fading, or cracking from heat and UV exposure. Apply conditioner if the rubber feels stiff or chalky.
Frequently Asked Questions
How do you stop rubber door seals from sticking?
Clean the rubber seal and the painted contact surface, dry both completely, then wipe on a thin coat of rubber-safe silicone spray, silicone paste, or weatherstrip conditioner. Wipe off excess so the seal feels smooth but not greasy.
How do you lubricate car door rubber seals?
Apply silicone lubricant to a microfiber cloth first, then wipe it evenly along the gasket. Do not spray directly into the door opening. Direct spraying can hit upholstery, glass, paint, or electronics and usually leaves too much product on the rubber.
Can I use WD-40 on Camry door seals?
Use a product specifically labeled as silicone lubricant and safe for rubber, such as WD-40 Specialist Silicone, rather than a general-purpose penetrating oil. General oils can be messy and may not be the best long-term choice for rubber weatherstripping.
What should I do if my Camry door is already frozen shut?
Do not force the handle. Press the door gently to break the ice bond, apply warm air around the door edge, or use a car-safe deicer from outside the vehicle. Once the door opens, dry the seal and apply silicone to help prevent another freeze.
How often should I condition Camry weatherstripping?
Condition it every 3–6 months, before winter, after heavy car-wash use, or whenever the rubber feels dry, squeaks, or starts sticking. Inspect older seals more often because cracked or flattened rubber may need replacement instead of more conditioner.
Conclusion
Camry door seals are easy to overlook until a door sticks, squeaks, leaks, or freezes shut. The fix is simple: clean the gasket and jamb, dry both surfaces, apply a thin rubber-safe silicone or seal conditioner, and wipe off excess. Keep up with seasonal inspections, and replace weatherstripping when it is torn, brittle, flattened, or leaking. A few minutes of routine care can prevent winter frustration and help your Camry stay quiet, dry, and easy to open.
Sources
- Toyota Owners Manuals and Warranties — official source for Toyota owner manuals and model-specific maintenance information.
- AAA Northeast: Prep Your Vehicle Before the Next Snowstorm — supports silicone spray use on door seals to help prevent freezing.
- AAA Club Alliance: Thawing Frozen Car Doors and Locks — supports gentle thawing methods and warnings against forcing frozen doors.
- WD-40 Specialist Silicone Lubricant — supports rubber-safe silicone lubricant use when used as directed.
- 3M Silicone Lubricant — supports silicone lubricant use for preventing sticking and freezing, plus product safety considerations.
- Toyota Camry Weatherstrip Parts Catalog — supports model-year and position-specific weatherstrip replacement guidance.