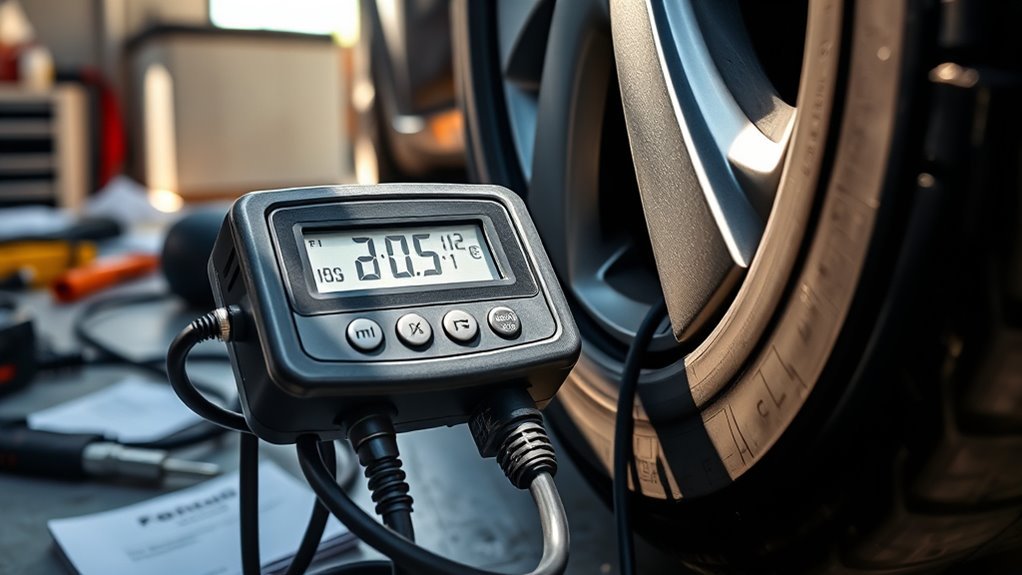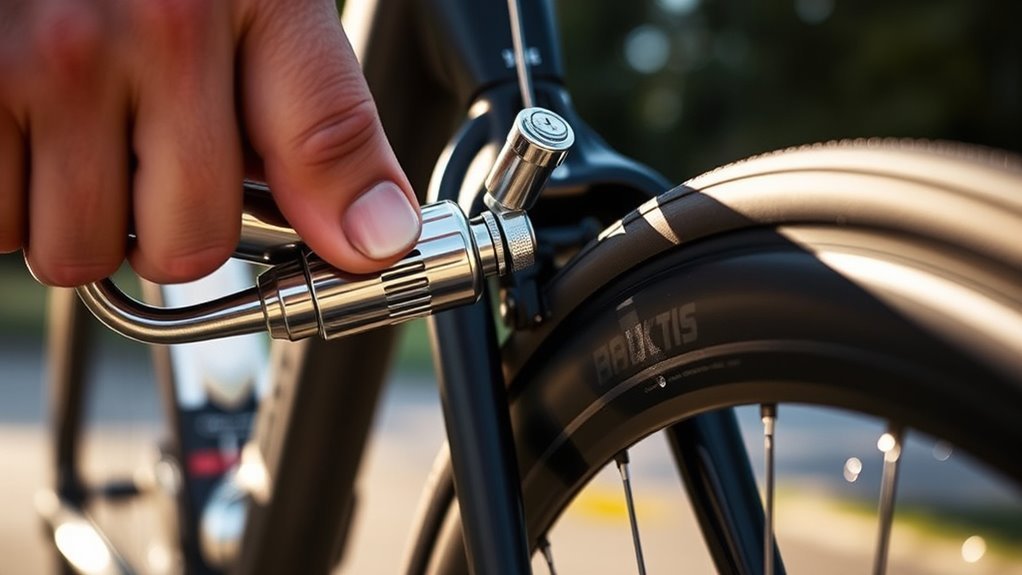
Inflating a bike tire is simple once you know two things: which valve you have and what pressure your tire and rim can safely handle. Most bikes use either a narrow Presta valve or a wider Schrader valve, and each one connects to the pump a little differently. The steps below show how to inflate both types, check pressure accurately, and troubleshoot leaks without damaging the valve or overinflating the tire.
Quick Answer
To inflate a bike tire, identify whether the valve is Presta or Schrader, attach a compatible pump head firmly, inflate in short strokes or bursts, then check the pressure with a gauge. For Presta valves, loosen the small tip nut before pumping and tighten it again after inflation. Never exceed the lower pressure limit listed on your tire or rim.
Key Takeaways
- Presta valves are narrow and have a small threaded tip nut; Schrader valves are wider and look like car tire valves.
- Use a Presta-compatible pump head, Schrader-compatible pump head, universal pump head, or the correct adapter.
- Choose pressure from the tire sidewall, rim limit, manufacturer chart, or a setup-specific pressure calculator—not from a single generic PSI number.
- Use short bursts with an air compressor or tire inflator because pressure can rise quickly.
- If the tire leaks after inflation, check the valve, valve core, tube, tire casing, bead seat, rim tape, and tubeless sealant if applicable.
At a Glance
| Time Required | 2–5 minutes per tire |
| Difficulty | Beginner |
| Tools Needed | Bike pump or tire inflator, pressure gauge, Presta adapter if needed, clean cloth, optional valve core tool |
| Cost | Free if you already own a pump; a Presta adapter is usually inexpensive |
How to Inflate Presta and Schrader Valves: A Step-by-Step Guide

Start by finding the valve on the rim. A Presta valve is narrow, usually all metal, and has a small knurled nut at the tip. A Schrader valve is wider, spring-loaded, and looks like the valve on a car tire. Most bike pumps are labeled for Presta, Schrader, or both.
For a Presta valve, remove the cap, loosen the small tip nut by hand, press the tip briefly to make sure air can move, then attach the pump head straight onto the valve. For a Schrader valve, remove the cap and press the pump head directly onto the valve. Lock the pump head if it has a lever, inflate to the correct pressure, remove the pump straight off, and replace the cap.
Note: Newer systems such as the Schwalbe Clik Valve also exist, but most everyday bike tire inflation instructions still come down to Presta-style or Schrader-style pump compatibility. If your valve does not look like either one, check the valve or tube manufacturer’s instructions.
Preparing Your Tire for Inflation
Before you attach the pump, take a few seconds to inspect the tire and valve. This prevents bent valve stems, poor pump seals, and accidental overinflation.
- Check the tire sidewall: Look for the printed minimum and maximum pressure range.
- Check the rim limit: Some rims, especially tubeless and hookless rims, have their own maximum pressure. Use the lower limit if the tire and rim show different numbers.
- Inspect the tire: Look for cuts, embedded glass, bulges, or a tire bead that is not seated evenly on the rim.
- Clean the valve: Wipe dust or sealant from the valve area so the pump head can seal properly.
- Position the wheel: Rotate the valve to a comfortable spot, often around the 12 o’clock or 6 o’clock position, so you can press the pump head on straight.
Warning: Never inflate beyond the maximum pressure printed on the tire or rim. If the tire and rim list different maximum pressures, follow the lower number. Overinflation can cause poor handling, tire blow-off, tube failure, rim damage, or injury.
What Tools Do You Need to Inflate Your Tires?
You do not always need a separate “special” pump, but you do need a pump head or adapter that matches your valve.
- Bike floor pump: Best for home use because it is stable and usually includes a pressure gauge.
- Mini pump: Good for roadside repairs, though it takes more effort and may not include an accurate gauge.
- Tire inflator or air compressor: Fast, useful for some tubeless setups, but must be used carefully in short bursts.
- Pressure gauge: A separate gauge can be more accurate than some pump gauges, especially when fine-tuning road or tubeless pressure.
- Presta adapter: Lets a Schrader-style pump head inflate a Presta valve.
- Valve core tool: Useful for tightening or removing removable valve cores, especially on tubeless valves.
- Clean cloth: Helps wipe away dirt, sealant, or grit around the valve.
Many modern pumps use a dual-head, reversible, or universal head for both valve types. If your pump will not fit, do not force it. Check whether the internal gasket needs to be flipped, whether the lever position is wrong, or whether you need a Presta adapter.
[Products Worth Considering]

Add a touch of sparkle while helping protect your tire valves from dust, water, and sand with these handmade rhinestone valve stem caps. Designed for easy hand installation and a universal fit for many cars, trucks, motorcycles, and bicycles, they combine decorative style with practical sealing performance. The durable ABS construction with rubber seals helps support a tighter fit and helps reduce the risk of air leakage.

Add a clean, patriotic finishing touch to your wheels with these DECURCAR tire valve stem caps. The aluminum outer shell with plastic liner helps resist corrosion and supports a reliable seal, while the easy hand-tightened design makes installation simple. Built for wide compatibility with standard Schrader valves, this set is a practical upgrade for cars, trucks, motorcycles, bikes, and more.

This AC Schrader valve tool is designed for leak-free removal and replacement of valve cores in automotive air conditioning systems filled with refrigerant. It helps prevent refrigerant loss, secures the valve core during installation or removal, and simplifies servicing with included guidance. Built from brass and aluminum alloy and stored in a protective EVA case, it offers a practical solution for both high and low pressure valve core work.
Choose the Right Tire Pressure Before You Pump
The correct pressure depends on your total system weight, tire width, rim width, tire construction, tube or tubeless setup, surface, and riding style. The number on the tire sidewall is usually a safe range, not always the perfect pressure for comfort or speed.
As a broad starting point, older narrow road tires may use much higher pressure than modern wider road tires. Gravel, hybrid, mountain, fat bike, and tubeless tires often run lower pressures. Instead of guessing, use the tire sidewall, rim limit, and a manufacturer-backed calculator such as the SRAM/Zipp tire pressure guide or the SILCA Professional Tire Pressure Calculator for a better starting point.
The best tire pressure is not simply “as hard as possible.” A pressure that matches your tire width, load, surface, and rim is safer, more comfortable, and often faster on real roads and trails.
[Products Worth Considering]
These metal tire valve stem caps are designed to protect tire valves from dust, moisture, corrosion, and air leakage while adding a clean, stylish look to your wheels. Made from durable aluminum alloy with rubber sealing rings, they are easy to install without tools and help support stable tire pressure for safer driving.

These universal valve stem caps help protect tire valves from water, dust, and sand while supporting a tighter seal to reduce air leakage. Made from durable aluminum alloy, they are easy to install by hand and fit a wide range of vehicles, including cars, SUVs, trucks, motorcycles, and bicycles. The sleek black finish adds a clean look and makes them a practical accessory for everyday vehicle maintenance.

These aluminum alloy tire valve stem caps provide durable, corrosion-resistant protection for your vehicle’s valve stems while helping maintain stable tire pressure. The rubber seal design helps block dust, moisture, and debris, reducing the risk of air leakage and valve damage. Easy to install and styled for a clean look, they fit a range of cars, SUVs, trucks, and motorcycles.
Inflating Presta Valves: Step-by-Step
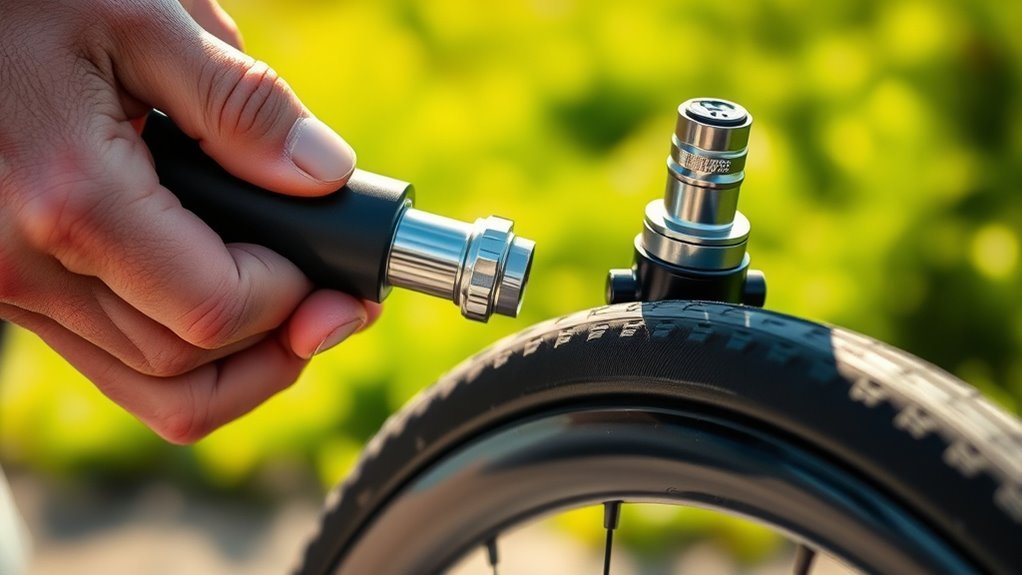
- Remove the valve cap. Set it somewhere safe so it does not roll away.
- Loosen the small tip nut. Turn it counterclockwise by hand until it stops. Do not remove it completely.
- Tap the valve tip briefly. A tiny hiss confirms the valve is open and not stuck.
- Attach the pump head straight. Push it firmly onto the valve without bending the stem.
- Lock the pump head. Flip the lever or tighten the chuck if your pump requires it.
- Inflate gradually. Watch the gauge and stop before the tire or rim limit.
- Remove the pump carefully. Unlock the head first, then pull it straight off.
- Close the valve. Tighten the small tip nut by hand only, then replace the cap.
Pro Tip: If air leaks loudly as soon as you start pumping a Presta valve, the pump head is probably not seated deeply enough or the pump is set for Schrader. Remove it, check the head setting, and press it on straight before locking it.
How to Inflate Schrader Valves Effectively
Schrader valves are usually easier for beginners because they work like car tire valves. They have a spring-loaded center pin, and the pump head depresses that pin to let air in.
- Remove the valve cap.
- Press the pump head firmly onto the valve. Keep it straight so air does not leak around the seal.
- Lock the pump head if needed. Most floor pumps use a lever.
- Inflate to the target pressure. Check the gauge often.
- Unlock and remove the pump head. A short hiss when removing the head is normal.
- Replace the valve cap. The cap helps keep dirt out, but it is not what holds air in the tire.
If a Schrader valve keeps leaking after inflation, press the center pin briefly to make sure it is not stuck, then check the valve core with a proper valve tool. If the core is damaged, replace it.
Using a Tire Inflator or Air Compressor Safely
A tire inflator can fill a bike tire quickly, especially if it is connected to an air compressor. That speed is useful, but it also makes overinflation easier.
- Use the correct pump head: Confirm Presta or Schrader compatibility before pressing the trigger.
- Inflate in short bursts: Add air slowly instead of holding the trigger down.
- Read the gauge between bursts: Some inflator gauges do not show the true tire pressure while air is actively flowing.
- Use a bleed button if available: Release a little air if you overshoot the pressure.
- Be extra careful with tubeless and hookless rims: Follow the rim and tire maker’s pressure limits exactly.
Park Tool’s INF-2 shop inflator instructions specifically recommend releasing the trigger to read pressure because the gauge may not accurately reflect actual tire pressure during inflation.
[Products Worth Considering]

These aluminum alloy tire stem valve caps provide a stylish, protective upgrade for your vehicle’s valve stems while helping keep out dirt, dust, and road debris. Designed for easy hand installation, they fit most cars, SUVs, trucks, motorcycles, and bicycles, making them a practical accessory for everyday maintenance and a thoughtful gift for drivers.

This all-in-one car emergency kit helps drivers stay prepared for roadside breakdowns, flat tires, and dead batteries with essential tools in one compact package. It includes a portable air compressor, heavy-duty jumper cables, a first aid kit, and other safety items designed for year-round peace of mind. Compact enough for easy trunk storage, it makes a practical safety solution and thoughtful gift for drivers of all ages.

This AstroAI digital tire pressure gauge delivers factory-calibrated readings with dependable ±1 PSI accuracy, helping you keep cars, trucks, motorcycles, and spare tires at the right pressure. Its bright backlit LCD and illuminated nozzle make nighttime checks easy, while the one-button unit switch and auto-off design add convenience and battery efficiency for routine maintenance.
Top Mistakes to Avoid When Inflating Presta and Schrader Tires
- Forgetting to open the Presta tip nut: Air will not enter properly if the valve is closed.
- Using the wrong pump setting: A Schrader-only chuck will not seal on Presta unless you use an adapter.
- Forcing the pump head: This can bend or break a Presta valve stem.
- Pumping to the sidewall maximum automatically: Maximum pressure is a safety limit, not always the ideal ride pressure.
- Ignoring rim pressure limits: Some rims have lower limits than the tire.
- Checking pressure only by squeezing the tire: Use a gauge for a reliable reading.
- Riding on a visibly damaged tire: Replace tires with bulges, exposed casing, deep cuts, or damaged beads.
Checking Tire Pressure After Inflation
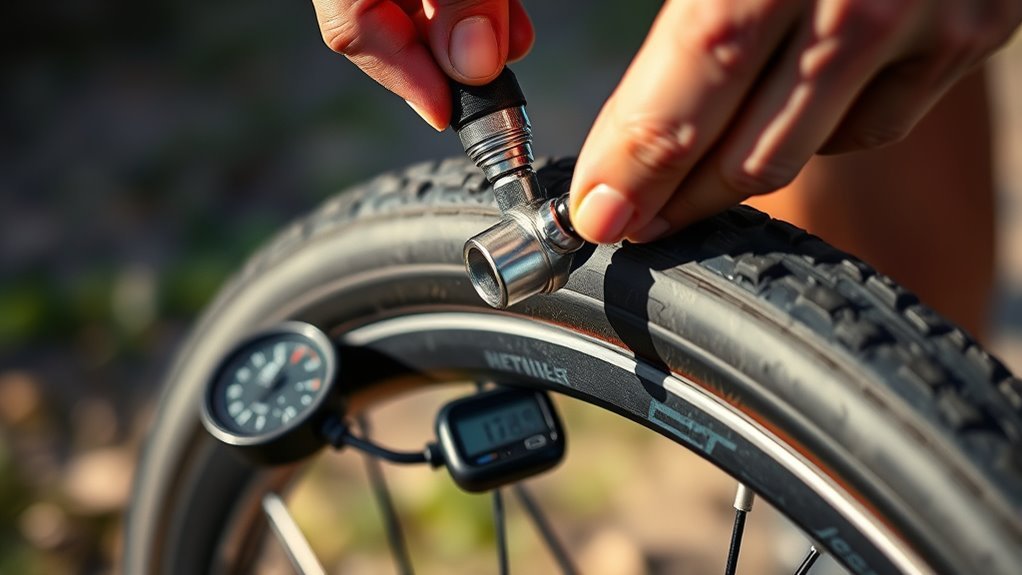
After pumping, check the tire pressure with a reliable gauge. If you used a compressor-style inflator, release the trigger before reading the gauge. If the pressure is too high, bleed out small amounts of air and recheck.
Bike tires naturally lose air over time, even when there is no puncture. Schwalbe notes that bicycle tubes continuously lose pressure and that a loss of about 1 bar per month can be normal, with faster loss at higher pressures. Check pressure before long rides, after the bike has been sitting, and any time the tires feel soft or the handling feels sluggish.
For best results, keep a simple pressure note for your bike. Write down the tire size, front pressure, rear pressure, riding surface, and how the bike felt. Over time, this gives you a personal starting point that is better than guessing.
What to Do If Your Tires Are Leaking After Inflation?
If the tire loses air soon after inflation, do not keep adding air without checking for the cause. A slow leak can come from the valve, tube, tire casing, rim tape, bead seat, or tubeless sealant.
Check Valve Tightness
Listen closely around the valve. If you hear hissing, put a little soapy water around the valve and watch for bubbles. On a Presta valve, make sure the tip nut is closed after inflation. If the valve has a removable core, use a valve core tool to snug it gently. Do not overtighten it, because that can damage the core or seal.
On a Schrader valve, check whether the center pin is stuck or the valve core is loose. A damaged Schrader core can usually be replaced with the right valve tool.
Inspect Tire Condition
Look over the tread and sidewalls for glass, thorns, wire, cuts, cracking, bulges, or exposed casing. If you use tubes, a punctured tube may lose air slowly even when the tire looks fine from the outside. Remove the wheel and tube if needed, inflate the tube slightly, and listen or use soapy water to find the leak.
Also check the tire bead. The bead should sit evenly around both sides of the rim. If it dips or bulges, deflate the tire, reseat the bead, and inflate again carefully.
Check Tubeless-Specific Leaks
For tubeless tires, leaks can come from dried sealant, a loose tubeless valve, damaged rim tape, or an unseated bead. Shake and rotate the wheel so sealant can reach the leak, then recheck. If sealant is dry or low, refresh it according to the tire sealant maker’s directions. If bubbles appear at spoke holes, the rim tape may need replacement.
Maintaining Your Valves for Longevity
Good valve maintenance makes inflation easier and reduces surprise flats.
- Keep valve caps installed: Caps help keep dirt out of the valve.
- Do not bend Presta stems: Push pump heads straight on and pull them straight off.
- Clean dried sealant: Tubeless sealant can clog removable valve cores.
- Carry the right spare tube: Match valve type and valve length to your rim depth.
- Replace damaged valves or tubes: Cracked rubber, bent stems, and leaking cores are not worth gambling on.
If a valve repeatedly leaks after cleaning and tightening, replace the tube or tubeless valve. If you are unsure whether the rim tape, bead, or casing is safe, have a bike shop inspect it.
Tips for Storing Your Bike and Equipment
Store your bike in a dry, stable environment when possible. Heat, moisture, sunlight, and long periods of low pressure can shorten tire and tube life. Before long-term storage, inflate the tires within the recommended range and check them occasionally so the bike does not sit on fully flat tires.
Store pumps, gauges, adapters, and valve tools in a dry place. Keep pump heads clean, and replace worn rubber gaskets if the pump starts leaking around the valve. If you use an air compressor, drain moisture from the compressor system as recommended by the compressor maker.
Frequently Asked Questions
How do you pump up a bike tire with a Presta valve?
Remove the cap, loosen the small tip nut by hand, tap the tip briefly, attach a Presta-compatible pump head, lock the head, and inflate to the correct pressure. After pumping, remove the head straight off, tighten the tip nut by hand, and replace the cap.
How do you inflate a Presta valve with an air compressor?
Use a Presta-compatible inflator head or a Presta adapter. Open the Presta tip nut, attach the inflator straight, and add air in short bursts. Release the trigger to read the gauge, and stop before reaching the lower maximum pressure listed on your tire or rim.
Do I need a special bike pump for a Presta valve?
You need a Presta-compatible pump head or a Presta adapter, but you do not always need a separate special pump. Many modern floor pumps and mini pumps work with both Presta and Schrader valves.
Should the Presta valve be open when you inflate with an electric bike pump?
Yes. Loosen the small Presta tip nut before inflation so air can enter. After you reach the correct pressure, remove the pump and tighten the tip nut by hand to close the valve.
Why does air leak when I attach the pump?
The pump head may not be pushed on far enough, the head may be set for the wrong valve type, the gasket may be worn, or the valve core may be loose. Remove the pump, check the pump-head setting, reattach it straight, and try again.
How often should I check bike tire pressure?
Check pressure before important rides and at least monthly for casual use. High-pressure road tires, latex tubes, and some tubeless setups may need more frequent checks because bicycle tires naturally lose air over time.
Conclusion
Inflating bike tires is easy once you match the pump to the valve and use a safe pressure for your exact tire and rim. Open Presta valves before pumping, attach Schrader pump heads straight, inflate gradually, and confirm the final pressure with a gauge. A few careful checks before and after inflation will help your bike roll smoother, handle better, and avoid preventable flats.
Sources
- Park Tool INF-2 Shop Inflator Instructions — supports inflator use, gauge-reading, and bleed-valve guidance.
- Park Tool PFP-10 Home Mechanic Floor Pump — supports Presta and Schrader pump-head compatibility.
- Schwalbe Tire Pressure FAQ — supports pressure-limit and normal pressure-loss guidance.
- SRAM/Zipp: How to Calculate Tire Pressure — supports setup-specific tire pressure selection.
- SILCA Professional Tire Pressure Calculator — supports pressure-calculator and hookless/tubeless caution guidance.
- Schwalbe Clik Valve — supports note about newer valve systems and Presta-pump compatibility.