
Editorial Team · Reviewed for accuracy · Last updated: July 31, 2026
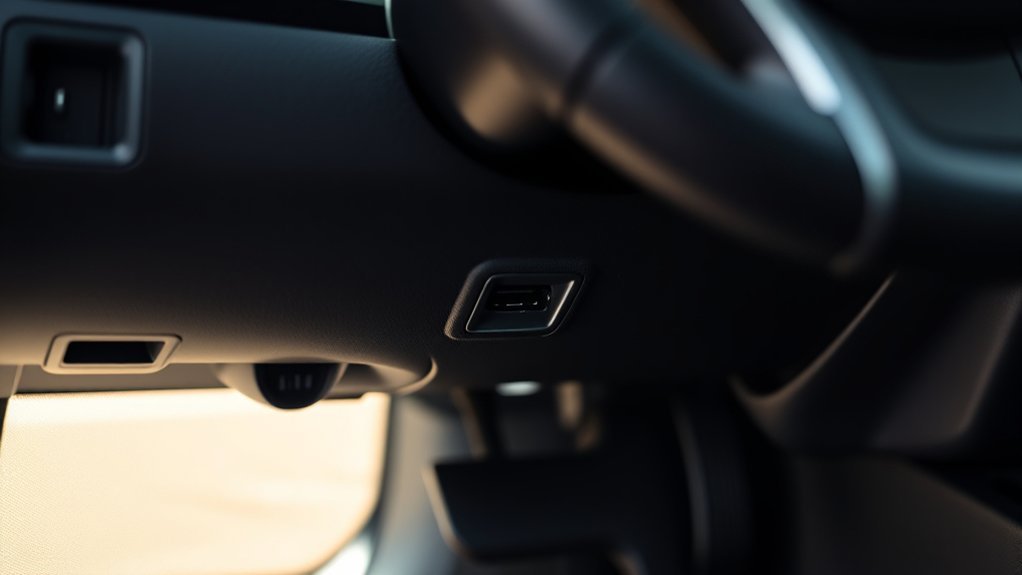
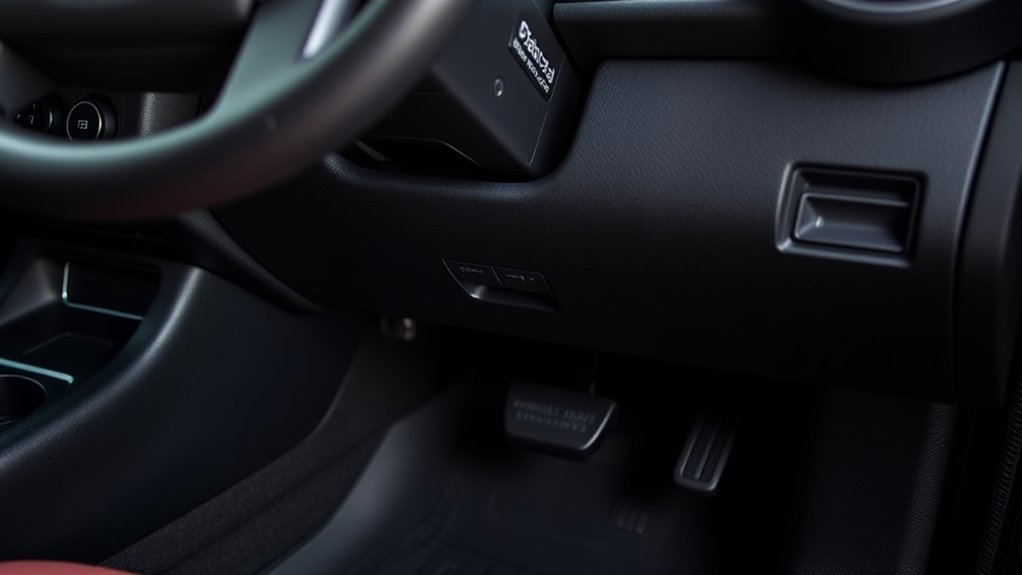
The Toyota Tacoma OBD2 port is beneath the driver-side lower dashboard. On many 2005–2023 trucks, look upward above the driver’s left-foot or parking-brake area. On 2024–2026 trucks, check near the hood-release and dead-pedal area, between the brake pedal and steering column. The port is a trapezoid-shaped 16-pin connector and normally does not require trim removal. This guide covers North American 1996–2026 Tacoma models. For a 1995 Tacoma, confirm the emissions label and model-specific service information before assuming it supports a standard OBD-II scanner.
Quick Answer
Look beneath the driver-side lower dashboard and aim a flashlight upward. Find the exposed trapezoid-shaped connector with two rows of pin openings. Older Tacomas commonly place it above the parking-brake or left-foot area; 2024–2026 trucks place it closer to the hood-release and dead-pedal area. Plug the scanner in with the vehicle off, then switch the ignition to ON without starting the engine when the tool requests communication.
Key Takeaways
- The port is beneath the driver-side lower dashboard, but its exact landmark varies by Tacoma generation.
- No trim removal is normally required; look upward behind the lower edge of the dash before touching any panel.
- A basic reader commonly accesses check-engine and emissions data, not every Toyota control module.
- Save stored, pending, permanent, and freeze-frame information before clearing codes.
- A scanner that stays dark has a different problem from one that powers up but reports no communication.
Where Is the Toyota Tacoma OBD2 Port?
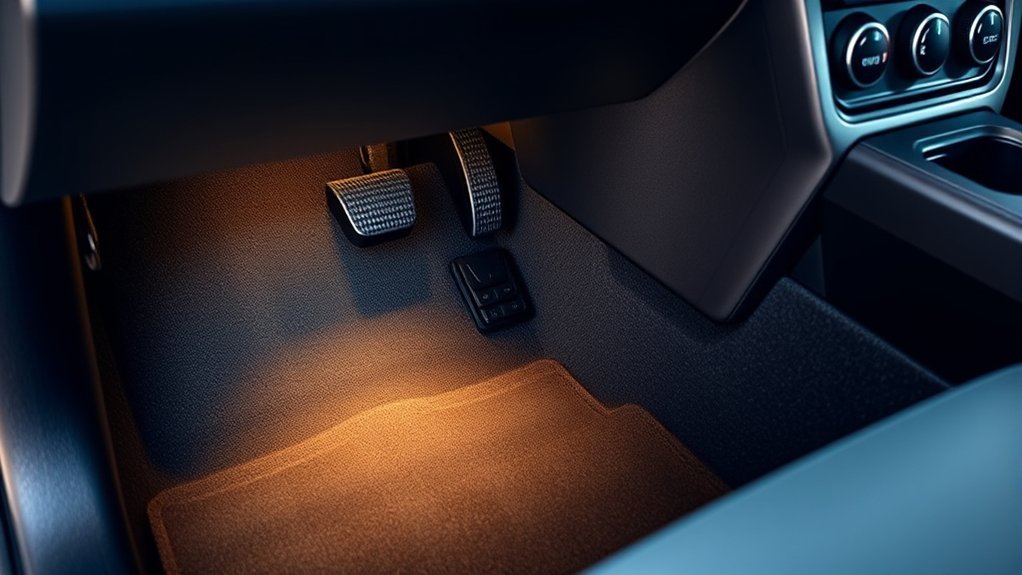
The OBD2 port, called the Data Link Connector 3 or DLC3 in Toyota service information, is mounted beneath the driver-side dashboard. It must remain within reach of the driver’s footwell, but Toyota has changed its exact bracket position between Tacoma generations.
| Tacoma model years | Where to look | Useful landmark |
|---|---|---|
| 1996–2004 | Beneath the driver-side lower dashboard | Look upward around the lower steering-column and pedal area; the exact side can vary on early trucks |
| 2005–2015 | Under the lower left dashboard | Commonly above the parking-brake pedal or driver’s left-foot area |
| 2016–2023 | Under the driver-side lower dash, left of the steering column | Look above where the driver’s left foot rests |
| 2024–2026 | Under the dash near the driver-side kick-panel area | Look near the hood-release and dead-pedal area, between the brake pedal and steering column |
The connector may face downward or slightly toward the driver. It can be difficult to see from the seat because it sits above the lower edge of the dashboard. Move the seat back, crouch beside the open driver’s door, and point a flashlight upward instead of looking straight ahead.
Once connected, a scan tool can retrieve supported diagnostic information before you disconnect the battery, erase codes, or replace parts. For help interpreting the urgency of the light that prompted the scan, see the Toyota Tacoma warning lights guide.
What Does the Tacoma OBD2 Connector Look Like?
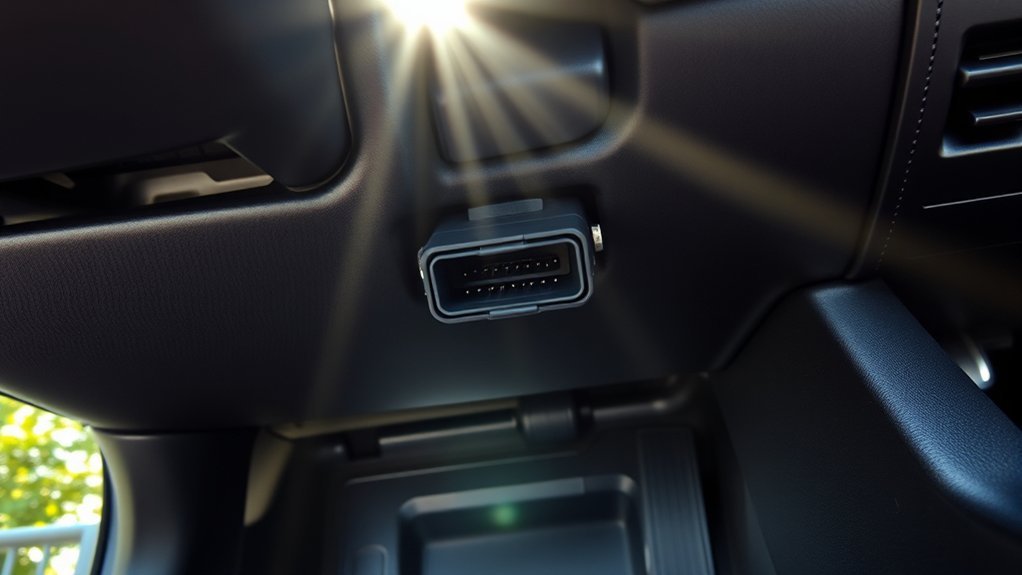
The OBD2 connector has a trapezoid-shaped opening with two rows of terminal cavities. It is wider along one edge, so a correctly oriented scanner plug fits only one way.
- Shape: Trapezoid rather than a square or flat rectangular plug
- Layout: Two rows with space for 16 terminals
- Color: Commonly black, dark gray, or white depending on the model year and connector housing
- Mounting: Usually clipped into a bracket beneath the lower dash
Do not confuse the OBD2 port with a smaller brake-controller, accessory, USB, or wiring-harness connector. Match the full shape of the scanner plug before applying pressure.
Do You Need to Remove a Tacoma Dashboard Panel?
No trim removal is normally required to reach the Tacoma’s OBD2 port. The connector may be hidden from a normal seated view, but it should be accessible from beneath the dashboard without removing the knee bolster or prying off a panel.
Look upward behind the visible lower edge of the dash before touching any trim. If the connector is not secured in its normal bracket, it may have been pushed upward or left hanging after previous service.
An aftermarket alarm, remote starter, insurance device, GPS tracker, tuning device, splitter, or extension harness may also be connected to the factory port. If you find an unfamiliar device or an extension cable, do not pull wiring apart blindly. Identify the device and follow its removal instructions, or ask the installer or a qualified technician to inspect it.
What Do You Need Before Connecting a Scanner?
- A generic OBD2 code reader, Bluetooth adapter, or enhanced Toyota-compatible scan tool suited to the system you need to inspect
- A flashlight or phone light for viewing the underside of the dashboard
- The scanner manufacturer’s instructions or application
- Your exact Tacoma model year and powertrain information
- The correct owner’s manual if a fuse or ignition-mode check becomes necessary
Warning: Never force the scanner plug into the port. Stop if the plug is misaligned or requires heavy pressure, because a bent or pushed-back terminal can cause power or communication problems.
[Products Worth Considering]
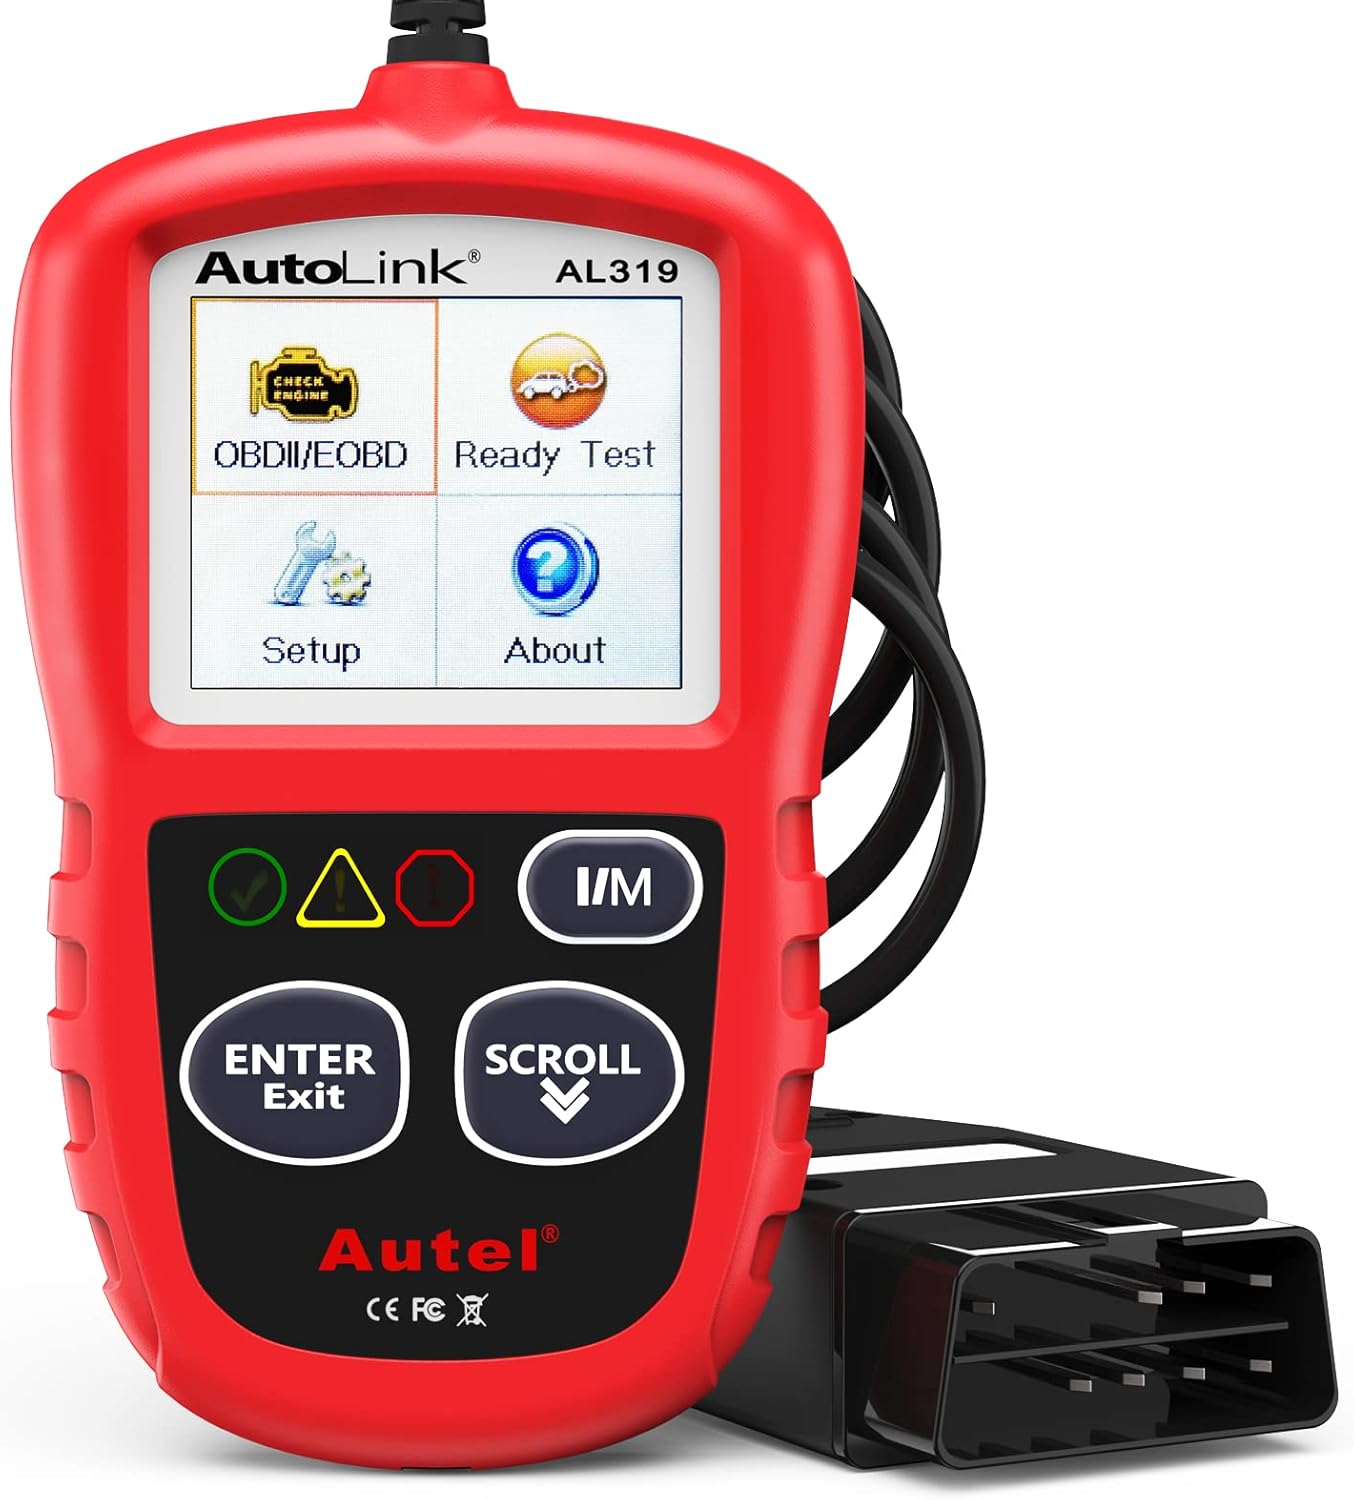
The Autel AL319 is a user-friendly OBD2 scan tool designed to help drivers quickly diagnose check engine light issues and understand vehicle fault codes. It supports reading and clearing DTCs, live data, freeze frame, I/M readiness, and vehicle information, making it a practical choice for DIYers and everyday car owners. With plug-and-play operation, a color display, built-in speaker, and broad vehicle compatibility, it delivers fast, reliable diagnostics without complicated setup.

Turn your iPhone, Android device, or Windows PC into a professional-grade diagnostic scan tool with this Bluetooth OBD2 adapter. It is designed for broad vehicle compatibility and supports popular apps for deeper diagnostics, live data, and code clearing. Built-in protections and firmware updates help keep your vehicle and scanner safe while delivering reliable performance.

The ANCEL AD410 helps drivers quickly read and clear engine-related fault codes, view live data, and understand why the check engine light is on before heading to a repair shop. With built-in code definitions, readiness checks, and support for common OBD2 functions, it makes basic diagnostics straightforward for beginners and DIY users. Powered directly from the vehicle and easy to use with no app required, it offers practical value for everyday vehicle troubleshooting.
How Do You Connect an OBD2 Scanner to a Toyota Tacoma?
Park the Tacoma on a level surface, select Park or Neutral as appropriate, apply the parking brake, and switch the vehicle off before inserting the scanner. You normally need no tools.
- Move the driver’s seat back and open the driver’s door for more working space.
- Look beneath the driver-side lower dashboard and point a flashlight upward.
- Find the trapezoid-shaped connector near the steering-column, left-foot, parking-brake, hood-release, or dead-pedal area, depending on model year.
- Check that no aftermarket device or extension harness occupies the connector.
- Align the scanner plug with the connector and press it in evenly with light hand pressure.
- Switch the ignition to ON without starting the engine when the scanner requests communication, then follow the scanner’s menu instructions.
Where Should You Position Yourself?
Looking from the driver’s seat can hide the connector behind the lower dashboard edge. The clearest view usually comes from outside the truck with the driver’s door open.
- Move the seat fully or partly rearward.
- Crouch beside the door opening.
- Look upward rather than straight under the dash.
- Trace the lower edge of the dash from the steering column toward the driver-side kick panel.
If you can feel the connector but cannot see it, use your phone camera to inspect the area before inserting the scanner.
Which Landmark Should You Use?
Use the model year rather than relying on one universal pedal landmark. On many second- and third-generation Tacomas, the port is near the parking-brake or left-foot area. On fourth-generation trucks, look closer to the hood-release and dead-pedal area while scanning toward the space between the brake pedal and steering column.
The port should be mounted high enough to stay out of the driver’s normal line of sight but low enough to reach without removing dashboard trim.
What If the Port Is Loose or Missing From Its Bracket?
Do not assume the truck lacks an OBD2 connector. Previous service or an aftermarket installation may have released it from the dashboard bracket.
- Look for a loose trapezoid-shaped connector a few inches above the expected mounting point.
- Inspect for a splitter or extension cable leading to another connector.
- Do not tug on a wiring harness to pull the port downward.
- Have damaged brackets, terminals, or spliced wiring repaired before repeated scanner use.
After establishing a stable connection, read and save the diagnostic information before erasing anything.
What Can You Read With an OBD2 Scanner?
A generic OBD2 reader commonly accesses standardized engine and emissions information. Depending on the Tacoma and scanner, this may include stored and pending diagnostic trouble codes, malfunction-indicator status, freeze-frame information, emissions readiness status, and supported live powertrain data.
A basic reader does not necessarily access every module in the truck. ABS, airbag, stability-control, four-wheel-drive, body, immobilizer, and network faults may require an enhanced Toyota-compatible scanner or Toyota Techstream.
| Scanner type | Typical use | Important limitation |
|---|---|---|
| Basic generic OBD2 reader | Check-engine codes, emissions data, readiness monitors, and basic live data | May not access ABS, airbag, 4WD, body, or network modules |
| Enhanced Toyota-compatible scanner | Additional Toyota modules, data, service functions, and manufacturer-specific codes where supported | Coverage varies by tool, subscription, model year, and powertrain |
| Toyota Techstream | Factory-level Toyota diagnosis and supported service functions | Requires compatible hardware, software, and applicable access or subscription |
[Products Worth Considering]

The FOXWELL NT301 is a plug-and-play OBD2 code reader designed to help drivers and home mechanics diagnose check engine light issues with ease. It reads fault codes, clears emissions-related warnings, displays live sensor data in graph form, and shows I/M readiness so you can quickly check vehicle status before an emissions test. With broad compatibility across many OBD2 vehicles and a clear color screen, it offers a practical, user-friendly way to monitor and troubleshoot engine performance.

Veepeak OBDCheck BLE is a Bluetooth LE OBD-II scanner designed to read and clear check engine codes, view live sensor data, and access freeze frame and readiness information through a compatible third-party app. It works with most 1996+ gas vehicles and many light trucks for standard diagnostics, with broader features depending on the app and vehicle support. This compact adapter is built for iOS and Android users who want a simple wireless way to monitor vehicle health without WiFi pairing.

SUBSCRIPTION REQUIRED for Advanced Features: The Carista EVO Scanner activates basic OBD2 features upon purchase. To access advanced diagnostics, service tools, live data parameters, and vehicle customization, a paid subscription to the Carista App is required. Choose between 1-month, or 12-month plan to access Carista Advanced features.
Which Diagnostic Trouble Codes Should You Save?
Record the complete code, the module that stored it, and its status before clearing anything. A code points to a failed test or affected system; it does not automatically prove that the component named in a short scanner description is defective.
- Stored or current codes: Faults that have met the system’s criteria
- Pending codes: Faults detected but not yet confirmed under all required conditions
- Permanent codes: Emissions-related records that the vehicle clears only after it confirms the fault is repaired
- Freeze-frame data: Operating conditions captured when a qualifying fault was stored
Save screenshots or write the information down before disconnecting the battery, unplugging a control module, or selecting an erase function.
Which Live Data May Be Available?
Live sensor data may include engine speed, calculated load, coolant temperature, vehicle speed, throttle position, fuel-trim readings, oxygen or air-fuel-sensor activity, and emissions-monitor information. The available list depends on the truck, module, scanner, and selected diagnostic mode.
Use live data to compare related readings and verify a test result. Do not replace a sensor solely because one value looks unusual without checking wiring, operating conditions, related codes, and model-specific service information.
How Does the Tacoma OBD2 Port Work?
The DLC3/OBD2 port provides a standardized physical connection between the truck and external diagnostic equipment. The connector can supply scanner power and carry supported diagnostic communication between the tool and vehicle control modules.
- Generic OBD2 functions: Emissions-related codes, readiness status, freeze-frame records, and supported live powertrain data
- Enhanced Toyota functions: Additional modules, manufacturer-specific information, active tests, and service functions when the tool supports them
- Communication protocols: The connector shape is standardized, while the communication used by the truck and the tool can vary by model year and system
A scanner’s connector fitting the port does not guarantee that its software can communicate with every Tacoma module.
Why Won’t an OBD2 Scanner Connect to Your Tacoma?
Start with the scanner’s exact behavior. A tool that remains completely dark has a different problem from one that powers up and displays “No Communication.”
| Scanner symptom | Likely problem category | What to check next |
|---|---|---|
| No lights or power | Scanner fault, connector power or ground problem, damaged terminal, or blown model-specific fuse | Test the scanner in another compatible vehicle, inspect both plugs, and identify the correct OBD/DLC fuse from the exact owner’s manual or wiring information |
| Scanner powers up but reports no communication | Ignition not in ON mode, incompatible scanner or protocol, damaged communication terminal, low system voltage, or a vehicle-network fault | Switch the ignition to ON without starting, confirm tool compatibility, check battery voltage, and inspect the connector for damage |
| Engine data works but ABS, SRS, 4WD, or body data is missing | Scanner capability limitation | Use an enhanced Toyota-compatible scanner confirmed to cover the required module |
| Connection drops when the cable moves | Loose plug, damaged scanner lead, spread or pushed-back terminal, loose factory connector, or aftermarket extension problem | Stop moving the plug, inspect the fit and terminals, and repair the connector or extension before continued use |
Pro tip: Test the scanner on another known-compatible vehicle. If it powers and communicates there, focus on the Tacoma’s connector, ignition state, battery voltage, fuse information, aftermarket wiring, and vehicle network.
Do not replace a fuse with a higher-amperage fuse. If a replacement fuse blows again, stop and diagnose the short circuit instead of repeatedly installing another fuse.
When Should You Use the OBD2 Port?
Use the OBD2 port when the check-engine light turns on, the truck runs poorly, an emissions inspection requires readiness information, or a technician needs diagnostic data. It can also help during a used-truck inspection by showing code status and whether supported readiness monitors have completed.
A scan result is a starting point, not a parts-replacement instruction. Diagnose the circuit or system identified by the code and consider the truck’s symptoms, maintenance history, related codes, and live data.
Do not erase codes merely to turn off a warning light. Clearing codes can remove useful freeze-frame information and reset emissions readiness monitors to Not Ready. Permanent emissions codes cannot be manually erased; the vehicle clears them after it verifies that the underlying problem no longer exists.
For readiness-monitor guidance after a repair or battery disconnect, use the Tacoma OBD2 readiness monitor guide.
Which Scanner Is Appropriate for Your Tacoma?
Choose the scanner according to the warning or system you need to diagnose, not only whether the connector fits.
- Check-engine light or emissions readiness: A compatible generic OBD2 reader may be sufficient.
- ABS, airbag, traction-control, 4WD, body, or network warning: Confirm that the scanner explicitly supports that Toyota module and your Tacoma model year.
- Factory-level testing or service functions: Toyota Techstream or professional Toyota-capable equipment may be required.
- Bluetooth adapter: Verify both the adapter’s vehicle compatibility and the diagnostic coverage of its phone application.
Keep the owner’s manual available for ignition-mode instructions and model-specific fuse identification. Use Toyota service information or a qualified technician when the diagnosis requires circuit tests, active tests, calibration, programming, or safety-system work.
[Products Worth Considering]

Compatibility: This OBD2 adapter cable is designed specifically for Toyota vehicles with a 17 pin OBD1 connector, allowing seamless connection to OBD2 diagnostic scanners and code readers.

Instant Diagnostics with Real-Time Data: Quickly diagnose your car's health with the OBD2 scanner. Get instant access to engine performance, error codes, and vital vehicle health data to ensure your car runs efficiently. Ideal for DIY mechanics and car owners looking for easy, effective diagnostics
Frequently Asked Questions
Where is the OBD2 port on a Toyota Tacoma?
It is beneath the driver-side lower dashboard. On many 2005–2023 trucks, look above the parking-brake or driver’s left-foot area. On 2024–2026 trucks, look near the hood-release and dead-pedal area, between the brake pedal and steering column.
Where is the diagnostic port on a 2015 Toyota Tacoma?
On a 2015 Tacoma, look under the lower left side of the driver’s dashboard, commonly above the parking-brake pedal or left-foot area. Point a flashlight upward; you should not normally need to remove dashboard trim.
Does a 1995 Toyota Tacoma have OBD2?
Do not assume every 1995 Tacoma has the same standardized OBD-II support as later trucks. Toyota’s North American DLC3/J1962 diagnostic support documentation covers 1996 and newer vehicles. Check the 1995 truck’s emissions label and model-specific service information before selecting a scanner.
Why won’t my OBD2 scanner connect to my Tacoma?
If the scanner stays dark, test the tool in another vehicle and check the Tacoma’s connector, terminals, power, ground, and exact model-year fuse information. If the scanner powers up but cannot communicate, switch the ignition to ON without starting, confirm scanner compatibility, check battery voltage, and inspect for damaged or aftermarket wiring.
Does the ignition need to be on to scan a Tacoma?
Connect the scanner with the vehicle off, then switch the ignition to ON without starting the engine when the tool requests communication. Follow the scanner and owner’s-manual instructions for keyed or push-button ignition systems.
Can a basic OBD2 scanner read every Tacoma module?
No. A basic generic reader commonly handles check-engine and emissions information. ABS, airbag, stability-control, four-wheel-drive, body, immobilizer, and network modules may require an enhanced Toyota-compatible scanner or Toyota Techstream.
Does clearing Tacoma OBD2 codes reset readiness monitors?
It can. Clearing diagnostic information may erase freeze-frame data and reset emissions readiness monitors to Not Ready. Save all available code and freeze-frame information before erasing anything, and repair the underlying fault before completing the required drive cycle.
Sources
- Toyota Owners: 2026 Tacoma manuals and warranty information
- Toyota Technical Information System: Techstream Lite and DLC3 support
- SAE J1962: Diagnostic connector standard
- California Bureau of Automotive Repair: OBD test and readiness reference
Conclusion
The Toyota Tacoma OBD2 port is beneath the driver-side lower dashboard, but the most useful landmark depends on the model year. Look above the parking-brake or left-foot area on many 2005–2023 trucks, and closer to the hood-release and dead-pedal area on 2024–2026 trucks.
Use a flashlight before touching any trim, align the scanner gently, and switch the ignition to ON when communication is required. Save every code, status, and freeze-frame record before clearing anything. If the scanner does not work, separate a no-power problem from a no-communication problem and match the scanner’s capabilities to the Toyota module you need to inspect.



[…] multimeter, flashlight, gloves, eye protection, battery brush, jump pack, OBD-II scanner, and owner’s […]