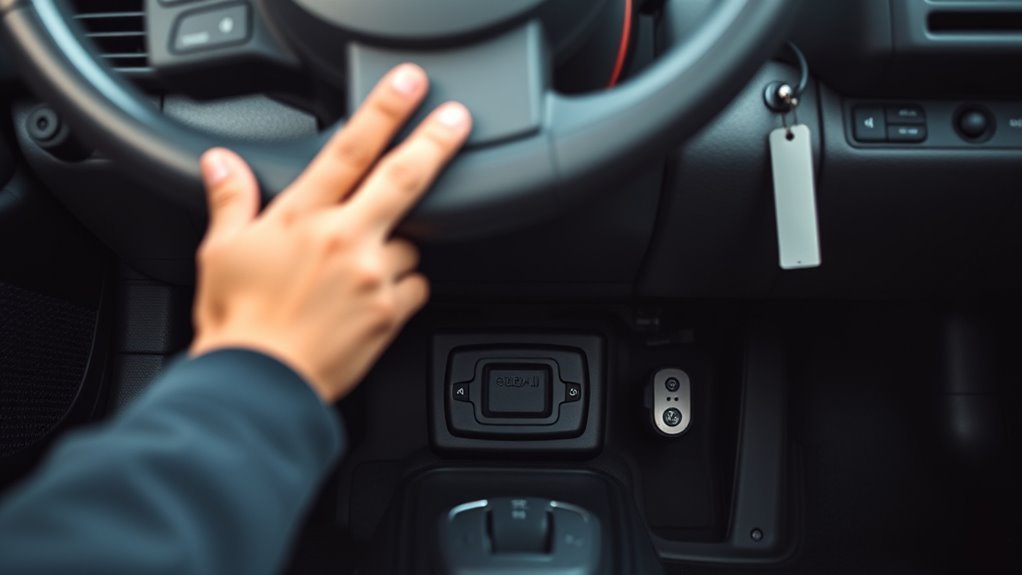
You’ll find the Supra’s OBD‑II port under the driver’s side dash near the steering column above the pedal cluster; kneel beside the seat, use a flashlight, and look for a 16‑pin trapezoid socket (black, white, or purple). Verify your year—1996+ uses OBD‑II and post‑2008 often has CAN on pins 6 and 14. Align your scanner or adapter, push firmly, and avoid bent pins. Follow on for alternate locations, safe access tips, and troubleshooting.
Find the Supra OBD‑II Port Fast
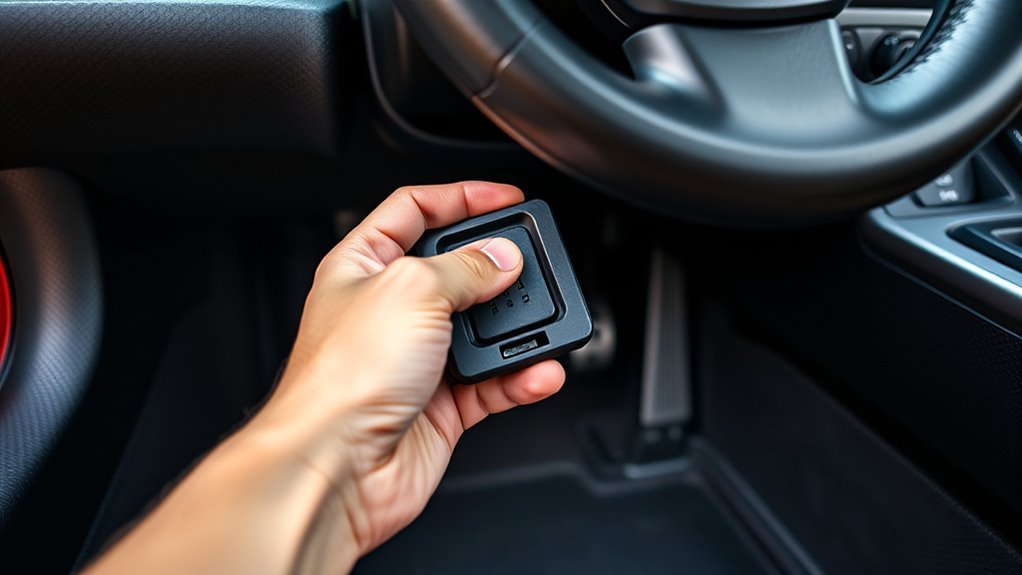
Where’s the OBD‑II port on your Supra? You’ll find it under the driver’s side dashboard near the steering column. Use OBD II basics: the connector is trapezoid-shaped with 16 holes and often black, white, or purple. Bend down, look above the pedals, and visually locate the port before reaching in. Align your cable with the trapezoid shape; a secure, flush connection guarantees reliable communication with diagnostic tools. If the cable won’t unplug, inspect for a push clip and disengage it gently. Work methodically, staying grounded in procedure: clear line of sight, correct orientation, firm but controlled force. You’ll reclaim control of diagnostics quickly, armed with practical, liberating knowledge.
Check Year and Diagnostic Protocol (OBD‑II vs Older)
Before you plug in a scanner, confirm your Supra’s model year and protocol: vehicles built from 1996 onward use OBD‑II, while older Supras may require OBD‑I or manufacturer‑specific tools. Perform year verification by checking the VIN or registration; that tells you whether standardized OBD‑II access is guaranteed. Understand diagnostic differences: OBD‑II gives universal trouble codes and works with generic scanners, whereas pre‑1996 models need legacy interfaces or Toyota‑specific gear. For post‑2008 Supras, verify CAN bus operation by noting active pins 6 and 14 on the connector — this confirms modern protocol compatibility. Use this methodical checklist so you’re empowered to choose the correct scanner and avoid wasted time or incompatible tools.
Exact Spot: Under Driver’s Dash Near Steering Column
You’ll find the trapezoid 16‑pin OBD‑II connector tucked under the driver’s side dash, just above the pedal cluster and beside the steering column; crouch and look slightly to the left of the knee bolster to spot it. Position yourself so you can see and reach without forcing the cable. The port sits low, often requiring a short bend to view clearly. Confirm OBD II functionality by ensuring the vehicle’s ignition is on and the scanner powers up when connected. Use a scanner with confirmed Scanner compatibility for Toyota Supra protocols to avoid erroneous data. When disconnecting, check for a push clip and release it gently to prevent breakage. Work deliberately, protect the harness, and reclaim control of your diagnostics.
How to Identify the Port Visually (16‑Pin Shape, CAN Pins)
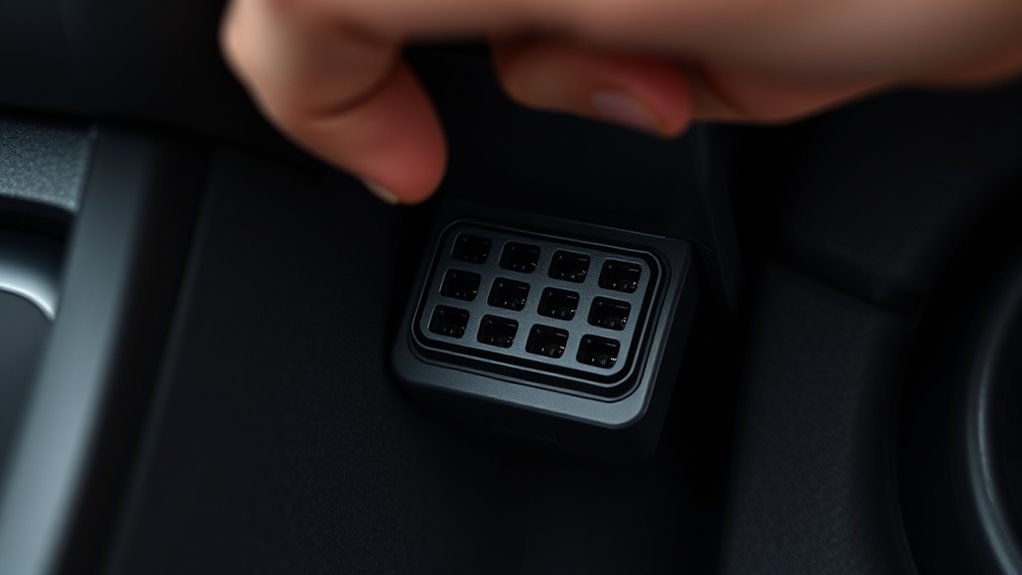
You’ll recognize the OBD‑II socket by its 16‑pin trapezoid outline—two rows of eight holes in a tapered housing. Visually confirm pins 6 and 14 are present for CAN bus vehicles (common on Supras after 2008). Bend down and align the scanner carefully so the plug seats flush and the pins engage snugly.
16‑Pin Trapezoid Outline
Look for a small, trapezoid-shaped connector with two staggered rows of eight holes (16-pin) mounted under the driver’s dash; pins 6 and 14 are the CAN high and CAN low lines, so confirming those two pins are present identifies a CAN-equipped OBD-II port. Visually, you’ll note the trapezoid shape and consistent pin alignment—two parallel rows offset slightly to form the characteristic outline. The connector body is usually black, white, or purple, making contrast against trim obvious. Bend down and inspect above the pedals or near the steering column; clear sight of the trapezoid outline speeds identification. When aligning a scanner plug, match the trapezoid geometry and row spacing precisely to avoid damage. Confirm active connection before relying on data.
Locate CAN Pins
Start by crouching on the driver’s side and scanning beneath the dash near the steering column for the trapezoid-shaped 16-pin connector; its black, white, or purple plastic housing and two staggered rows of eight holes are the quickest visual cues. Once located, inspect the pin layout: pins 6 and 14 carry CAN bus high and low signals respectively, confirming modern protocol support for contemporary diagnostic tools. Clean the cavity if dusty so your scanner mates without resistance. You’ll often reach it without removing panels, though right-hand-drive models may force a deeper bend to see alignment. Verify orientation before inserting a plug: correct alignment protects pins and preserves access freedom. Use multi-function scanners to confirm live CAN activity once connected.
Alternative Supra OBD Port Locations (Hood Release, Console, Glove Box)
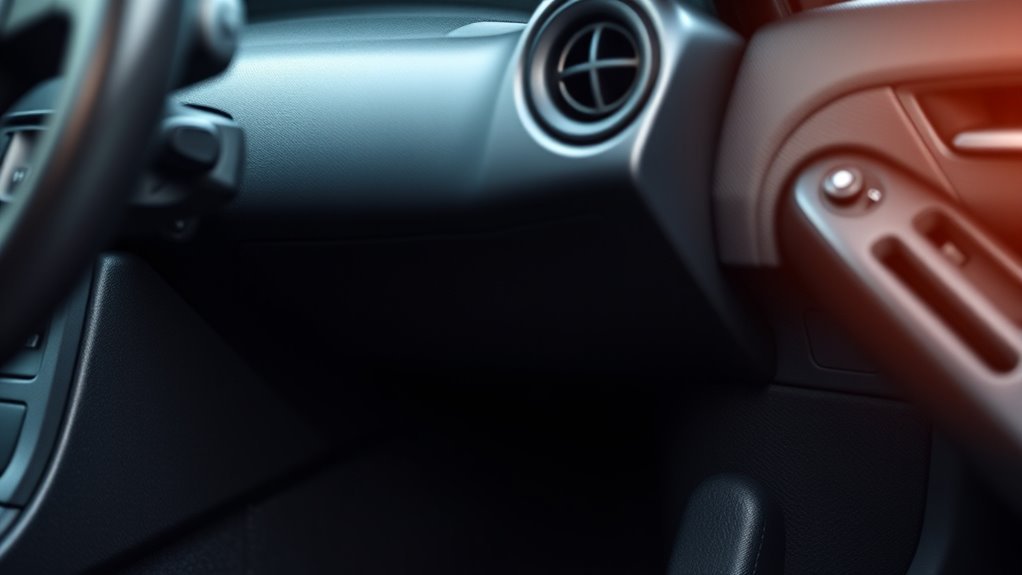
If you don’t find the trapezoid 16‑pin port under the steering column, check the hood release area just left of the driver’s footwell — some Supras route the connector there. Also inspect beneath the center console and inside the glove box, since certain model years and configurations place diagnostic or auxiliary ports in those locations. Confirm the port visually (16 holes, trapezoid shape) and bend down as needed to access it.
Hood Release Area
The hood release area can house the Supra’s secondary OBD-II connector, usually mounted along the left kick panel or the lower trim near the hood latch, so you’ll want to crouch and inspect that zone for a rectangular 16-pin receptacle. Check model-year service notes first; connector placement varies. Use a flashlight and reach carefully along the lower dash and inner sill where wiring harnesses run. You’ll spot a capped or exposed port that accepts standard diagnostic tools. If you don’t see it, feel for a flat plastic cover or tab and pull gently; avoid force. Once located, connect your scanner, secure the hood release cable, and run diagnostics. Document the location for future independent maintenance and to reclaim control of your vehicle.
Console Or Glovebox
Wondering where else the Supra might hide its OBD-II connector? Check the center console first: some models place the trapezoid 16-pin port deep in console navigation cavities or behind panels near multimedia modules. You’ll need to remove small trim pieces and bend down to inspect; the connector’s shape is distinct. If the console is inaccessible, move to glovebox organization zones. Open the glovebox, fold it down, and inspect the lower dash and adjoining panels; manufacturers sometimes relocate diagnostic access there. Also glance near the hood release and for any circular auxiliary diagnostic ports under the dashboard. Work methodically, keep panels and screws organized, and remember that locating alternative ports frees you from being constrained by a single access point.
Reach and Access the Port Safely: Tools and Posture
Comfortable positioning matters: kneel or sit beside the driver’s seat and bend at the hips to reach under the dashboard without twisting your back, using a flashlight or phone light to clearly illuminate the OBD-II socket. Follow safety precautions: vehicle off, keys removed, steady posture. Use ergonomic tips—support your forearm on the seat edge, avoid spinal rotation, and take brief breaks if needed. Keep pliers within reach to gently move obstructing panels or cables; don’t yank. Work methodically: locate the port, clear space, then prepare your tool or adapter (connection steps are next). Aim for liberation through competence—know the steps, reduce dependence on others, reclaim control of your vehicle.
| Tool | Purpose | Notes |
|---|---|---|
| Flashlight | Illuminate port | Phone light works |
| Pliers | Move obstacles | Use gently |
| Seat edge | Arm support | Reduces strain |
Connect a Scanner or BimmerCode Adapter Correctly
Align your scanner or BimmerCode adapter with the port’s trapezoidal shape and push it in firmly until you feel a positive seat; don’t force it if it resists. You’ll likely be under the driver’s dash near the steering column, so brace and bend safely. Verify scanner compatibility with your Supra’s model and year before proceeding. Once seated, confirm a firm connection by checking device LEDs or software status; a solid indicator shows a successful link. If the cable feels stuck on removal, inspect the shorter side for a push clip and disengage it gently. If you encounter connection issues, reboot the adapter and vehicle ignition, re-seat the plug, and retry. Accurate connection frees you to run diagnostics and reclaim vehicle control.
If the Port Is Missing, Nonstandard, or Hard to Remove: Next Steps
If you can’t find a standard OBD‑II receptacle, start by systematically inspecting the driver’s-side dash area and adjacent panels: some Supras hide alternative diagnostic ports behind trim, beneath the lower steering column cover, or amid wiring harnesses and brackets. Work methodically: remove small panels, use a flashlight, trace wiring looms for unusual connectors and document pin patterns. If a connector resists, look for a push clip on the cable head—depress it while pulling straight to avoid damaging tabs. For cars genuinely lacking OBD‑II, consult a specialist versed in your model; older or modified Supras may rely on legacy or bespoke ports. Tap community insights—forums and owner groups often map alternative diagnostics locations and share removal tricks that free you from guesswork.
Troubleshooting: Reading Codes, Common Errors, and Forum Help
Begin by confirming the OBD‑II connector beneath the driver’s dash, then plug a compatible scanner with care so pins align and the latch engages without forcing the cable. You’ll read diagnostic trouble codes and note freeze-frame data; follow the scanner prompts for code interpretation and record codes verbatim. If the scanner won’t communicate, inspect the connector for bent pins, secure ground, and verify vehicle ignition is in the correct position. Common errors include unreadable codes due to poor contact or push‑clip retention that resists removal—use gentle, steady pull to avoid damage. If the port fails, use flashing dash lights on older Supras to retrieve codes. Use forums to compare error resolution steps, share logs, and escalate only after ruling out hardware faults.
Frequently Asked Questions
Does Toyota Have an OBD Port?
Yes — you’ve got an OBD port. You’ll use Toyota diagnostics under OBD standards to access codes and live data; plug an appropriate scanner into the 16‑pin trapezoid connector beneath the driver’s dash for full diagnostic freedom.
Conclusion
You’ve now got a clear route to the Supra’s OBD‑II port: check the year/protocol, look beneath the driver’s dash near the steering column, verify the 16‑pin CAN layout, and use a slim scanner or adapter with proper posture and lighting. If the port’s absent or obstructed, inspect alternate spots, consult manuals, or join forums. Like a circuit finding its ground, systematic checks and the right tools will get your diagnostics flowing.