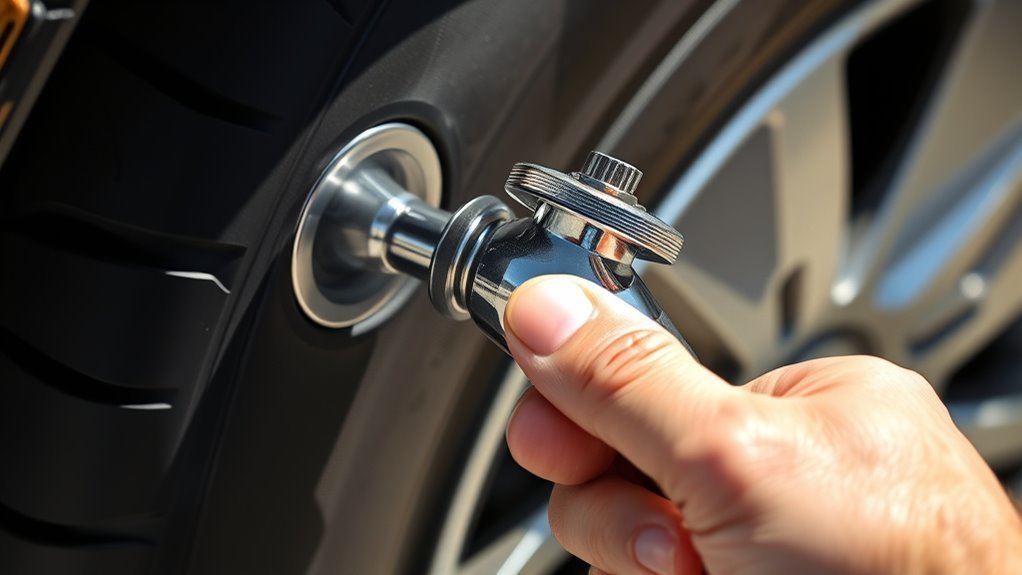
To connect a tire inflator to a valve stem without leaks, start with a clean valve, the correct chuck or adapter, and the right tire pressure target. Most hissing comes from a crooked chuck, a loose valve core, worn chuck gasket, dirty valve stem, or damage at the valve-stem base. The goal is to seat the chuck squarely, inflate to the vehicle or tire maker’s recommended pressure, and confirm the connection is airtight before you drive.
Quick Answer
Clean the valve stem, remove the cap, press the inflator chuck straight onto the valve, and lock or tighten it only enough to stop hissing. Inflate to the recommended cold PSI, then use soapy water around the chuck, valve core, and stem base. Growing bubbles mean the seal still leaks.
Key Takeaways
- Use the recommended cold tire pressure from the vehicle placard or owner’s manual, not the maximum pressure molded on the tire sidewall.
- A brief puff of air while attaching the chuck is normal; steady hissing means the chuck is crooked, loose, worn, or incompatible.
- Soapy water is the easiest way to find leaks at the chuck, valve core, valve-stem base, bead, or tread.
- Do not rely on thread tape or sealant as a universal tire-valve fix; replace damaged gaskets, valve cores, valve stems, or TPMS service parts as needed.
At a Glance
| Time Required | 5–10 minutes per tire |
| Difficulty | Easy, if the valve stem and chuck are in good condition |
| Tools Needed | Tire inflator, tire pressure gauge, clean rag, soapy water, valve cap, and optional valve core tool |
| Cost | Usually $0; about $2–$15 for replacement caps, valve cores, or a chuck gasket |
Preparing Your Tire Valve for a Secure Connection
Before you attach the inflator, find the correct pressure. For most vehicles, the recommended PSI is on the tire information placard, usually on the driver-side door jamb, or in the owner’s manual. The National Highway Traffic Safety Administration advises checking tire pressure at least once a month and measuring it when the tire is cold, which means the vehicle has been parked for at least three hours.
Remove the valve cap and set it where it will not roll away. Wipe the valve stem with a clean, dry rag so dirt cannot get trapped between the chuck gasket and the valve. Look for cracks, corrosion, a bent stem, a missing cap, or a valve that feels loose at the rim. If the stem is cracked or bubbles at its base, stop inflating and have the tire serviced.
Warning: Do not inflate a tire with sidewall bulges, exposed cords, severe cracking, rim damage, or a valve stem that is split or pulling away from the wheel. Inflate only to the recommended cold pressure unless your vehicle or tire manufacturer gives a different procedure.
If you are working with a car, SUV, light truck, trailer, motorcycle, or ATV, you will usually be connecting to a Schrader-style valve. Many bicycles use either Schrader or Presta valves. A Presta valve has a small knurled nut at the tip that must be loosened before inflation, and it may need a Presta-compatible pump head or adapter.
How to Select the Best Tire Inflator for Your Needs
Choose a tire inflator that matches your tire type, pressure range, and valve stem. A good inflator does not need to be expensive, but the chuck must seal cleanly and the gauge must be easy to read.
- For most vehicle tires: use a Schrader-compatible clip-on, lock-on, screw-on, or push-on chuck.
- For bicycles: use a dual-head pump, a reversible head, or the correct Presta-to-Schrader adapter if your inflator does not fit Presta valves.
- For truck, trailer, RV, or LT tires: confirm that the inflator, hose, chuck, and valve stem are rated for the pressure you need.
- For hard-to-reach valve stems: use a straight, angled, or extended chuck rather than forcing the hose sideways.
Standard rubber snap-in valve stems are common on passenger vehicles, but valve ratings vary by manufacturer and application. The U.S. Tire Manufacturers Association warns that the valve must match the tire and wheel assembly’s maximum inflation capability. Common snap-in tubeless valves listed by Schrader-Pacific are rated at 65 PSI, while high-pressure versions are made for higher-pressure applications.
Note: The tire sidewall may show a maximum pressure, but that is not the normal inflation target for most vehicles. Use the vehicle placard or owner’s manual for routine inflation unless a tire, wheel, or vehicle manufacturer gives different instructions.
[Products Worth Considering]

This smart color coded tire tread depth gauge makes it easy to check tread wear at a glance with clear red, yellow, and green ranges. Calibrated from 0 to 1 inch in 1/32 inch increments, it helps you quickly assess tire condition for safer driving and timely replacements. The pocket clip design makes it convenient to carry and use on trucks, motorcycles, cars, and other passenger vehicles.

Upgrade your vehicle interior with Skechers Work seat covers designed for comfort, protection, and a clean custom look. Reinforced webbing helps the covers maintain shape and durability, while the cushioned design adds comfort for daily drives and long trips. The form-fitting front seat design works with many cars, trucks, vans, and SUVs, and advanced stitching supports airbag compatibility for added peace of mind.

This heavy-duty tire repair kit provides a convenient way to fix tubeless punctures on the road or in the garage. It includes durable T-handle tools, two plug sizes, and a compact storage bag for easy carrying and quick access. Designed for a wide range of vehicles, it helps make emergency tire repairs simpler and more reliable.
Connecting Your Inflator to the Valve Stem: A Step-by-Step Approach
Once the valve is clean and you know the correct PSI, connect the inflator with the hose as straight as possible. Pulling the hose sideways can break the seal even if the chuck is otherwise good.
[Products Worth Considering]
Custom-fit floor mats and accessories designed for 2018-2024 Toyota Camry gas FWD models provide full-coverage protection for the cabin, trunk, and door sills. Built with all-weather materials and raised edges, they help block dirt, spills, and debris while staying securely in place for everyday driving. The set is easy to install, simple to clean, and made to keep your vehicle looking neat and protected.

This tire valve stem removal tool kit provides an easy way to remove, install, and service valve cores on a variety of vehicles. It includes multiple tool styles plus valve caps and cores, making it useful for routine tire maintenance and unexpected roadside repairs. The compact design supports convenient storage and transport, while the included 4-way tool adds extra functions for valve-related tasks.

Superior Craftsmanship from Taiwan: Our tire air chuck is designed in the USA and precision-crafted in Taiwan, adhering to the highest quality standards.
Preparing the Valve Stem
- Check the pressure target first. Read the vehicle placard, owner’s manual, or tire manufacturer guidance before adding air.
- Inspect the valve cap. Replace a missing, cracked, or loose cap. Valve caps keep dirt and moisture out of the valve core, and sealing caps can add a second layer of protection.
- Clean the valve stem. Wipe away mud, brake dust, corrosion flakes, or tire sealant residue.
- Check the valve core. If the core looks crooked or you hear a constant hiss from the center of the valve, it may be loose or damaged.
- Prepare Presta valves when needed. Unscrew the small top nut, tap it briefly to release a tiny puff of air, then attach the correct pump head or adapter.
If you use a valve extension or adapter, follow the adapter manufacturer’s instructions. Do not use Teflon tape, glue, or liquid sealant as a universal fix for tire valve leaks. Many adapters seal with a rubber gasket or internal seat, and added material can prevent a clean seal.
Attaching the Inflator Securely
Place the chuck squarely over the valve stem and push straight in. A brief puff of air is normal while the chuck seats. Steady hissing means air is escaping around the connection.
- Push-on chuck: press firmly and hold it straight during inflation.
- Clip-on or lock-on chuck: push the chuck fully onto the stem, then flip or press the lock only after the gasket is seated.
- Screw-on chuck: thread it on by hand until it stops leaking, but do not overtighten it.
- Dual-head pump: use the side marked for Schrader or Presta, depending on the valve.
Watch the gauge as you inflate. Stop a little below the target, remove the chuck, then recheck with a separate tire pressure gauge if your inflator gauge is hard to read or inconsistent. Michelin’s tire-pressure guidance notes that air escaping at the valve creates a hissing sound, so a steady hiss during measurement or inflation should be corrected before you continue.
Pro Tip: If the chuck leaks only when you let go, support the hose with one hand so its weight does not pull the chuck sideways. A short whip hose or angled chuck can make hard-to-reach stems much easier to seal.
Checking for Air Leaks
After inflation, listen for hissing and watch the gauge for a pressure drop. Then mix a few drops of dish soap with water and apply it around the valve core, valve-stem base, and chuck connection. Small foam that does not grow is usually leftover soap; bubbles that keep expanding show an active leak.
If bubbles form at the center of the valve, the valve core may be loose or damaged. If bubbles form around the rubber or metal base of the stem, the valve stem or TPMS service parts may need replacement. If bubbles appear at the chuck but not the tire valve after you remove the inflator, the inflator chuck gasket is probably worn, dirty, or not fully seated.
How to Spot and Fix Air Leaks While Inflating
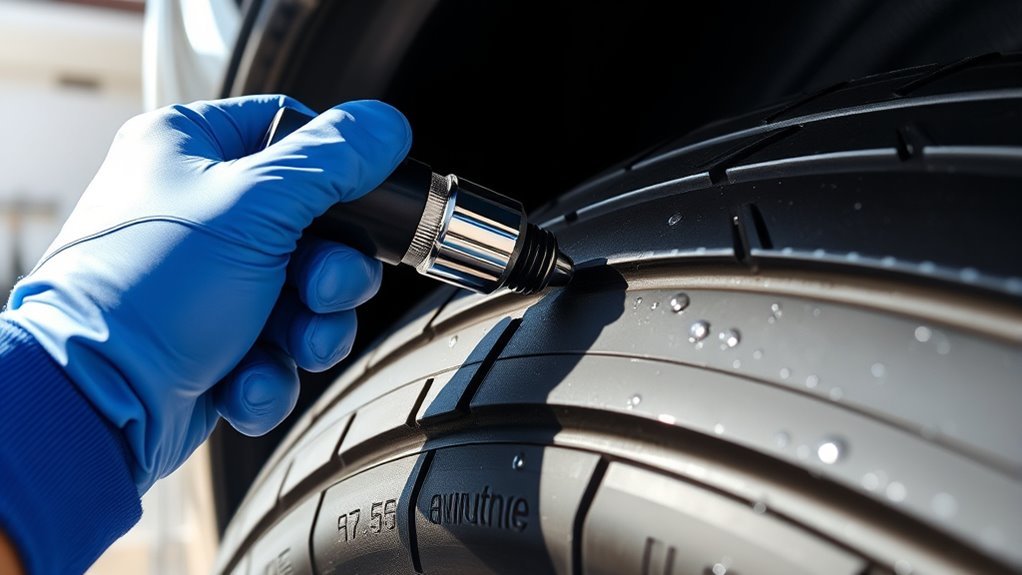
Air can leak from the tire, the valve, or the inflator. Do not assume the tire is bad until you test each connection point. Start with the easiest fixes first: reseat the chuck, clean the valve, and check the valve core.
[Products Worth Considering]

What You Get - 4 x valve core remover, 1 x 4-way valve tool,10 x valve stem caps ,20 x valve cores.


Connects 3/4" garden hose to tire valves to fill tires with liquid.
Common Leak Locations
- Chuck-to-valve connection: steady hissing while the inflator is attached usually means the chuck is crooked, loose, or worn.
- Hose-to-chuck fitting: bubbles here mean the inflator hose or fitting needs tightening, a new washer, or replacement.
- Valve core: bubbles from the center pin area suggest a loose, dirty, or damaged valve core.
- Valve-stem base: bubbles where the stem meets the wheel usually mean the stem, grommet, or TPMS service kit needs replacement.
- Tire bead: bubbles around the rim edge may point to corrosion, bead damage, or improper seating.
- Tread or sidewall: bubbles from rubber usually mean a puncture or tire damage that needs repair or replacement.
Soap Bubble Test
To run the soap bubble test, inflate the tire to a safe pressure, then spray or dab soapy water on one area at a time. Check the valve core, valve-stem base, rim bead, tread, and the inflator connections. Mark any bubbling area with chalk or a piece of tape so you can explain the leak location to a tire technician if it needs service.
A leak that keeps making bubbles is not “just leftover air.” It is pressure escaping from the tire, valve, bead, or inflator connection.
Valve Core Inspection
The valve core is the small spring-loaded part inside a Schrader valve. If air escapes from the center of the stem after the inflator is removed, use a valve core tool to gently snug the core. Do not crank it down; overtightening can damage the seal or the stem.
If tightening does not stop the bubbles, replace the valve core with the correct type. On vehicles with TPMS, use parts compatible with the TPMS valve. The valve stem assembly may include a cap, core, stem, TPMS sensor, screw, nut, or grommet depending on the vehicle, so damaged TPMS stems should be handled carefully.
Maintaining Your Valve and Inflator After Diagnosing Issues
Good maintenance prevents repeat leaks. Keep the chuck clean, replace missing caps, and store the inflator where heat, moisture, and UV exposure will not harden the hose or gasket. If your chuck starts leaking on multiple tires, the problem is probably the inflator, not every valve stem.
| Action | When to Do It |
|---|---|
| Clean the valve stem and chuck | Before attaching the inflator, especially after mud, salt, or brake dust exposure |
| Check tire pressure | At least monthly and before long trips, when tires are cold |
| Replace valve caps | Whenever they are missing, cracked, loose, or full of dirt |
| Replace chuck gasket or chuck | When the inflator leaks on multiple known-good valve stems |
| Inspect valve stems and TPMS service parts | During tire replacement, tire repair, rotation, or any time bubbles appear at the stem base |
USTMA recommends removing and replacing used snap-in valves when replacing tires and inspecting the valve stem whenever a tire is demounted for repair. It also recommends replacing TPMS valve replacement-kit components when new tires are installed or whenever the sensor is disassembled.
What to Do If Your Tire Still Loses Air After Inflation
If the tire still loses air after you have made a leak-free connection, the leak is probably not the way you attached the inflator. Recheck the tire when it is cold, write down the PSI, then check again after several hours or the next morning. A steady pressure drop needs diagnosis.
- Test the valve core. Apply soapy water to the center of the valve. Replace the valve core if bubbles grow.
- Test the stem base. Bubbles at the rim usually mean the valve stem, grommet, or TPMS service parts need replacement.
- Test the bead. Bubbles around the rim edge can come from corrosion, a damaged bead, or poor seating.
- Test the tread. Look for nails, screws, glass, or cuts, then bubble-test the area.
- Check the wheel and sidewall. Do not drive on a tire with a sidewall bulge, exposed cord, cracked wheel, or fast leak.
If the leak is in the tread, a tire shop can tell whether it is repairable. Leaks at the sidewall, shoulder, bead, valve-stem base, or TPMS stem usually need professional service. Driving on a tire that repeatedly loses air can overheat and damage the tire, even if it looks normal from the outside.
Frequently Asked Questions
How do I stop an air leak around a tire valve stem?
First, find the exact leak location with soapy water. If bubbles come from the valve core, gently tighten or replace the core. If bubbles come from the stem base where it meets the rim, the valve stem, grommet, or TPMS service parts likely need replacement by a tire technician.
How do I stop air from coming out of the valve while inflating?
A quick puff while attaching the chuck is normal. Continuous hissing means the chuck is not sealed. Push the chuck straight onto the valve, avoid pulling the hose sideways, lock the lever only after the chuck is fully seated, and try a different chuck if the gasket is worn.
Why is my tire pressure gauge not sealing?
The gauge may be angled, the internal gasket may be worn, or the valve stem may be dirty, short, recessed, or damaged. Press the gauge straight onto the valve with one firm motion. If it leaks on every tire, replace the gauge or its chuck seal.
Can I use Teflon tape to stop a tire valve leak?
Do not use Teflon tape as a general tire-valve repair. Tire valve connections usually seal through a valve core, rubber gasket, O-ring, or stem grommet. If those parts leak, clean, tighten, or replace the correct part instead of adding tape that may interfere with the seal.
Is fixing a tire valve stem the same as fixing a leaking water valve stem?
No. A water valve stem is a plumbing part, while a tire valve stem is part of a pressurized tire and wheel assembly. For tires, use tire-rated valve cores, caps, stems, and TPMS service parts. If the valve leaks at the rim, have the tire demounted and serviced properly.
When should I replace the valve stem instead of just the valve core?
Replace or service the valve stem if it is cracked, brittle, bent, corroded, leaking at the base, or damaged during tire service. A leaking valve core can often be replaced from outside the tire, but a leaking stem base usually requires tire-shop service.
Conclusion
Connecting a tire inflator to a valve stem without leaks comes down to three things: use the right chuck, seat it straight, and confirm the valve is healthy. Clean the stem, inflate to the recommended cold PSI, listen for steady hissing, and use the soap bubble test when something does not seal. If bubbles appear at the valve core, the fix may be simple. If they appear at the stem base, bead, sidewall, or tread, have the tire inspected before driving. A few careful minutes at the valve can prevent a slow leak from becoming a roadside problem.
Sources
- National Highway Traffic Safety Administration — Tire safety and pressure-check guidance
- Michelin USA — How to check tire pressure
- U.S. Tire Manufacturers Association — Tubeless tire valve service bulletin
- Schrader-Pacific — Snap-in tubeless tire valve specifications
- Les Schwab — Tire valve stem maintenance and safety