Cleaning Tacoma bed rails and tie-downs is a small job that protects two important things: the truck bed’s appearance and the cargo anchors you rely on when hauling gear. The safest approach is to remove loose debris first, wash with car-wash soap and soft tools, dry everything fully, treat rust before it spreads, and use only non-greasy protectants on plastic or rubber trim.
Quick Answer
Wash Tacoma bed rails and tie-downs with water, car-wash soap, a soft brush, and microfiber towels. Dry the rails completely, clean moving cleats carefully, lubricate pivot points lightly with a silicone-based product if needed, and repair rust by sanding to clean metal before priming and repainting.
Key Takeaways
- Use car-wash soap, soft brushes, and microfiber towels instead of harsh pads that can scratch plastic caps or painted metal.
- Remove grit from rail channels before scrubbing so trapped sand does not grind into the finish.
- Avoid greasy dressings on rails and tie-downs because slick residue can attract dirt and reduce grip.
- Treat rust early by removing loose corrosion, cleaning the surface, applying a rust-inhibiting primer or treatment, and repainting.
- After reinstalling Toyota deck-rail cleats, confirm they are locked in a detent and tightened according to the owner’s manual.
At a Glance
| Time Required | 30–60 minutes for cleaning; longer if rust repair or sealant curing is needed |
| Difficulty | Easy for cleaning; moderate for sanding, priming, and repainting |
| Tools Needed | Soft brush, detailing brush, microfiber towels, bucket, car-wash soap, vacuum or compressed air, sponge, trim cleaner, silicone lubricant, sandpaper for rust |
| Cost | About $15–$60 for basic supplies; more if replacing cleats, caps, or rail parts |
How to Clean Tacoma Bed Rails & Tie-Downs Fast
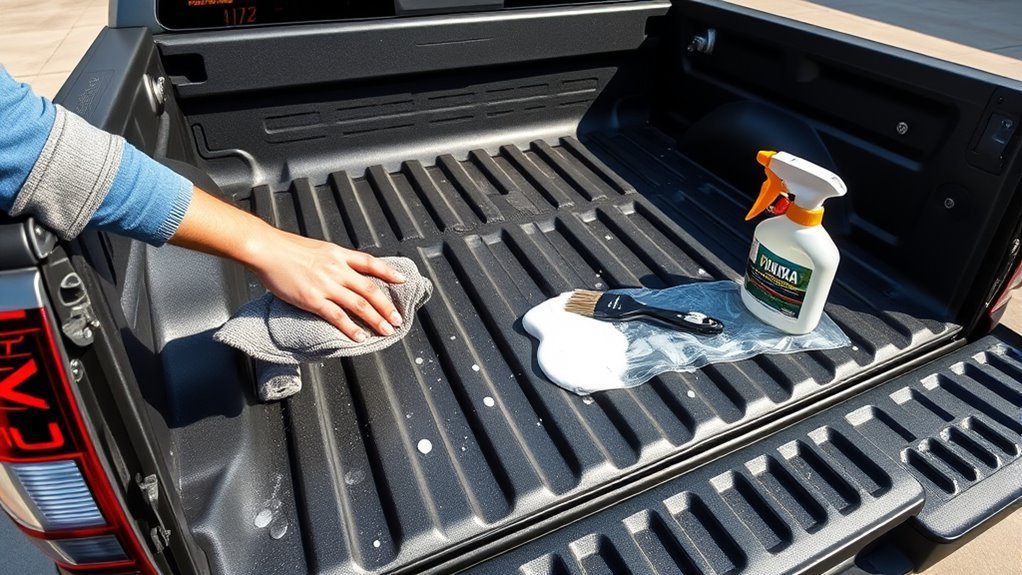
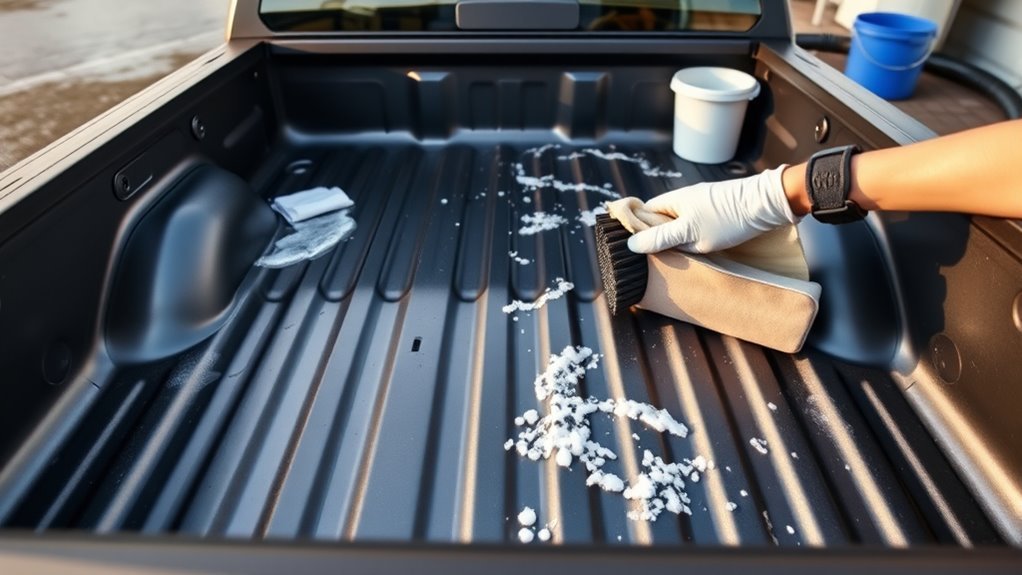
Start by rinsing the bed rails and tie-downs to float away loose grit. Then wash the rails with car-wash soap and a soft cloth or sponge, working into corners with a detailing brush. Rinse well, dry with microfiber towels, and inspect the rail channels, cleats, bolts, and plastic caps before applying any protectant.
For faded black plastic or rubber trim, use a non-greasy trim restorer and apply it in a thin, even coat. Spot-test the product in a hidden area first. Do not use heavy, oily dressings on rail caps or cleats because they can leave a slick film where you need clean contact and secure handling.
Warning: Tie-down cleats are cargo-safety parts, not just trim. Toyota warns that improperly installed or loose deck-rail cleats can let cargo become unsecured while driving. On current Tacoma models, Toyota also warns that loads over 220 lb. or loads pulled at more than 45 degrees from horizontal may damage the bed, rail system, cleat, or cargo. Always check your model-year owner’s manual before hauling heavy loads.
Tools & Products for Cleaning Tacoma Bed Rails
A compact kit is enough for most Tacoma bed-rail maintenance. Choose soft tools first, then add stronger products only when grime, grease, rust, or oxidation requires them.
[Products Worth Considering]

Package Weight: 4.55 pounds

T slot nuts and hex head bolts are made of excellent strength and rust resistance metal.
Cleaning Tools Checklist
- Bucket of clean water
- Automotive car-wash soap
- Soft sponge or wash mitt
- Soft-bristle brush for rail channels
- Small detailing brush for cleat slots, bolt heads, and corners
- Microfiber towels for drying and buffing
- Vacuum or compressed air for loose debris
- Automotive-safe degreaser for greasy spots
- Silicone-based lubricant for cleat pivot points, used sparingly
- Sandpaper, rust treatment or rust-inhibiting primer, and touch-up paint for corrosion repair
Best Trim Products
Use non-greasy plastic and rubber trim products on faded caps or rail trim. Mothers Back-to-Black, Wizards Vinyl Shine, and similar trim restorers can help refresh faded plastic, but the exact finish varies by surface age and product formula. Apply a small amount, buff away excess, and make sure the surface is dry to the touch before loading cargo.
For metal surfaces, skip cosmetic dressings and focus on cleaning, drying, corrosion control, and paint protection. If bare metal is visible, treat it as a repair area, not a detailing area.
Pro Tip: Keep two microfiber towels nearby: one for drying after the wash and one clean towel for buffing trim product. A damp or dirty towel can cause streaks and drag grit back across the rail caps.
Prep: Remove Debris, Bed Caps, and Expose Tie-Downs
Good prep prevents scratches and helps you find hidden rust before it becomes a larger repair. Do not start scrubbing while sand, gravel, leaves, or dried mud are still packed into the rail channels.
Remove Bed Caps When Needed
You do not need to remove bed caps for every routine cleaning. Remove them only when dirt, moisture, rust, loose clips, or leaks are hiding underneath. If you do remove plastic caps, lift carefully from one end and work along the clips instead of yanking upward. Tacoma bed-cap materials and fasteners vary by year and trim, so check for screws, clips, or accessory hardware before pulling.
Place clips and fasteners in a small container so they do not disappear into the bed. If a clip breaks or a cap no longer sits tight, replace the damaged part instead of forcing it back into place.
Clear Loose Debris
With the rails accessible, remove leaves, dirt, dust, and grit from the rail channels and mounting areas. Use a soft brush, a vacuum, or controlled compressed air. Avoid blasting debris into your eyes, tailgate gaps, or drain areas.
- Sweep or vacuum rail channels, corners, and cleat tracks.
- Brush around bolt heads, cleat slots, cap edges, and tie-down hardware.
- Rinse lightly to float away remaining dust.
- Inspect for rust, loose fasteners, cracked plastic, bent cleats, missing clips, and damaged seals.
Step-by-Step Cleaning: Wash, Degrease, and Scrub Safely
Use the mildest method that works. Toyota’s exterior-care guidance recommends washing with water, a sponge or soft cloth, car-wash soap for hard-to-remove marks, thorough rinsing, and wiping away water. That same gentle approach is the safest starting point for bed rails and trim.
- Rinse first. Spray water across the rails, tie-downs, corners, and cap edges to loosen surface dirt.
- Wash with car-wash soap. Dip a soft sponge or wash mitt into soapy water and clean one rail section at a time.
- Detail the crevices. Use a soft detailing brush around cleats, bolt holes, cap seams, and rail slots.
- Use degreaser only where needed. If you find oily grime, apply an automotive-safe degreaser to that spot, let it dwell only as directed on the label, agitate gently, and rinse fully.
- Rinse thoroughly. Leftover cleaner can dry into a film and attract dust.
- Dry completely. Wipe rails, caps, tie-downs, bolt areas, and cleat channels with clean microfiber towels.
- Inspect before protecting. Look for rust, loose cleats, cracked plastic, and slippery residue before adding trim restorer or lubricant.
Note: Do not use steel wool, aggressive scouring pads, or household abrasive cleaners on Tacoma rail caps. They can scratch plastic, dull painted metal, and make future staining worse.
Fixing Rusted Rails: Sand, Prime, and Stop Corrosion
If cleaning exposes rust, fix it before applying trim products or bed-liner coatings. Rust repair depends on severity: light surface rust can often be cleaned, sanded, treated, primed, and painted; deep pitting, perforation, cracked welds, or compromised cargo anchors may require replacement parts.
- Clean the area. Wash and dry the rail so dirt and oils do not get trapped under primer.
- Remove loose rust. Sand the area until loose corrosion is gone and solid metal is exposed. Feather the paint edge around the repair.
- Wipe away dust. Use a clean cloth and a paint-safe surface cleaner recommended by the coating manufacturer.
- Apply rust treatment or primer. Use a rust-inhibiting primer, rust converter, or automotive primer system that matches the product directions.
- Paint the repair. Apply compatible topcoat or touch-up paint after the primer has cured as directed.
- Consider bed liner only after rust is treated. A bed liner can protect a properly prepared surface, but it should not be used to hide active rust.
Rust repair works best when the surface is clean, dry, and properly prepared. Coating over loose corrosion traps the problem instead of stopping it.
[Products Worth Considering]

Over time the original factory truck bed tie-down anchors come with the vehicle will worn out and fail. This APPERFiT cargo deck rail tiedown cleat replacement kit is thoughtfully desinged to guarantee an exact match with the genuine oem dimensions and specifications. These bed striker luggage holders are made from high-quality material, designed to withstand daily and maintain its appearance and functionality in the demanding conditions often encountered by pickups trucks.
Service Moving Parts: Clean, Lubricate, and Protect Tie-Downs
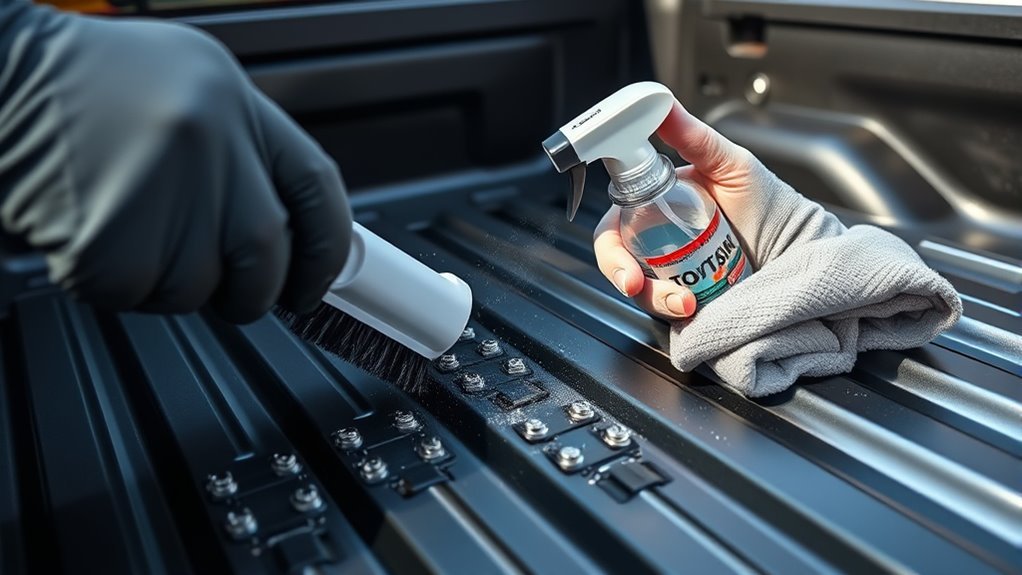
Deck-rail cleats and tie-down hardware need to move freely and lock securely. After washing, dry the parts fully and check that each cleat slides, seats, and tightens correctly. Toyota’s deck-rail instructions describe inserting the cleat locking plate into the rail, rotating the cleat, releasing the thumb wheel, sliding the cleat into a detent, and tightening until it is secure.
If the cleat has pivot points, slides, or pins that feel stiff after cleaning, apply a small amount of silicone-based lubricant where movement occurs. Do not soak the entire cleat. Wipe away excess so the part does not attract grit or leave a slick film on the rail.
During service, inspect for:
- Cracked or bent tie-down hardware
- Loose or missing fasteners
- Cleats that do not lock into the rail detent
- Rust around bolt holes or seams
- Plastic caps that lift, rattle, or trap water
- Sharp burrs that could cut straps
Warning: Replace damaged cleats or rail hardware instead of trying to “make them work.” Cargo anchors are load-bearing parts, and a weak tie-down point can fail when you brake, turn, or hit a bump.
Restore Plastic & Rubber Trim Without Greasy Dressings
Faded plastic rail caps and rubber trim can make the bed look older than it is, but heavy dressings are not the answer. A greasy product may look dark at first, then collect dust, streak after rain, and feel slick when you handle the rails.
- Clean first. Wash the trim with car-wash soap and rinse thoroughly.
- Dry fully. Trim restorers work more evenly on dry plastic and rubber.
- Spot-test. Apply the product in a hidden area and check for streaking or slickness.
- Apply thinly. Use a foam applicator or microfiber cloth and work in even strokes.
- Buff excess. The final surface should look refreshed, not wet or oily.
- Repeat only as needed. Over-application causes buildup.
Seal Holes, Bolt Locations, and Bed Caps to Stop Leaks
If water is getting under the caps or into unused holes, clean and dry the area before sealing. Sealant will not bond well to dirt, wax, oily dressings, or active rust. Remove caps only as needed, expose the hole or seam, and inspect the surrounding surface before choosing a product.
For small gaps or bolt-hole areas, an automotive-grade polyurethane sealant can create a flexible seal when applied to compatible, clean substrates. Sikaflex-221 is one example of a one-component polyurethane adhesive/sealant designed to bond to materials such as metals, metal primers, paint coatings, ceramics, and many plastics. Always follow the sealant manufacturer’s surface-preparation and cure-time directions.
For backing small non-structural holes, aluminum foil tape can provide a stable surface before sealant is applied over the edge. Do not use tape or sealant as a substitute for missing hardware, damaged rail parts, or structural repair.
- Remove loose debris and old residue.
- Wash, rinse, and dry the sealing area.
- Remove rust before sealing.
- Mask surrounding trim for a clean bead.
- Apply sealant around the hole, clip point, or seam.
- Let the sealant skin or cure as directed before reinstalling caps or exposing the area to heavy water.
- Recheck after the next wash or rainstorm.
When to Repaint, Apply a Bed Liner, or Replace Parts
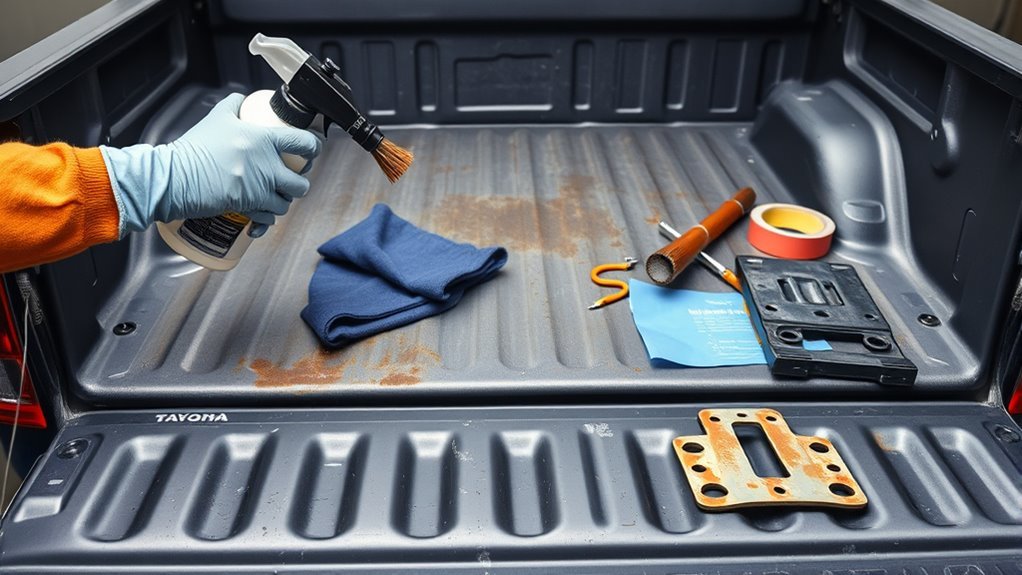
Cleaning is enough when the rails are dirty but solid. Repaint, coat, or replace parts when cleaning reveals damage that affects appearance, corrosion resistance, or cargo security.
| Condition | Best Fix |
|---|---|
| Dirt, dust, and light staining | Wash, dry, and protect with a non-greasy trim product where appropriate |
| Faded plastic rail caps | Clean, spot-test trim restorer, apply thinly, and buff dry |
| Small paint chips on metal | Clean, sand lightly, prime if bare metal is exposed, and touch up paint |
| Surface rust | Sand away loose corrosion, treat or prime, repaint, then monitor |
| Widespread scratches or worn bed surface | Repair rust first, then consider a spray-in or brush-on bed liner |
| Bent cleats, cracked mounts, or structural rust | Replace the damaged part before hauling cargo |
Troubleshooting: Slippery Dressings, Streaks, and Stubborn Stains
Most bed-rail cleaning problems come from too much product, the wrong product, or poor prep. If the finish looks uneven after cleaning, do not keep layering more dressing on top. Reset the surface first.
Slippery Product Residue
If rails or caps feel slick, wash them again with car-wash soap and a soft brush. For stubborn oily residue, use a plastic-safe cleaner according to the label, rinse thoroughly, and dry. Reapply trim restorer only after the surface is clean and dry, and use a much thinner coat.
Uneven Application Streaks
Streaks usually mean the trim was damp, dirty, or overloaded with product. Clean the area, dry it fully, and apply the restorer in overlapping passes with light pressure. Buff the final surface with a clean microfiber towel until it looks even.
Persistent Stain Removal
For persistent grime on plastic or rubber trim, try a mild baking-soda paste after spot-testing. Apply it briefly, scrub gently with a soft cloth, rinse well, and dry. If dulling remains, use a dedicated plastic or vinyl cleaner before applying a non-greasy protectant.
Tie-Down Cleat Will Not Slide or Lock
Remove the cleat if your Tacoma’s rail system allows it, then clean the rail channel and cleat locking plate. Look for packed dirt, bent hardware, or damaged detents. After cleaning, reinstall the cleat and confirm it locks securely. If it still will not seat or tighten correctly, replace it.
Water Keeps Returning Under Bed Caps
Remove only the affected cap or section, dry the area, and check for missing clips, loose caps, unsealed accessory holes, or cracked plastic. Seal only clean, sound surfaces. If the cap is warped or broken, replacement is usually better than adding more sealant.
Maintenance Schedule for Tacoma Bed Rails
Clean the bed rails whenever the truck bed is washed, after hauling dusty or muddy cargo, and after winter road-salt exposure. A simple schedule keeps the job short:
- After dirty hauls: Rinse out grit, leaves, mulch, sand, or soil before it dries into corners.
- Monthly: Wash rails, caps, and tie-downs; dry fully; inspect cleats and fasteners.
- Seasonally: Check for rust, chipped paint, loose caps, and water trapped under trim.
- Before heavy hauling: Confirm cleats lock into the rail detents and cargo straps are not rubbing against sharp or damaged edges.
- After winter: Clean salt residue from the bed, rail channels, and underside edges as soon as practical.
Frequently Asked Questions
What should I use to clean Tacoma bed rails?
Use water, automotive car-wash soap, a soft sponge or wash mitt, a soft-bristle brush, and microfiber towels. For rail channels and tie-down hardware, use a detailing brush to remove grit from tight spaces without scratching the finish.
Can I use Armor All on Tacoma bed rail caps?
It is better to use a non-greasy trim restorer and buff off the excess. Heavy, oily dressings can leave the caps slick, collect dust, streak after rain, and make the rails unpleasant to handle.
How do I clean dirty Tacoma tie-down cleats?
Rinse away loose grit, scrub the cleat with car-wash soap and a small soft brush, rinse thoroughly, and dry it fully. If the moving points are stiff, apply a small amount of silicone-based lubricant to the pivot or slide area, then wipe away excess.
How do I make a Tacoma bed liner look new again?
Wash the liner thoroughly, scrub textured areas with a soft brush, rinse away cleaner, and dry it. Treat rust or bare metal before applying any coating. For faded liner surfaces, use a bed-liner-safe protectant only if the product label says it is compatible with your liner type.
Should I remove the plastic bed caps every time I clean the rails?
No. For normal maintenance, clean around the caps and rail channels. Remove bed caps only when you need to inspect trapped dirt, rust, water leaks, broken clips, accessory holes, or loose hardware underneath.
What should I do if my Tacoma bed rail has rust?
Clean and dry the area, sand away loose rust, wipe off dust, apply a rust treatment or rust-inhibiting primer, and repaint with a compatible topcoat. If rust has weakened a rail, cleat, mounting point, or welded area, replace the damaged part or have it inspected professionally.
Conclusion
Clean Tacoma bed rails by working in the right order: remove loose debris, wash with car-wash soap and soft tools, dry thoroughly, inspect the cleats and rail channels, then protect only the surfaces that need it. Treat rust before it spreads, avoid greasy dressings, and replace damaged cargo hardware instead of trusting weak tie-down points. With regular cleaning and inspection, your Tacoma’s bed rails stay cleaner, safer, and ready for work.
Sources
- Toyota Owners — 2025 Tacoma luggage compartment features — deck-rail cleat installation, cargo warnings, and load-angle/load-limit precautions
- Toyota Owners — 2025 Tacoma cleaning and protecting the vehicle exterior — washing with water, soft cloths, car-wash soap, rinsing, and drying
- Toyota Owner’s Manual excerpt — corrosion prevention and appearance care — regular washing guidance for corrosion prevention
- Sika — Sikaflex-221 product data sheet — sealant type, compatible substrates, and permanent elastic sealing use
- 3M Collision Repair — corrosion protection resources — importance of proper procedures and corrosion-protection practices
- Permatex Rust Treatment technical data sheet — rust treatment as a protective coating and primer for finish coats