To clean Toyota Camry leather seats safely, vacuum loose grit first, apply a mild material-safe cleaner to a microfiber cloth, wipe one panel at a time, remove residue with a barely damp cloth, and let the seats dry naturally in shade. Do not spray cleaner directly into seams or perforations. Before using conditioner, confirm whether your Camry has SofTex, leatherette, leather-trimmed upholstery, microfiber inserts, or genuine leather panels because the correct care method changes by material and model year.
Last updated: July 15, 2026 · By: Auto Review Nest Editorial Team · Reviewed against Toyota owner-care guidance.
Quick Answer
Vacuum the seats and seams first. Apply a mild, material-safe cleaner to a microfiber cloth, wipe one panel at a time, keep liquid out of perforations and stitching, remove residue with a barely damp cloth, and dry in shade. Condition only after confirming that the product is compatible with your exact Camry seat material.
Key Takeaways
- Always vacuum first so grit does not scratch the seat surface while you wipe.
- Use a mild, neutral, automotive-safe cleaner and test it on a hidden spot before cleaning the whole seat.
- Keep perforated seats, seams, stitching, and seat controls as dry as possible.
- Do not use bleach, alcohol-heavy cleaners, solvent cleaners, household degreasers, or oily dressings.
- Follow your exact model-year owner’s manual because Camry seats may be SofTex, leather-trimmed, leather/microfiber, or fabric depending on trim.
At a Glance
| Typical Time | 20–45 minutes for all seats, depending on soil level |
| Difficulty | Easy |
| Tools Needed | Vacuum with brush and crevice tools, microfiber cloths, soft detailing brush, mild neutral cleaner, optional material-safe conditioner |
| Typical Cost | Low if you already own towels and a vacuum; cleaner and conditioner costs vary |
Check the material first: Use the window sticker, build sheet, trim brochure, or owner’s manual for your exact model year. One seat may combine coated leather, synthetic side panels, and microfiber inserts, so do not assume every panel needs the same cleaner or conditioner.
Gather: Products, Tools, and Safety Tips
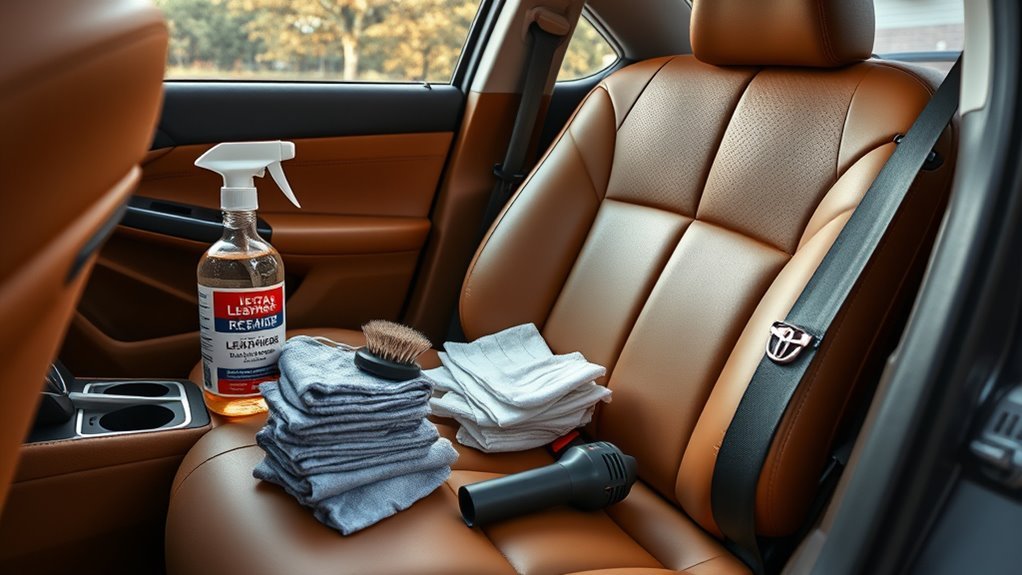
Before you start, gather microfiber cloths, a vacuum with a crevice tool and soft brush attachment, a soft detailing brush, a small bowl of clean water, and a mild neutral automotive interior or leather cleaner. Toyota’s general interior-care guidance starts with vacuuming, then using a suitable cleaner with a soft cloth and allowing the surface to dry thoroughly. For the exact detergent type and dilution, follow the owner’s manual for your Camry’s model year and seat material.
Use the least aggressive product that gets the job done. Camry seats are not all the same material. Toyota’s 2025 Camry brochure, for example, lists fabric, Sport SofTex/fabric, leather/microfiber, and leather-trimmed seating across different trims. Check your window sticker or owner’s manual before applying conditioner, and treat mixed-material inserts separately.
Warning: Do not use bleach, ammonia, alcohol-heavy cleaners, thinner, benzene, strong degreasers, household stain removers, steam, or soaking-wet cloths on Camry seats. These can discolor, dry, soften, or damage coated leather and synthetic leather surfaces.
Arrange cloths by job: one for applying cleaner, one barely damp cloth for removing residue, and one dry cloth for final drying or buffing. Wear gloves if your cleaner recommends them, work with the doors open, and keep all liquids away from seat switches, wiring, heating and ventilation openings, and buckles.
[Products Worth Considering]

Custom-designed for Toyota RAV4 gasoline models from 2013 to 2018, this full-coverage interior protection set includes front and rear floor mats, a cargo liner, seat back protectors, and door sill guards. Built with odorless TPE and 3D laser fit precision, it helps block spills, dirt, pet hair, and daily wear while staying securely in place for a clean, family-friendly cabin.

This two-piece horsehair brush set is designed for gentle yet effective cleaning of leather and interior surfaces. The soft bristles help lift dirt from seams, tight spaces, upholstery, carpets, and shoes without scratching, while the two sizes support both broad cleaning and detailed polishing. A comfortable wooden handle improves grip and control for easier daily care.

This car interior detailing brush is designed to gently remove dust from vents, dashboards, consoles, and other hard-to-reach areas without scratching surfaces. Its soft bristles and comfortable grip make routine interior cleaning easier, while the compact size allows convenient storage in your glove box. It also works well for household cleaning tasks like keyboards, fans, and window tracks.
How to Clean Toyota Camry Leather Seats in 7 Steps
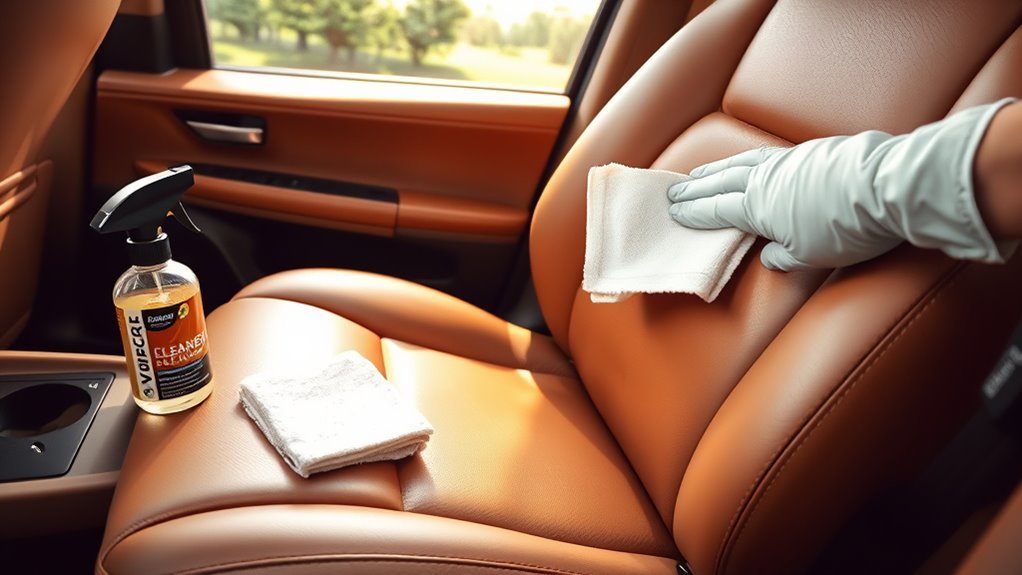
Start by vacuuming every seat surface, seam, bolster, and crevice. Use short, overlapping passes so dirt does not stay trapped near stitching or perforations. Then clean one panel at a time instead of spraying the whole seat.
- Vacuum first. Use the brush attachment on broad areas and the crevice tool near seams, seat edges, buckles, and the gap between the seatback and bottom cushion.
- Patch-test the cleaner. Apply a tiny amount to a hidden area, follow the product’s stated dwell time, wipe it away, and check for color change, tackiness, shine, or residue after the spot dries.
- Apply cleaner to the cloth, not directly to the seat. Lightly wipe one panel at a time in gentle overlapping motions.
- Detail seams and perforations carefully. Use a soft detailing brush with minimal moisture. Do not push liquid into holes.
- Remove residue. Wipe with a barely damp microfiber cloth, then follow with a dry cloth.
- Air-dry naturally. Leave the doors open or windows cracked in shade until the seats are fully dry.
- Condition only if appropriate. Use a thin layer of material-safe conditioner or protectant only if the label says it is safe for your exact seat material.
Pro Tip: If the cloth is picking up visible grime, refold it often. A dirty microfiber can drag grit across the finish, especially on bolsters where jeans and belts rub the most.
Pick and Patch-Test the Right Cleaner for Camry Leather
The right cleaner depends on the seat material. For a late-model Camry with SofTex or synthetic leather areas, start with a mild neutral cleaner or a neutral detergent solution used sparingly. For older Camry leather-trimmed seats, a leather-safe automotive cleaner is usually better than a household soap. When in doubt, use the Toyota Camry owner’s manual lookup for your exact year.
[Products Worth Considering]

These HOMEXCEL microfiber cleaning cloths deliver excellent absorbency and gentle, scratch-free cleaning for cars, homes, and glass surfaces. The soft, lint-free towels help remove dirt, water, and streaks quickly for a polished finish, and they are machine washable for repeated everyday use.

This cordless handheld cleaner combines vacuuming, blowing, inflating, and suction in one compact tool for cars, home, electronics, and outdoor use. Its brushless motor delivers strong performance with multiple power levels, while the rechargeable battery and included accessories make cleaning, dusting, and inflating quick and convenient.

This complete car detailing kit provides a versatile solution for cleaning both interior and exterior surfaces, including vents, wheels, tires, dashboards, and tight crevices. With multiple brush types, drill attachments, a wheel brush, cleaning cloths, a spray bottle, and storage bag, it helps tackle everyday dust, grime, and hard-to-reach areas with ease. It is designed for car enthusiasts, daily drivers, and anyone looking for a more thorough auto cleaning routine.
Test on a Hidden Area
Testing first protects you from a permanent mistake. Choose a small spot under the seat edge, behind the lower cushion, or near a hidden seam.
- Apply a tiny amount of cleaner to a clean microfiber cloth.
- Touch only the hidden test area; do not soak it.
- Follow the product label’s dwell time, then wipe the spot clean and let it dry.
- Inspect under good light for color transfer, streaking, dulling, tackiness, or swelling.
- If anything changes, stop and choose a milder product.
Match the Cleaner to the Seat Material
Camry “leather seats” can mean several things, and the trim-to-material mapping changes by model year and package. That matters because an oil-based leather conditioner may sit on top of SofTex or leatherette instead of absorbing, leaving a slick film that attracts dust. Confirm the material before choosing a product.
| Seat Material | Safest Cleaning Approach | Avoid |
|---|---|---|
| SofTex or leatherette | Vacuum, wipe with mild neutral cleaner, remove residue, dry naturally | Oily leather conditioners and glossy dressings |
| Leather-trimmed or coated leather | Use a leather-safe automotive cleaner sparingly; condition only if the product is compatible | Solvents, alcohol-heavy wipes, stiff brushes, excess water |
| Microfiber or suede-like inserts | Vacuum gently and use a cleaner made for microfiber or suede-like automotive trim | Leather conditioner, wet scrubbing, and oily protectants |
| Perforated seating | Use minimal liquid, clean with a cloth first, and lift debris with a soft brush and vacuum | Spraying cleaner directly into holes |
Check for Residue
Residue is a common reason clean seats look dull again a week later. After wiping the test patch, run a dry finger across it. If it feels sticky, slick, chalky, or unusually shiny, the cleaner is leaving a film. Re-wipe with a barely damp cloth and switch to a cleaner that wipes away cleanly from coated automotive upholstery.
Vacuuming Camry Leather Seats: Remove Crumbs and Debris
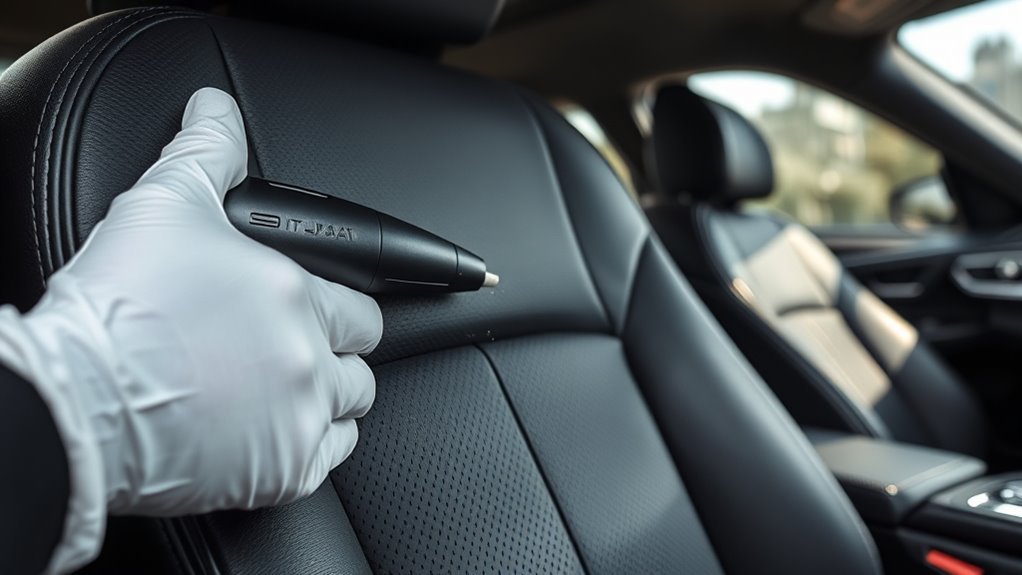
Vacuuming is not optional. Dust and crumbs act like grit when you start wiping, especially on side bolsters, seat bottoms, and perforated panels. Recline the seatback slightly if needed, slide the seat forward and back, and vacuum the exposed edges from more than one angle.
- Use the crevice tool along seams, seat rails, buckle openings, and the gap where the seatback meets the cushion.
- Use the soft brush attachment on larger panels so you lift dirt without scuffing the surface.
- For perforated seats, hold the nozzle slightly above the surface and move slowly instead of pressing hard into the holes.
- Use a soft detailing brush to loosen stubborn crumbs in stitching, then vacuum again.
- Inspect the cloth after cleaning; if you still see grit, vacuum once more before wiping.
For a daily-driven Camry, a quick vacuum every two to four weeks is a practical baseline. Vacuum sooner after beach trips, muddy weather, carrying pets, or any trip that leaves visible grit in seams and perforations.
Step-by-Step Cleaning: Headrests, Seams, and Perforation Care
Work from the top down: headrests first, then seatbacks, bolsters, seat bottoms, seams, and finally the lower edges. Cleaning in panels keeps moisture controlled and prevents streaks.
Headrest Removal Tips
If your Camry head restraints are removable, follow the removal steps in the owner’s manual for your exact model year. Some restraints use a secondary release or are not intended for casual removal. Do not force a post or trim piece; clean the restraint in place if the release method is unclear.
- Vacuum the headrest, especially around seams and post openings.
- Wipe with a microfiber cloth lightly dampened with cleaner.
- Use a soft brush only where dirt is trapped in stitching.
- Remove cleaner residue with a barely damp cloth.
- Dry with a clean microfiber cloth before reinstalling.
Perforation Cleaning Care
Perforated seats need less liquid, not more. The goal is to clean the surface and lift debris out of the holes without pushing moisture into the cushion. Spray or pour cleaner onto your cloth, never directly onto perforations.
| Step | Tool | Best Practice |
|---|---|---|
| Vacuum | Crevice nozzle | Hover slightly above holes |
| Loosen debris | Soft detailing brush | Brush gently; do not dig |
| Wipe | Microfiber + cleaner | Use light pressure |
| Remove residue | Barely damp cloth | Keep water out of holes |
| Dry | Dry microfiber | Air-dry in shade |
Note: Ventilated seats have openings, foam, wiring, and airflow channels beneath the cover. Keep cleaner controlled on the cloth and avoid soaking the seat bottom.
Treating Stubborn Stains and Dye Transfer
Stubborn stains need patience, not stronger chemicals. Dye transfer from jeans, sunscreen residue, body oils, makeup, coffee, and food spills should be handled as soon as possible because heat and time can make them harder to remove.
- Blot fresh spills first. Use a dry microfiber cloth and press gently. Do not rub the spill outward.
- Use a leather-safe or upholstery-safe cleaner. Match it to SofTex, leather-trimmed, or microfiber material.
- Let the cleaner work briefly. Apply sparingly to the cloth, wipe the stained area, and give it a short dwell time only if the product label allows it.
- Agitate gently. Use a soft brush and follow the grain or seam direction. Avoid hard scrubbing.
- Repeat mild cleaning before escalating. Two gentle passes are safer than one harsh pass.
- Dry fully before conditioning. If conditioner is appropriate, apply it only after the stain is gone and the surface is dry.
The safest stain-removal rule for Camry seats: start dry, go mild, use little moisture, and stop if color transfers to your cloth.
[Products Worth Considering]

This all-in-one 14-piece car interior detailing kit gives drivers the tools needed to clean windshields, dashboards, vents, cup holders, and other hard-to-reach areas with ease. The extendable windshield cleaner features a swivel head and reusable microfiber pads for streak-free results, while the brushes and cleaning gel help lift dust and debris without scratching delicate surfaces. A durable storage bag keeps everything organized for convenient at-home or on-the-go car care.

This genuine leather car keychain adds a refined touch to everyday key organization for men and women. Designed as a practical key ring accessory, it makes a thoughtful family gift while helping keep keys secure and easy to carry. Its classic black finish suits a wide range of styles and uses.

This vinyl wrap and tinting kit brings together the essential tools needed for clean, accurate vehicle graphics, window film, and decal installation. The included heat gun, squeegees, magnet holders, cutter, and specialty applicators help reduce bubbles, improve alignment, and make trimming and finishing easier in tight or detailed areas. It is a practical all-in-one solution for car wrapping, tinting, and sign work.
Common Camry Seat Stain Fixes
| Problem | What to Do | What to Avoid |
|---|---|---|
| Blue jean dye | Clean early with a material-safe cleaner and microfiber cloth; repeat gently | Magic erasers, alcohol wipes, and abrasive scrubbing |
| Coffee or soda | Blot, wipe with mild cleaner, remove residue, dry | Flooding the seat or using carpet shampoo on leather panels |
| Body oil or sunscreen | Use a small amount of automotive interior cleaner on a cloth | Strong degreasers that can dull the finish |
| Ink | Use a cleaner labeled safe for automotive leather or synthetic leather; test first | Rubbing alcohol unless your owner’s manual or product label specifically allows it |
When Should You Stop and Call a Professional?
Stop cleaning if the seat color transfers to your cloth, the finish becomes tacky or unusually dull, a stain spreads, or liquid has soaked through perforations. Also stop after two gentle attempts if the stain is not improving. A professional automotive leather repairer or detailer can identify coating damage, dye loss, and stains that need color repair instead of stronger cleaner.
Conditioning Camry Leather Seats: How to Apply Evenly
Conditioning is useful only when the product matches the seat material. Genuine or leather-trimmed coated seats may benefit from a light, compatible conditioner or protectant. SofTex and leatherette usually need cleaning and residue removal more than oil-based conditioning, because the surface is synthetic and coated.
If your product label and owner’s manual support conditioning, apply it lightly:
- Clean the seat first and let it dry completely.
- Put a small amount of conditioner on a microfiber applicator or cloth.
- Work one panel at a time with gentle, even passes.
- Keep product out of perforations, seams, microfiber inserts, and seat controls.
- Wait only as long as the product label recommends.
- Buff with a dry microfiber cloth until the seat feels dry, not slick.
Warning: A shiny or greasy finish is not a sign of protection. It usually means too much product is sitting on the surface, which can transfer to clothing and attract dust.
Aftercare: Drying, Odor Control, and Maintenance Schedule
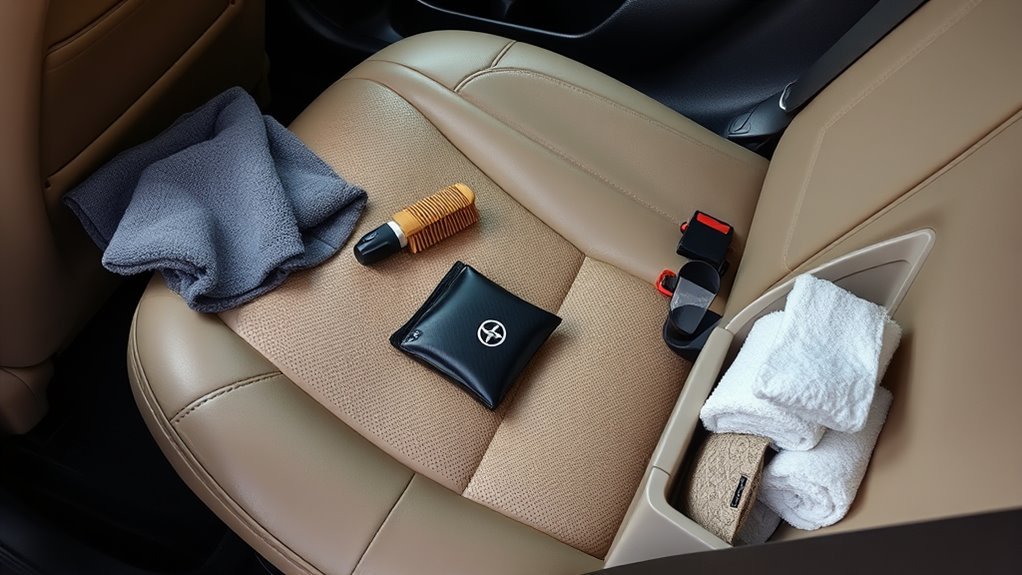
Once the seats are clean, let them air-dry completely. Park in shade, crack the windows if weather allows, or run the vehicle fan to move air through the cabin. Do not use a hair dryer, heat gun, steam cleaner, or direct sun to speed drying.
Before driving, confirm that the seat surface, seams, perforations, and buckles are dry and free of slippery residue.
- Every 2–4 weeks: Vacuum seats, seams, and floor areas so grit does not build up.
- After spills: Blot immediately, clean lightly, and dry fully.
- Twice a year: Use this as a practical deep-cleaning baseline, then adjust for spills, pets, children, rideshare use, or dusty conditions.
- As the product label recommends: Apply a compatible conditioner or protectant only to materials that allow it; do not condition by calendar alone.
- Monthly: Inspect bolsters, seam edges, and light-colored seats for dye transfer.
For odor control, first remove the source and make sure no moisture remains in the foam, carpet, or floor mat. A secured automotive activated-charcoal absorber can help with lingering odor while the car is parked. Keep it away from pedals, seat rails, vents, and wiring. Avoid open containers of powder and heavily perfumed sprays because spills and fragrance residue can create a second cleanup problem.
Mistakes to Avoid When Cleaning Camry Leather Seats
- Spraying cleaner directly on the seat: It can run into seams, perforations, switches, and cushions.
- Using too much water: Excess moisture can leave rings, soften adhesives, or soak padding.
- Skipping the vacuum: Dirt becomes abrasive once you start wiping.
- Using household wipes, Magic Erasers, or strong DIY mixtures: Alcohol, abrasives, acids, and fragrance can dull or remove the protective finish.
- Conditioning every time you clean: Over-conditioning can leave buildup, especially on synthetic surfaces.
- Scrubbing microfiber inserts like leather: Microfiber and suede-like inserts need their own cleaner and a gentler touch.
Frequently Asked Questions
How do you clean Toyota Camry leather seats?
Vacuum first, patch-test a mild neutral cleaner, apply the cleaner to a microfiber cloth, wipe one panel at a time, remove residue with a barely damp cloth, and dry in shade. Use conditioner only if it is safe for your exact Camry seat material.
Can I use dish soap on Camry leather seats?
It is better to avoid dish soap unless your owner’s manual specifically allows a mild neutral detergent solution and you can dilute and remove it properly. Dish soaps can be stronger than needed and may leave residue. A neutral automotive interior cleaner is safer for most owners.
Should I condition Toyota SofTex seats?
Usually, SofTex and leatherette need gentle cleaning more than oil-based conditioning. If you want extra protection, use only a product labeled safe for synthetic automotive leather and buff away all residue so the seat does not feel slick.
How often should I clean Camry leather seats?
Vacuum every two to four weeks for normal use, clean spills immediately, and deep-clean the interior at least twice a year. Light-colored seats, family cars, rideshare vehicles, and cars parked in hot climates may need more frequent attention.
How do you clean perforated Camry leather seats?
Vacuum with the nozzle held slightly above the holes, apply cleaner to a microfiber cloth instead of the seat, wipe with light pressure, and use a soft brush only to lift trapped debris. Keep liquid out of the perforations and let the seat dry fully before use.
Can I use vinegar or a Magic Eraser on Camry leather seats?
Avoid them unless Toyota or the seat-care product manufacturer specifically approves the method for your material. Vinegar is acidic, and a Magic Eraser is abrasive; either can dull, discolor, or remove the protective coating. Use a material-safe automotive cleaner and patch-test it first.
How do I clean my Toyota Camry car interior?
Remove trash and loose items, vacuum carpets and seats, wipe hard surfaces with a damp microfiber cloth or approved interior cleaner, clean seats according to their material, dry everything thoroughly, and avoid glossy products on the dashboard because glare can affect visibility.
Conclusion
Start by confirming your Camry’s seat material, then vacuum before every wipe-down. Use a mild material-safe cleaner, protect seams and perforations from excess moisture, remove all residue, and let the seats dry naturally. Condition genuine or leather-trimmed panels only with a compatible product; for SofTex or leatherette, focus on gentle cleaning and a dry, residue-free finish. Stop and seek professional help if color transfers, the coating changes, or a stain does not improve after two mild attempts.
Sources
- Toyota 2025 Camry Hybrid Interactive Manual — provides model-specific interior-care instructions for 2025 Camry interior materials; confirm the exact detergent and dilution for your vehicle.
- Toyota 2025 Camry eBrochure — confirms that Camry seating materials vary by trim, including fabric, SofTex/fabric, leather/microfiber, and leather-trimmed options.
- Toyota Car Tips: How to Clean Your Car’s Interior — supports vacuuming first, using microfiber or soft-bristled tools, following cleaner instructions, and allowing seats to air-dry thoroughly.
- Toyota Camry Manuals and Warranties — use this to check the exact care instructions for your Camry model year and trim.