To change the engine oil on your Toyota Tacoma, gather a few essential tools, like a torque wrench and an oil filter socket. Elevate your truck securely and drain the old oil by removing the drain plug, then replace the oil filter using a new O-ring. Fill the engine with new zero W20 full synthetic oil, start the engine to check for leaks, and reset the maintenance light for ideal tracking. You’ll find more detailed steps and tips ahead.
Essential Tools for a Successful Oil Change
To successfully change the engine oil on your Toyota Tacoma, you’ll need a few essential tools. First, get a special oil filter socket, like the Motive Tools MX 2320; it makes removing the oil filter casing much easier. You’ll also require a torque wrench to guarantee you tighten critical components correctly. The oil drain plug should be set to 30 foot-pounds, while the oil filter assembly needs 18 foot-pounds.
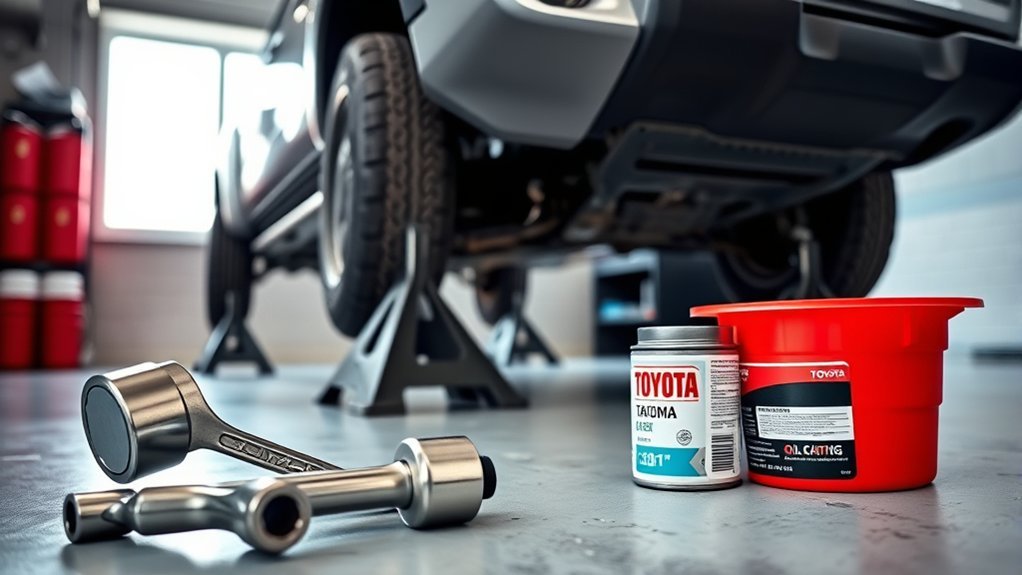
Don’t forget to have 5-quart containers of zero W20 full synthetic oil on hand, as Toyota recommends this for ideal engine performance. A funnel is vital for pouring oil without spills, and a new crush washer is necessary for the oil drain bolt to prevent leaks. Finally, keep various socket sizes, particularly 12mm and 14mm, available for removing the oil pan bolts and the oil drain bolt efficiently.
Preparing Your Tacoma for an Oil Change
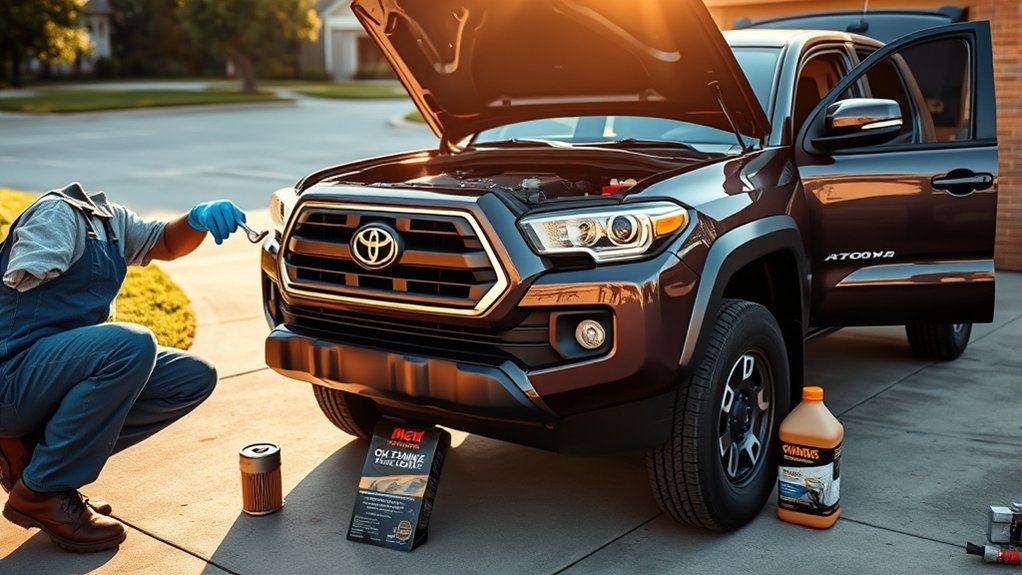
Before diving into the oil change process, make certain your Tacoma is securely elevated. Using custom 2×12 ramps, you can achieve over three inches of lift, providing sufficient clearance for the oil change. This Tacoma lift is essential for safe and effective access to the oil drain and filter.
Next, gather all necessary tools and parts for thorough oil change preparation. You’ll need 5-quart containers of zero W20 full synthetic oil, a funnel, a torque wrench, various sockets, and a Motive Tools MX 2320 for the oil filter casing. Don’t forget to have an OEM Toyota oil filter, a magnetic drain plug (M12 by P 1.25), and a new crush washer for the drain bolt.
Lastly, familiarize yourself with the special oil filter socket, as it simplifies removing the oil filter housing, ensuring a smoother oil change experience. Regularly changing your oil every 5,000 miles enhances engine health.
Draining Old Oil Safely
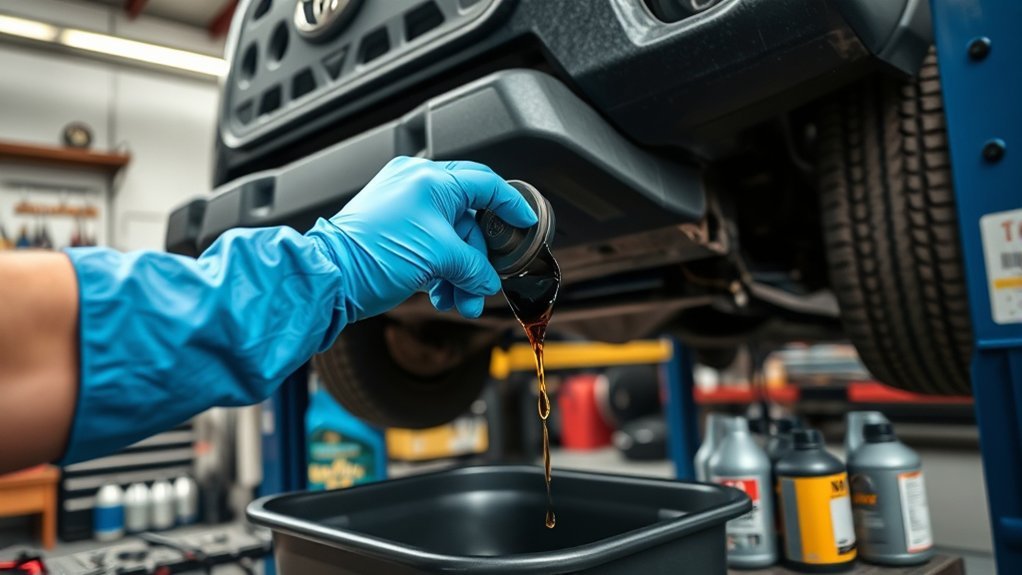
Start by removing the engine oil cap and dipstick to promote airflow, which helps drain the old oil completely from the engine. Next, secure your tools and remove the four 12mm bolts holding the oil pan in place to access the drain plug. Use a 14mm socket to remove the drain plug, allowing the old oil to flow into a suitable container. Pay attention to the oil viscosity; if it appears sludgy or contains metal shavings, this could signal engine wear. After draining, inspect the oil for debris, as it’s a crucial indicator of your engine’s health. Once all oil has flowed out, reattach the drain plug, ensuring you replace the crush washer to prevent leaks. Torque the drain plug to 30 foot-pounds for a secure fit. With these steps, you’re on your way to a smoother, more efficient engine.
How to Remove and Replace the Oil Filter

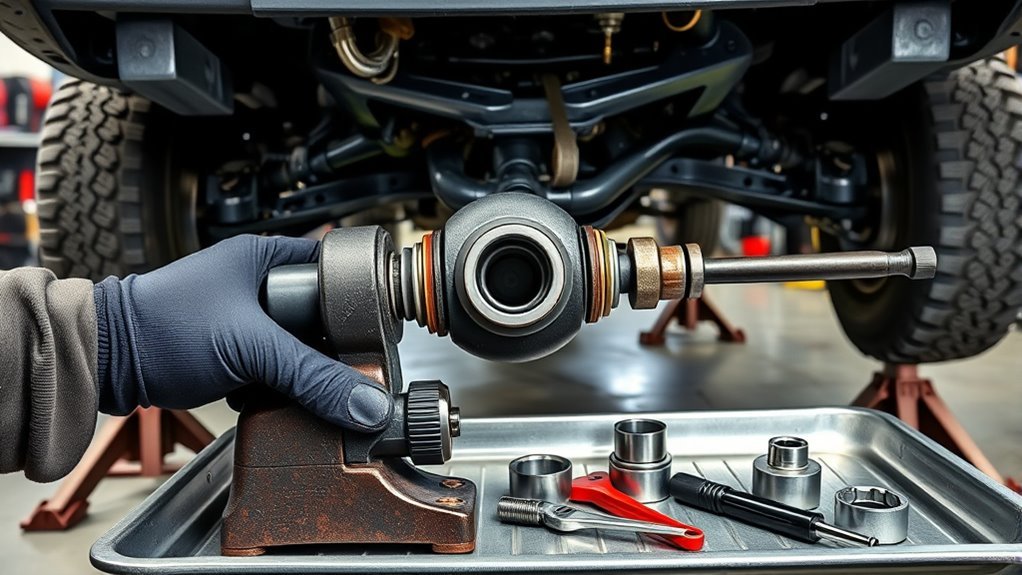
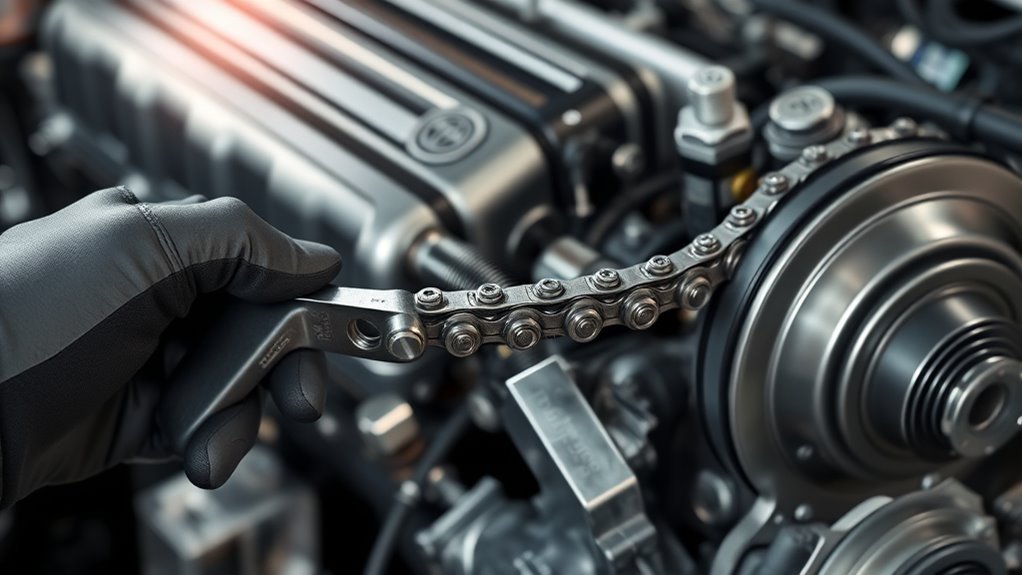
To remove and replace the oil filter on your Toyota Tacoma, first locate the oil filter housing at the front of the engine. You’ll need a 3/8 extension and a special oil filter socket for the housing plug, along with a new oil filter and O-ring. Follow the replacement steps carefully to guarantee a proper seal and prevent leaks.
Oil Filter Location
The oil filter on the third-gen Toyota Tacoma is conveniently located at the front of the engine, making it easy to access for removal and replacement. Proper oil filter maintenance is essential for your vehicle’s performance and longevity. Here’s how to guarantee a successful process:
- Use a 3/8 extension with a special oil filter socket for hassle-free removal.
- Replace the large O-ring with a new one, lubricating it with oil to prevent leaks.
- After installation, torque the oil filter housing to 18 foot-pounds for secure fitting.
- Always check for leaks at the oil filter housing after starting the engine.
This housing accessibility streamlines your maintenance routine, empowering you to keep your Tacoma running smoothly.
Tools Required
Gathering the right tools is essential for efficiently removing and replacing the oil filter on your Toyota Tacoma. You’ll need a Motive Tools MX 2320 special oil filter socket to easily access the oil filter housing. Before starting, remove the engine oil cap and dipstick to guarantee proper airflow. After you’ve removed the oil filter, replace the large O-ring in the housing with a new one, lubricating it with oil for a proper seal. When reinstalling the oil filter, pay attention to the torque specifications; secure the filter housing to 18 foot-pounds. Finally, check for leaks at the oil filter housing after starting the engine, confirming everything’s sealed before you reattach the oil pan bolts.
Replacement Steps
Start by unscrewing the oil filter housing plug at the front of the motor using a 3/8 extension. This step is essential for effective oil filter maintenance. A special plastic fitting helps direct oil flow, minimizing spills during removal. Follow these steps for a successful replacement:
- Remove the old filter and check the large O-ring; replace it with a new one, lubricated with oil.
- Install the new oil filter securely.
- Torque the filter housing to 18 foot-pounds for a tight seal.
- After starting the engine, check for leaks to guarantee proper sealing.
Using the right engine oil types is important for your Tacoma’s performance. Enjoy the freedom of DIY maintenance!
Filling Your Engine With New Oil
To properly fill your Toyota Tacoma’s engine with new oil, begin by pouring one full 5-quart container of zero W20 full synthetic oil into the engine. Since the third-gen Tacoma requires 6.1 to 6.2 quarts total, you’ll need to measure the additional oil after the initial fill.
Now’s a good time to reflect on the benefits of oil viscosity and oil additives, which enhance performance and prolong engine life.
| Aspect | Importance |
|---|---|
| Oil Viscosity | Guarantees smooth engine operation |
| Oil Additives | Protects against wear and tear |
| Engine Lifespan | Enhances reliability and efficiency |
Before reattaching components, briefly start the engine and check for leaks at the oil filter housing and drain plug. Remember to torque the oil drain plug to 30 foot-pounds and the oil filter assembly to 18 foot-pounds for proper sealing.
How to Check for Oil Leaks After an Oil Change?
After you change the oil, it’s essential to check for leaks to guarantee everything’s sealed properly. Start with a visual inspection under your vehicle, looking for any oil spots on the ground. Then, monitor the oil level on the dipstick to confirm it stays within the appropriate range.
Visual Inspection Under Vehicle
Once you’ve completed the oil change, it’s crucial to conduct a visual inspection under your Toyota Tacoma to check for any oil leaks. Focus on these key areas for effective leak detection:
- Inspect the oil filter housing for wetness; this may indicate a poor seal.
- Check the drain plug for any drips; improper installation can cause leaks.
- Verify the oil pan bolts (four 12mm bolts) are securely fastened; loose bolts spell trouble.
- Start the engine and let it run, monitoring for new oil pooling underneath.
Performing a thorough filter inspection and monitoring these components guarantees your vehicle remains leak-free and ready for the road ahead. Address any issues immediately to maintain your Tacoma’s performance.
Check For Oil Spots
Checking for oil spots after your oil change is essential to guarantee your Toyota Tacoma is leak-free. Start your engine and let it run for a few minutes to circulate the new oil, then inspect around the oil filter housing and drain plug for any leaks. Focus on the ground beneath your vehicle for fresh oil spots, especially in those areas. If you spot any leaks, turn off the engine and recheck the torque specifications: tighten the oil drain plug to 30 foot-pounds and the oil filter assembly to 18 foot-pounds. If leaks persist, verify the oil filter’s O-ring and crush washer are properly replaced and seated. Effective oil leak detection guarantees your truck’s performance remains ideal.
Monitor Oil Level
To guarantee your Toyota Tacoma operates smoothly post-oil change, monitor the oil level closely. This will help maintain peak engine performance and maintain proper oil viscosity. Follow these steps to check for leaks:
- Start the engine and let it run for a few minutes, allowing new oil to circulate.
- Inspect the oil filter housing and drain plug for any leaks.
- Check underneath the vehicle for signs of oil pooling or drips.
- Use a clean dipstick to verify the oil level is between 6.1 to 6.2 quarts.
If you notice a drop in oil level over the next few days, it may indicate a persistent leak that needs immediate attention. Keeping tabs on your oil level is essential for your Tacoma’s health.
Resetting Your Tacoma’s Oil Change Maintenance Light
When you’ve completed an oil change on your Toyota Tacoma, resetting the oil change maintenance light is an essential step to guarantee accurate tracking of future maintenance. Start by turning on your vehicle and using the dashboard navigation to access the settings menu. Look for the “Maintenance” option and select it. Here, you’ll find the oil change maintenance reset feature; choose “Reset.” When prompted, confirm the action by selecting “Yes” to clear the previous maintenance reminder. Keep in mind that the process may vary slightly depending on your Tacoma’s model year, so it’s wise to consult your owner’s manual for specific instructions if needed. After completing the reset, double-check that the maintenance light is off before driving. This ensures that your vehicle accurately reflects your maintenance schedule, keeping you informed of when the next service is due.
Why DIY Oil Changes Save You Time and Money
Resetting your Tacoma’s oil change maintenance light sets the stage for efficient vehicle upkeep, and performing the oil change yourself amplifies those benefits. By opting for a DIY approach, you gain significant advantages:
Resetting your Tacoma’s oil change light enhances maintenance efficiency, and a DIY oil change maximizes those benefits.
- Cost Comparison: Save $50 to $100 per visit by avoiding labor fees at dealerships or service centers.
- Quality Control: You choose the oil and filters, ensuring peak engine performance and longevity.
- Early Detection: Inspect your vehicle during the change, catching potential issues before they lead to costly repairs.
- Scheduling Flexibility: Complete the oil change on your own timetable, eliminating wait times at shops.
In just 30-45 minutes, with the right tools, you can reclaim your time and money. Empower yourself with the knowledge and skills to keep your Tacoma running smoothly, all while enjoying the satisfaction of hands-on maintenance.
Frequently Asked Questions
How Many Quarts of Oil Do You Put in a Toyota Tacoma?
You’ll need about 6.1 to 6.2 quarts of zero W20 full synthetic oil for your Toyota Tacoma. Always replace the oil filter during the change to guarantee peak engine performance and longevity.
How Often Do You Need to Change the Oil in a Toyota Tacoma?
Most Toyota Tacoma owners change their oil every 5,000 miles for peak performance. Sticking to this oil change frequency as part of your maintenance schedule enhances engine longevity and reliability, ensuring your vehicle runs smoothly.
Conclusion
Changing your Toyota Tacoma’s engine oil yourself not only saves you money—averaging about $20 per change—but also gives you a deeper understanding of your vehicle. With just a few essential tools and some time, you can guarantee your truck runs smoothly for miles. Plus, regular DIY oil changes can extend your engine’s lifespan, with studies showing that proper maintenance can boost engine longevity by up to 50%. So grab your tools and keep your Tacoma in top shape!