A Supra driving position should feel low, secure, and natural—not cramped, twisted, or unsafe. Before you drive, set the seat so you can press every pedal fully, keep a slight bend in your knees and elbows, see the instruments clearly, and confirm the seat and steering wheel are locked. If the seat sticks, inspect the rails carefully before forcing any mechanism.
Quick Answer
To adjust a Supra seat and steering wheel safely, park first, set the seat fore-aft so your pedals are reachable with slightly bent knees, keep your back well supported, tilt the wheel for clear gauges and relaxed elbows, then recheck mirrors. If a seat is stuck, clean the tracks and inspect the mechanism—do not force it.
Key Takeaways
- Never adjust the seat or steering wheel while the car is moving; Toyota’s owner guidance warns that an unexpected movement can cause loss of control.
- Your knees should stay slightly bent at full pedal travel, and your elbows should remain slightly bent at the wheel.
- If the seat binds, check for floor mats, debris, corrosion, loose wiring, and misaligned rails before loosening any fasteners.
- Keep as much distance from the steering-wheel airbag as you can while still reaching the pedals and controls safely.
- After every adjustment, rock the seat, slide it forward and back, and confirm the steering wheel is locked before driving.
At a Glance
| Time Required | 5–10 minutes for basic adjustment; 20–45 minutes for track inspection and cleaning |
| Difficulty | Easy for setup; moderate for stuck-seat troubleshooting |
| Tools Needed | Flashlight, vacuum, microfiber cloth, plastic trim tool, mild cleaner, silicone-safe or white lithium lubricant where appropriate, 10mm/12mm sockets only if fastener inspection is needed |
| Cost | Usually $0–$20 for cleaning and lubrication; professional diagnosis varies by shop |
Fixing a Stuck Supra Seat and Safe Position Tips

Start with the safe basics: park on level ground, set the parking brake, switch the ignition off unless you are testing a power seat, and remove loose items from the footwell. Toyota’s 1996 Supra owner guidance says the driver’s seat should be adjusted so the pedals, steering wheel, and instrument-panel controls are within easy reach, and that seat adjustments should not be made while the vehicle is moving.
If the seat is stuck, do not immediately crank on random under-seat nuts. First, look for the common causes: coins in the track, thick floor mats blocking travel, dried grease, corrosion, bent rails, or wiring trapped under a power seat. Clean the exposed rails, apply a light, appropriate lubricant to the sliding areas, and test the seat gently. If you see jam nuts, rail fasteners, or bracket hardware under the front rail, move slowly and keep both sides even—but avoid loosening structural seat-mounting bolts, seat-belt anchors, or any SRS wiring unless you are following a proper service manual.
Warning: Do not place your hands inside the moving seat mechanism while adjusting the seat. Toyota warns that hands or fingers can be jammed near moving parts, and objects under the seat can interfere with the lock mechanism.
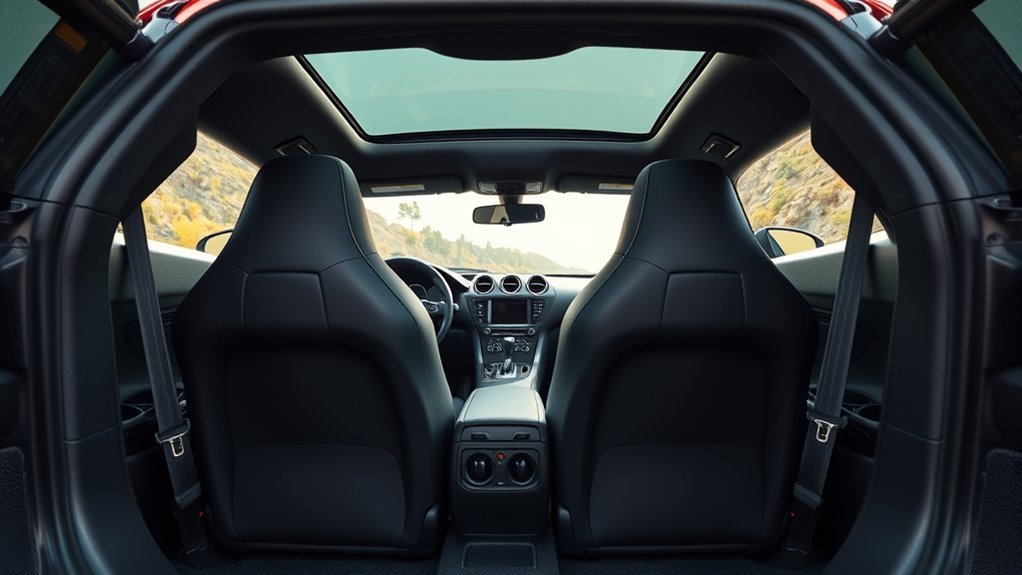
Why Correct Seat and Wheel Position Matters for Supra Drivers
Because the Supra cockpit is low and tight, small seat and steering-wheel changes make a big difference. The right position gives you better pedal control, cleaner steering inputs, better mirror visibility, and less fatigue during long drives. It also keeps you properly restrained by the seat belt and better positioned for the airbag system.
Safety and Control
Set the seat so you can press the clutch, brake, and accelerator fully without lifting your hips or stretching your leg straight. Your knees should stay slightly bent at full pedal travel, and your back should stay against the seat. This gives you better control and keeps you from sitting too close to the steering wheel.
For hand position, use a relaxed 9-and-3 grip or a similar low, balanced grip that keeps your elbows slightly bent. This is better than locking your arms straight, especially in a car with quick steering feedback. The National Highway Traffic Safety Administration explains that frontal airbags work best with seat belts and proper seating position, and that sitting too close to the airbag can increase injury risk.
Comfort and Endurance
Long drives expose small ergonomic problems. If your right leg gets tired, your seat may be too far back, too low, or tilted in a way that presses into your thigh. If your shoulders ache, your wheel may be too far away or your seatback may be too reclined.
Use small changes. Raise or lower the seat cushion until your hips are close to level with your knees. Tilt the cushion only enough to support your thighs without putting pressure behind your knees. Set the seatback near upright with a slight recline, then adjust lumbar support if your seat has it. If your Supra does not have adjustable lumbar support, a thin removable lumbar cushion can help without changing the seat structure.
Visibility and Reach
Your seating position should let you see the road, the instrument cluster, the mirrors, and the hood line without leaning forward. After changing the seat, always reset the mirrors. A mirror position that worked before may hide a blind spot after even a small change in height or recline.
- Set seat height first so the road, gauges, and mirrors are visible.
- Set fore-aft distance so pedals are reachable with slightly bent knees.
- Set the wheel angle so the rim does not block the gauges.
- Adjust mirrors only after your seat and wheel are final.
Where the Supra’s Seat Adjustment Hardware Is Under the Front Rail
Under the front of the seat, you may see rail fasteners, brackets, cable links, power-seat hardware, or jam-nut-style adjusters depending on model year, trim, previous repairs, and aftermarket seat rails. A 10mm or 12mm socket may fit some under-seat hardware, but size alone does not prove the fastener is safe to adjust.
Use a flashlight and identify the part before turning it. Track hardware should move evenly from side to side. Seat mounting bolts, seat-belt anchors, and any yellow SRS-related wiring should be treated as safety-critical. If the seat has been swapped, lowered, or fitted with aftermarket rails, the hardware may not match factory layout.
Note: For factory repair procedures, torque values, and component diagrams, use Toyota service information or a model-specific repair manual. Guessing under a seat is risky because the seat, belt, and airbag systems all affect occupant safety.
Fix a Stuck Seat: 10mm and 12mm Track Checks, Step by Step
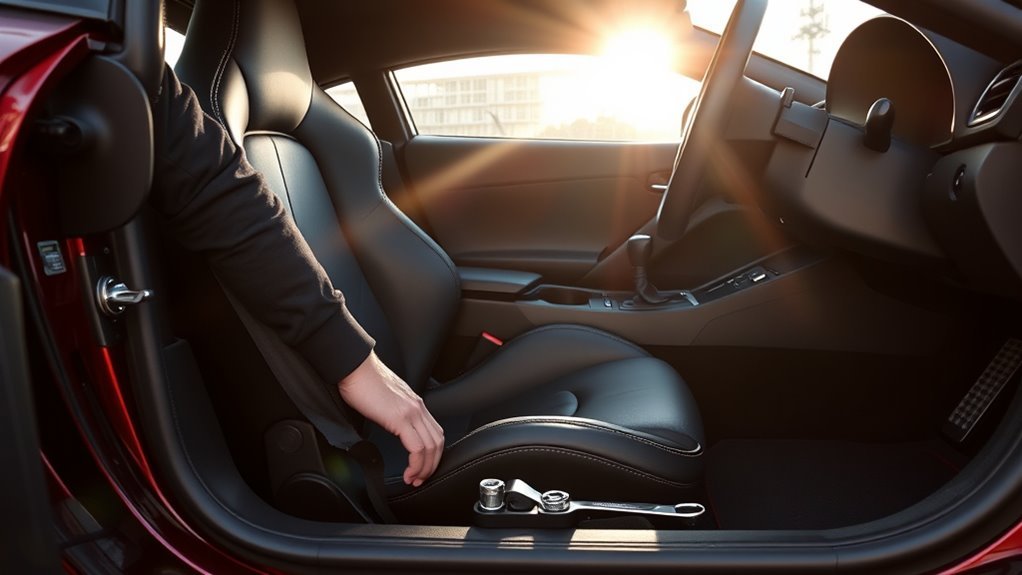
If your Supra seat will not move, work from the easiest and safest checks toward the more involved ones. A stuck seat is often caused by debris, a blocked rail, a weak power connection, or uneven rail tension—not a part that needs to be forced.
Inspect the Rails and Hardware First
Slide the seat as far as it will safely move. Look down both rails with a flashlight. Remove coins, stones, broken plastic, old clips, and anything trapped in the tracks. Check the floor mats, too. A thick or shifted mat can block pedal travel or seat movement.
If your car has power seats, listen when you press the switch. A click with no movement can point to a jammed mechanism, weak motor, wiring issue, or failed switch. No sound at all may point to a fuse, connector, switch, or power supply issue. Do not keep holding the switch if the motor strains.
Loosen Only Identified Adjustment Hardware Evenly
If you identify jam nuts or track-adjustment hardware—not seat mounting bolts—loosen each side a tiny amount and alternate left to right. Do not loosen one side deeply while the other remains tight, because that can skew the rails and make binding worse. Work in very small increments, then test the seat travel by hand or with the switch.
Use a flex extension only if access is tight and the socket is fully seated. If a fastener feels seized, stop. Rounding a seat-rail fastener can turn a simple adjustment into a larger repair.
Clean, Lubricate, and Recheck Alignment
After the seat begins moving, clean the track with a vacuum and cloth. Apply only a small amount of suitable lubricant to the sliding surfaces, keeping it away from wiring, upholstery, carpet, and switches. Move the seat forward and back several times so the lubricant spreads evenly.
- Verify parallel rails: check that both sides move together without twisting.
- Confirm smooth travel: move the seat through its range and feel for catches.
- Lock and test: after the final position is set, rock the seat and make sure it cannot slide unexpectedly.
Pro Tip: Mark the starting position of any adjustable hardware with a paint pen before turning it. If the change does not help, you can return the part to its original position.
Set Seat Height, Tilt, and Fore-Aft for Comfort and Control
Start with seat height. You want a clear view over the dash and a full view of the instrument cluster without raising your shoulders or leaning forward. Your hips should feel supported, and your thighs should rest on the cushion without hard pressure behind the knees.
Next, set fore-aft position. Press each pedal fully while keeping your back against the seat. At full pedal travel, your knee should still have a slight bend. If your leg goes straight, move closer. If your knee is sharply bent or your thigh is crowded against the wheel, move back or adjust the wheel angle.
Then set the seatback. Avoid reclining too far. Toyota’s seat-belt guidance says seat belts give maximum protection when seatbacks are upright. A slight recline is comfortable, but the belt should still sit properly across your shoulder and low across your hips.
Optimize Pedal Reach and Right-Leg Comfort: Clutch, Throttle, and Mats
If your right leg aches in a Supra, check three things first: seat distance, cushion angle, and floor mat thickness. The throttle foot should sit naturally, with your ankle relaxed and your knee slightly bent. For manual cars, you should be able to press the clutch fully without sliding your hips forward.
A correct driving position lets you press every pedal fully while staying seated firmly against the backrest.
- Remove or reposition floor mats that bunch up near the pedals or rails.
- Move the seat one notch closer if your ankle is reaching for the throttle.
- Lower the front cushion angle if pressure builds behind your knees.
- Raise the seat slightly if your hips sit much lower than your knees.
- Take breaks on long drives and stretch calves, ankles, and hip flexors.
Warning: Never stack loose mats in the driver footwell. A loose or thick mat can interfere with pedal travel and may also block seat adjustment.
Adjust the Steering Wheel for Visibility and Safety
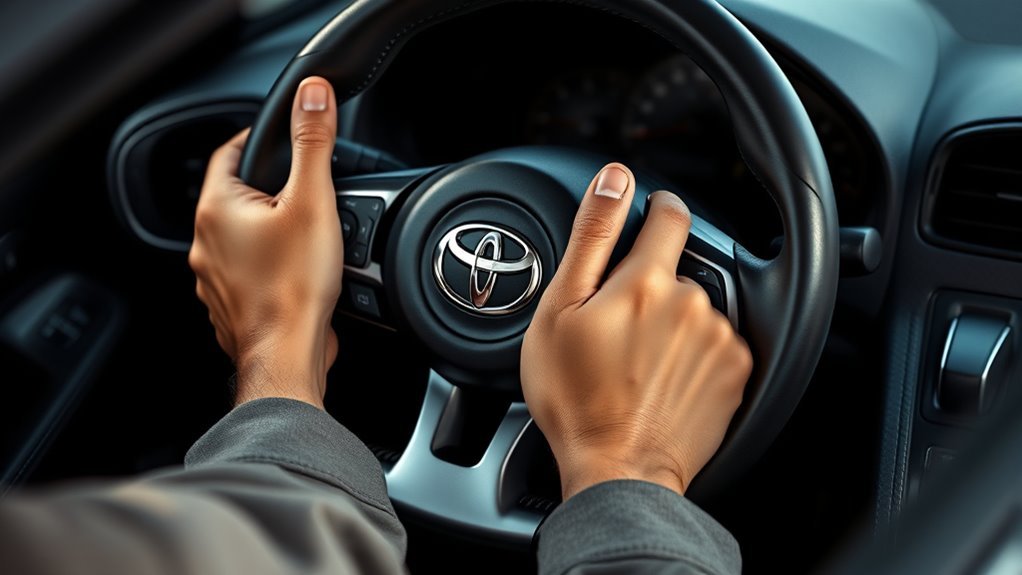
After the seat is set, adjust the steering wheel. On the 1996 Supra, the owner manual describes a tilt steering wheel: hold the wheel, release the lock lever, tilt the wheel to the desired angle, then lock it again. Do not adjust it while driving, and after adjusting, try moving the wheel up and down to confirm it is locked.
Adjust Wheel Height
Set the wheel high enough that your knees do not hit it, but low enough that your shoulders stay relaxed. The rim should not block the speedometer, warning lights, or key gauges. If you have to duck your head or lean around the wheel to see the cluster, the position is not right.
Set Reach Position
Older Supras may mainly offer tilt rather than modern telescoping reach, so your seat position does much of the reach work. Sit back, place your shoulders against the seat, and hold the wheel at 9 and 3. Your elbows should be slightly bent, not locked straight and not cramped against your body.
| Item | Check | Result |
|---|---|---|
| Knees | Slightly bent at full pedal travel | Good control |
| Elbows | Slightly bent at the wheel | Better steering input |
| Chest distance | As far back as practical while reaching controls | Better airbag position |
| Gauges | Fully visible | No blocked warnings |
| Seat lock | No sliding or wobble | Ready to drive |
Check Mirror Alignment
Set the mirrors only after the seat and wheel are final. Center the inside mirror on the rear window. Set the side mirrors so you get a broad view of adjacent lanes with minimal overlap. Toyota’s 1996 Supra mirror instructions say to adjust the outside mirror so you can see the side of your vehicle, and to be careful judging distance in the passenger-side convex mirror because objects can appear smaller and farther away.
After any seat change, recheck blind spots. A higher or more reclined seat can shift your mirror view enough to matter.
Quick On-Road Fixes and Stretches for Leg Fatigue
If your legs tighten during a long drive, do not adjust the seat while moving. Pull over safely first. Stand up, walk for a minute, rotate your ankles, stretch your calves, and gently flex your hip flexors. Once you are parked, make one small seat change at a time.
- Right calf tight: move the seat slightly closer or reduce cushion tilt.
- Hip pressure: raise the seat a little or reduce thigh pressure at the cushion front.
- Lower-back ache: add lumbar support or bring the seatback slightly more upright.
- Shoulder tension: move the seat closer or adjust wheel tilt so your elbows stay relaxed.
Comfort should not come at the cost of control. Every adjustment must still let you press the pedals fully, steer smoothly, and see clearly.
Check, Test, and Troubleshoot Seat Issues: When to Call a Pro
After any seat adjustment or repair attempt, test the seat before driving. Sit in the seat, rock your body forward and back, then side to side. Slide the seat one position forward and back if possible, and confirm it locks. Push against the seatback and make sure the recliner is secure.
Call a professional if the seat still binds, the rails look bent, a mounting point is damaged, a power seat motor strains, the switch works intermittently, wiring is pinched, or you see any SRS-related warning light. Do not drive with a seat that can slide, wobble, or fail to lock.
A seat that does not lock is a safety problem, not a comfort issue. Fix it before driving.
Long-Term Fixes and Mods for Tall Drivers: Seats, Mats, and Pedal Work
Tall drivers often need more than a quick seat tweak. Start with reversible changes: thinner floor mats, correct wheel angle, a small lumbar cushion, and careful seatback adjustment. If those do not work, look at Supra-compatible seat options, lower-profile rails, or professional pedal-position solutions.
Any long-term modification must protect safety systems. Do not remove head restraints, compromise seat-belt geometry, weaken mounting points, or disable airbags. If you install aftermarket seats or rails, choose parts designed for your Supra generation and have the installation checked by a qualified technician. For airbag-equipped cars, be especially cautious with aftermarket steering wheels; removing the factory wheel can remove or disable the driver airbag unless the system is engineered and installed correctly.
Note: The Mk4 Supra and modern GR Supra have different seat controls, airbags, rails, and electronics. Match all repair steps and parts to your exact year, trim, and seat type.
Frequently Asked Questions
Can I adjust lumbar support in the Supra seats?
Yes, if your Supra seat is equipped with lumbar adjustment. Use the lumbar switch or knob to support the natural curve of your lower back without pushing your spine too far forward. If your seat does not have adjustable lumbar support, use a thin removable cushion rather than modifying the seat frame.
Are heated seats affected by seat rail adjustments?
Normal seat movement should not harm heated seats. Problems happen when wiring is pinched, pulled, corroded, or trapped in the rail. If your seat heater stops working after seat work, inspect the under-seat connectors and wiring path before using the heater again.
Will changing seat position affect airbag safety?
Yes, your seating position affects how close you are to the steering-wheel airbag. NHTSA recommends keeping a 10-inch minimum between the airbag cover and your breastbone when possible, while still being able to reach the pedals and controls. Always wear your seat belt and sit well back in the seat.
How often should I lubricate Supra seat tracks?
Inspect the tracks every 6–12 months, or sooner if the seat starts to squeak, grind, or bind. Clean debris first, then use a small amount of suitable lubricant on the sliding surfaces. Avoid overspray near wiring, upholstery, carpet, and switches.
Can aftermarket steering wheels retain airbag functionality?
Some specialized systems may retain safety features, but many aftermarket steering wheels remove the factory airbag. Do not assume airbag compatibility. Use model-specific parts, check local laws, and have any airbag-related work handled by a qualified professional.
What should I do if the seat moves but will not lock?
Do not drive the car until the lock problem is fixed. Check for debris in the rails and make sure the release lever or cable returns fully. If the lock teeth, rail, spring, or latch is damaged, have the seat repaired or replaced before driving.
Conclusion
Think of your Supra driving position as part of the car’s setup. The seat, wheel, pedals, mirrors, belt, and airbags all work together. Start with a safe parked adjustment, set your pedal reach first, keep your knees and elbows slightly bent, lock the seat and wheel, then recheck visibility. If the seat sticks, clean and inspect before forcing hardware. If it still binds, wobbles, or fails to lock, call a professional before driving.
Sources
- Toyota Owners Manuals and Warranties — official Toyota owner-manual access and owner support.
- Toyota Technical Information System — official Toyota service information source for model-specific repair procedures.
- NHTSA: Vehicle Air Bags and Injury Prevention — airbag seating distance, seat-belt use, and airbag safety guidance.
- 1996 Toyota Supra Owner’s Manual mirror — seat, steering wheel, mirror, seat belt, and SRS precautions for the 1996 Supra.