You’ll stop UV damage by first testing cleaners, then removing embedded grime with a vacuum, soft brush, and a multi‑purpose interior cleaner like Total Interior. Work in sections, spray sparingly, clean seams and vents, then guarantee the surface is neutral for adhesion. Use a microfiber applicator to spread a dedicated UV protectant evenly, allow dwell time, and buff off excess for a streak‑free finish. Follow a regular cadence and sun‑shade strategy to preserve texture and color—more tips follow below.
Quick Answer: Clean & Protect Dashboards Fast
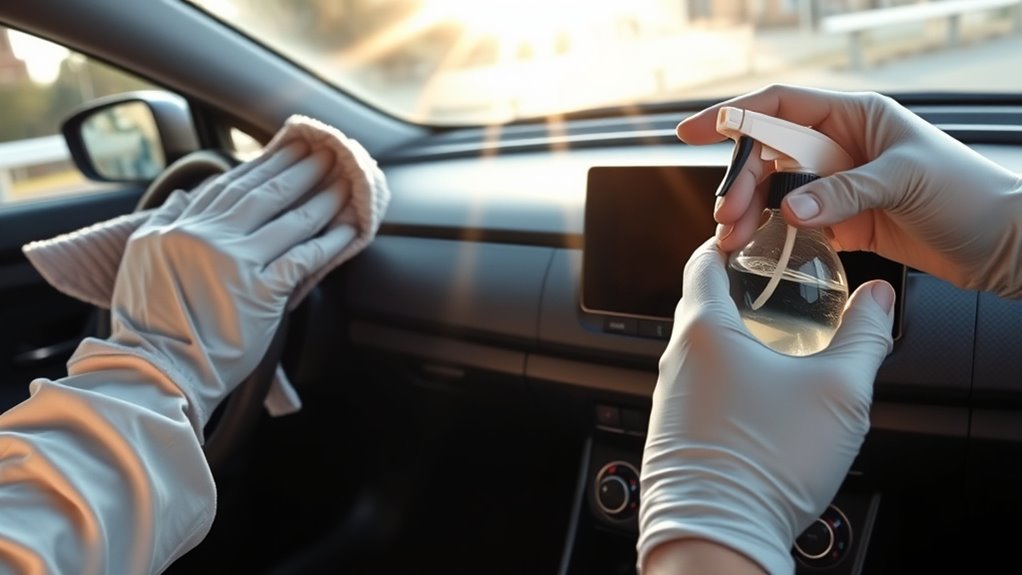
Start by wiping your dashboard with a multi-purpose cleaner such as PureWax Interior Protectant and a microfiber towel to lift dust and grime without scratching the plastic. You’ll work systematically: section the dash, spray sparingly, and wipe in overlapping strokes to remove contaminants and avoid streaks. After cleaning, apply a dedicated automotive UV protectant—target seams, vents, and textured areas where degradation starts. Reapply every few weeks in sunny climates; consistency preserves finish and delays cracking. Consider high-quality window tinting to cut incoming UV and lighten the protectant’s load. Use only lint-free microfiber to prevent abrasions and maintain a uniform matte or low-sheen appearance. This routine is dashboard maintenance distilled: quick, repeatable, and technical, giving you control over the cabin’s lifespan. You’re not just cleaning; you’re reclaiming durability and appearance, reducing future repair constraints and keeping your interior functioning and free from premature failure.
Why UV Wrecks Dashboards : Which Plastics Are at Risk
You’re looking at sunlight breaking polymer chains: UV photons initiate chemical reactions that weaken dashboard plastics, causing fading, crazing, and eventual cracking. Materials like polyurethane and PVC are more vulnerable because their stabilizing additives can leach or degrade, leaving the base polymer exposed. Understanding which additives are present and how UV drives polymer breakdown helps you choose the right protectants to slow aging and prevent warping.
UV-Induced Polymer Breakdown
Although sunlight feels harmless, its ultraviolet (UV) component steadily breaks down dashboard polymers at the molecular level, causing discoloration, loss of flexibility, and eventual cracking. You’ll see UV exposure effects as faded color, chalky surfaces, and shrinking panels when ABS and PVC chains scission under photon attack. Bond cleavage reduces tensile strength—studies report up to 50% loss—so your dash loses impact resistance and tears more easily. Altitude and equatorial proximity amplify radiation intensity, accelerating damage and shortening dashboard longevity. Visual microcracks coalesce into visible fractures; brittle fragments flake away. You can reclaim control: shield interiors with sunshades and apply proven UV protectants to slow photodegradation, preserving structural integrity and the freedom to keep your cabin intact longer.
Additives And Plastic Vulnerability
After UV-driven chain scission has weakened your dash, the presence—or absence—of specific additives determines how fast visible deterioration appears. You’ll see ABS and PVC lose color and fracture where stabilizers and UV absorbers are lacking. Additive types—UV absorbers, HALS (hindered amine light stabilizers), antioxidants, and plasticizers—either shield polymer chains or fail, accelerating embrittlement. When plasticizers degrade, surfaces dry and crack; when stabilizers are present, plastic resilience improves and degradation slows. Visually, deficits show as chalking, crazing, and brittle flakes along seams and curves. You can reclaim agency: choose protectants that supplement missing additives, park in shade, and restore flexibility before resale value collapses. Know the chemistry, then act to preserve your interior’s future.
Prep: Test Materials and Gather Tools Before You Start
Before you touch the dashboard, test cleaners and tools on a small, hidden area to confirm they won’t discolor or soften the plastic. Gather high-quality microfiber towels, a soft brush or vacuum for dust removal, and automotive-specific cleaners and protectants suited for your dash material. Read product labels and warnings—work in a well-ventilated space and follow any chemical-specific instructions.
Test On Hidden Area
When testing a cleaner or protectant, pick a discreet patch on the dashboard and apply a small amount with a clean microfiber towel so you can verify compatibility without risking visible damage. You’ll test compatibility and assess reactions methodically: dab, let dry, inspect. Use a hidden seam or under-vent lip. Wait 24 hours before final evaluation to catch delayed discoloration or texture change. If nothing shows, you’ve cleared the way to treat the rest of the dash.
- Choose a non-visible location for initial contact.
- Use a clean microfiber to avoid abrasion.
- Apply minimal product; spread thinly.
- Let the area dry fully; recheck after 24 hours.
- If adverse effects appear, stop and choose another product.
Gather Necessary Tools
Grab five essentials and set them out where you can reach them: a vacuum, several high-quality microfiber towels, a soft-bristle brush, a tested automotive interior cleaner, and a UV protectant formulated for dashboard plastics. You’ll confirm tool selection shields finishes and speeds work: vacuum first to remove grit, preventing scratches. Use the soft-bristle brush to agitate crevices and lift embedded debris. Test the cleaner on a hidden spot to verify compatibility before broad use. Wring and fold microfiber towels to maximize contact; microfiber benefits include superior lift and minimal abrasion, so you’ll apply cleaner and wipe without scuffing. Finally, apply UV protectant with a clean microfiber pad in controlled passes. Organize tools for efficient, confident execution.
Check Material Labels
Start by reading the dashboard’s material label or owner’s manual to confirm the plastic type and any manufacturer warnings so you know which cleaners and protectants are safe to use. You’ll verify material compatibility, then choose cleaning formulations and tools that won’t degrade polymers or coatings. Do a spot test on a hidden seam; watch for swelling, whitening, or tackiness. Use microfiber towels and a spray bottle for controlled application to avoid abrasion. Prefer automotive-specific products formulated for plastics to preserve UV resistance and finish. Regular, disciplined testing and maintenance frees you from guesswork and extends service life.
- Confirm plastic type and manufacturer warnings
- Spot-test hidden areas before full application
- Use automotive cleaning formulations
- Apply with microfiber and spray bottle
- Schedule regular maintenance and re-tests
Step-by-Step: Clean and Apply an Interior UV Protectant
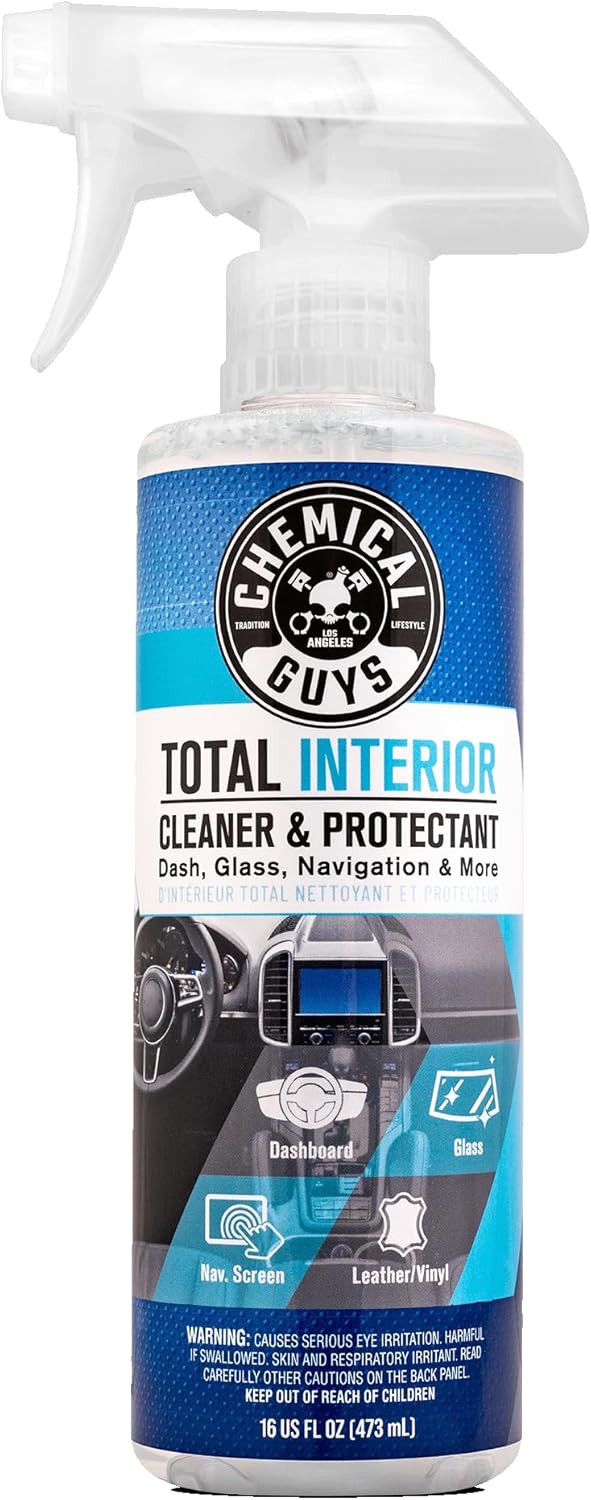
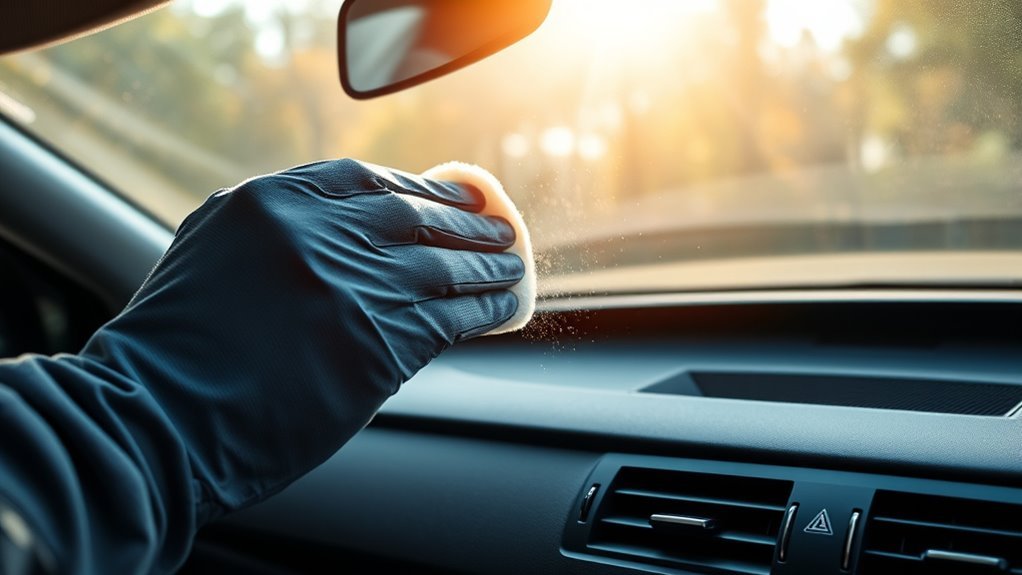
Vacuum the dash and surrounding crevices to remove loose dust and debris, then spray a multi-purpose cleaner like Total Interior and wipe the plastics thoroughly to lift grime and oils. Use dashboard cleaning techniques that move methodically: top-to-bottom, left-to-right, and into vents with a soft brush. Work in a well-ventilated space so you’re not breathing fumes.
After surfaces are visibly clean and dry, apply a dedicated interior UV protectant in thin, even passes—PureWax Interior Protectant works as an example—using a microfiber applicator pad. The goal is uniform coverage without pooling. UV protectant benefits include blocking UV degradation, reducing fading, and preserving texture; you’re protecting function as much as form.
Allow the protectant to set per product instructions, then buff any excess with a clean microfiber towel. Reapply every few weeks to maintain the barrier. These precise, repeatable steps free you from deterioration and keep your dash resilient and visually liberated.
Choosing Cleaners vs. Protectants (PureWax, Total Interior)
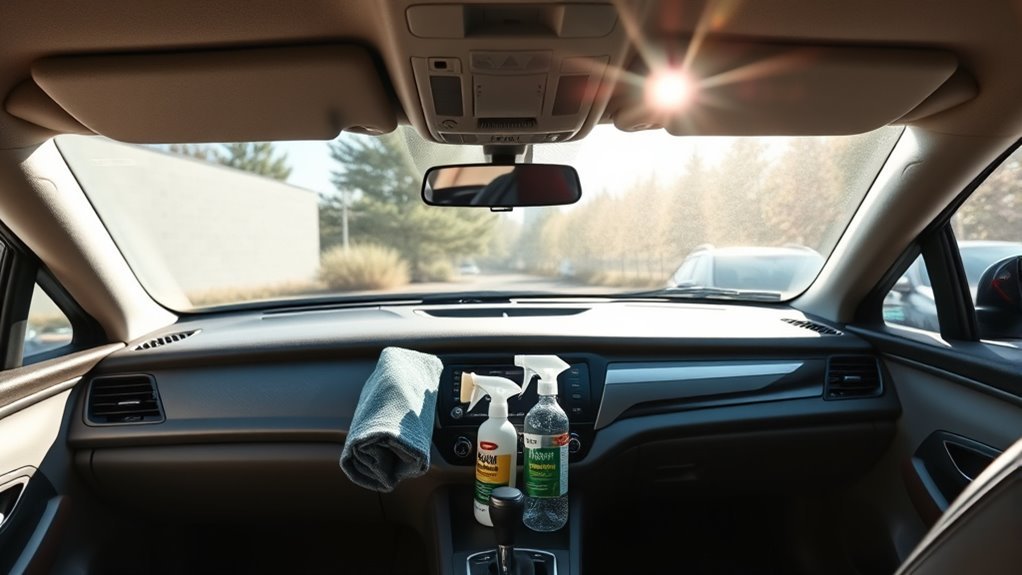
When you’re prepping dashboard plastics, choose a cleaner like Total Interior to strip dirt, oils, and old residue first, then follow with a protectant such as PureWax Interior Protectant to seal and shield against UV damage. You’ll see cleaner benefits immediately: Total Interior removes embedded grime across plastics, rubber, and metal, leaving a neutral surface for adhesion. Apply PureWax for protectant features that block UV, reduce fading, and resist cracking while restoring a controlled, non-greasy sheen.
- Start with Total Interior to expose the raw polymer for better bonding.
- Use microfiber wiping to lift loosened contaminants without abrasion.
- Apply PureWax sparingly, spreading thin for uniform coverage.
- Target high-sun areas (dash top, vents) where UV penetration is greatest.
- Allow proper dwell and buff to guarantee a durable, even barrier.
You’re acting to liberate your cabin from premature decay: clean precisely, protect deliberately, and extend the life and look of dashboard plastics.
Maintenance Plan: Frequency, Streaks, and Long‑Term UV Defense
After cleaning and sealing with Total Interior and PureWax, set a simple maintenance rhythm: apply the protectant every few weeks, wipe dust with a quality microfiber to prevent abrasive buildup, and park in shade or use a sunshade to cut cumulative UV exposure. You’ll keep surfaces consistent by scheduling quick sessions—five to ten minutes—to inspect, dust, and mist on PureWax Interior Protectant. Use automotive-specific cleaners when grime appears; they remove oils that cause streaks and substrate breakdown. Always finish with a clean, dry microfiber to avoid swirl marks and maintain a streak-free finish. For long-term defense, combine product cadence with UV exposure strategies: shade, sunshades, window tint where legal, and covered parking. Monitor for early fading, soft spots, or micro-cracks and retreat sooner if needed. These dashboard longevity tips free you from reactive repairs, letting you preserve texture, color, and value with minimal effort and clear, deliberate actions.
Frequently Asked Questions
How to Protect Plastic From UV Damage?
You protect plastic from UV damage by applying UV coatings or protective films, performing maintenance routines, and scheduling interior detailing; you’ll see less fading, cracking, and freedom from constant worry about deterioration, preserving value and appearance.
How to Protect a Dashboard From Sun?
Use dashboard covers and sun shades, apply UV protectant regularly, tint windows, clean with microfiber, and park in shade. You’ll preserve color, prevent cracking, and reclaim control over your cabin’s longevity and comfort.
How to Protect Car Interior Plastic From Fading?
I’d park under a tree once a week, then apply UV protectant. You’ll use interior maintenance routines and plastic care products, tint windows, wipe gently, avoid harsh chemicals, and reclaim your cabin’s long-lasting, vibrant freedom.
What Is the Best Dash UV Protectant?
PureWax Interior Protectant is the best dash UV protectant; it balances coverage, non-greasy finish, and longevity. You’ll use UV protectants comparison and dashboard maintenance tips to choose and apply it for liberated, resilient interior protection.
Conclusion
Think of your dashboard as a sun‑facing skin—cleaning peels away yesterday’s damage, protectant seals against tomorrow’s burn. Test first, use the right chemistry, and apply even, thin coats so UV blockers form a uniform shield. Keep a regular schedule: light cleans weekly, protectant every few months. Small, consistent acts are stitches in that skin; they stop cracks from mapping your car’s future and keep the interior looking engineered, not weathered.