
What’s in This Article
- Symptoms That Point to a Front or Rear Defroster Fault
- Quick Checks to Try First (Fuse, Switch, A/C, Blower, Vents)
- Test the Rear Defroster Grid and Feed Tabs Safely
- Front Defrost Causes: Mode Door, Blend Door, Servos
- How the RAV4 Defroster Systems Work (Front vs. Rear)
- DIY Repairs vs. Replacement: Conductive Paint, Conductive Epoxy, New Glass
- Diagnostic Checklist and Next Steps by Symptom and Cost
- When to Stop Driving and Get Professional Help
- Frequently Asked Questions
Foggy glass can make a short RAV4 drive risky fast. A weak defroster often starts with a simple fault, such as a blown fuse, poor airflow, or a broken rear grid line. This guide helps you separate front windshield airflow problems from rear glass heater problems, then choose the safest next fix.
Quick Answer
If your RAV4 defroster isn’t working, start with the switch, fuse, A/C function, blower speed, cabin airflow, and vent setting. For the rear glass, check for battery-level voltage at the feed tab, confirm the ground, and trace each grid line for a sudden voltage change. For the front windshield, focus on airflow, cabin filter restriction, mode door movement, blend door movement, and actuator noise.
Key Takeaways
- Check the simple items first: switch, fuse, A/C, blower speed, cabin filter, and blocked vents.
- Test the rear grid with the engine running and the rear defogger turned on.
- Small rear grid breaks often respond to conductive paint or a proper defroster repair kit.
- Front defrost trouble often points to weak airflow, a clogged cabin filter, or a stuck HVAC door.
- Stop driving if fog, frost, smoke, burning smells, or electrical heat blocks safe visibility.
Symptoms That Point to a Front or Rear Defroster Fault
Start by matching the symptom to the right system. If the windshield stays foggy but the rear glass clears, your problem likely sits in the front heating, ventilation, and air conditioning (HVAC) system. If the windshield clears but the rear glass stays foggy, focus on the rear grid, tabs, fuse, relay, or wiring.
A front defrost problem often shows weak airflow, cold air from the dash, clicking behind the dash, or no air from the windshield vents. A rear defroster problem often shows no warm grid lines, only part of the rear glass clearing, a loose side tab, or visible scratches across the printed grid.
Quick Checks to Try First (Fuse, Switch, A/C, Blower, Vents)

Start with five quick checks you can do in minutes. First, press the rear defroster switch and confirm the indicator lights, if your RAV4 has one. The light confirms the control request, but it does not prove that power reaches the rear grid.
Next, inspect the correct fuse listed in your owner manual or fuse-box cover. Replace a blown fuse only with the same amp rating. If the new fuse blows again, stop and have the circuit checked before you keep testing.
Third, select front defrost and confirm the A/C engages when conditions allow it. Toyota owner guidance says the A/C switch helps dehumidify air from the vents and improves windshield defogging. The system may limit A/C operation near freezing, so don’t treat one cold-weather test as final proof of a failed compressor.
Fourth, test each blower motor speed. Weak airflow, no airflow, or odd blower noise can point to a bad blower motor, resistor, control module, or clogged cabin filter. Finally, clear papers, dash covers, ice, or debris that blocks the windshield defrost outlets and side window vents.
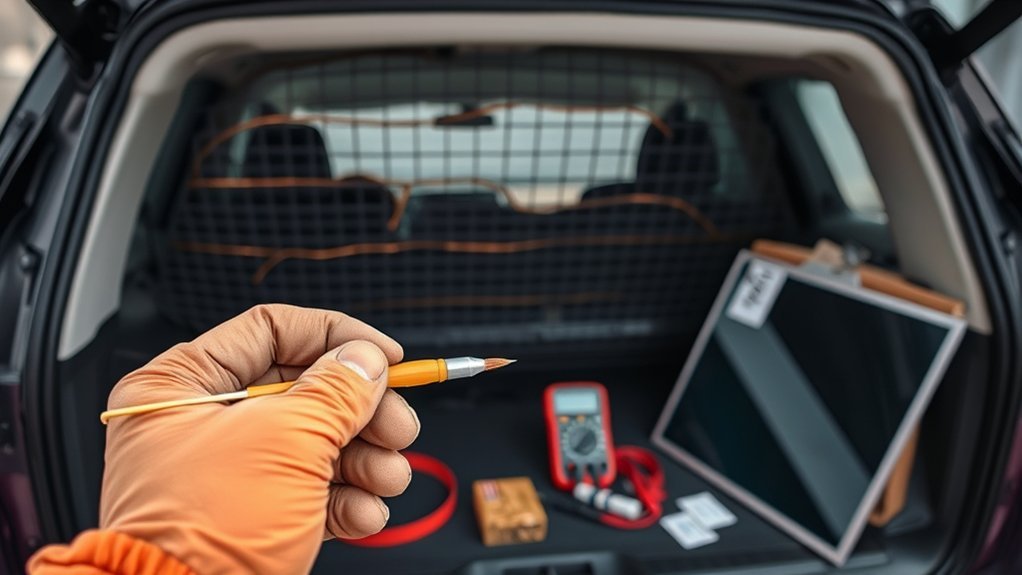
Test the Rear Defroster Grid and Feed Tabs Safely
Before you probe the rear grid, run the engine, turn on the rear defogger, and use a multimeter set to direct current (DC) volts. Check the feed tab and return tab first. A healthy grid often shows about 12-14 V across the bus bars while the system runs.
Now trace each horizontal line. Touch one meter lead to the ground side or a known good ground, then move the other lead slowly along the printed grid line. A smooth voltage change usually points to a complete line. A sudden jump, sudden drop, or dead reading helps you locate an open break.
Warning: Turn the rear defogger off and disconnect the battery before you clean, sand, or apply conductive adhesive to the grid or tab.
If the tabs read low or open, inspect connectors for corrosion, looseness, or broken solderless tab joints. Clean only the metal contact area and avoid scraping the glass. Missing grid voltage at the connector often points to wiring, fuse, relay, switch, or control faults before the glass.
For one short line break, clean the glass, mask the trace, and apply conductive paint or a grid repair compound exactly as the kit directs. Let it cure for the full time before you retest. If several lines fail, a tab tears away, or the glass cracks, rear glass replacement may give you the most reliable repair.
Front Defrost Causes: Mode Door, Blend Door, Servos
After you check the rear grid, shift attention to the front HVAC assembly. Airflow routing and air temperature decide how fast the windshield clears. You need to inspect three main parts: the mode door, blend door, and actuator servos.
The mode door sends air to the windshield, floor, or dash vents. If it sticks in the wrong position, warm air may never reach the defrost outlets. The blend door controls temperature, so a stuck blend door can leave you with cold air even when the engine warms up.
Listen for clicking behind the dash when you change modes or temperature. Watch for air that changes vents slowly, fails to change at all, or comes out cold in every setting. Some actuator repairs need dash access, but you should check fuses, controls, cabin filter flow, and visible linkages first.
Note: Exact actuator location and access steps vary by RAV4 model year, so verify your repair manual before removing trim.
| Component | Common Symptom | Next Action |
|---|---|---|
| Mode door | No airflow to windshield vents | Check actuator movement and door linkage |
| Blend door | Cold air during defrost | Test temperature change and linkage movement |
| Actuator servo | Clicking, buzzing, or no movement | Inspect connector, calibrate if supported, or replace |
How the RAV4 Defroster Systems Work (Front vs. Rear)

Your RAV4 uses two different defroster systems. The front vent and dash system sends heated, dry air to the windshield and front side windows. The rear glass heating grid sends current through printed resistive traces on the inside of the rear window.
Toyota owner guidance says the rear window defogger removes fog, dew, frost, and rain from the rear glass. On equipped models, the same button may also heat the outside mirrors. Many systems shut the rear defogger off automatically after a short period to reduce electrical load.
Troubleshooting differs because the two systems fail in different ways. For the front, inspect airflow, vent doors, cabin filter restriction, blower strength, and actuator movement. For the rear, inspect fuses, wiring, grid lines, side tabs, connectors, and the printed heating traces.
Front Vent/Dash System
Select front defrost on the RAV4’s HVAC control. The system routes air through the defrost outlets aimed at the windshield and front side windows. Toyota guidance also recommends outside-air mode and higher airflow and temperature for faster windshield clearing.
You depend on dry, warm airflow to clear interior fog. If clearing feels weak, check for a clogged cabin filter, blocked dash outlets, a weak blower, or a stuck mode door. A dirty cabin filter can restrict airflow and slow defrost performance.
Rear Glass/Heating Grid
The rear defroster uses a resistive heating grid printed on the inside of the rear glass. The grid warms when electrical current passes through the conductive traces. Power usually reaches the grid through a fuse, relay, wiring harness, control circuit, and side tabs.
Start with the fuse and switch, then test voltage at the feed tab. If the grid has power but one strip stays cold, inspect that strip for a break. Small breaks can respond to conductive paint, but tab damage often needs a conductive tab adhesive or professional glass repair.
Avoid aggressive scraping, metal tools, or abrasive cleaning pads on the inside of the rear glass. These can damage the printed lines. If several lines fail or the tab pulls away from the glass, compare the cost and reliability of repair against rear glass replacement.
DIY Repairs vs. Replacement: Conductive Paint, Conductive Epoxy, New Glass
Choose the repair based on the failure type. Small breaks in the RAV4’s rear defroster grid can often respond to conductive paint if you clean the area, mask the line, apply the compound neatly, and let it cure fully. Test voltage at the rear defroster feed tab before you repair the glass, so you don’t patch a grid that never receives power.
- Conductive paint: best for one or two short grid-line breaks when the tabs and wiring still work.
- Conductive epoxy or tab adhesive: best for a loose or broken electrical tab that must carry current.
- Rear glass replacement: best when the glass cracks, several lines fail, or the tab area can’t hold a reliable repair.
Do not use household glue or standard non-conductive epoxy for an electrical joint. It may hold a tab in place, but it will not restore current flow. Use a defroster tab adhesive or conductive epoxy made for rear-window grid repair.
Repair kit makers also warn against high heat on the glass. Do not solder a detached tab back onto the rear window with a torch, soldering iron, or heat gun. Too much heat can crack the glass.
Diagnostic Checklist and Next Steps by Symptom and Cost
Use a methodical checklist when your RAV4’s rear defroster does not work. Start with the low-cost checks, then move toward parts and glass repair only after you confirm the fault. Record your readings and the conditions you tested under.
- Confirm the symptom. Note whether the front windshield, rear glass, or both fail to clear.
- Check the switch and indicator. Confirm the defroster command works before you test the glass.
- Inspect the fuse. Replace a blown fuse with the correct rating, then stop if it blows again.
- Test blower airflow. Check every fan speed and inspect the cabin filter if airflow feels weak.
- Verify A/C and outside-air mode. Use the front defrost setting, outside air, higher fan speed, and heat for fast clearing.
- Measure rear-grid voltage. Look for about battery-level voltage across the rear grid bus bars while the system runs.
- Trace each rear grid line. Watch for a sudden voltage change that marks a broken trace.
- Inspect rear tabs and connectors. Look for loose tabs, corrosion, damaged wires, or overheated contacts.
- Escalate only when needed. Try conductive repair for isolated grid damage and replace glass for widespread failure.
If you find no voltage at the rear feed tab, trace the fuse, relay, wiring, switch, and ground before you blame the glass. If you find voltage at the feed tab but a line stays cold, focus on the printed grid. This order helps you avoid replacing expensive parts before you prove the cause.
When to Stop Driving and Get Professional Help
Do not drive until you can see clearly through the windshield, side windows, and mirrors. The National Highway Traffic Safety Administration (NHTSA) advises drivers to make sure defrosters and windshield wipers work before winter driving. Poor visibility can turn a small repair into a safety risk.
Get professional help if a fuse keeps blowing, you smell burning plastic, you see melted connectors, the rear glass cracks, or the dash needs major disassembly. You should also call a technician if the vehicle has water leaks, electrical shorts, or airbag-area trim near the repair zone.
Frequently Asked Questions
Can Windshield Wipers Damage Heated Rear Defroster Grids?
Normal rear wiper use should not scrape the heated grid because the grid sits on the inside of the rear glass. Damage usually comes from inside scraping, abrasive cleaning pads, cargo rubbing the glass, stickers, tint removal, or broken electrical tabs.
Do OEM and Aftermarket Cabin Filters Affect Defrost Performance?
Yes. A clogged or restrictive cabin filter can reduce airflow to the windshield and slow defrost performance. Choose a filter that fits your RAV4 correctly, then replace it on the service schedule or sooner if airflow feels weak.
Will Using Max A/C Setting Harm the Defroster Long-Term?
Using Max A/C once in a while should not harm the defroster. For fogged glass, front defrost mode with outside air, heat, and A/C dehumidification usually clears the windshield better than recirculated Max A/C.
Can a Cold Climate Cause Mode Door Servos to Stick Permanently?
Cold weather can make weak actuators, stiff linkages, or moisture problems show up faster. If the door sticks after the cabin warms, you may need actuator testing, linkage inspection, calibration, or replacement.
Is Intermittent Defrosting Covered Under Toyota’s Extended Warranty?
Coverage depends on your model year, mileage, warranty plan, service history, and the failed part. Document the symptom, date, weather, settings, photos, voltage readings, and repair shop findings before you ask a dealer about coverage.
Safety Disclaimer: This article is for informational purposes only and does not replace professional automotive advice. Electrical testing, glass repair, and dashboard work can create safety risks. Consult a qualified mechanic or auto glass technician if you are unsure, if a fuse keeps blowing, or if visibility remains unsafe.
Conclusion
A RAV4 defroster problem becomes easier to fix when you separate front airflow faults from rear grid faults. Start with the switch, fuse, A/C, blower, cabin filter, and vents before you spend money on parts. Then test the rear grid, tabs, connectors, and HVAC doors in a clear order. Restore safe visibility first, then choose the repair that matches the proven fault.
References
- Toyota RAV4 owner guidance: Using the air conditioning system and defogger — Toyota owner manual content, 2020 model guide.
- Winter Weather Driving Tips — National Highway Traffic Safety Administration, 2026 access.
- Defroster Repair and Troubleshooting Guide — Frost Fighter, 2026 access.
- How to Repair a Rear Window Defroster — MG Chemicals, 2026 access.
- Permatex Rear Window Defogger Tab Adhesive Directions — JB Tools product instructions, 2026 access.