Toyota RAV4 Master Warning Light: What to Do Now
What’s in This Article
- Quick Answer: Is It Safe to Drive With the RAV4 Master Warning Light?
- Identify the RAV4 Master Warning Light and When It Appears
- Immediate Checks You Can Do Now (No Tools)
- How to Read Related Dashboard Messages (ABS, TPMS, SRS, Check Engine)
- Cold-Weather and Environmental Triggers for the RAV4 Master Warning Light
- Likely Causes and Typical Fixes (Sensors, Battery, Fluids)
- Mechanic Diagnostic Checklist (Codes, Modules, Tests)
- Costs and Repair Options: DIY vs Dealer
- When to Stop Driving and Call a Tow
- Frequently Asked Questions
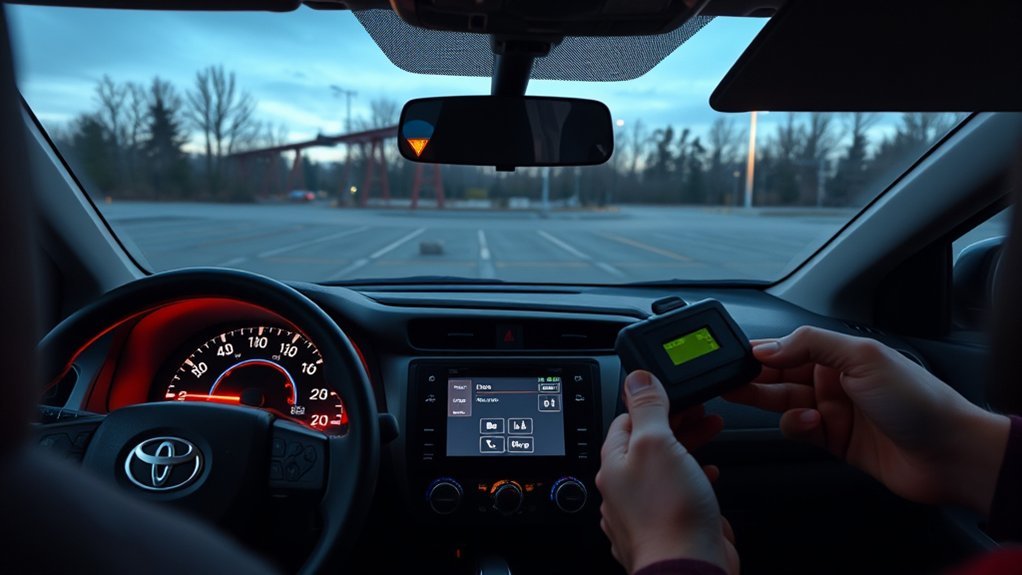
When your RAV4’s yellow triangle master warning light comes on, treat it as a clear signal to stop and check the vehicle. Pull over safely, then scan the dashboard for any message or second warning light. Check simple items first, including doors, fuel level, visible fluid levels, and tire pressure. If the light stays on after you fix the obvious issue, use an OBD-II scanner or ask a technician to diagnose it.
Quick Answer: Is It Safe to Drive With the RAV4 Master Warning Light?
Driving with the RAV4’s Master Warning Light depends on the alert shown on the multi-information display. A minor alert, such as an open door or low washer fluid, may let you continue after you fix it. A warning paired with brake, oil pressure, high-temperature, airbag, steering, or flashing Check Engine lights means you should stop driving and get help.
- Stop safely: Pull over, read the dashboard message, and check your owner’s manual for that alert.
- Look for other lights: Do not keep driving if the warning appears with a red brake, oil, temperature, or steering warning.
- Check the display: Your RAV4 can show a text message that points to the system causing the warning.
- Fix minor alerts: Close open doors, refuel, add washer fluid, or correct tire pressure when the display points to those issues.
Key Takeaways
- Check the dashboard message before you decide whether to keep driving.
- Treat red warning lights as urgent, especially brake, oil pressure, and temperature warnings.
- Inspect doors, tires, fuel, and visible fluid levels before moving to deeper diagnostics.
- Use an OBD-II scanner when the Check Engine light appears or the warning returns.
- Call for a tow if the RAV4 feels unsafe, loses power, overheats, or makes unusual noises.
Identify the RAV4 Master Warning Light and When It Appears
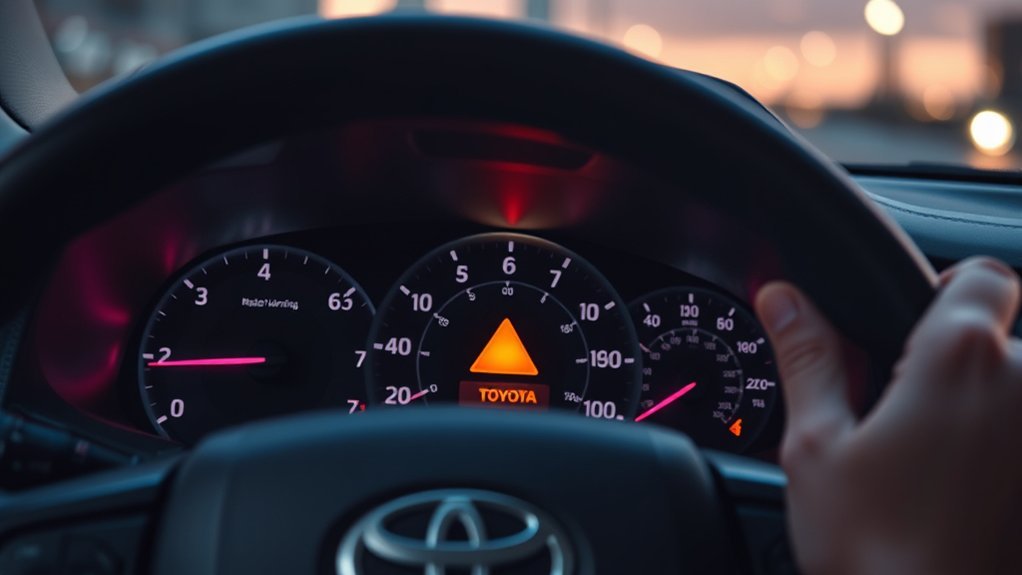
Look for a yellow or amber triangle with an exclamation mark on your dash. Toyota notes that yellow icons usually mark important items, while red icons need immediate attention. The Master Warning icon may light briefly during startup as part of a normal system check. If it stays on while driving, your RAV4 has detected an issue that needs your attention.
The light often appears with a message on the multi-information display or another warning symbol. Check for alerts tied to the anti-lock braking system (ABS), tire pressure monitoring system (TPMS), supplemental restraint system (SRS), or Check Engine system.
Master Warning Icon
The Master Warning icon acts as a general alert. It tells you to check the display and look for a more specific warning. Note the color, message, and any extra symbol. If several warnings appear together, stop driving and arrange service.
When It Illuminates
Notice exactly when the light appears. A light that stays on after startup points to an active fault or unresolved alert. A light that appears while driving can point to low tire pressure, a low fluid level, an engine fault, or a safety system issue.
Cold weather can also trigger sensor-sensitive alerts. Use your owner’s manual and dashboard message to decide the next step instead of guessing.
Color And Accompanying Lights
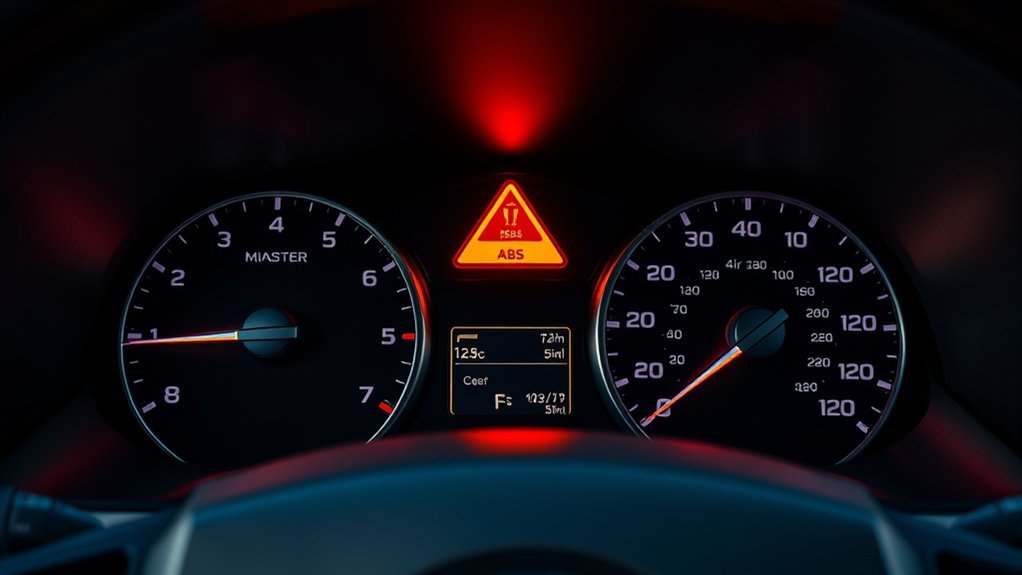
A yellow or amber master warning light signals caution, but the linked message decides how urgent the problem is. If it appears with the TPMS light, check tire pressure. If it appears with the Check Engine light, scan for diagnostic trouble codes. If it appears with ABS or SRS lights, schedule service because those systems affect braking support or crash protection.
Immediate Checks You Can Do Now (No Tools)
Start by scanning the dashboard for other illuminated indicators. These secondary lights point to the problem area. Next, do a quick walkaround. Check that every door, the hood, and the rear hatch have closed fully. A slightly open door can trigger the master warning.
Inspect your tires for obvious low pressure or damage. Check your fuel level, then look under the hood at the coolant and oil level indicators only when the vehicle has cooled enough to inspect safely. Add washer fluid if the display asks for it. Cycle the ignition off and back on only after you confirm no red oil pressure, brake, or temperature warning remains active.
Warning: Do not remove a hot coolant cap or keep driving with oil pressure, brake, or high-temperature warnings.
How to Read Related Dashboard Messages (ABS, TPMS, SRS, Check Engine)
When the Master Warning light comes on, read the specific symbol or text message that appears with it. That message helps you decide whether you face an ABS, TPMS, SRS, Check Engine, or simple maintenance alert.
Interpreting ABS Alerts
The ABS light means the anti-lock braking system needs attention. Stop when safe and check how the brake pedal feels. If the pedal feels normal, your RAV4 may still have standard braking, but anti-lock support may not work during hard stops. Avoid aggressive braking and drive carefully to a repair shop if no red brake warning appears.
Understanding TPMS Messages
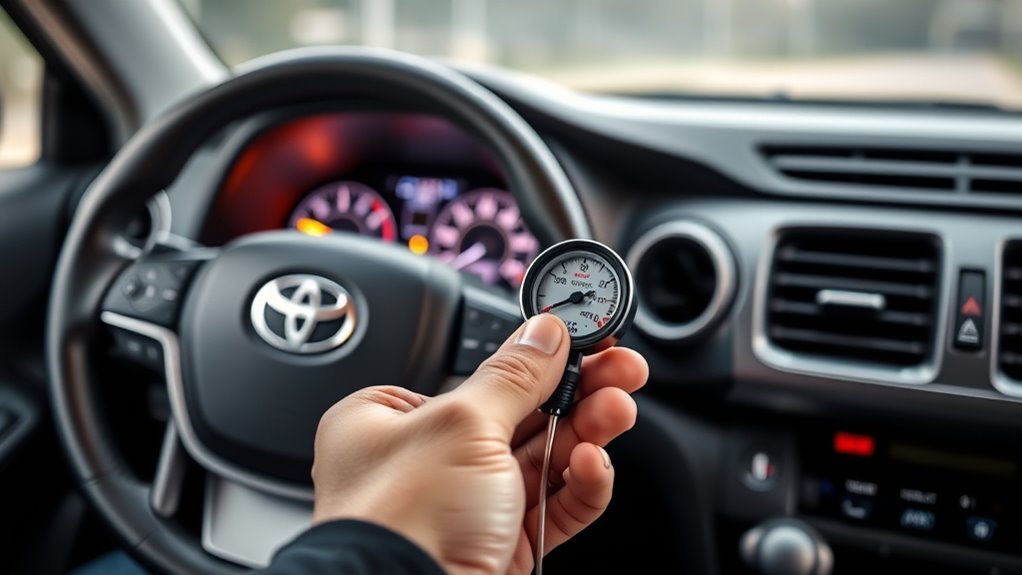
The TPMS light signals low tire pressure or a tire pressure sensor problem. Stop and inspect all four tires. Use an accurate gauge and confirm the pressure matches the sticker on your driver’s side door jamb. The National Highway Traffic Safety Administration says cold tire pressure gives the most accurate reading when the vehicle has not been driven for at least three hours.
If the TPMS light flashes for 60 to 90 seconds and then stays on, the TPMS system may have a malfunction. Schedule an inspection if proper inflation does not turn the light off.
Decoding SRS And CEL
An SRS light means the airbag system has a fault. Toyota warns that ABS or SRS warning lights can mean those systems may not protect you as designed in a crash. Park safely and schedule an inspection as soon as you can.
For a Check Engine Light (CEL), connect an OBD-II scanner to read the trouble codes. Kelley Blue Book explains that OBD-II codes can point to powertrain, body, chassis, or network issues. A CEL can come from a loose gas cap, sensor fault, misfire, or another engine-related problem. Document the codes and repair the root cause before you clear them.
Cold-Weather and Environmental Triggers for the RAV4 Master Warning Light
Dropping temperatures can affect tire pressure, battery output, and sensor readings. NHTSA notes that TPMS lights may turn on during cold mornings when tire pressure dips below the warning threshold. The light may turn off after driving warms the tires, but you should still check pressure with a gauge.
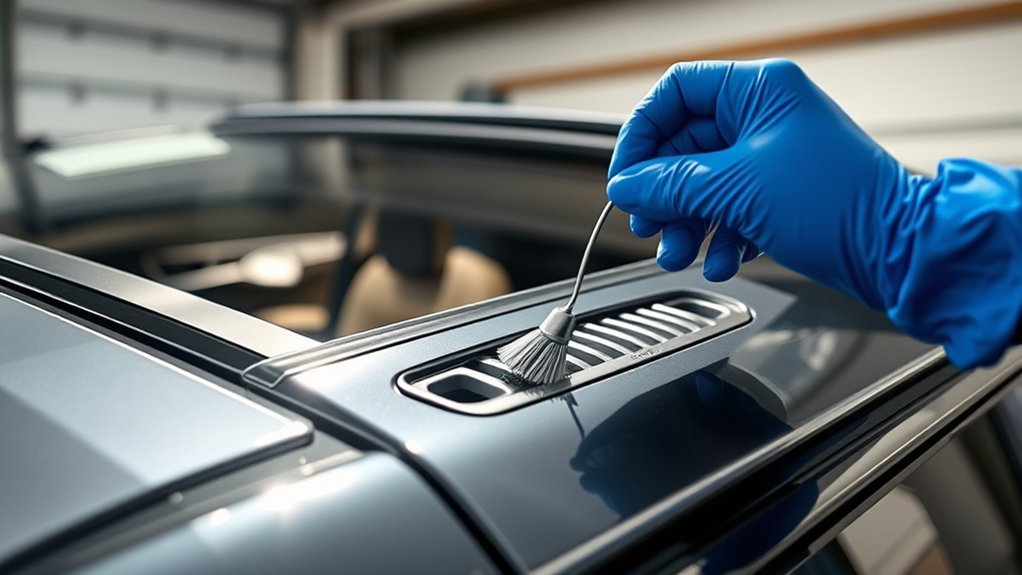
Moisture and freezing temperatures can also affect door switches and other exterior sensors. If the warning appears on a freezing morning and disappears after the vehicle warms up, monitor it closely. If the alert returns often, clean the affected area or ask a technician to test the sensor.
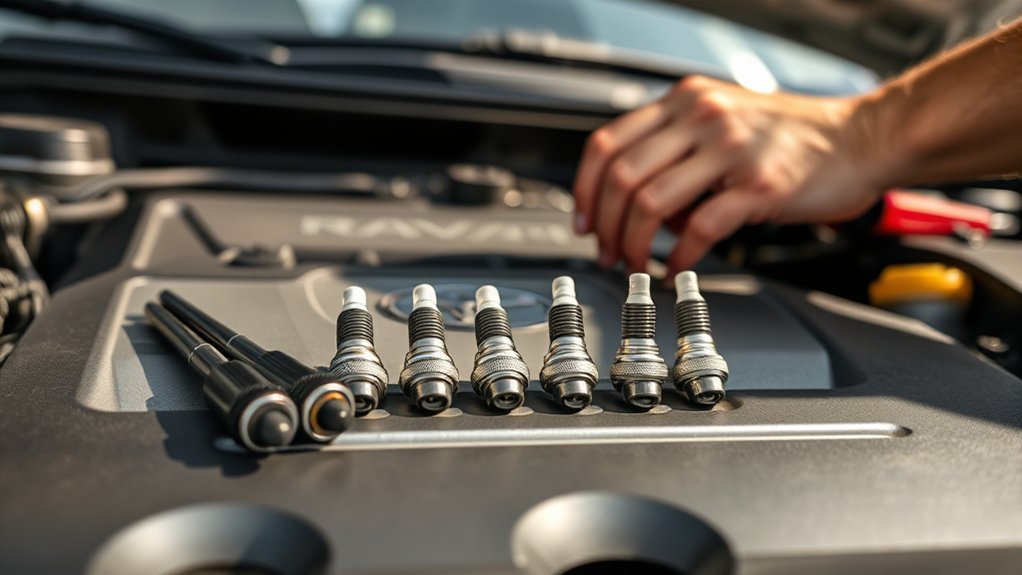
Likely Causes and Typical Fixes (Sensors, Battery, Fluids)
If the master warning light comes on, start with three common areas: sensors, 12-volt battery voltage, and fluid levels. This order helps you rule out simple issues before paying for deeper diagnostics.
- Sensors: Door switches, wheel speed sensors, tire pressure sensors, and temperature sensors can trigger linked alerts.
- Battery voltage: A weak 12-volt battery can cause multiple warnings, especially during cold starts.
- Fluid levels: Low coolant, engine oil, brake fluid, or washer fluid can trigger warnings or dashboard messages.
Fix the item named on the display first. Do not replace parts based only on the master warning icon because the icon covers many systems.
Mechanic Diagnostic Checklist (Codes, Modules, Tests)
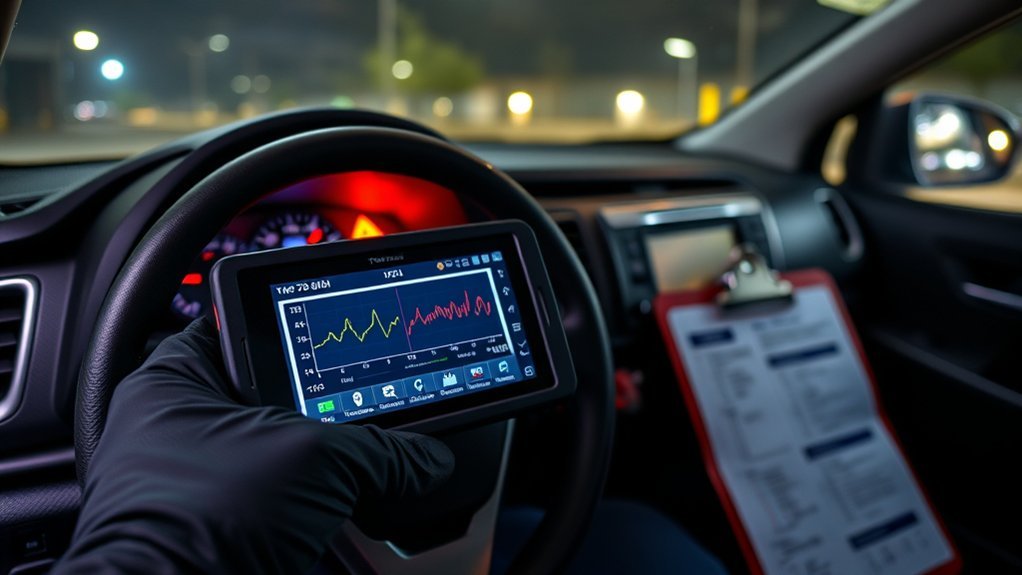
Start with an OBD-II scan to pull stored diagnostic trouble codes (DTCs). Record freeze-frame data when the scanner provides it. Kelley Blue Book notes that freeze-frame data captures sensor readings from the moment the fault occurred. That data helps you avoid guessing.
Next, test the 12-volt battery under load. Low voltage can create false or unrelated alerts. Then check the affected modules, such as engine, ABS, airbag, body control, or tire pressure systems. Test the sensors named by the codes before you replace any part.
Costs and Repair Options: DIY vs Dealer
With the diagnostic codes in hand, you can decide whether to handle the repair yourself or take your RAV4 to a shop. A simple code reader can help you read basic Check Engine codes, but it may not access all Toyota-specific modules. A professional scan tool can read deeper systems like ABS, SRS, body control, and network modules.
Shop diagnostic fees vary by location, labor rate, and the system involved. DIY may make sense for simple items, such as tire pressure, washer fluid, a loose gas cap, or a weak 12-volt battery. Use a trained technician for airbag, brake, hybrid, steering, or module faults.
Note: A code points you toward the problem, but it does not prove which part has failed.
When to Stop Driving and Call a Tow
Stop driving and call a tow truck if the master warning light appears with critical red indicators. Treat brake, oil pressure, high-temperature, steering, or charging warnings as urgent. You should also pull over if you notice sudden power loss, strange noises, stalling, smoke, burning smells, or heavy steering.
Do not restart the engine if the oil pressure light stays on. That choice can cause severe engine damage. Move to a secure location if you can do so safely, turn on your hazard lights, and wait for roadside assistance.
Frequently Asked Questions
How do you reset the Toyota master warning light?
You do not reset the master warning light with a simple dashboard button trick. The light turns off after you fix the issue that triggered it. That fix could mean closing a door, correcting tire pressure, adding fluid, repairing a fault, or clearing codes after a real repair.
Can you diagnose the RAV4 master warning light yourself?
Yes, you can start with simple checks. Read the dashboard message, check tire pressure, inspect fluid levels, confirm all doors have closed, and look for other warning lights. Use an OBD-II scanner when the Check Engine light appears or when the warning returns.
What is the master warning light on a Toyota RAV4?
It is a triangle with an exclamation mark. It acts as a general alert that tells you the RAV4 has detected a problem. The dashboard message or second warning light usually explains the system that needs attention.
Can cold weather trigger the RAV4 master warning light?
Yes, cold weather can contribute to warning lights by lowering tire pressure and weakening battery output. It can also affect sensors around doors, locks, and exterior areas. Check the actual warning message before you blame the weather.
Should you drive with the master warning light and Check Engine light?
Drive only with caution if the engine feels normal and the Check Engine light stays solid. Stop driving if the Check Engine light flashes, the vehicle shakes, power drops, or another red warning appears. Scan the codes before you keep using the vehicle.
Safety Disclaimer: This article is for informational purposes only and does not replace your owner’s manual or a professional vehicle diagnosis. If a warning light appears with brake, oil pressure, temperature, airbag, steering, smoke, or power-loss symptoms, stop safely and contact a qualified technician or roadside assistance.
Conclusion
The RAV4 master warning light tells you to stop guessing and check the exact alert. Read the dashboard message, inspect the simple items, and look for any second warning light. Use an OBD-II scanner or professional diagnostic scan when the issue does not have an obvious fix. If the warning appears with a red light or unsafe driving symptom, pull over and call for help. A calm, step-by-step check protects your RAV4 and keeps you safer on the road.
References
- Dashboard Warning Lights Explained – Toyota Owners, accessed May 2026
- Tire Safety Ratings and Awareness – National Highway Traffic Safety Administration, accessed May 2026
- What Are OBD-II Codes? – Kelley Blue Book, accessed May 2026
- Getting Started with OBD-II Code Readers and Car Diagnostics – Kelley Blue Book, accessed May 2026