The Toyota Supra (2020–2025) uses two OEM cabin filters—87139‑WAA01 and 87139‑WAA02—with pleated paper elements sized to fit behind the glovebox or under the cowl; measure the opening and match gasket profile since WAA02 has a different seal. Typical dimensions correspond to the glovebox housing; install with the airflow arrow forward. Replace every 15,000–30,000 miles or sooner in dusty conditions, and keep looking below for detailed fitment, removal, and part-confirmation tips.
Exact Supra Cabin Air Filter Size (2020–2025) : Dimensions & OEM Part Numbers
Although the Supra’s cabin filter location can vary by trim, the 2020–2025 models use OEM part 87139‑WAA01 or 87139‑WAA02, and those filters are engineered to fit snugly behind the glove box or under the cowl. You’ll find a pleated paper element sized to exact tolerances so sealing faces align with the housing and prevent bypass. That design optimizes filter performance by maximizing media area within a compact footprint, capturing dust, pollen, and pollutants while minimizing pressure drop. You should replace the element at recommended intervals to preserve HVAC efficiency and cabin air quality. For confident servicing, follow installation tips: orient pleats per arrow markings, confirm gasket seating, and torque fasteners to spec. MSRP typically runs $41.99–$52.99.
Which Supra Years Use 87139‑WAA01 vs 87139‑WAA02 (Cabin Air Filter)
While most 2020–2025 GR Supra models use Toyota part 87139‑WAA01 as the factory cabin air filter, 87139‑WAA02 appears as an alternative for specific configurations—typically vehicles with optional equipment or regional variations that call for a slightly different gasket profile or media specification. You’ll find 87139‑WAA01 fitted to the majority of US and global standard trims; it’s the baseline for Supra filter compatibility and routine replacements. 87139‑WAA02 is supplied when a trim or market requires altered sealing geometry or slightly different filtration performance. Both parts filter dust, pollen, and pollutants, and both need scheduled replacement to preserve HVAC output and comfort. Check your VIN or parts catalog to confirm the correct part number for your exact Supra configuration.
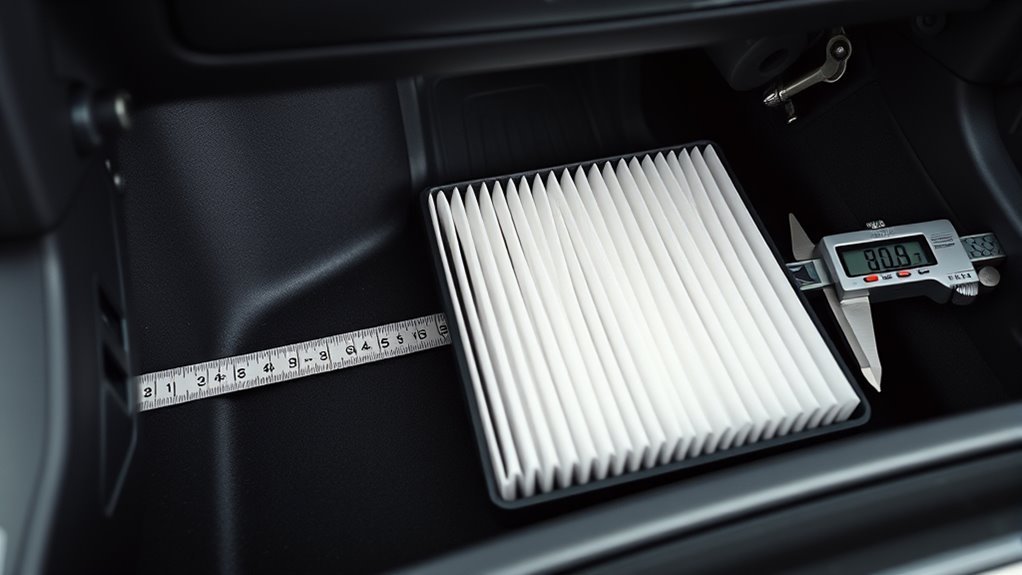
How to Measure Your Supra’s Cabin Filter Opening
Now that you know which Supra models take 87139‑WAA01 versus 87139‑WAA02, you’ll want to confirm the actual opening dimensions before ordering a replacement. Locate the access door (behind the glove box or under the cowl). Use measuring tools — a ruler or tape — to record width, height, depth, noting seals or obstructions that reduce usable space. Compare to OEM specs from the manual or parts catalog. Verify the new filter’s dimensions match your measured opening to secure fit and airflow. Maintain liberation by owning the process: precise measurement prevents returns and wasted parts.
| Dimension | Method | Notes |
|---|---|---|
| Width | Tape | Measure edge to edge |
| Height | Ruler | Include seal clearance |
| Depth | Tape | Account for stop lip |
Best Aftermarket & Charcoal Cabin Air Filters That Fit the Supra

Picking the right aftermarket or charcoal cabin air filter for your Supra (2020–2025) means matching exact dimensions and filtration performance — you’ll want a pleated, activated‑charcoal element that fits the OEM housing, maintains airflow, and captures fine particulates and odors. You’ll find K&N and AEM deliver proven aftermarket benefits: pleated media, durable frames, and service intervals up to ~12,000 miles. Choose filters specified for your model year to avoid gaps or pressure drops. Charcoal effectiveness reduces VOCs, odors, allergens, and ultrafine particles, improving in-cabin air quality for sensitive occupants. Install a compatible pleated charcoal unit to retain HVAC efficiency while gaining longer life and superior contaminant adsorption—precise fitment equals liberated, healthier driving without compromise.
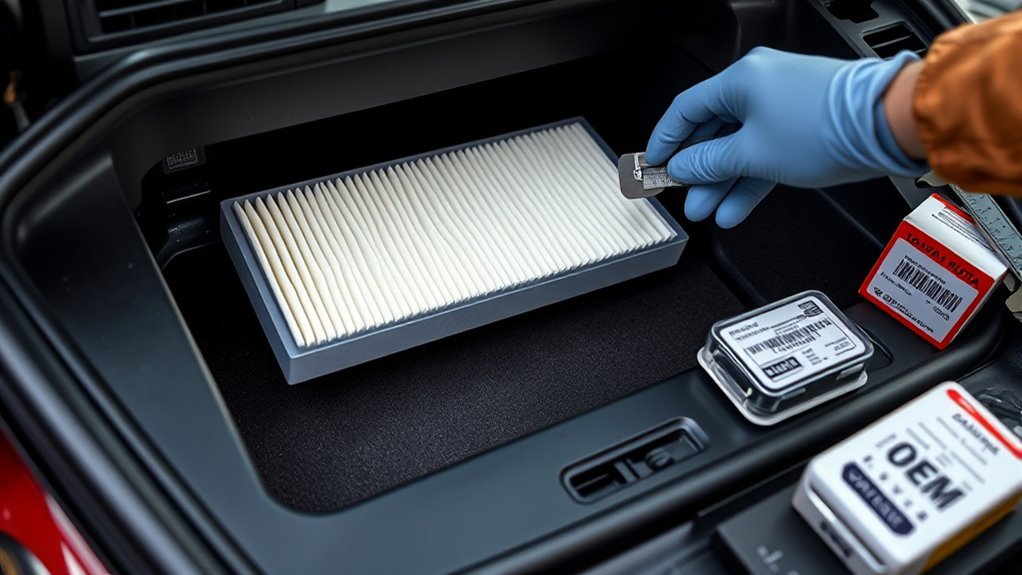
How to Remove and Inspect the Supra Cabin Air Filter (Glovebox & Cowl)
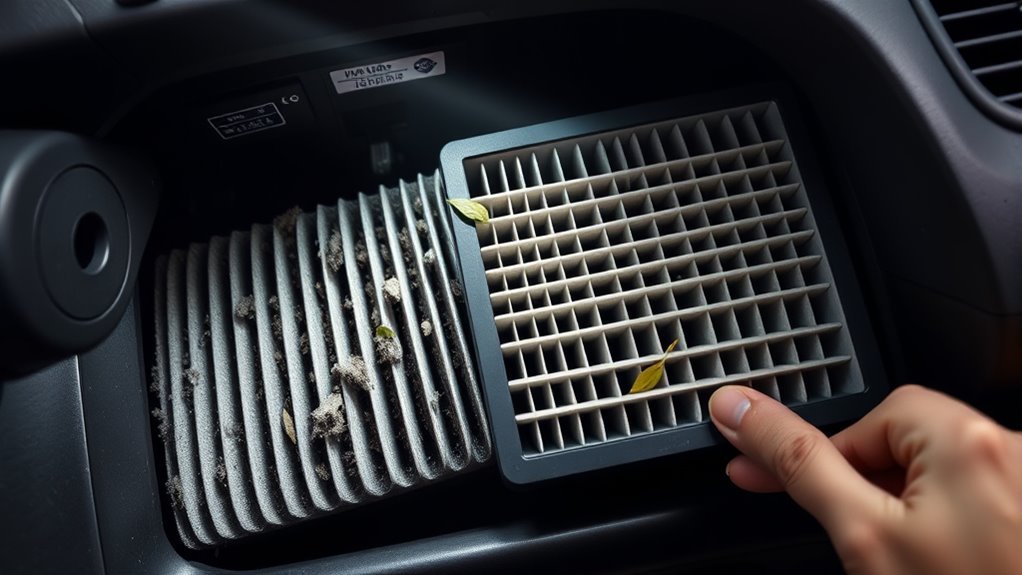
After choosing a compatible pleated charcoal or aftermarket cabin filter, you’ll need to remove and inspect the existing element to confirm fit and condition. For glovebox access, open the glove compartment and press the sides inward to detach it from the dash. Behind it you’ll find the filter cover; unclip or unscrew to expose the element. Pull the old filter straight out, noting orientation for reinstallation.
After selecting a compatible pleated charcoal or aftermarket cabin filter, remove the glovebox, expose the cover, and pull the old filter straight out.
- Check for accumulated dust, leaves, and visible debris.
- Assess pleat integrity and any moisture or mold presence.
- Compare dimensions to the replacement to verify compatibility.
- Note replacement interval (15,000–30,000 miles or sooner in dusty environments).
Reinstall by reversing steps, secure the cover, reattach the glovebox. This is essential filter maintenance.
Fitment Pitfalls : Confirm Orientation, Seal, and Correct Fit
When reinstalling the cabin filter, make sure the airflow arrow matches the HVAC duct direction so the media performs as designed. You’ll also confirm the filter seats evenly with no gaps around the perimeter so unfiltered air can’t bypass the element. Use the correct 2020–2025 GR Supra part (87139‑WAA01/87139‑WAA02) and clear any housing debris before closing to guarantee a proper fit and seal.
Correct Filter Orientation
1 clear rule governs cabin filter installation in the GR Supra: orient the airflow arrow toward the cabin and seat the filter so its gasket seals completely against the housing. You’ll prevent bypass and preserve HVAC performance by following that directive; wrong airflow direction reduces efficiency and lets particles through. Use filter maintenance tips and confirm airflow direction each service.
- Verify part number and model-year compatibility (2020–2025) before fitment.
- Inspect housing for debris or damage that could impede seating.
- Align the arrow, then press evenly to engage the gasket around the perimeter.
- Run the blower at low speed to check for unusual noises or reduced flow.
You’re aiming for freedom from preventable faults—accurate orientation is nonnegotiable.
Ensure Proper Seal
Although correct orientation is essential, you’ll also need to confirm the filter’s rubber gasket seats fully against the housing to prevent bypass and preserve filtration efficiency. When you install the cabin air filter, inspect the gasket for uniform contact; any gap lets unfiltered air erode cabin air quality and negates filter maintenance efforts. Verify the filter size matches your Toyota GR Supra model year so the edge aligns precisely with the housing flange. Check the filter door and latch for gaps or misalignment that could distort the seal under vibration. During routine filter maintenance, recheck seating and compatibility; tighten or replace damaged gaskets and correct misaligned doors. A secure seal keeps contaminants out and restores control over in-cabin air quality.
Recommended Replacement Intervals and When to Change More Often
Because driving conditions and local air quality vary, you should plan to replace the GR Supra’s cabin air filter every 15,000–30,000 miles under normal use, and check it more frequently if you notice reduced HVAC airflow, musty odors, or increased cabin dust. You’ll follow the manufacturer’s schedule for baseline maintenance and adjust based on environment to protect occupant health and comfort.
- In high pollen, dust, or pollution zones, change every ~10,000 miles.
- Inspect the filter at routine service intervals for contamination.
- Prioritize replacement when cabin particulates rise or ventilation efficiency drops.
- Use OEM or equivalent filters to maintain specified filtration and fit.
You’ll act proactively; sustained clean cabin air supports autonomy, wellbeing, and a liberated driving experience.
Signs a Cabin Air Filter Is Clogged and Quick Diagnostic Checks
After following the recommended replacement schedule, you should watch for warning signs that the cabin air filter is blocked before it affects comfort or HVAC performance. You’ll notice reduced airflow from vents, persistent cabin odors, increased dust on surfaces, and a drop in fan effectiveness even at maximum setting. Noisy blower operation or uneven vent output also points to restriction. Perform a quick diagnostic: visually inspect the filter housing, remove the filter, and check for dark buildup, debris, or compression. Use your hand to feel airflow at each vent with the fan at high; significant differences indicate blockage. Increased allergy symptoms or visible pollutants inside the cabin demand immediate replacement to restore air quality and liberated driving comfort.
Cost, Warranty, and Where to Buy Genuine Toyota Cabin Air Filters
When you shop for genuine Toyota cabin air filters for the GR Supra, expect to pay roughly $41.99–$52.99 depending on the part and any current discounts, with popular OEM options (87139‑WAA01 and 87139‑WAA02) often marked down by about 33% and 29% respectively. You’ll see fast shipping (1–3 business days) and clear cost comparison data when evaluating dealers. All genuine filters include a manufacturer’s warranty, so you capture warranty benefits tied to performance and fitment. Buy through authorized Toyota dealerships or reputable online parts retailers to guarantee compatibility across 2020–2025 GR Supra model years.
Genuine Toyota GR Supra cabin filters: $41.99–$52.99, fast shipping, OEM options 87139‑WAA01/02, buy from authorized dealers.
- OEM part numbers: 87139‑WAA01, 87139‑WAA02
- Price range: $41.99–$52.99
- Shipping: 1–3 business days
- Channels: dealers, online retailers
Frequently Asked Questions
Are Cabin Filters One Size Fits All?
No, cabin filters aren’t one size fits all; you’ll check filter compatibility for your vehicle and follow installation tips precisely, ensuring proper fit, airflow, and filtration so you can maintain clean, liberated cabin air and HVAC efficiency.
What Is the Part Number of the Cabin Air Filter on a Toyota Chr?
The part number is 87139-0R010. You’ll maintain Toyota CHR cabin air quality by scheduling filter maintenance regularly, replacing with genuine parts, and ensuring proper fitment to preserve airflow, efficiency, and liberated driving comfort.
Conclusion
Keep your Supra’s cabin air filter in top form like a pulse keeping the cockpit alive: measure accurately, match OEM part 87139‑WAA01 or 87139‑WAA02 to year, confirm orientation and seal, and swap charcoal or OEM elements at recommended intervals. Inspect behind the glovebox and cowl for fitment pitfalls, and act on clogging signs to protect HVAC performance. A timely, precise replacement preserves comfort, safety, and that driving thrill you expect.