For a 2020–2026 Toyota GR Supra, the cabin air filter is best matched by OEM part number or a verified aftermarket cross-reference, not by dimensions alone. Current U.S. catalog data shows two main Toyota filter paths: 87139-WAA03 for the activated-carbon/nano filter, replacing 87139-WAA01, and 87139-WAA05 for the micro-dust/non-activated-carbon filter, replacing 87139-WAA02. Aftermarket dimensions are close but not identical: MANN-FILTER lists a Supra application at 300 × 212 × 30 mm, while K&N lists 297 × 213 × 30 mm, so always confirm the exact filter against your VIN and catalog fitment.
Quick Answer
A common nominal Toyota Supra cabin air filter size is about 300 × 212 × 30 mm, although exact aftermarket measurements vary slightly by filter design. For current U.S. OEM fitment, 87139-WAA03 is the activated-carbon/nano-filter path and supersedes 87139-WAA01, while 87139-WAA05 is the micro-dust/non-activated-carbon path and replaces 87139-WAA02. Confirm the filter by VIN or a trusted vehicle-specific catalog before ordering.
Last updated: September 16, 2026.
Research note: This guide was cross-checked against Toyota parts and maintenance information plus current filter-manufacturer catalogs. It does not claim hands-on comparative testing of every filter listed.
Key Takeaways
- For 2020–2026 GR Supra models, part-number or VIN fitment is safer than shopping by a generic cabin-filter size alone.
- Toyota 87139-WAA03 is the activated-carbon/nano-filter path and Toyota lists 87139-WAA01 as its previous version.
- Current U.S. Toyota dealer catalogs list 87139-WAA05 as replacing the older 87139-WAA02 micro-dust filter.
- Common verified aftermarket dimensions include 300 × 212 × 30 mm and 297 × 213 × 30 mm, depending on filter design.
- Toyota’s U.S. GR Supra maintenance schedule calls for cabin air filter replacement every 20,000 miles or 24 months.
- The filter is accessed from the passenger-side lower dash area beneath the glove compartment.
At a Glance
| Common Nominal Size | About 300 × 212 × 30 mm; exact published dimensions vary by aftermarket design |
| Current OEM Paths | 87139-WAA03 activated-carbon/nano; 87139-WAA05 micro-dust/non-activated-carbon |
| Replacement Interval | 20,000 miles or 24 months under the U.S. Toyota maintenance schedule |
| Location | Passenger footwell/lower dash beneath the glove compartment |
| Time Required | About 15 minutes for an experienced DIY replacement; allow longer for a first attempt |
| Tools Needed | Flashlight and the correct screwdriver or driver for the lower-panel/filter-door fasteners |
Exact Supra Cabin Air Filter Size (2020–2026): Dimensions & OEM Part Numbers
There is no single dimension you should use as the only fitment test for every GR Supra cabin filter. Verified aftermarket catalogs publish slightly different measurements for filters they list for the Supra. MANN-FILTER CU 30 007 lists 11.8 × 8.3 × 1.2 inches, or approximately 300 × 212 × 30 mm. K&N lists its Supra filter at 11.688 × 8.375 × 1.188 inches, or 297 × 213 × 30 mm.
The small difference between those two verified filters is enough to show why a seller’s dimensions should be treated as a cross-check rather than the primary fitment key. Match your Supra by model year, VIN, Toyota OEM number, or a trusted aftermarket catalog that explicitly lists the GR Supra.
| Verified Filter | Published Dimensions | Use |
|---|---|---|
| MANN-FILTER CU 30 007 | 300 × 212 × 30 mm | Particulate cabin filter cataloged for Toyota Supra applications. |
| K&N Supra cabin filter | 297 × 213 × 30 mm | Aftermarket Supra-specific fitment; use its vehicle catalog rather than dimensions alone. |
For OEM fitment, Toyota’s official parts catalog identifies 87139-WAA03 as an Air Refiner Element and lists 87139-WAA01 as its previous version. Current U.S. Toyota dealer catalogs also list 87139-WAA05 as replacing 87139-WAA02.
| Toyota Part Number | Filter Type / Status | What to Check Before Buying |
|---|---|---|
| 87139-WAA03 | Current activated-carbon/nano-filter path; Toyota lists WAA01 as the previous version. | Confirm VIN fitment and that you want the activated-carbon/fine-particle version. |
| 87139-WAA05 | Current micro-dust/non-activated-carbon path in U.S. dealer catalogs; replaces WAA02. | Confirm VIN and current dealer catalog before ordering. |
| 87139-WAA01 | Earlier filter number; Toyota identifies WAA03 as the newer version. | If a listing still shows WAA01, check the WAA03 supersession for your VIN. |
| 87139-WAA02 | Earlier micro-dust filter number; current U.S. dealer catalogs list WAA05 as its replacement. | Do not assume old inventory is the latest catalog number; verify WAA05 fitment. |
Fitment rule: Use dimensions to confirm that a filter looks plausible, but use the VIN, current Toyota part number, or a manufacturer catalog explicitly listing your GR Supra to make the final purchase decision.
[Products Worth Considering]
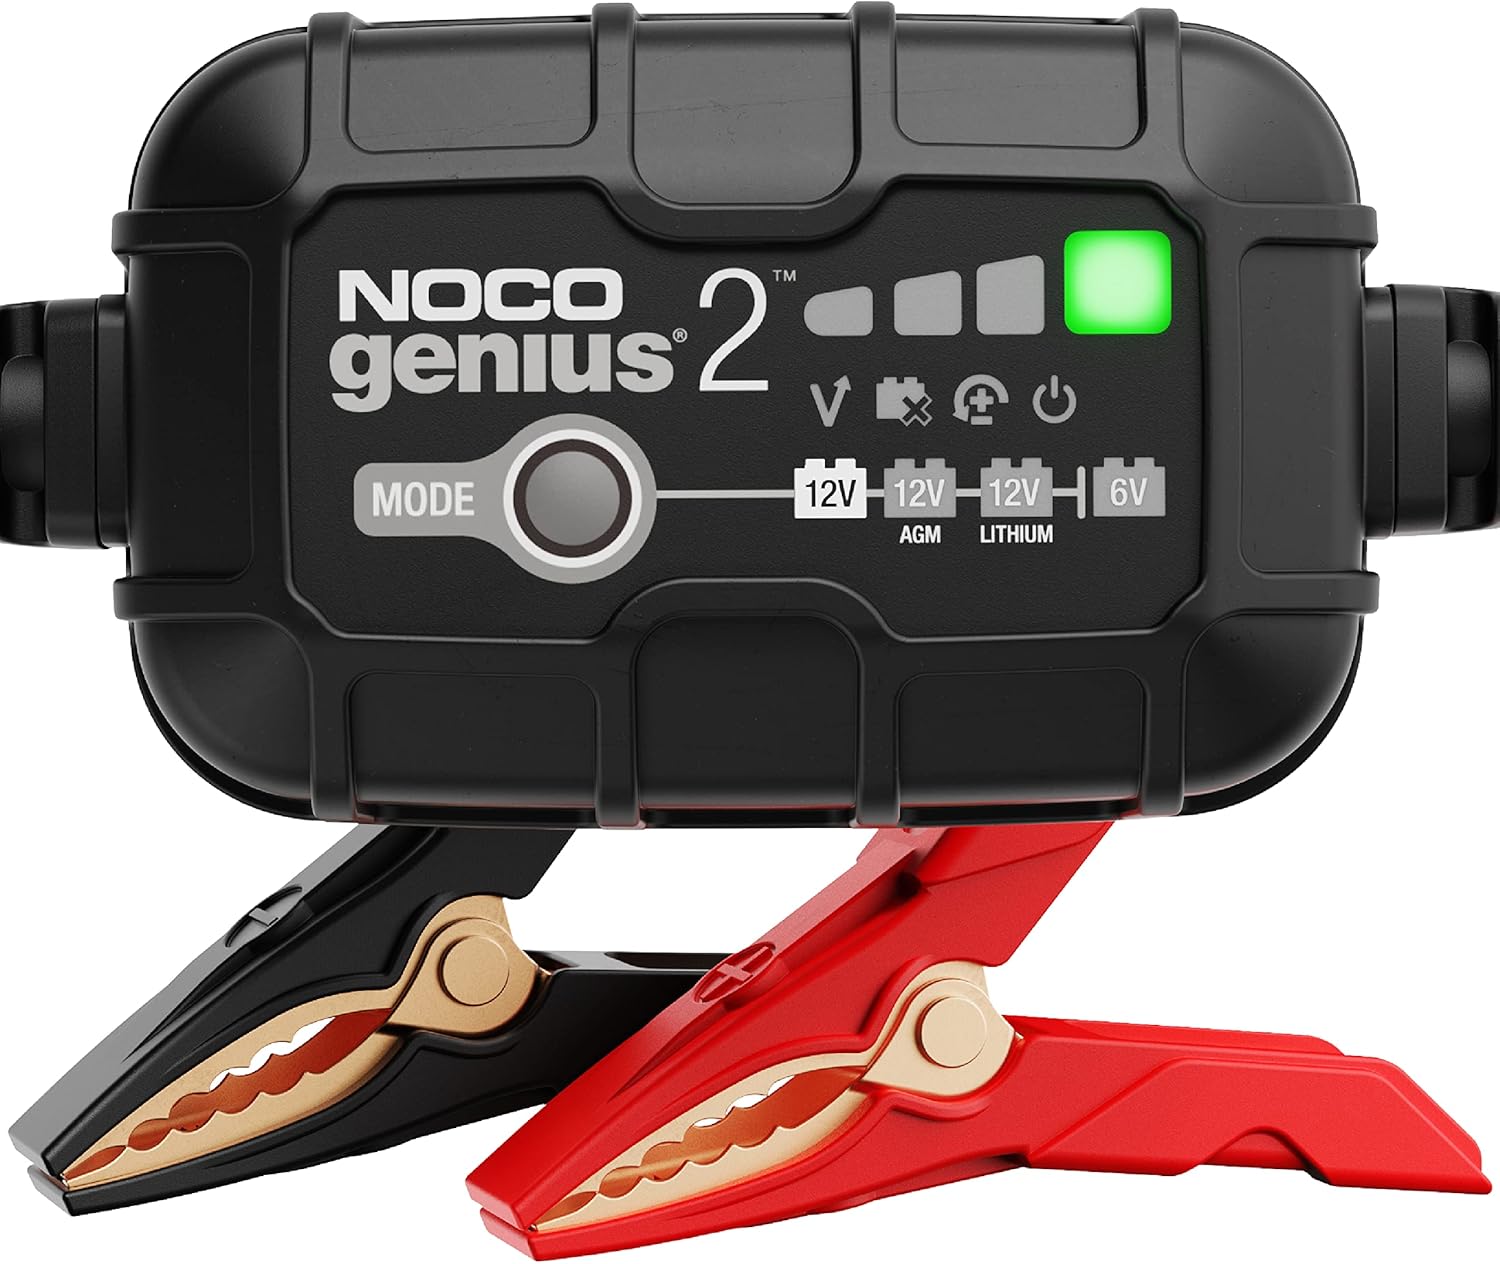
The NOCO GENIUS2 is a compact, all-in-one smart charger that automatically charges, maintains, and restores 6V and 12V lead-acid and lithium batteries. It features temperature compensation, overcharge protection, pulse desulfation, and Force Mode for reviving deeply discharged batteries, making it ideal for long-term battery care across many vehicle types. Designed for safe indefinite connection, it helps extend battery life and keep batteries ready to go.

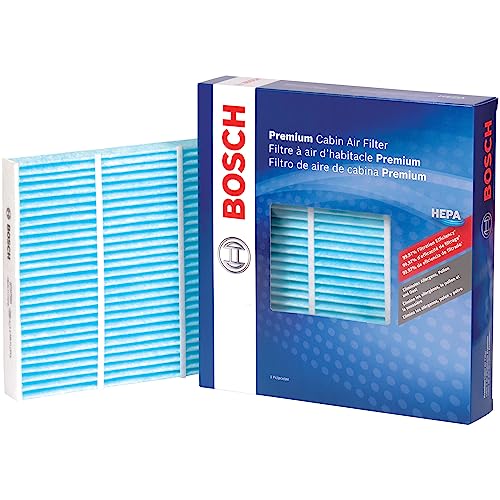
Bosch 6029C HEPA cabin air filter is designed to help keep your vehicle’s passenger compartment filled with clean, fresh, odor-free air. Its dense HEPA media and electrostatic layer are engineered to capture fine particles while the added cotton layer supports higher filtration capacity. Built with structural ribs for stability, it helps maintain filter shape and airflow performance over time.

EPAuto CP134 is a premium cabin air filter designed to help keep the air inside your vehicle cleaner and fresher. It includes activated carbon to help reduce odors and support a more comfortable ride for drivers and passengers. Built as a replacement option for many Honda and Acura models, it offers broad compatibility and dependable cabin air filtration.
Which Supra Years Use 87139-WAA01, WAA02, WAA03, or WAA05?
For U.S. 2020–2026 GR Supra applications, the cleaner way to understand the catalog is by filter type and supersession, not by assigning one part number to one model year. Toyota lists WAA03 as the newer version of WAA01, while current U.S. dealer catalogs list WAA05 as replacing WAA02. Current 2025–2026 catalogs show both WAA03 and WAA05 as available GR Supra air-refiner elements.
The practical choice is therefore between two current catalog paths: WAA03 for the activated-carbon/nano/fine-particle filter and WAA05 for the micro-dust/non-activated-carbon filter. Parts catalogs can change, so enter the VIN on Toyota’s parts system or have a Toyota parts counter confirm the current number before paying.
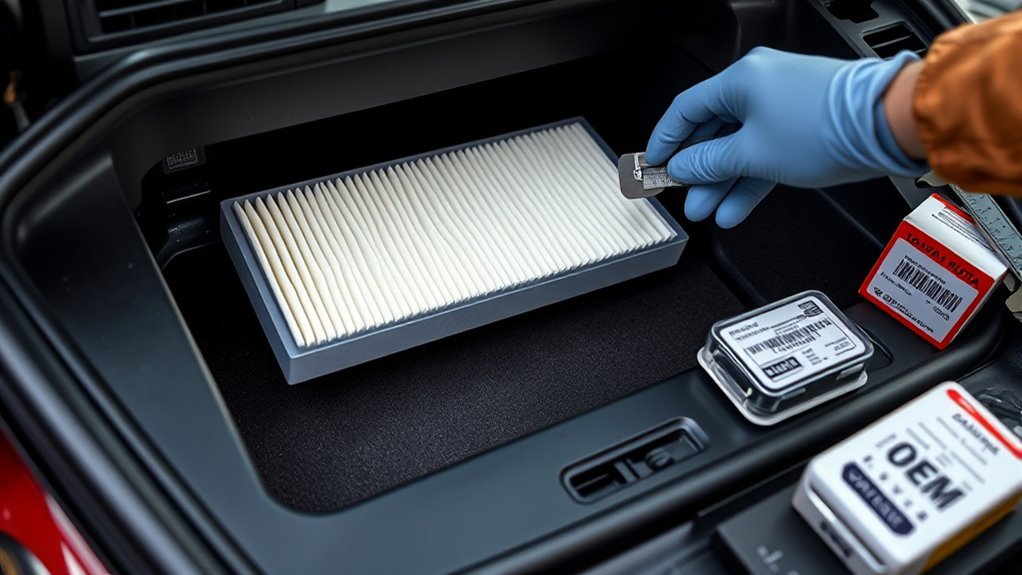
Pro Tip: If the old filter is still installed, photograph its label before removal. The printed Toyota or aftermarket number gives you a useful cross-reference, but still check for a newer superseding number before reordering the exact same code.
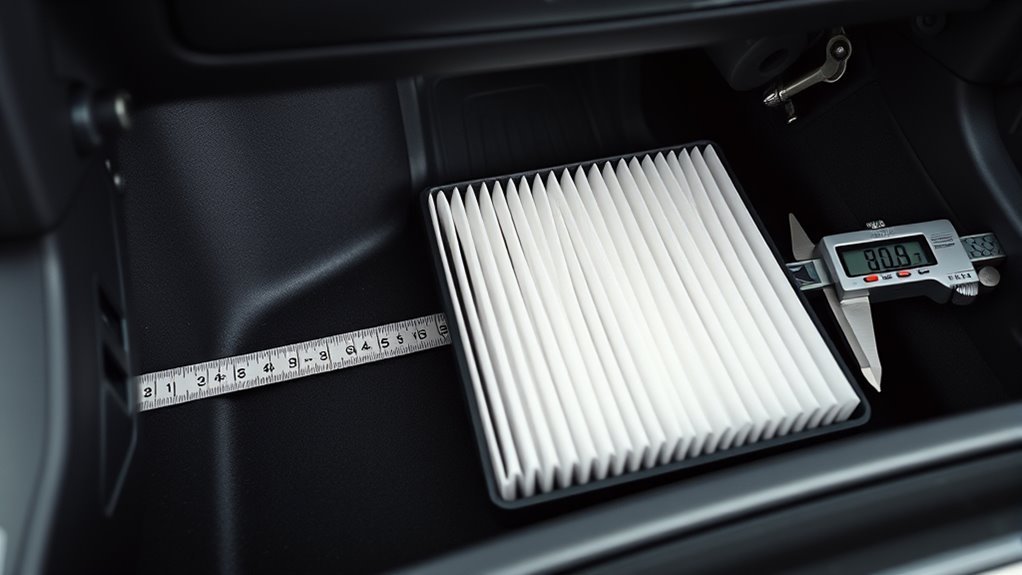
How to Measure Your Supra’s Cabin Filter as a Fitment Cross-Check
Measuring is useful when an aftermarket seller gives dimensions but does not show a clear Toyota cross-reference. It should be a secondary verification step, not the main way you select the filter. Published Supra aftermarket measurements already vary slightly between manufacturers.
| Dimension | Method | Notes |
|---|---|---|
| Length | Tape measure or caliper | Measure the full frame, not only the pleated media |
| Width | Tape measure or caliper | Compare with the replacement maker’s measurement diagram |
| Height | Ruler or caliper | Include the frame and sealing profile where the manufacturer does |
Also compare the old and new filters side by side. Check the frame shape, pleat layout, edge profile, orientation markings, and access-door clearance. If the part number is correct but the cover will not close normally, stop and recheck alignment rather than crushing or trimming the filter.
OEM vs. Aftermarket & Charcoal Cabin Air Filters for the Supra
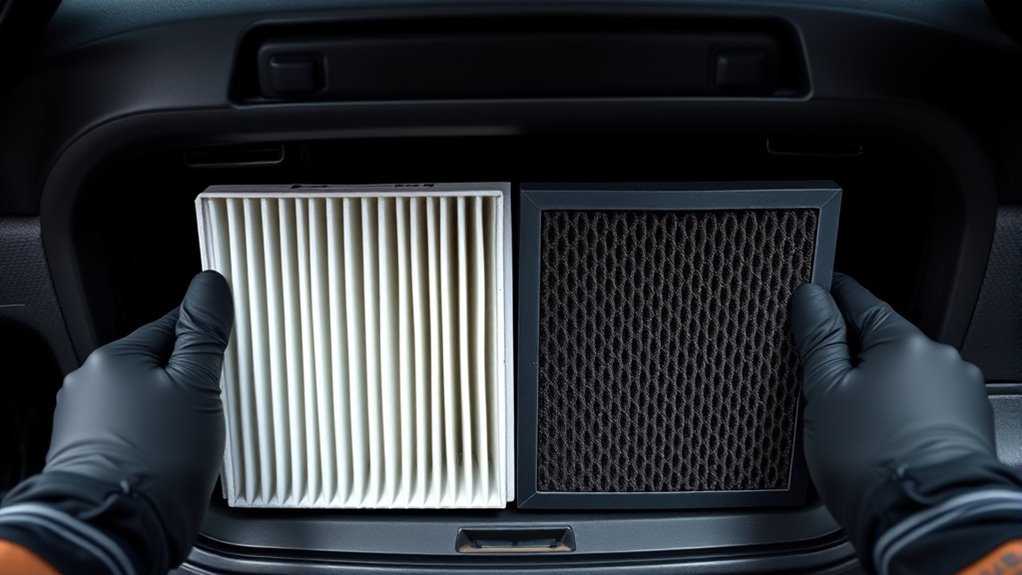
The GR Supra has more than one filtration option, so decide first whether you want a basic micro-dust/particulate filter or an activated-carbon filter. In the current Toyota catalog paths discussed above, WAA05 fills the micro-dust/non-activated-carbon role, while WAA03 is the activated-carbon/nano-filter option.
Activated carbon can adsorb some odor-causing and gaseous contaminants in addition to trapping particles. A standard particulate or micro-dust filter focuses mainly on airborne particles such as dust and pollen. The more important fitment requirement is that the frame seals correctly in the Supra HVAC housing.
Verified aftermarket catalogs also offer Supra-specific choices. MANN-FILTER lists CU 30 007 and related filter variants for the Toyota Supra, while K&N catalogs Supra cabin filters with its own published dimensions. This article does not rank those filters as “best” because no side-by-side hands-on filtration or airflow testing was performed.
[Products Worth Considering]
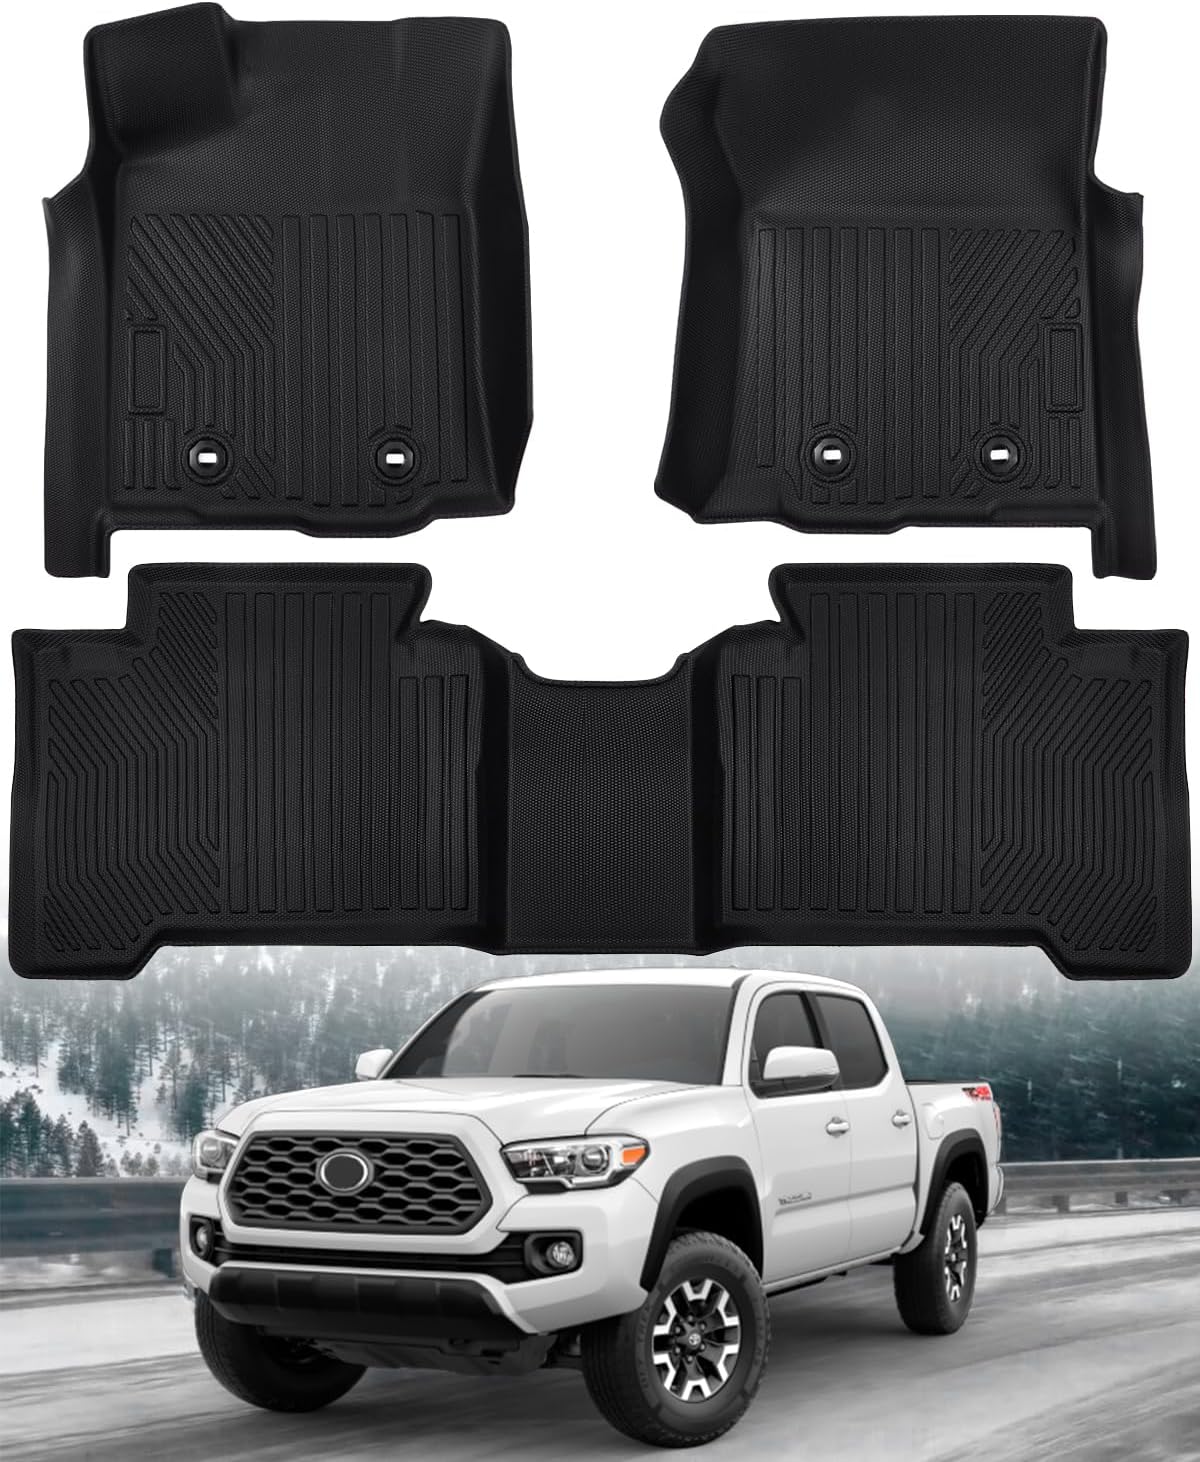
These custom floor mats are designed for Toyota Tacoma Double Cab models and provide a precise, full-coverage fit for the front and rear floors. Built for all-weather protection, they help block dirt, spills, and debris while staying securely in place and preserving safe pedal operation. The odorless TPE material is easy to clean and adds a stylish, durable layer of protection to your vehicle interior.

Rain-X WeatherBeater wiper blades are conventional replacement blades designed to meet or exceed OEM standards for quality, durability, and dependable performance. The pre-installed multi-adapter helps simplify installation on many vehicles, while the natural rubber squeegee and galvanized steel frame deliver a clean wipe, rust resistance, and long-lasting all-weather reliability.
How to Remove and Inspect the Supra Cabin Air Filter
The GR Supra cabin filter sits in the passenger-side lower dash area beneath the glove compartment. Unlike many conventional Toyota models, access can involve lower footwell trim, an air duct, and the filter housing cover. If you want a broader explanation of cabin-filter function and replacement symptoms, see the Supra cabin air filter replacement guide.
- Park the car, switch the ignition off, and move the passenger seat rearward for working room.
- Use a flashlight to inspect the lower passenger footwell trim beneath the glove compartment.
- Remove the required lower-panel screws or clips. If the trim has an attached electrical connector, release the connector normally instead of pulling on its wiring.
- Move the passenger-side air duct out of the way according to its retaining clip or spring-clamp design.
- Locate the cabin-filter housing. If a drain hose or holder blocks the filter door, release it gently from its holder rather than stretching it.
- Remove the filter-door fasteners or release the retaining lugs, depending on the hardware present on your car.
- Before pulling the filter out, note its printed orientation or airflow marking and take a photo for reference.
- Slide the old filter out carefully and inspect it for heavy dust, leaves, moisture, odor, or a distorted frame.
- Vacuum loose debris from the accessible housing area without pushing dirt deeper into the HVAC case.
- Install the verified replacement filter according to its printed orientation instructions and make sure the edges sit evenly.
- Reinstall the filter door, duct, drain-hose holder if disturbed, lower trim, and any electrical connector that was disconnected.
- Run the blower at low and medium speed and listen for rubbing, whistling, vibration, or obviously restricted airflow.
Warning: Do not trim, crush, or permanently deform a cabin filter to make it fit. If the housing cover requires abnormal force, remove the filter and verify the part number, orientation, and seating.
Fitment Pitfalls: Confirm Orientation, Seal, and Correct Fit
The most common fitment problems are buying from dimensions alone, installing the filter in the wrong orientation, pinching the frame, or closing the housing before the filter is fully seated. These mistakes can cause reduced airflow, blower noise, dust bypass, or recurring odors.
Correct Filter Orientation
Follow the orientation marking printed on the replacement filter and any marking on the housing. Do not assume that every brand uses the same wording or arrow convention. Take a photo before removing the old filter, but if the old filter was clearly installed incorrectly, follow the replacement manufacturer’s instructions and the housing design.
- Confirm the Toyota OEM number or trusted aftermarket cross-reference before installation.
- Check whether the replacement marking says “AIR FLOW,” “UP,” or uses another orientation instruction.
- Slide the filter into position without catching or folding the pleats on the housing edge.
- Do not reverse the filter simply because it seems easier to insert.
- After installation, run the blower and listen for rubbing, whistling, or vibration.
Ensure Proper Seal
The filter frame must sit evenly in the housing so air cannot bypass the media. Before closing the cover, check the accessible edges for twisting, pinching, or a section of the frame sitting outside its guide.
If the cover does not close normally, remove the filter and inspect the alignment. A correctly selected filter should not require crushing the frame or forcing the access door into place.
How Often Should You Replace a Supra Cabin Air Filter?
Toyota’s U.S. GR Supra maintenance schedule lists cabin air filter replacement at 20,000 miles or 24 months. The replacement repeats at later 20,000-mile intervals in the maintenance schedule. For the complete service pattern, see the Toyota Supra maintenance schedule.
- Replace the cabin filter at the scheduled 20,000-mile/24-month interval unless the exact guide for your market says otherwise.
- Inspect sooner if airflow becomes weak or the filter is exposed to unusually dusty, smoky, polluted, or high-pollen conditions.
- Replace it immediately if the filter is wet, moldy, physically damaged, or heavily packed with debris.
- Keep the service receipt or part-number record with your maintenance history.
For U.S. GR Supra models, Toyota’s maintenance schedule calls for cabin air filter replacement every 20,000 miles or 24 months.
What Are the Signs of a Clogged Supra Cabin Air Filter?
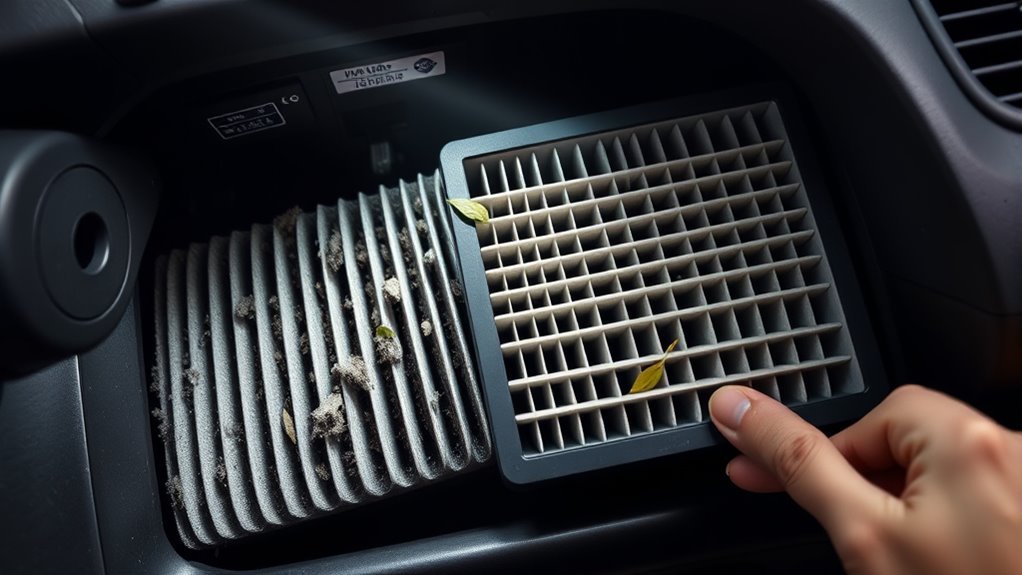
A clogged cabin filter usually shows itself through HVAC performance. Common signs include weaker airflow from several vents, a stale or musty smell when the blower starts, visible debris on the filter, more dust in the cabin, or additional blower noise caused by restricted airflow.
For a quick check, compare airflow from several vents at the same fan setting. If airflow is weak across most of the cabin, inspect the filter. If only one vent is weak while the others are normal, the problem may be elsewhere in the ducting or HVAC air-distribution system rather than the cabin filter itself.
- Weak airflow: The filter may be heavily loaded with dust or debris.
- Musty odor: Moisture or organic debris may be trapped in the filter or HVAC housing.
- Dust in the cabin: The filter may be missing, damaged, badly fitted, or overloaded.
- Whistling or unusual blower noise: Check filter alignment, housing closure, and airflow restriction.
Warranty and Where to Buy Genuine Toyota Supra Cabin Air Filters
For genuine parts, use Toyota’s official parts catalog or an authorized Toyota dealer and confirm the current number with the vehicle VIN. Toyota states that dealer pricing varies and may exclude taxes, installation, shipping, and dealer charges.
Toyota’s official parts warranty information states that Toyota Genuine Parts purchased over the counter or online from an authorized Toyota dealer and installed by a third party carry a 12-month parts-only warranty from the purchase date. Genuine parts purchased and installed by an authorized dealer are covered for 12 months regardless of mileage, or for the remainder of the applicable new-vehicle limited warranty when that provides greater coverage.
- Activated-carbon/nano OEM path: 87139-WAA03, replacing WAA01
- Micro-dust OEM path: 87139-WAA05, replacing WAA02 in current U.S. dealer catalogs
- Best fitment check: VIN plus current Toyota/dealer catalog
- Avoid: Listings that give only a generic dimension and do not explicitly cross-reference the GR Supra
[Products Worth Considering]

Compatible Auto List: Our cabin air filter is compatible with Toyota: 4Runner (2010-2024), Avalon (2005-2018), Camry (2007-2017), Corolla (2009-2019), Corolla iM (2017-2018), Highlander (2008-2019), Land Cruiser (2008-2011,2013-2021), Matrix (2009-2014), Mirai (2016-2020), Prius (2010-2015), Prius C (2012-2019), Prius Plug-In (2012-2015), Prius V (2012-2018), RAV4 (2006-2018), Sequoia (2008-2022), Sienna (2011-2020), Tundra (2007-2021), Venza (2009-2016), Yaris (2007-2018).
[Vehicle Fitment] Replacement for Toyota: Tacoma (2005-2023).
Frequently Asked Questions
What size cabin air filter fits a 2020–2026 Toyota GR Supra?
A common nominal aftermarket size is about 300 × 212 × 30 mm. MANN-FILTER publishes 300 × 212 × 30 mm for its Supra application, while K&N publishes 297 × 213 × 30 mm for its Supra filter. Because manufacturer measurements can differ, use the OEM part number, VIN, or an explicit GR Supra catalog fitment as the final check.
What is the current Toyota Supra cabin air filter part number?
There are two current U.S. catalog paths. Toyota 87139-WAA03 is the activated-carbon/nano-filter option and supersedes WAA01. Current Toyota dealer catalogs list 87139-WAA05 as the micro-dust/non-activated-carbon option replacing WAA02. Confirm the current number by VIN before ordering.
Does 87139-WAA05 replace 87139-WAA02?
Yes. Current U.S. Toyota dealer catalog data lists 87139-WAA05 as replacing 87139-WAA02 for GR Supra applications. WAA05 is the micro-dust/non-activated-carbon catalog path, while WAA03 is the activated-carbon/nano-filter path.
How often should I replace the Supra cabin air filter?
Toyota’s U.S. GR Supra maintenance schedule calls for cabin air filter replacement every 20,000 miles or 24 months. Inspect it sooner if HVAC airflow drops or the filter is exposed to unusually dusty, smoky, polluted, or high-pollen conditions.
Can I use a BMW Z4 cabin filter in a Toyota GR Supra?
Some verified aftermarket catalogs list the same cabin-filter family for the BMW G29 Z4 and Toyota Supra. Do not buy from the Z4 name alone; confirm that the specific manufacturer part number explicitly lists your Supra application or cross-references the correct Toyota OEM number.
Where is the cabin air filter on a Toyota GR Supra?
The GR Supra cabin filter is in the passenger-side lower dash area beneath the glove compartment. Access can require removal of lower footwell trim and movement of the passenger-side air duct before the filter housing cover can be opened.
Conclusion
For a 2020–2026 Toyota GR Supra, treat about 300 × 212 × 30 mm as a useful nominal cabin-filter size, not as the only buying specification. Current U.S. catalog data points to 87139-WAA03 for the activated-carbon/nano filter, replacing WAA01, and 87139-WAA05 for the micro-dust/non-activated-carbon filter, replacing WAA02. Confirm the current part by VIN, replace the filter every 20,000 miles or 24 months under Toyota’s U.S. schedule, and never force a filter that does not seat normally in the housing.
Sources
- Toyota Air Refiner Element #87139-WAA03 — confirms the Toyota part number, WAA01 as its previous version, and Toyota Genuine Parts warranty information.
- Toyota 87139-WAA05 dealer catalog listing — confirms WAA05 as a GR Supra air-refiner element replacing WAA02.
- 2026 Toyota GR Supra HVAC filter catalog — shows current WAA05 and WAA03 filter options for 2026 GR Supra applications.
- Toyota 2026 GR Supra Warranty & Maintenance Guide — source for the U.S. maintenance schedule.
- Toyota 2020 GR Supra Warranty & Maintenance Guide — confirms the 20,000-mile/24-month cabin-filter replacement interval for the original U.S. A90 model year.
- MANN-FILTER CU 30 007 — publishes 11.8 × 8.3 × 1.2-inch dimensions for the cabin filter family used in Supra applications.
- K&N Toyota GR Supra Cabin Air Filter — publishes 297 × 213 × 30 mm dimensions for its Supra-specific filter.
- Toyota GR Supra Manuals & Warranties — official Toyota owner resource for model-year manuals and warranty documents.