
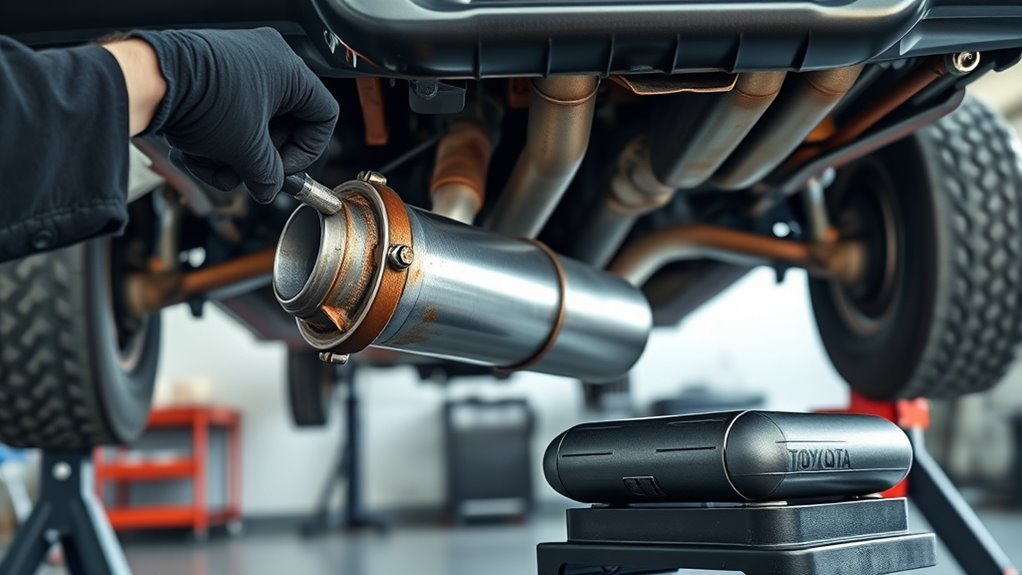
What’s in This Article
- Quick Overview: Tacoma Converter Swap in 5 Steps
- Before You Begin: Legal, Fitment, and Safety Checks
- Tools and Parts You’ll Need for a Tacoma Converter Swap
- Support and Access the Muffler Safely
- Remove the Tacoma Catalytic Converter
- Install the New Converter
- Torque, Leak Test, and Final Checks
- Common Mistakes That Cause Leaks or Inspection Problems
- Frequently Asked Questions
A Tacoma catalytic converter swap can go wrong fast if the exhaust drops, the flange leaks, or the replacement part fails emissions rules. You need safe support, the right vehicle-specific converter, clean sealing surfaces, and careful leak testing before you drive. This guide walks you through the job in a clear order, from prep and removal to torque checks and final inspection.
Quick Answer
To replace a Toyota Tacoma catalytic converter, support the truck with rated jack stands, support the exhaust, remove the old converter, clean the mating surfaces, and install the correct direct-fit unit with new gaskets and hardware. Use the service manual for torque specs, then test every joint for leaks before driving. Check federal and state emissions rules first, because the wrong converter can cause inspection or legal problems.
Key Takeaways
- Use a converter that matches your Tacoma’s year, engine, emissions label, and original converter location.
- Support the truck with rated jack stands and support the exhaust before you loosen any flange bolts.
- Replace old gaskets, rusty hardware, and worn rubber hangers to reduce leak and rattle risks.
- Torque the hardware to the service manual spec and test each joint before the first drive.
- Check local emissions rules, especially in California and states that require CARB-approved converters.
Estimated total time: Plan for 2 to 4 hours if the bolts come loose, and longer if rust forces you to cut hardware.
Quick Overview: Tacoma Converter Swap in 5 Steps
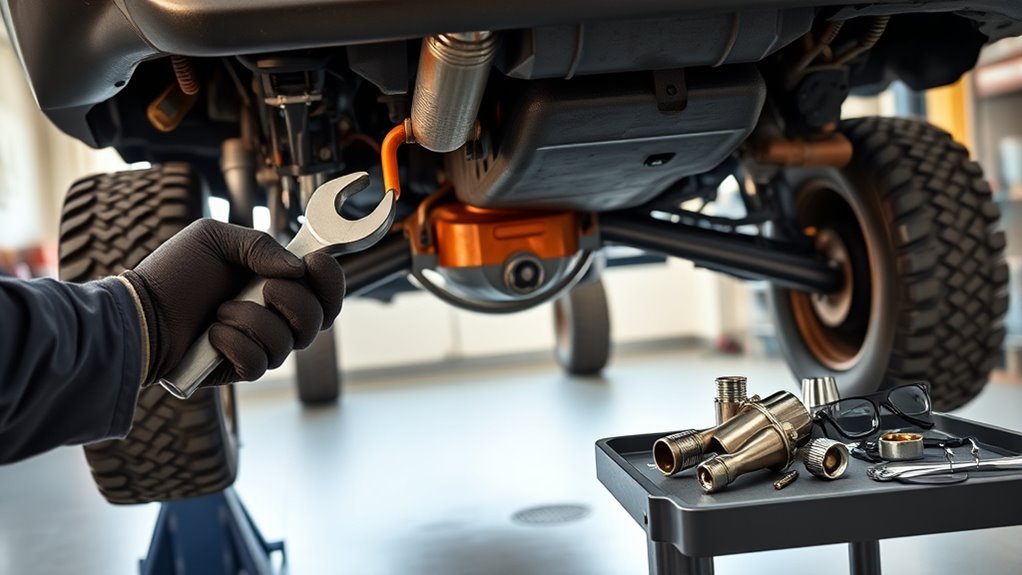
Follow these five steps to swap your Tacoma’s catalytic converter safely and with fewer leaks. Confirm the exact converter first, then work slowly under a stable truck.
- Support the truck with rated jack stands, chock the wheels, and hold the muffler pipe with a strap or exhaust stand.
- Soak the flange bolts with penetrating oil, then remove them with the correct socket, often 14 mm on many Tacoma exhaust fasteners.
- Remove the old converter and old gasket, then clean both mating surfaces until no carbon, rust, or gasket material remains.
- Install the direct-fit converter with new rubber hangers, fresh gaskets, and new hardware, then hand-start every bolt.
- Torque the hardware to the service manual spec, start the engine, and inspect for leaks with a visual, smoke, or cold soapy-water test.
Before You Begin: Legal, Fitment, and Safety Checks
Check your Tacoma’s Vehicle Emission Control Information (VECI) label, engine size, model year, and converter location before you order parts. The Environmental Protection Agency (EPA) says installers should use the correct converter for the vehicle, install it in the original location, and keep all required converters unless the replacement maker states otherwise.
Don’t replace a working converter just to install a cheaper part. The EPA also notes that aftermarket converter replacement generally needs a legitimate reason, such as a missing, damaged, plugged, or failed converter. If your Tacoma still has emissions warranty or recall coverage, check that before you start.
California and some other states use stricter rules for aftermarket catalytic converters. If your state requires California Air Resources Board (CARB) approval, check the CARB database or your state emissions agency before you buy the part.
Warning: Never crawl under a Tacoma supported only by a jack, because a jack lifts the truck but does not safely hold it.
Tools and Parts You’ll Need for a Tacoma Converter Swap
Gather your tools before you loosen the first bolt. You’ll need a socket set, a ratchet, a breaker bar, a torque wrench, a pry bar, a wire brush, a gasket scraper, gloves, and safety glasses. Many Tacoma flange bolts use a 14 mm head, but confirm the size on your truck before you force a socket.
- Use a support strap, exhaust stand, or jack with a wood pad to hold the exhaust pipe while you work.
- Use penetrating oil on rusty flange bolts and give it enough soak time.
- Use silicone paste on rubber hangers, not petroleum grease that can damage rubber.
- Use a calibrated torque wrench for final tightening.
For parts, get a vehicle-specific direct-fit catalytic converter, new gaskets for each mating surface, new bolts, new nuts, and new lock washers if the design uses them. Replace brittle rubber hangers, because weak hangers let the exhaust twist and stress the gasket seal.
Choose original equipment (OE), OEM-equivalent, EPA-compliant, or CARB-approved parts as required for your truck and state. Don’t install an untested used converter, because EPA guidance treats used converter reuse as restricted unless it meets testing and labeling requirements.
Support and Access the Muffler Safely
Park the Tacoma on a flat, solid surface, set the parking brake, and chock the wheels. Lift only at approved jacking points, then place rated jack stands under strong frame support points before you go underneath. Keep the work area well lit and clear of tools you can trip over.
Support Muffler Securely
Raise and stabilize the Tacoma, then strap the muffler pipe so it can’t drop when you remove the converter. Keep the exhaust close to its installed position, because a hanging pipe can pull on hangers, heat shields, oxygen sensor wiring, and nearby joints.
Use a rated strap, exhaust stand, or brace that holds the pipe snugly without crushing it. Gently tug the muffler assembly before loosening fasteners. If the exhaust shifts, adjust the support before you continue.
Access Underbody Safely
Use a creeper if you have enough room, and keep your face away from rust flakes when you work above your head. Check the converter area for damaged heat shields, loose wiring, and heavy corrosion before you loosen fasteners.
- Confirm the jack stands sit flat and lock at equal height.
- Confirm the wheel chocks prevent any rolling.
- Wear safety glasses and gloves.
- Light the converter, flange, hanger, and oxygen sensor areas.
Move slowly and keep both hands clear of pinch points while the exhaust has load on it.
Remove the Tacoma Catalytic Converter (Rusted Bolts and Gaskets)
Spray penetrating oil on the flange bolts and let it soak before you apply force. Inspect the old gasket for cracks, crushed areas, corrosion, and signs of exhaust soot. Black soot around a flange usually points to a leak.
Disconnect oxygen sensors only if the converter design or access requires it. Mark sensor locations, unplug connectors by hand, and protect the wiring from twists, heat, and impact.
Rusted Bolt Removal
Rusted bolts can make catalytic converter removal stubborn, but patient prep helps you avoid broken flanges. Soak the hardware, use the correct socket, and pull with steady pressure from a breaker bar. Don’t rock the truck while it sits on stands.
- Soak the bolt threads with penetrating oil and wait the label’s recommended dwell time.
- Use a six-point socket when possible to reduce rounded bolt heads.
- Support the muffler pipe before you apply high force.
- Cut bolts cleanly when extraction risks stripped threads, bent flanges, or damaged pipes.
Replace any cut, stretched, badly rusted, or rounded hardware. Reusing weak fasteners can cause a loose flange after the first heat cycle.
Gasket Inspection and Cleaning
With the converter free, remove the old gasket and clean both sealing surfaces. Use a wire brush and gasket scraper to remove rust, carbon, and stuck gasket material. Stop before you gouge the flange face.
Match the new gasket style to the converter and pipe design. Tacoma exhaust joints may use flat, ring, multi-layer steel, or composite-style gaskets depending on the model year and location. Dry-fit the gasket before final assembly so you can confirm bolt-hole alignment.
Use anti-seize on threads only if the service manual or hardware maker allows it. Anti-seize can change clamping force, so don’t add it when the torque spec assumes clean, dry threads.
Install the New Converter: Hangers, Gasket, Hardware, and Seals
Slide the new rubber hangers onto the vehicle first so they can support the converter while you align it. Use silicone paste on the hangers to reduce tearing during installation. Seat the new gasket on the mating pipe and keep the flange faces flat and centered.
- Lubricate rubber hangers with silicone paste.
- Confirm the gasket sits flat with no folds or gaps.
- Hand-start every bolt and nut before using a ratchet.
- Confirm the hangers support the converter without twisting it.
Lift the converter into the pre-lubed hangers, align the flanges, then install the new hardware. Snug the bolts a little at a time so the gasket compresses evenly. Stop if the flange pulls sideways, because forced alignment can crack a weld or create a leak.
Check the oxygen sensor harness, heat shields, and nearby wiring before final torque. Keep every wire away from hot exhaust surfaces and sharp shield edges.
Torque, Leak Test, and Final Checks
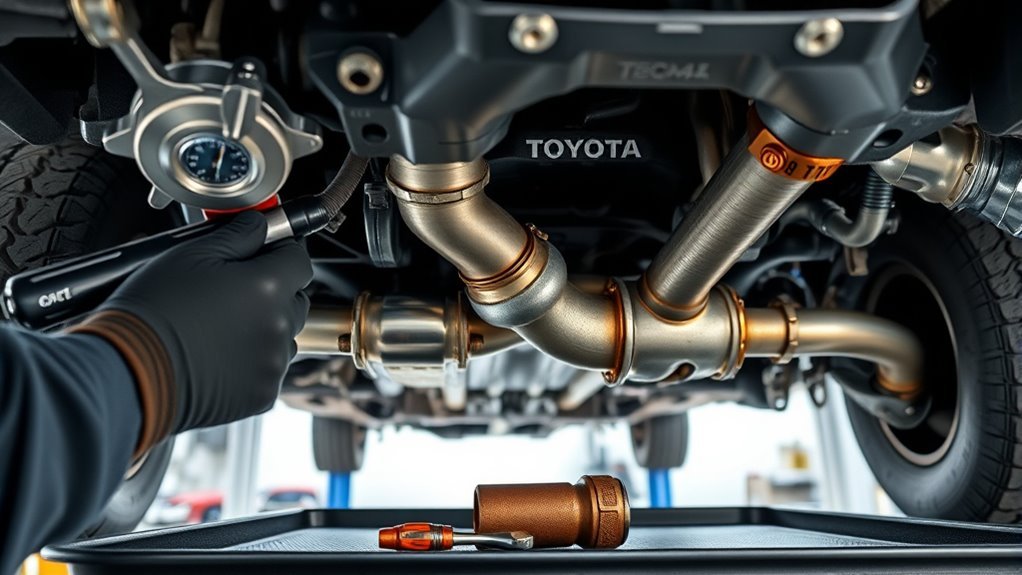
Torque all fasteners to the manufacturer’s published values with a calibrated torque wrench. Tighten in small stages and use a cross-pattern where the flange shape allows it. Don’t guess torque values, because Tacoma specs can vary by model year, engine, flange, and hardware type.
Start the engine and let it idle while you inspect each joint. Look for soot, listen for ticking, and feel near the joint without touching hot parts. A smoke test can reveal small leaks that you may not see.
You can also use a light soapy-water check on a cool exhaust during a short cold-start test. Bubbles point to a leak, but heat dries the soap fast, so keep your hands clear of hot pipes and moving parts.
Finalize the job by checking converter alignment, hanger position, gasket seating, and sensor wiring. Record the torque values and test results for your own service notes.
Common Mistakes That Cause Leaks or Inspection Problems
Small installation mistakes can cause a noisy exhaust, a check engine light, or a failed emissions inspection. Fix these problems before you drive far.
- Don’t install a converter that does not match your Tacoma’s year, engine, and emissions certification.
- Don’t reuse crushed gaskets or badly rusted flange hardware.
- Don’t force a flange into alignment with bolts.
- Don’t leave oxygen sensor wiring twisted, stretched, or close to hot metal.
- Don’t skip the leak test after final torque.
If the check engine light returns after the swap, scan the diagnostic trouble codes before replacing more parts. A code can point to an oxygen sensor, exhaust leak, wiring fault, or converter efficiency issue.
When to Call a Mechanic
Call a qualified mechanic if the converter bolts break inside the flange, the exhaust pipe cracks, or the oxygen sensor threads strip. You should also get help if the truck needs welding, lift access, or emissions diagnosis beyond a simple direct-fit swap.
Use a licensed emissions repair shop if your state has strict converter documentation rules. A shop can match the converter to the emissions label, keep required records, and help reduce inspection risk.
Frequently Asked Questions
How Much Does It Cost to Replace the Catalytic Converter on a Toyota Tacoma?
As of May 2026, RepairPal lists the average Toyota Tacoma catalytic converter replacement cost at about $1,273 to $1,342, with labor around $146 to $215 and parts around $1,127. Your quote can change based on model year, engine, state emissions rules, converter location, rust, oxygen sensors, and OEM vs aftermarket parts.
How Many Catalytic Converters Does a Toyota Tacoma Have?
The number depends on your Tacoma’s model year, engine, drivetrain, and emissions package. Some configurations use a front pipe converter, while some V6 layouts use integrated manifold converters and other downstream converter parts. Check your VIN, VECI label, and parts catalog before you order.
Can You Drive a Tacoma With a Bad Catalytic Converter?
You may be able to drive a short distance if the truck runs normally, but you should avoid long trips until you diagnose the problem. A plugged converter can reduce power, raise exhaust heat, and damage other parts. A missing or defeated converter can also violate emissions laws.
Do You Need to Replace the Oxygen Sensors Too?
You don’t always need new oxygen sensors during a converter swap. Replace them if they fail testing, show damaged wiring, seize in the old converter, or trigger related diagnostic codes. Don’t replace sensors only because you changed the converter.
Will an Aftermarket Converter Pass Emissions?
An aftermarket converter can pass if it matches your Tacoma and your state’s rules. Federal EPA-compliant parts may work in many states, but CARB states may require a CARB-approved converter with the correct application. Check before purchase, not after installation.
Safety Disclaimer: This article is for informational purposes only and does not replace professional repair advice. Work under a vehicle only if you have the right tools, stable support, and repair experience. When in doubt, hire a qualified mechanic.
Conclusion
A clean Tacoma catalytic converter swap depends on safe support, correct parts, clean sealing surfaces, and careful leak testing. Confirm the legal fitment before you order, then replace the converter with new gaskets, hardware, and any worn hangers. Use the service manual for torque specs and check every joint before the first drive. Do the job with patience, and your Tacoma’s exhaust system will stay quieter, safer, and ready for emissions checks.
References
- What You Should Know About Using, Installing, or Buying Aftermarket Catalytic Converters — U.S. Environmental Protection Agency.
- Tampering and Aftermarket Defeat Devices — U.S. Environmental Protection Agency Clean Air Northeast, 2025.
- Aftermarket Catalytic Converter Database — California Air Resources Board.
- Toyota Tacoma Catalytic Converter Replacement Cost — RepairPal, 2026.
- Don’t Be a Jackass With Jacks — Australian Competition and Consumer Commission, 2011.
- Toyota Catalytic Converter With Integrated Exhaust Manifold — Longo Toyota Parts.