Your 2018 Toyota Tacoma has two main fuse-panel locations to check first: the interior fuse panel near the glove box and the engine compartment fuse box. Use the diagram printed on each cover, match the failed system to the correct circuit, and replace a blown fuse only with one that has the same amperage rating. This guide focuses on the 2018 Tacoma and similar third-generation Tacoma models; for 2024 and newer trucks, confirm locations in the exact Toyota owner’s manual for your year and trim.
Last updated: August 19, 2026
Quick Answer
A 2018 Toyota Tacoma has two fuse boxes: an interior panel near the glove box and an engine-bay box next to the battery. Turn the ignition off, read the fuse-box cover diagram, pull the suspected fuse straight out, and replace a blown fuse with one of the same amperage rating and type only.
Key Takeaways
- The 2018 Tacoma’s two main fuse-panel areas are the interior panel near the glove box and the engine compartment.
- The fuse-box cover diagram is the source of truth because fuse labels can vary by year, trim, and equipment.
- Never install a higher-amp fuse, a wire, foil, or any other substitute in place of a proper fuse.
- If a new fuse blows again, stop replacing it and have the circuit inspected for a short, overload, or damaged component.
At a Glance
| Time Required | 5–15 minutes for a basic check |
| Difficulty | Easy, if the fuse is a user-replaceable blade fuse |
| Tools Needed | Fuse puller, same-amp replacement fuse, flashlight, optional multimeter |
| Cost | Usually a few dollars for a small pack of replacement fuses |
Warning: Turn the engine switch off before checking fuses. Never use a fuse with a higher amperage rating than listed on the cover, and never use wire, foil, or another object as a temporary fuse. That can damage the wiring harness and create a fire risk.
Where Are the Fuse Boxes on a 2018 Toyota Tacoma?
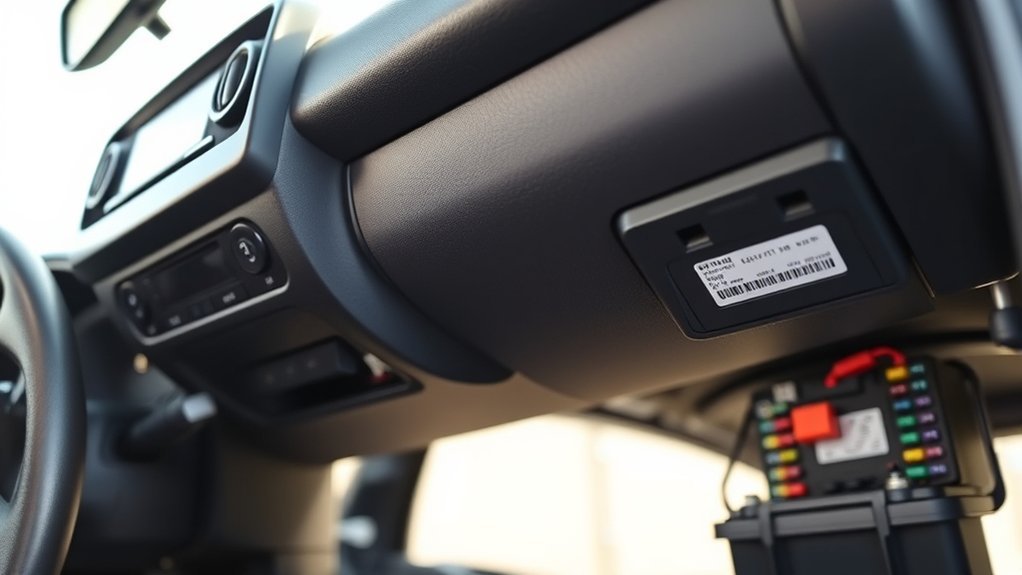
If you’re checking fuses on a 2018 Tacoma, start with the interior fuse panel. Owner reports for this generation (2016–2023) most commonly place it near the glove box on the passenger side, though earlier Tacoma generations used a driver-side panel — [VERIFY: confirm the exact side against the cover diagram or owner's manual for your specific truck, since equipment packages can shift access points]. The cover diagram helps you match each fuse position to a circuit name and amperage rating regardless of which side it’s on.
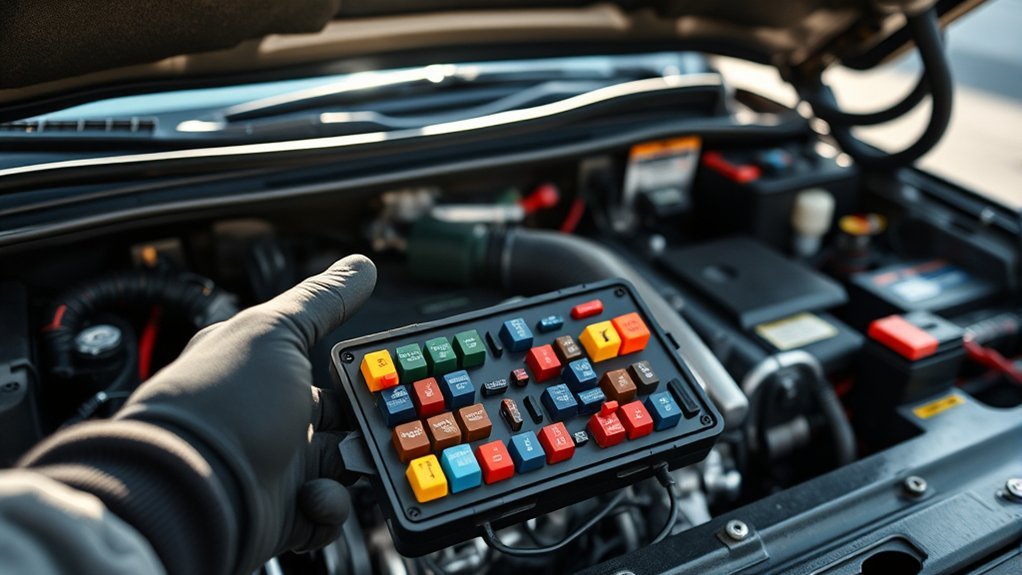
Next, check the engine compartment fuse box. Open the hood and look for the black fuse box in the engine bay. Push the cover tabs carefully and lift the cover off. The underside of the cover includes the fuse layout, and the box may also hold the small plastic fuse puller.
Do not rely on memory or a generic online diagram alone. Tacoma fuse assignments can vary by model year, trim, towing package, lighting options, audio equipment, and accessories. Use the printed diagram on your truck first, then confirm with the owner’s manual if anything does not match.
Note: This guide is aimed at the 2018 Tacoma and closely related third-generation trucks. Toyota changed fuse-box access on newer Tacoma generations, so 2024+ owners should follow the current digital manual for their truck.
Source and experience note
This guide is built from Toyota’s published 2018 Tacoma fuse assignments plus owner-documented access reports for the third-generation (2016–2023) Tacoma. It does not claim the editorial team physically opened every fuse box on every 2018 trim — where the exact interior-panel side could vary by configuration, that’s flagged above rather than stated as certain. Always confirm against the diagram printed on your own truck’s fuse-box cover before pulling a fuse.
Access the Tacoma Interior Fuse Panel and Read the Diagram
Locate the interior fuse panel cover, typically reached by lowering or removing the glove box (confirm the side for your truck per the note above). Remove the cover gently and keep it nearby so you can read the diagram. Use a flashlight or headlamp rather than switching accessories on while you work.
- Turn the engine switch to LOCK or OFF before touching the fuses.
- Hold the cover by the edges so you do not crack tabs or spill loose items from the lower dash area.
- Read the cover diagram for the circuit name, fuse position, and amperage rating.
- Compare the printed label on the fuse to the amperage shown on the cover.
- When finished, align the lower hooks first, then press the top of the cover until it sits securely.
The interior panel protects lower-current cabin circuits such as interior lights, power outlets, door locks, some instrument-panel circuits, and related accessories. On the 2018 Tacoma these include the tail lights (fuse #2), cigar-lighter/power outlet (fuse #3), dome and cargo lights (fuses #15 and #31), wipers (fuse #28), and washer (fuse #27) among others. Always confirm the exact position on your cover, since labels can change by equipment package.
Open the Engine Fuse Box and Use the Removal Tool
Locate the engine compartment fuse box, then press the retaining tabs and lift the cover off. Do not pry hard on the cover; if it does not lift, check that all tabs are released. Turn the cover over and read the printed diagram before pulling any fuse.
The engine fuse box contains higher-load circuits and relays for systems such as headlights, horn, starter-related circuits, charging, air conditioning, heating, towing, and engine controls. It uses a mix of small MINI blade fuses for lower-current circuits and larger cartridge-style FLM and FMX/JCase fuses for high-current circuits like the alternator and ABS. It may also contain the small plastic pullout tool, which is sized for the small blade fuses only — larger cartridge fuses need a different removal approach.
| Action | Purpose |
|---|---|
| Push tabs and lift cover carefully | Protect plastic tabs and hinges |
| Read diagram on cover | Identify fuse position, circuit, and amperage |
| Use pullout tool on MINI blade fuses | Remove small blade fuses without twisting terminals |
| Align tabs when closing | Keep moisture and debris out of the fuse box |
Pro Tip: Take a clear phone photo of the fuse-box cover diagram before you pull a fuse. It gives you a zoomable reference and helps you return every fuse to the correct location.
[Products Worth Considering]

This 12-way blade fuse block provides organized, reliable circuit protection for automotive, marine, RV, and other 12V or 24V electrical systems. The built-in LED indicator helps quickly identify blown fuses, while the protective cover and included terminals support a clean, secure installation. With multiple fuse ratings included, it offers a convenient all-in-one solution for managing and protecting your wiring.
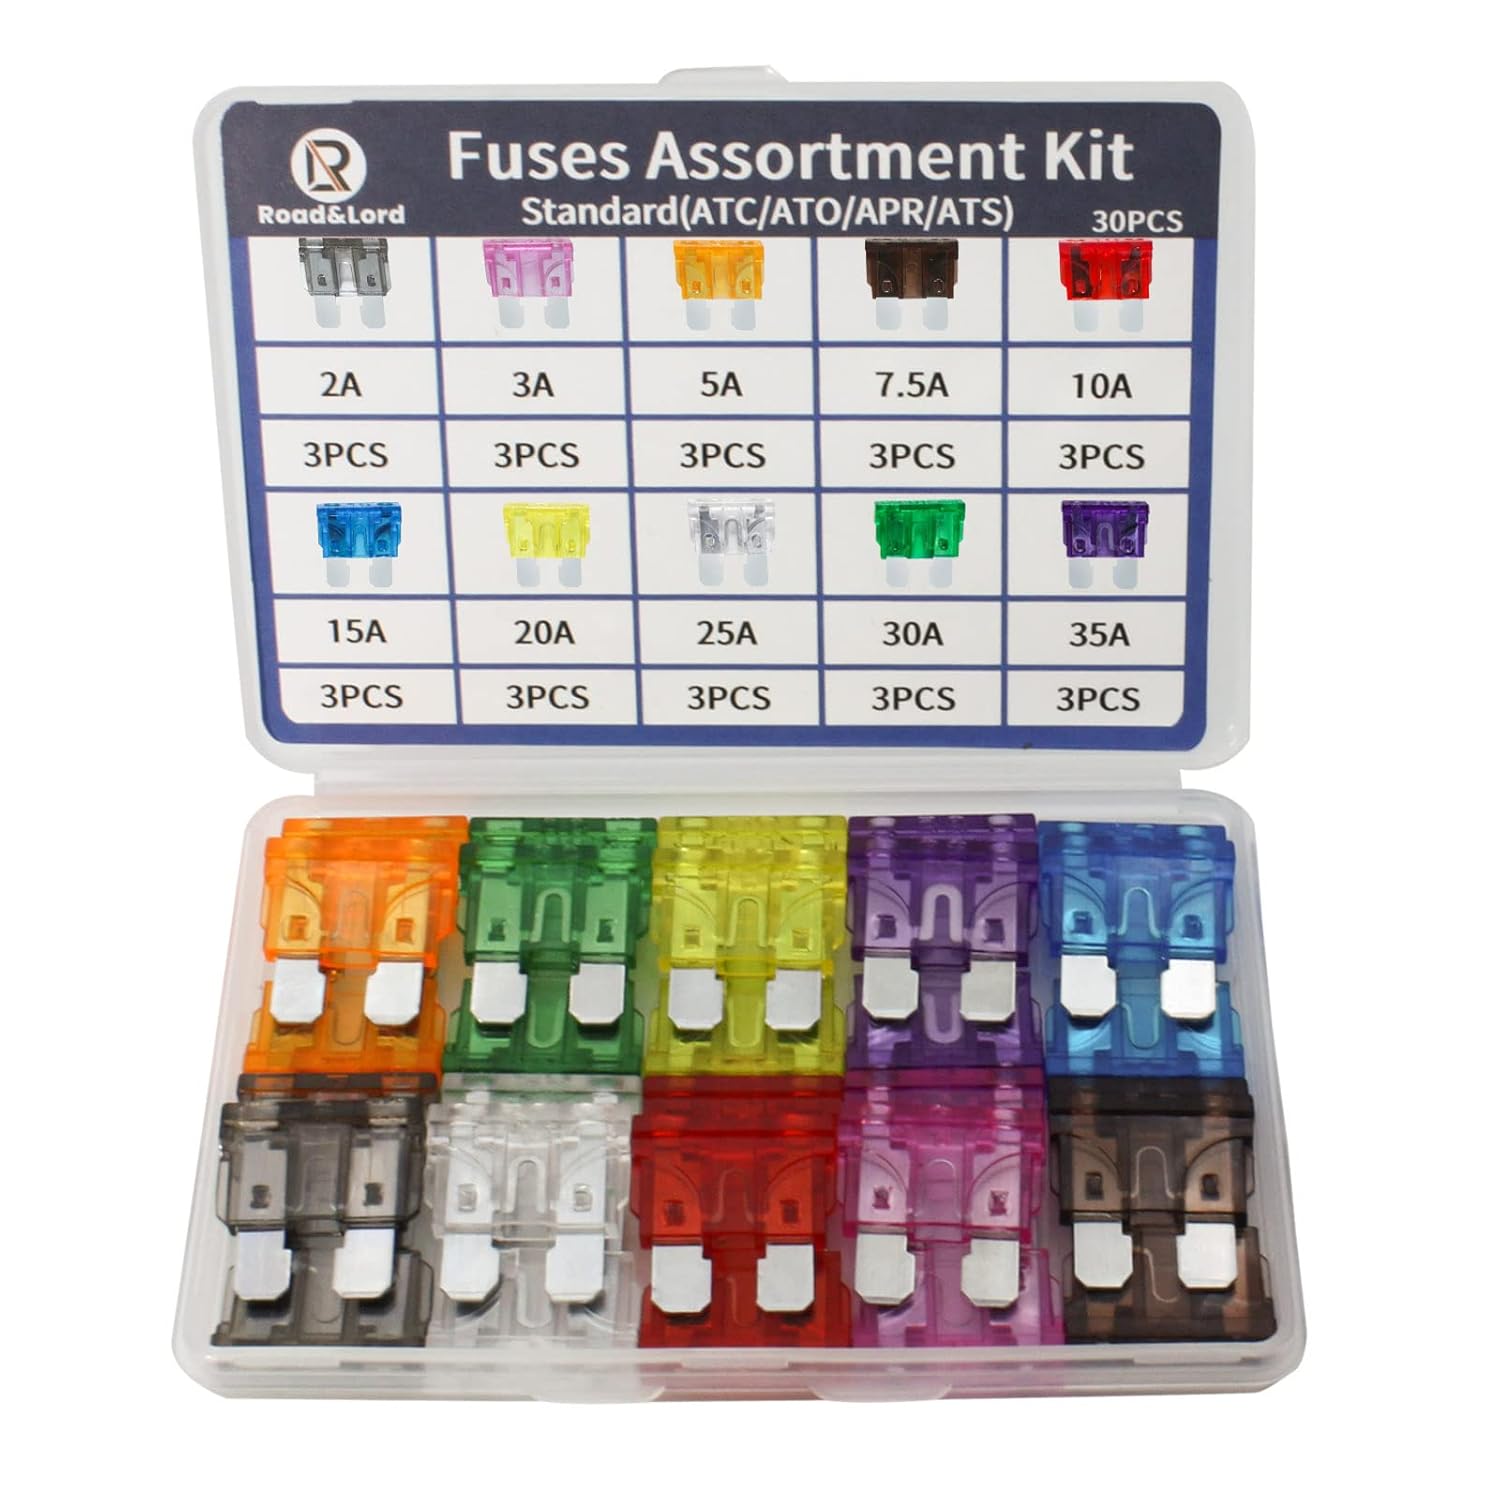
This standard blade fuse assortment kit provides a convenient selection of common amp ratings to help protect vehicle electrical systems from overloads, short circuits, and wiring damage. With transparent, color-coded housings and clearly marked ratings, it makes blown fuse replacement fast and easy for cars, trucks, boats, RVs, and other DC applications. The durable compact case keeps the fuses organized for reliable storage and quick access when needed.

This 6-way marine fuse block helps protect branch circuits from short circuits and overloads while keeping automotive and marine wiring organized. It includes LED blown-fuse indicators, a transparent cover, and label stickers for easier circuit identification. Designed for 12V to 36V systems, it supports dependable use in boats, cars, trucks, and other electrical setups.
Identify Which Fuse to Check by Symptom (Lights, Horn, A/C, Starter)
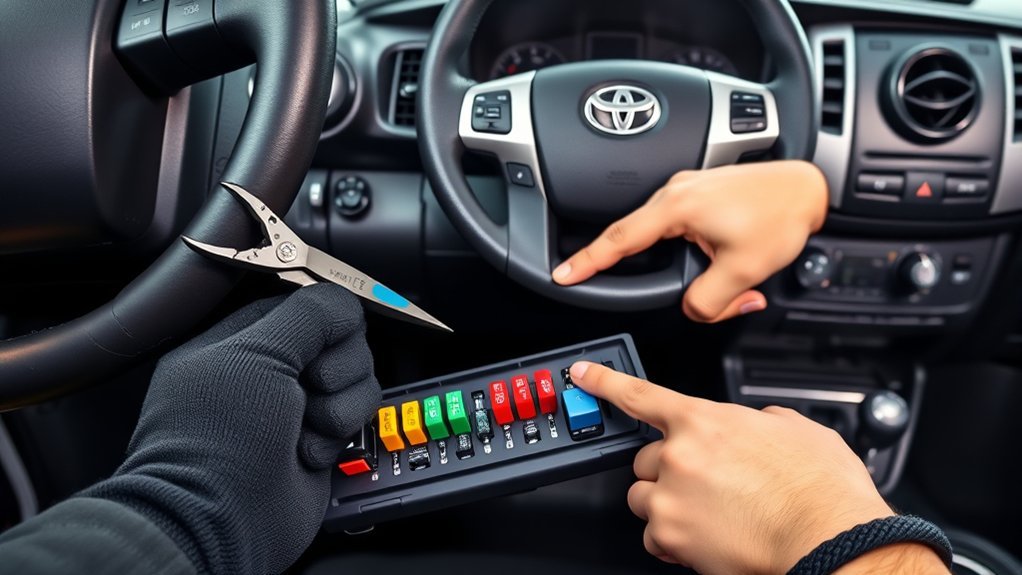
When an electrical component fails, do not guess. Match the symptom to the label on the fuse-box cover. Some symptoms can involve more than one fuse, relay, bulb, switch, or wiring path, so use the table below as a starting point only. Fuse numbers below reflect Toyota’s published 2018 Tacoma fuse assignments — confirm against your own cover diagram, since equipment options can shift positions.
| Symptom | Likely Place to Check First | What to Confirm |
|---|---|---|
| Power outlet or 12V socket not working | Interior fuse panel | Look for P/OUTLET NO.1, fuse #3 (MINI 15A); match the amp rating on the cover. |
| Dome, cargo, or interior lights out | Interior fuse panel | Check DOME, fuse #31 (MINI 7.5A), or CARGO LP, fuse #15 (MINI 7.5A). |
| Wipers or washer not working | Interior fuse panel | Check WIPER, fuse #28 (MINI 30A), and WASHER, fuse #27 (MINI 20A). |
| Tail lights or parking lights out | Interior panel and towing circuits if equipped | Check TAIL, fuse #2 (MINI 7.5A), and any trailer-light labels if towing lights are involved. |
| Headlights, daytime running lights, or fog lights out | Engine compartment fuse box | Look for H-LP LO, fuse #13 (MINI 15A), DRL, fuse #41 (MINI 10A), or FOG FR, fuse #42 (MINI 15A), then verify bulbs and relays if fuses are good. |
| Horn not working | Engine compartment fuse box | Check HORN, fuse #8 (MINI 10A), or S-HORN, fuse #12 (MINI 10A), and the horn relay if listed. |
| A/C or heater issue | Engine compartment fuse box | Check A/C, fuse #55 (MINI 10A), HTR, fuse #34 (FMX/JCase 50A), or the MG CLT relay, then inspect relays if needed. |
| No crank or starter issue | Both fuse panels may be involved | Check AM2 NO.1 (engine, fuse #3, FMX/JCase 30A), AM2 NO.2 (interior, fuse #29, MINI 7.5A), and the ST relay, but also test the battery first. |
If one headlight, one tail light, or one accessory fails while the rest of the system works, the problem may be a bulb, socket, switch, or connector instead of a fuse. A fuse often affects an entire circuit, not just one single lamp.
[Products Worth Considering]

This 6-way fuse block helps organize and protect low-voltage wiring in vehicles, boats, and RVs while making blown fuses easy to spot with red LED indicators. It is built from fire-resistant PBT material for dependable insulation, heat resistance, and added safety. With included blade fuses, labels, and mounting hardware, it offers a clean, convenient solution for electrical repairs and upgrades.
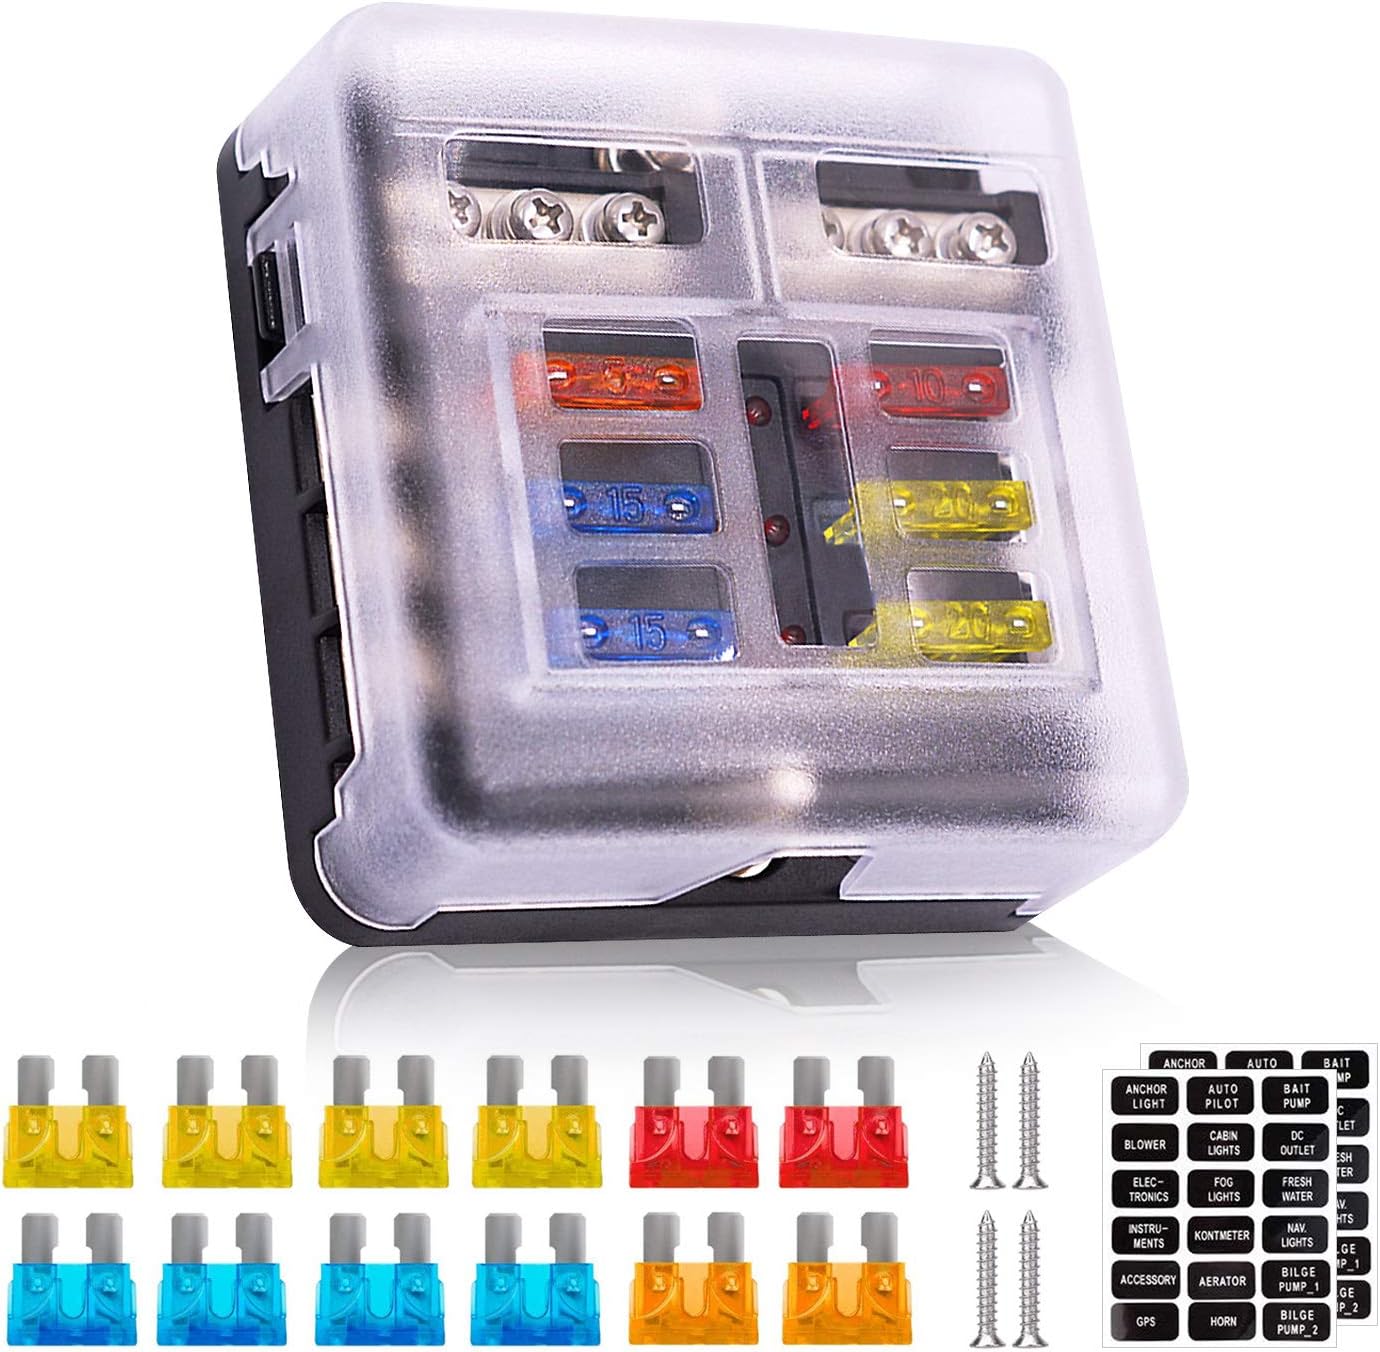
This 6-way fuse block provides organized circuit protection for marine, automotive, boat, truck, and other 12V or 24V electrical systems. Built with a fire-resistant housing and a ground bus, it helps keep wiring neat while the LED indicators quickly show when a fuse has blown for fast troubleshooting. It includes assorted blade fuses, labels, and mounting screws for an easier installation.

This waterproof 6-circuit fuse block helps keep automotive and marine wiring neat, protected, and easy to troubleshoot. Built for 12V-32V DC systems, it includes a negative bus, LED blown-fuse indicators, and corrosion-resistant busbars for dependable performance in cars, boats, RVs, and trucks. The flame-retardant base and damp-proof cover add an extra layer of safety for demanding electrical installations.
How to Tell If a Tacoma Fuse Is Blown
A blade fuse has a small metal strip inside the plastic body. When the fuse is good, the strip is continuous. When the fuse is blown, the strip is broken, melted, or visibly darkened.
- Switch the Tacoma off and remove the suspected fuse with the puller.
- Hold the fuse up to a light and inspect the metal strip through the plastic body.
- If the strip is broken, replace the fuse with the same amperage rating.
- If the fuse looks good but the circuit still does not work, test continuity with a multimeter or inspect the related relay, bulb, switch, or connector.
Some larger cartridge-style fuses (the FLM and FMX/JCase types in the engine bay) are harder to inspect visually. If the fuse type does not come out easily with the standard puller, do not force it. High-current or non-serviceable fuses should be handled by a Toyota dealer or qualified technician.
[Products Worth Considering]

This LED dome light board upgrade delivers bright white cabin lighting for compatible Toyota vehicles, improving interior visibility with a modern, clean look. Designed for easy plug-and-play installation, it matches the original ceiling light socket and wiring for a seamless fit without fault code concerns. With efficient heat dissipation and a dispersed light pattern, it offers a comfortable, reliable upgrade over standard interior bulbs.
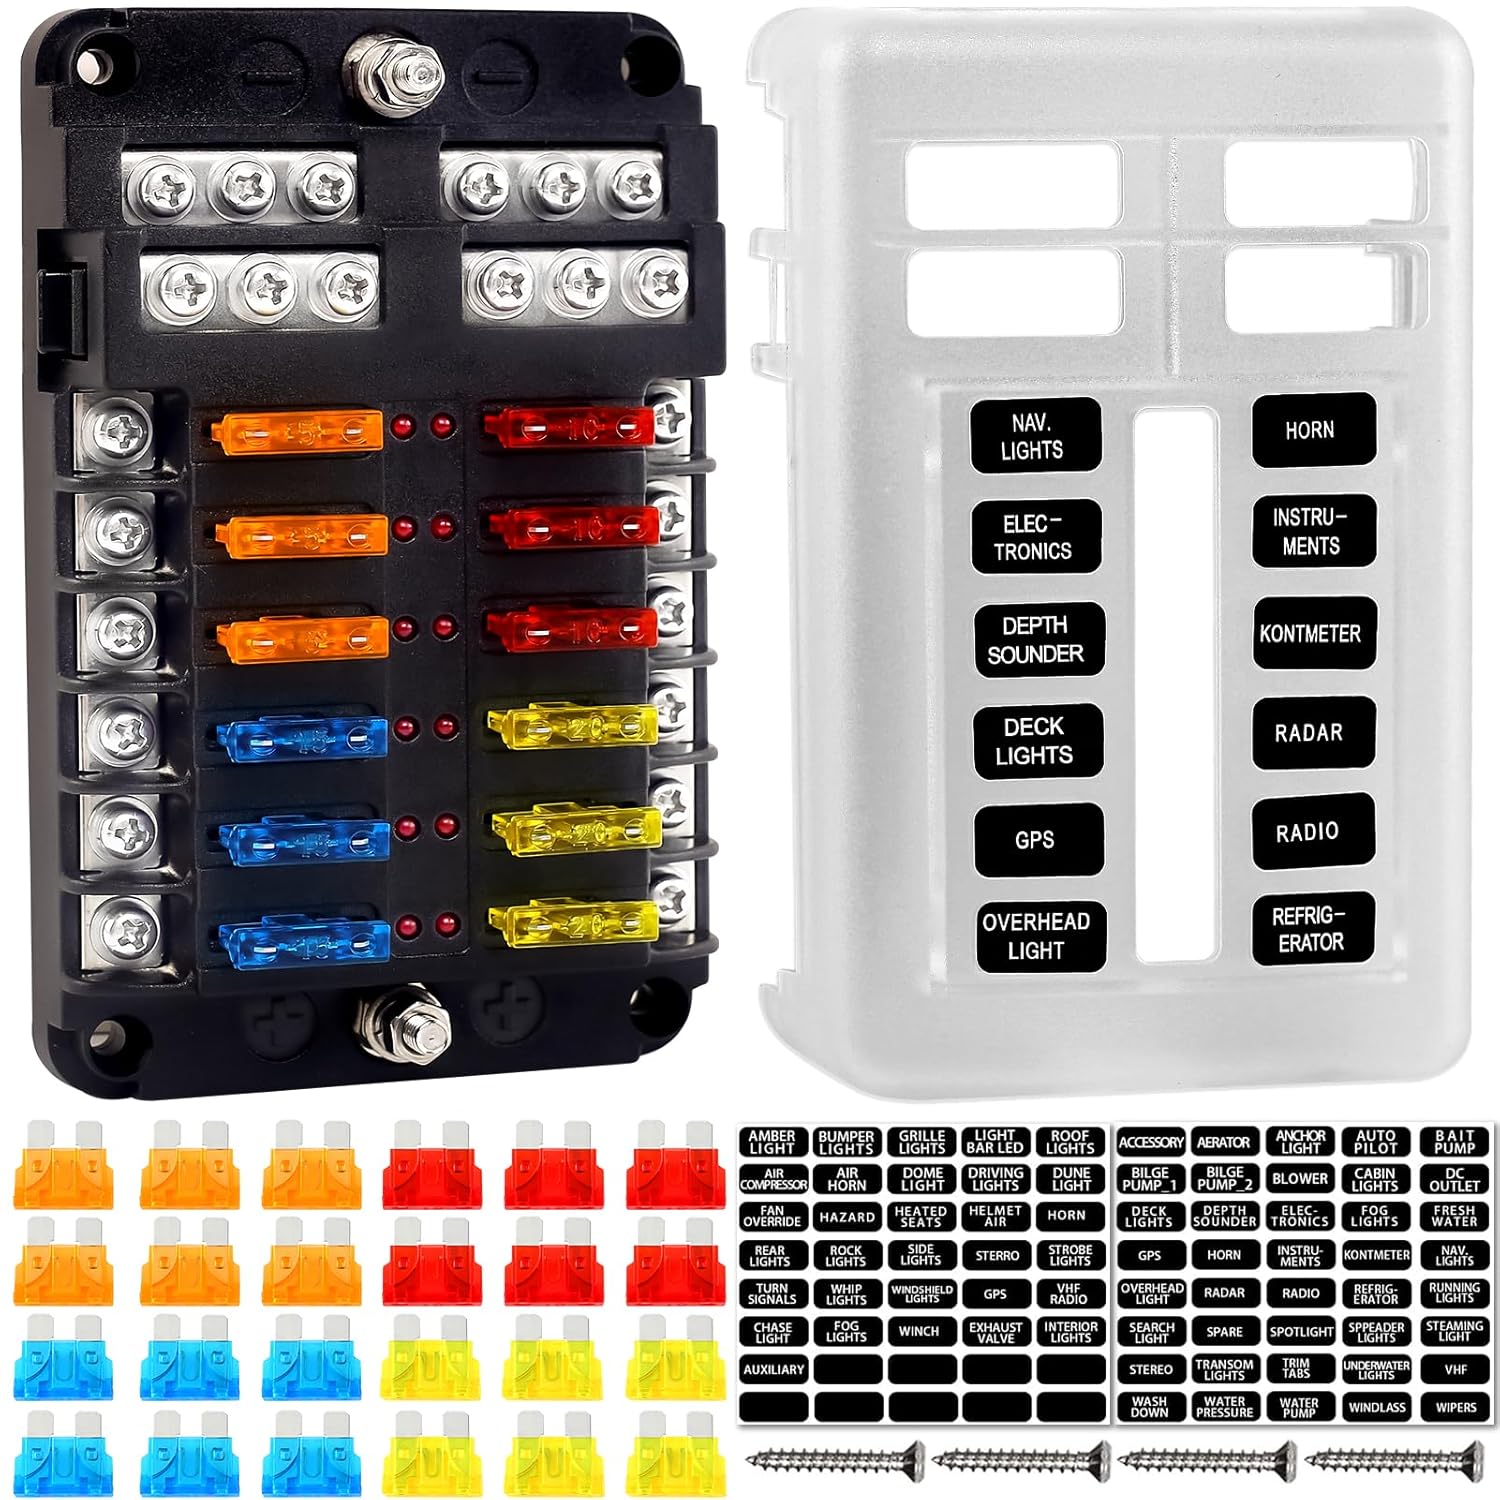
This 12-circuit fuse block provides organized, independent protection for vehicle and marine electrical systems, helping keep wiring neat and easier to maintain. Built with flame-retardant materials, nickel-plated copper components, and a protective cover, it offers reliable conductivity, corrosion resistance, and splash protection. LED indicators quickly identify blown fuses, while the included labels and extra blade inserts simplify installation and future service.

This car fuse assortment kit provides a handy mix of micro, mini, and standard blade fuses to help replace blown fuses across a wide range of vehicles and equipment. With multiple current ratings, color-coded identification, and an included puller, it is designed to make emergency repairs and routine maintenance faster and easier. It is a practical backup solution for cars, RVs, trucks, boats, motorcycles, and more.
Safely Replace Fuses: Step-by-Step Tips and Precautions
Once you’ve matched the symptom to the likely circuit, replace the fuse slowly and cleanly. The goal is not only to make the part work again, but also to protect the wiring and find signs of a deeper electrical fault.
| Step | Action |
|---|---|
| 1 | Park safely, set the parking brake, and turn the engine switch to LOCK or OFF. |
| 2 | Open the correct fuse-box cover and read the printed diagram. |
| 3 | Use the pullout tool to pull a MINI blade fuse straight out; do not twist or pry terminals. |
| 4 | Inspect the fuse or test it with a multimeter for continuity. |
| 5 | Install a replacement fuse with the same amperage rating as the original. |
| 6 | Press the fuse fully into the slot, close the cover, and retest the circuit. |
Note: Toyota-style pullout tools are meant for small blade fuses that fit the tool. If the fuse is a larger high-current type or does not release easily, stop and have it serviced professionally.
What to Do If the New Fuse Blows Again
A fuse that blows again right away is not a fuse problem. It usually means the circuit is overloaded, shorted, or connected to a failing component. Do not “solve” it with a bigger fuse.
- Stop replacing the fuse repeatedly. Repeated failures can point to wiring damage or a component drawing too much current.
- Unplug recent accessories. Phone chargers, trailer wiring, aftermarket lights, dash cams, and add-a-fuse taps can overload a circuit if installed incorrectly.
- Check for moisture or corrosion. Water intrusion around lamps, trailer connectors, or fuse-box covers can cause repeat failures.
- Inspect the affected component. A seized blower motor, damaged horn, shorted light socket, or pinched wire can blow a fuse again.
- Get professional diagnosis. If the same fuse fails twice, have a Toyota dealer or qualified technician inspect the circuit.
Tacoma Fuse Box Maintenance Tips
Fuse boxes do not need heavy maintenance, but they do need to stay dry, clean, and properly covered. After any fuse check, make sure the cover is seated fully so dust and moisture stay out.
- Keep spare fuses in common amperage ratings, but only use the rating printed on the Tacoma’s fuse-box cover.
- Keep the fuse puller in its original clip so it is available during roadside troubleshooting.
- Do not store coins, screws, or loose metal objects near the interior fuse panel.
- Do not add aftermarket accessories to random fuse slots without a properly rated circuit, fuse tap, and wiring plan.
- Check NHTSA recalls by VIN if the electrical issue may be safety-related or part of a known campaign.
Frequently Asked Questions
Where is the fuse box on a 2018 Toyota Tacoma?
A 2018 Toyota Tacoma has an interior fuse panel near the glove box and a fuse box in the engine compartment. Remove the cover and use the diagram printed on the cover to identify fuse locations and amperage ratings.
Is the interior fuse box on the driver or passenger side?
It depends on the generation. Earlier Tacoma models placed the interior fuse panel on the driver’s side. Owner reports for the third-generation (2016–2023) trucks, which includes the 2018 model, most often describe it near the glove box on the passenger side. [VERIFY: confirm against your truck's printed cover diagram, since this can vary by trim and equipment.]
How many fuse boxes does a 2018 Tacoma have?
Two: an interior panel that protects lower-current cabin circuits, and an engine-compartment box that protects higher-load circuits like headlights, the horn, and the A/C system.
Where is the fuse puller on a Toyota Tacoma?
The small plastic fuse puller is usually clipped inside the engine compartment fuse box. Use it to pull small blade-style fuses straight out. If the fuse is too large or does not fit the tool, do not force it.
Which fuse should I check for lights, horn, A/C, or starter problems?
Use the fuse-box cover diagram first. On a 2018 Tacoma, horn, A/C, headlight, and starter-related circuits may involve the engine fuse box, while some tail light, dome light, outlet, wiper, and accessory circuits may be in the interior panel. Some starter symptoms can involve more than one fuse or relay.
Can I replace a Tacoma fuse with a higher-amp fuse?
No. Use only the same amperage rating shown on the fuse-box cover or owner’s manual. A higher-amp fuse can allow too much current through the wiring and may cause wiring damage, overheating, or fire.
What does it mean if the replacement fuse blows again?
It means the circuit likely has a short, overload, damaged wiring, water intrusion, or a failing component. Do not keep replacing the fuse. Have the circuit inspected before using that system again.
Conclusion
You’ve now found the two main fuse-panel locations on a 2018 Toyota Tacoma, learned how to read the diagrams, and seen how to match common symptoms to likely circuits. Keep the process simple: switch the truck off, use the cover diagram, pull the fuse straight out, match the amperage exactly, and retest the system. Replace only blown user-serviceable fuses, keep the covers sealed, and get professional help if a fuse blows again or if the fuse type is not meant for easy removal.
Sources
- Toyota Owners: 2018 Tacoma Manuals and Warranties — official owner manual hub for the 2018 Toyota Tacoma.
- Toyota Owners: 2024 Tacoma Checking and Replacing Fuses — confirms current-generation fuse-box access differs from earlier models.
- Toyota Genuine Parts — official Toyota parts source for replacement parts and fitment confirmation.
- NHTSA Recalls — VIN-based safety recall lookup for electrical or safety-related concerns.