You’ll jack up the truck, remove the wheel with a 21 mm socket, then pull the dust cap, cotter pins, axle nut (35 mm) and disconnect sway bar link (17 mm) and tie rod end; push the axle in to relieve the lower ball joint preload. Use a ball‑joint press or pickle fork to separate and press out the old joint, clean and grease the bore, press in the new joint and snap ring, then reassemble and torque to spec—keep going for full step‑by‑step guidance.
Tools, Parts, Time, and Safety Checklist Before Replacing Tacoma Ball Joints
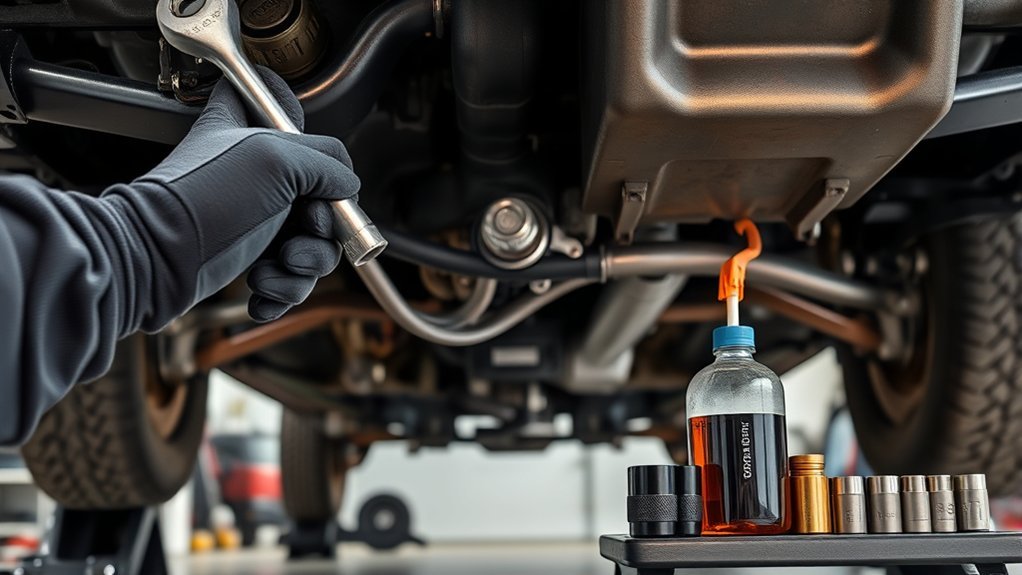
Before you begin, confirm you’ve gathered the right tools, parts, and safety gear so the job goes smoothly: gather a 21 mm socket for lug nut removal, a 35 mm socket for the axle nut, and a 17 mm socket for the sway bar link nut; include a ball joint separator or pickle fork and a ball joint press for removal and installation. Verify you have the replacement ball joint, snap rings, cotter pins, and any required hardware. Allocate 2–3 hours for disassembly, installation, and reassembly so you won’t be rushed.
For tool selection, pick quality sockets, a sturdy press, and a reliable separator to reduce damage and speed the process. For safety precautions, wear gloves and goggles, work on level ground, and use proper jack stands; don’t rely solely on a hydraulic jack. You’ll work deliberately, reclaiming control through preparation and disciplined execution.
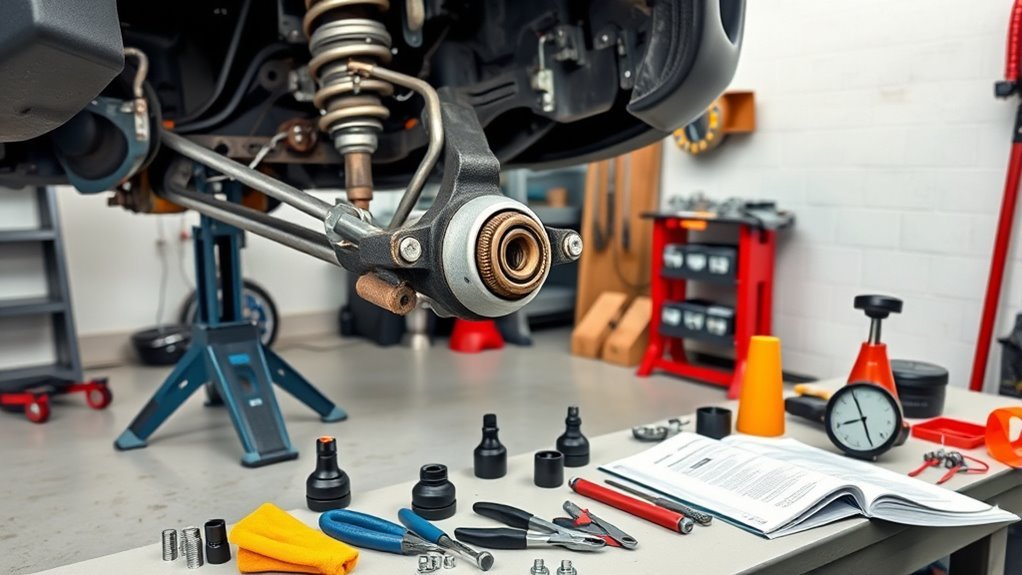
Remove Wheel, Dust Cap, and Detach Sway Bar, Tie Rod, and Axle for Access
With the truck safely supported on jack stands and the wheel already loosened, remove the wheel using a 21 mm socket to clear working room around the hub. Perform wheel removal deliberately: break each lug, fully unthread, and set the wheel aside to expose the hub assembly for axle access.
Remove the dust cap next. Seat a punch against the cap lip and give controlled hammer taps to pry it off; keep the cap and debris separated. Straighten and withdraw the cotter pin with pliers, then use a 35 mm socket to remove the axle nut, freeing the hub for subsequent steps.
Secure the sway bar link with locking pliers, then use a 17 mm socket to remove its nut so the sway bar can be displaced without binding. For the tie rod, straighten its cotter pin, remove it, then unthread the 19 mm nut and tap the knuckle to release the tie rod end. These actions create clear, safe axle access and liberated suspension components.
Separate the Knuckle and Press Out the Old Lower Ball Joint (Pickle Fork or Press)
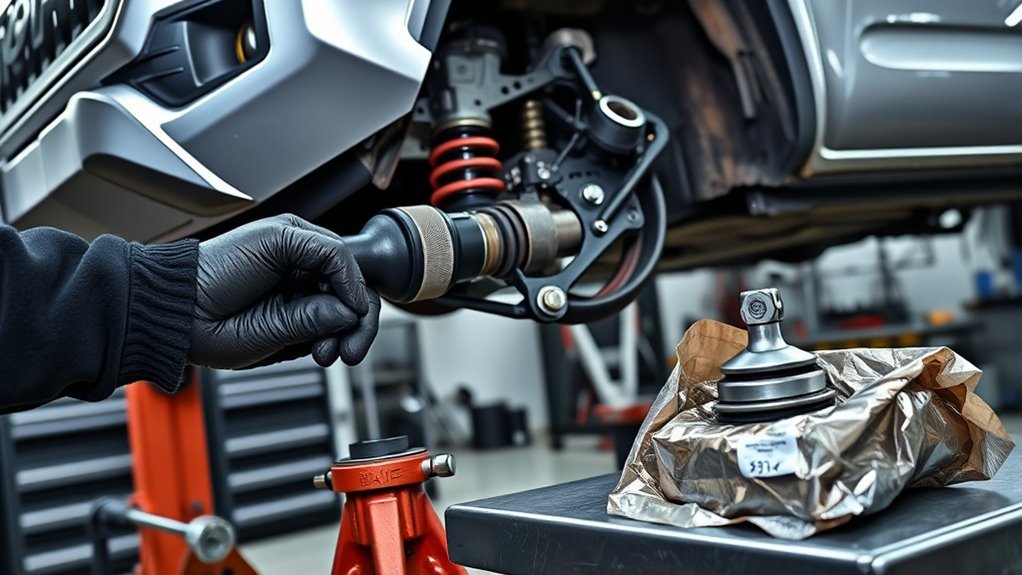
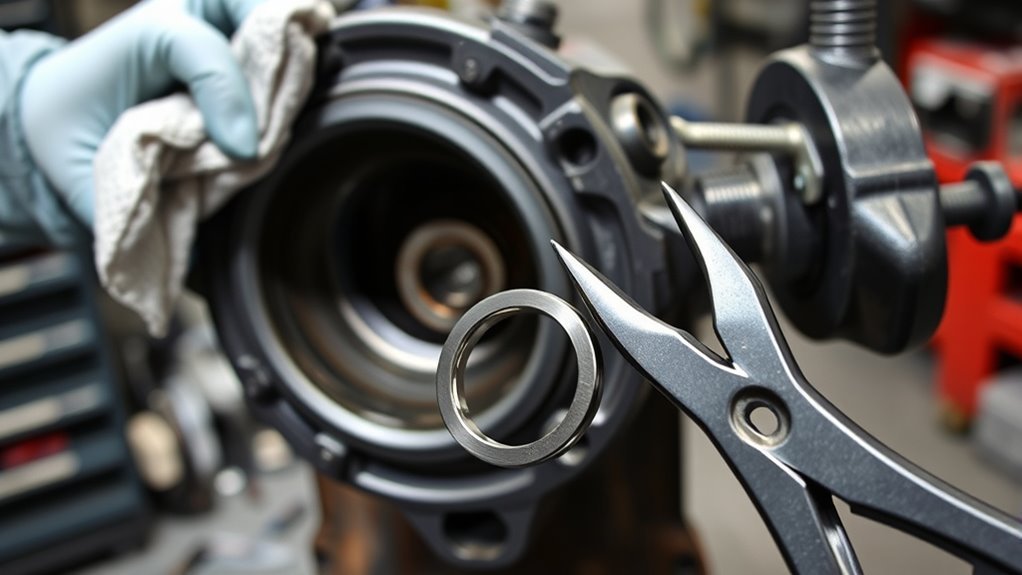
Start by pushing the axle in slightly to relieve tension on the lower ball joint, then secure the ball joint separator (pickle fork) or install the ball joint press and thread its nut to prevent any components from flying when you apply force. You’ll choose knuckle separation techniques based on access and control: a pickle fork provides rapid separation but risks boot damage; a ball joint press gives controlled extraction without stressing adjacent parts. Assemble ball joint tools cleanly — align the press cups or seat the fork square to the joint stud. If a snap ring resists, use a chisel and hammer to unseat it just enough to allow press clearance. Tighten the press gradually, monitor movement, and stop if binding occurs; reverse and realign rather than forcing. Once the joint begins to move, continue until the old lower ball joint is fully freed from the knuckle. You’ll have liberated the steering knuckle and prepared the housing for precise replacement.
Clean, Grease, Press In the New Ball Joint, and Install the Snap Ring
Now that the old joint is out and the knuckle is free, clean the bore thoroughly with a wire brush and rag to remove corrosion, dirt, and old grease so the new ball joint can seat properly. You’ll follow disciplined installation techniques: skim a light coat of grease in the bore to inhibit rust and ease seating, then carefully peel back the boot to avoid tearing it. Position the new joint squarely and use a calibrated ball joint press to drive it until it bottoms out—this secures alignment and load paths.
| Step | Tool | Result |
|---|---|---|
| Clean | Wire brush, rag | Bare metal bore |
| Grease | Light coat | Corrosion control |
| Press | Ball joint press | Fully seated joint |
Finish with snap ring installation using pliers or a flat blade; make certain the ring seats in its groove. These maintenance tips free you from repeat failures and keep your Tacoma’s suspension reliable and sovereign.
Reassemble, Torque Specs, Final Checks, and Common Troubleshooting
Reinstall the lower ball-joint bracket and hand-thread its nut to keep the joint aligned while you torque the remaining fasteners in sequence: tighten the bracket to 118 ft-lbs, then torque the ball joint stud nut to 103 ft-lbs and angle-torque it an additional 60° for proper preload. Follow reassembly techniques by torquing the outer tie rod nut to 67 ft-lbs, the sway bar link nut to 52 ft-lbs, and the axle nut to 203 ft-lbs before fitting the dust cap, wheel, and lug nuts.
Perform precise final inspections: verify each fastener reaches its torque specification with a calibrated wrench, confirm snap ring seating, and check suspension articulation for binding. On your test drive, listen for unusual noises and feel for looseness.
If issues appear, use troubleshooting tips: recheck torque specs, inspect for missing cotter pins or damaged threads, and ascertain components are seated correctly. Act decisively—secure suspension restores control and freedom.
Frequently Asked Questions
How Much Does It Cost to Replace Ball Joints on a Toyota Tacoma?
You’ll typically pay $300–$600 to replace Tacoma ball joints; prices vary by ball joint types, parts quality and labor. You’ll need specific repair tools, and you can insist on transparency to reclaim control of costs.
Is It Hard to Replace Ball Joints Myself?
It’s challenging but doable: you’ll use DIY techniques and Tools required like a 21mm and 35mm socket, ball joint separator, press, and patience; follow methodical steps, stay confident, and reclaim mechanical independence.
Conclusion
You’ve prepped the truck, removed the wheel and components, separated the knuckle and removed the old lower ball joint, and pressed and secured the new joint—now finish with deliberate checks. Tighten to specified torque, reinstall cotter pins and dust caps, and verify sway bar, tie rod, and axle connections. Grease the joint, lower the vehicle, road-test for noise and alignment, and re-torque fasteners. Inspect again; adjust if needed. Job complete.