Drive the Tacoma at 30–50 mph and note any shake that worsens under throttle but stops when you depress the clutch or go off‑throttle — that isolatesthe driveline. Listen for clunks or clicks on acceleration and deceleration. Inspect the driveshaft for rust, loose flange bolts, missing balance weights, and worn U‑joint caps. Pry and rotate the shaft to check axial and angular play. Mark, remove and bench‑check suspect joints; grease or replace as needed, and read on for repair and upgrade options.
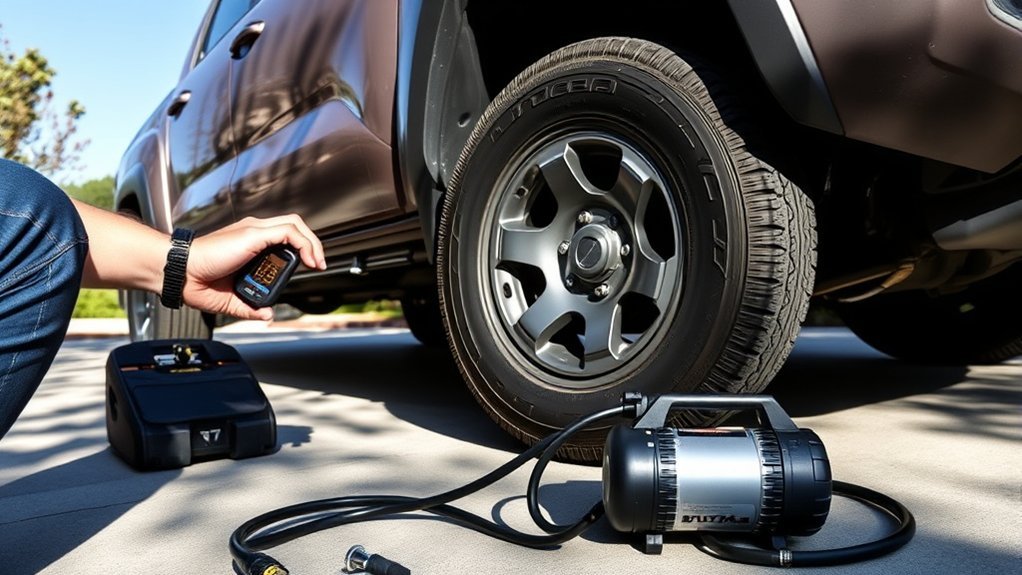
Confirm Tacoma U‑Joint Vibration: Quick Driving Tests

Start by driving the Tacoma at 30–50 mph and note any shaking under acceleration; if the vibration stops when you depress the clutch, the drive‑shaft U‑joint is a likely culprit. You’ll use targeted test techniques to isolate vibration causes: compare behavior under acceleration, cruising, and deceleration, and listen for distinct noises when starting or stopping. If clutch engagement kills the shake, focus on the drive‑shaft rear U‑joint. On a secure lift or with the vehicle parked, inspect that rear joint for radial play or angular movement; any looseness confirms the U‑joint as a primary source. Record vibration intensity changes across conditions to quantify severity and reproduce the fault consistently. These diagnostic steps free you from guesswork: you’ll validate symptoms with reproducible tests, confirm mechanical play on inspection, and prioritize replacement. Execute tests methodically, document results, and act decisively to restore control and eliminate the vibration causes identified.
What to Note While Driving (Speed, Throttle, Clutch, Noise)
When you drive the Tacoma between about 30–50 mph, pay close attention to whether the shake shows up only under throttle or persists while cruising, because that distinction quickly narrows the fault to driveline versus engine or tire issues. Note if the vibration intensifies with throttle response — a rising tremor under acceleration points toward rotating components rather than engine mounts. If the vibration disappears when you engage the clutch, you’ve effectively isolated the problem to the driveline. Record whether the shake reduces or vanishes when you lift off the throttle; off-throttle relief commonly implicates the driveshaft or U-joints. Listen for noise changes: clunks, rhythmic clicks, or growls that correlate with speed or torque tell you where to focus. Also observe whether noise changes under load vs coast. Stay methodical: test at steady speeds, gentle accelerations, and during clutch engagement. That disciplined data gives you leverage to demand correct parts or repairs and reclaim control over your truck.
Inspect the Driveshaft and U‑Joints: Visual and Hands‑On Checks
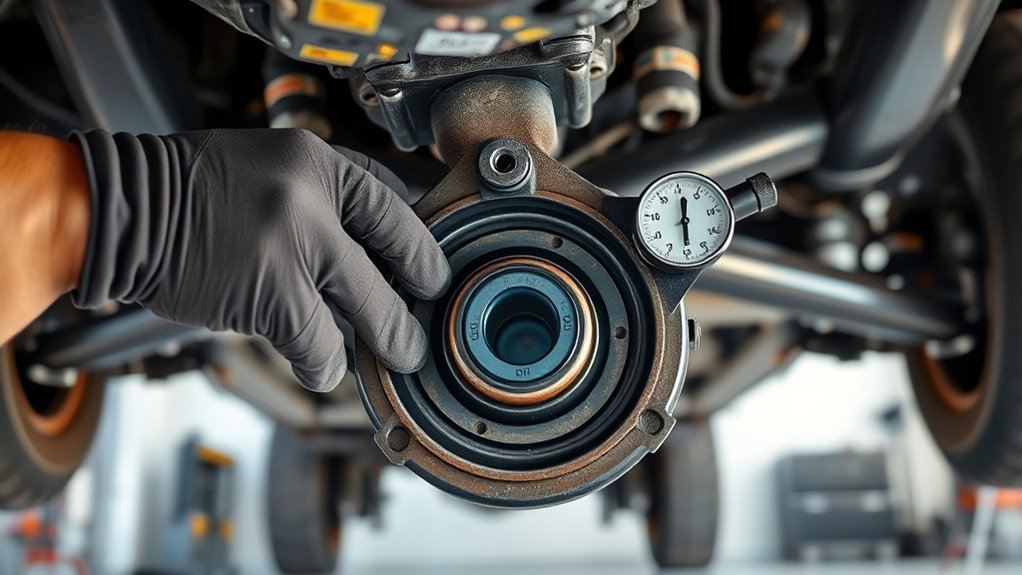
Having noted how the vibration behaves under throttle, clutch, and coast, move on to a hands‑on inspection of the driveshaft and U‑joints to confirm whether the driveline is the source. Start with a driveshaft inspection: look for rust, cracks, dents, or grease leakage at the caps. Scan flange bolts and tube balance weights for looseness or movement. Check for visible U joint wear—loose caps, missing snap rings, or corrosion are immediate red flags.
With the vehicle securely supported, use a pry bar and push/pull on the driveshaft near each U‑joint; any axial or angular play indicates worn bearings. Rotate the shaft by hand and feel for binding or rough spots that signal internal U‑joint damage. If you find irregularities, plan replacement of both joints to restore balance and prevent recurrence. Marking the shaft before removal is required for correct reinstallation; incorrect alignment will reintroduce vibration and undermine your efforts.
Remove, Mark, and Bench‑Check the Driveshaft and U‑Joints
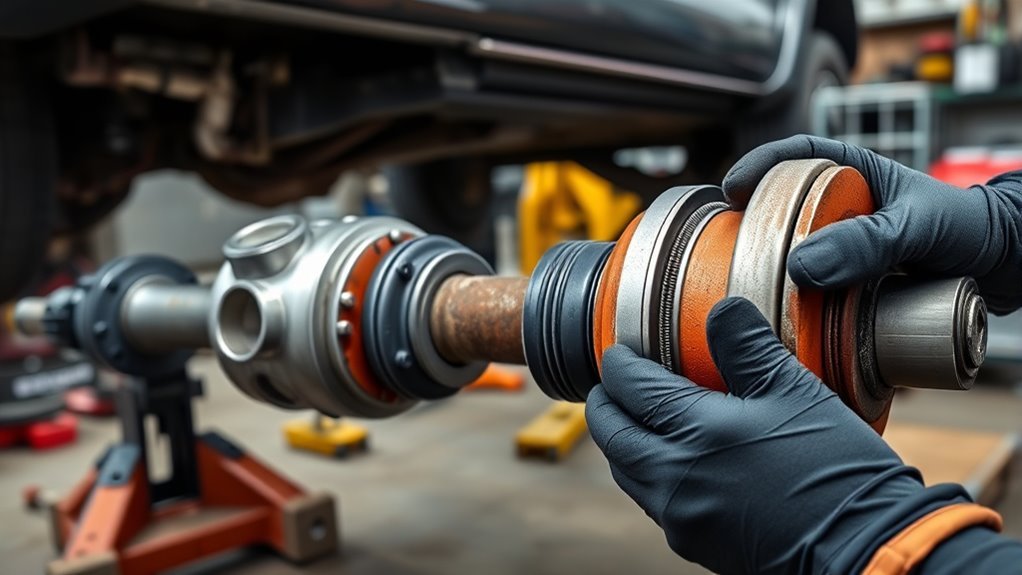
Lift and securely support the vehicle so you can safely remove the driveshaft; mark the shaft, flange, and companion parts for exact re‑alignment before anything comes off. You’ll unbolt the flange, slide the shaft rearward, and tag every mating surface with matching marks — driveshaft alignment is critical; small rotational errors recreate vibration. Work methodically.
On the bench, inspect yokes and bearing caps. Check U‑joint play by rotating and rocking the cross; any movement, missing rollers, or rough rotation indicates failure. Use a ball‑joint press to remove worn U joints; press straight to avoid scoring the shaft. For reassembly, fit new cups flush, verify free but tight articulation, and confirm there’s no binding across the range of motion. This is essential U joint maintenance — deliberate checks prevent repeat issues.
Before reinstalling, verify your marks align exactly, spin the shaft by hand to confirm smooth operation, and note any residual resistance that could signal driveline geometry issues.
Fix It: Grease, Replace Parts, or Upgrade to a One‑Piece Driveshaft
With the driveshaft inspected and reassembled to your marks, address the vibration by greasing serviceable U‑joints, replacing any with play, or moving to a one‑piece shaft if geometry changes demand it. Start with proper greasing techniques: use high‑pressure grease, pump until seals bulge slightly, wipe excess, and cycle the joint while rotating the shaft. Grease regularly to delay wear and keep tolerances tight.
If vibration persists, bench‑check each U‑joint for observable play; replace any with axial or angular looseness. Focus on the rear driveshaft first—play there commonly causes driveline shake. Measure the stock shaft precisely before ordering parts.
For lifted Tacomas with altered pinion angles, consider driveshaft upgrades. A custom one‑piece shaft removes the joint interface and often cures vibration when two‑piece geometry is compromised. Shims or spacers can temporarily correct pinion angle, but pursue permanent repairs or a one‑piece replacement for long‑term stability and liberation from recurring vibration.
Frequently Asked Questions
Will a Bad U-Joint Cause Vibration?
Yes — you’ll feel vibration: U joint symptoms include shaking during acceleration, driveline misalignment, and play at 30–50 mph. Vibration causes stem from worn bearings or lack of lubrication, so inspect and replace the joint promptly.
Will a Bad U-Joint Make the Gear Shift Vibrate?
Yes — ironically, your gear shift won’t stay calm: you’ll feel shifting issues as vibration sources travel from a worn U-joint through the driveshaft. Check for play, noise, and clutch influence; replace or lubricate to regain control.
Conclusion
You’ve run the tests, watched for speed‑linked shudder, and inspected the driveshaft and U‑joints like a surgeon. If greasing, tightening, or replacing caps didn’t stop the vibration, don’t chase ghosts—swap the worn joints or fit a one‑piece shaft. Think of it as trimming rotten branches before the tree falls: timely, precise action keeps the Tacoma true, restores balance, and prevents a small vibration from becoming a costly drivetrain failure.