What’s in This Article
- Coolant Capacity by Engine and Drivetrain
- How to Find the Right Capacity for Your Tacoma
- What Coolant to Use and How to Mix It
- Tools and Parts You’ll Need
- How to Drain the Radiator and Engine Block
- How to Flush Until Old Coolant Is Cleared
- How to Refill and Burp the Cooling System
- How to Verify Coolant Level and Concentration
- Common Problems and Troubleshooting
A wrong coolant fill can overheat your engine within minutes. The Toyota Tacoma’s 3.4L V6 has a precise cooling system capacity, and short-filling by even a quart creates air pockets that drive temperatures into the danger zone. This guide gives you the exact specs, the right coolant formula, and a complete step-by-step flush procedure — so you get it right the first time.
Quick Answer
A Toyota Tacoma with the 3.4L V6 (2nd gen, 2001–2015) needs 10.3–10.7 quarts of coolant, depending on drivetrain and transmission. Use Toyota Super Long Life Coolant (pink) mixed 50/50 with deionized water, then bleed the system to remove air pockets. Always confirm the exact capacity for your specific trim in your owner’s manual.
Key Takeaways
- Capacity ranges from 9.7 L (10.3 qt) for 2WD manuals to 10.1 L (10.7 qt) for 4WD/PreRunner manuals — check your owner’s manual for the exact figure.
- Toyota specifies Super Long Life Coolant (pink/red) mixed 50/50 with deionized water; using tap water or incompatible coolant damages aluminum components.
- Toyota’s maintenance schedule calls for the first coolant change at 100,000 miles or 10 years, then every 50,000 miles or 5 years after that.
- Burping (bleeding) the system after refilling removes trapped air pockets that cause overheating even when the reservoir looks full.
- Verify concentration with a refractometer or test strips after every service — a partial drain lowers antifreeze percentage without changing the visible level.
Toyota Tacoma Coolant Capacity (Quarts by Engine & Drivetrain)
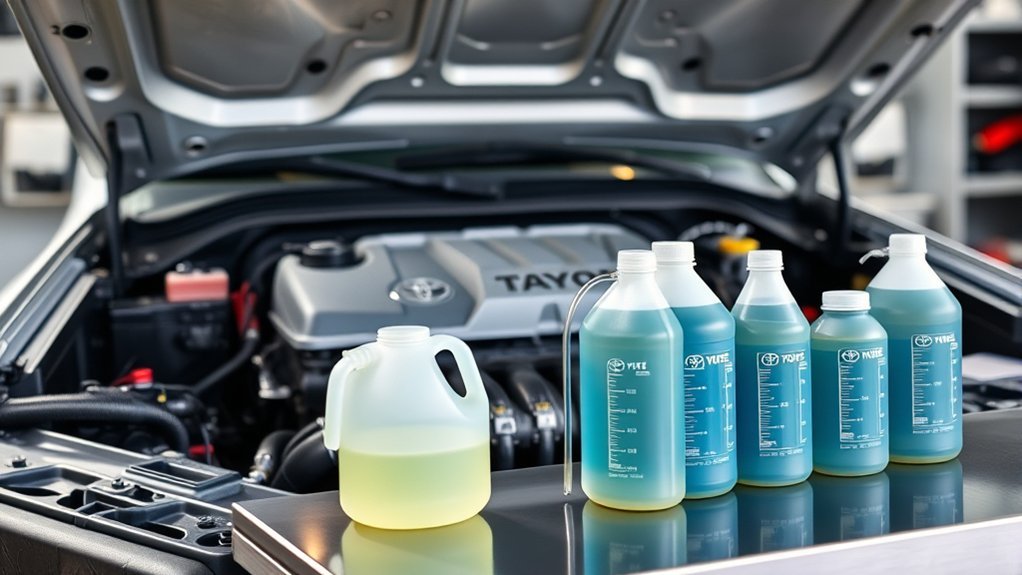
For a proper cooling system service on a Toyota Tacoma with the 3.4L V6, you’ll need roughly 10–10.7 quarts of coolant. The exact amount depends on drivetrain and transmission: 2WD manuals take about 9.7 L (10.3 qt), 4WD and PreRunner automatics take about 10.0 L (10.5 qt), and 4WD/PreRunner manuals take about 10.1 L (10.7 qt).
Plan your fill around those figures and use a 50/50 mix of Toyota Super Long Life Coolant and deionized water. This maintains the corrosion protection and heat transfer the engine needs. The 3.4L V6 powers the second-generation Tacoma (2001–2015), so confirm your trim and engine before ordering fluid.
Note the capacity differences between variants when ordering fluid for a full system flush — you don’t want to short-fill or overfill. Always verify the exact capacity in your owner’s manual, as trim variations can shift the number slightly.
How to Find the Right Coolant Capacity for Your Tacoma
The coolant capacity that applies to your Tacoma depends on drivetrain and transmission: 2WD manuals hold about 9.7 L (10.3 qt), 4WD and PreRunner automatics hold about 10.0 L (10.5 qt), and 4WD/PreRunner manuals hold about 10.1 L (10.7 qt). Confirm your drivetrain and transmission on the door jamb sticker or VIN decoder before you start. Optional equipment like a rear heater raises the total capacity slightly.
- Identify: Verify 2WD vs. 4WD and manual vs. automatic using your door jamb sticker or owner’s manual.
- Adjust: Add capacity for optional rear heaters or other aftermarket changes that expand the cooling circuit.
- Inspect: After filling, pressure-test for coolant leaks and confirm no air pockets remain.
- Verify: Run the engine to operating temperature, recheck the level, and watch for coolant puddles or a sweet smell that signals overheating.
Your owner’s manual has the definitive figure for your specific model. Using the correct capacity protects you from roadside failures caused by overfilling or underfilling.
[Products Worth Considering]

Ensure accurate engine cooling with Toyota's genuine water temperature sensor, designed for precise coolant monitoring and reliable performance. This OEM part fits seamlessly into your vehicle, offering durability and consistent temperature readings for optimal engine health.

The SCUARI Wiper Arm Removal Tool offers a durable carbon steel construction and an adjustable knob for flexible height control, making it easy to detach wiper arms on cars, SUVs, and trucks. Its rotating handle and secure locking screw ensure safe, damage‑free removal, while the compact collar fits most standard wiper arm sizes. Ideal for both DIY owners and professional mechanics seeking quick, reliable service.

Protect your vehicle's door handles and bowls with high-quality, reflective, self‑adhesive stickers that resist scratches, water, heat and fading. The subtle reflective glow improves night‑time visibility, enhancing safety while adding a sleek, luxurious look. Easy to install and durable, they fit most cars, trucks, SUVs and RVs.
What Coolant to Use and How to Mix It
Use Toyota Super Long Life Coolant mixed 50/50 with deionized water. The factory pink formulation matches Toyota’s OEM corrosion inhibitors and heat-transfer properties. It delivers freeze and boil protection at the proper ratio and protects the aluminum components found throughout the Tacoma’s cooling circuit.
[Products Worth Considering]
Protect your vehicle's door sills from scratches, abrasions and wear with these durable rubber guards. The anti‑slip stripe design offers soft, pliable cushioning while the strong adhesive backing allows easy, tool‑free installation. Suitable for cars, trucks, SUVs and RVs, they extend the life of your door thresholds and keep your vehicle looking neat.

The SINGARO Car Door Edge Guard provides durable protection for vehicle doors with its high-quality PVC natural rubber and stainless steel core, preventing damage from accidental impacts and wear. Easy to install by cutting and clamping, it fits cars, trucks, SUVs, and ATVs, and can also be used for sealing edges on other surfaces. Its flexible design ensures smooth door operation while safeguarding the vehicle exterior.
Recommended Coolant Type
Toyota specifies Super Long Life Coolant (pink) for the Tacoma. Mix it 50/50 with deionized water for ideal corrosion protection and freeze/boil resistance. Using tap water introduces minerals that accelerate corrosion inside the radiator, water pump, and heater core.
- Use Toyota Super Long Life Coolant (pink) — matched inhibitors prevent galvanic corrosion in aluminum components.
- Mix with deionized water to 50/50 for balanced freeze/boil protection and good thermal performance.
- Check concentration regularly — partial radiator drains lower antifreeze percentage without changing the visible level.
- For extreme heat, you can run as low as ~30% antifreeze temporarily; never drop below 20%, which removes freeze and corrosion protection.
Warning: Do not mix Toyota’s pink Super Long Life Coolant with the older red Long Life Coolant — mixing them resets the service life to the shorter red LLC interval and can reduce corrosion protection.
Ideal Mix Ratio
Mix Toyota Super Long Life Coolant with deionized water at a 50/50 ratio. This gives you balanced freeze and boil-over protection, and it minimizes corrosion in aluminum and alloy components. Check the concentration with a refractometer or hydrometer — never run full concentrate, which actually transfers heat less efficiently than a proper dilution.
| Parameter | Recommendation |
|---|---|
| Coolant type | Toyota Super Long Life Coolant (pink) |
| Water type | Deionized |
| Target mix | 50/50 |
| Capacity (4WD) | ~10.0 L (10.5 qt) |
A 30% mix suits warm climates but cuts freeze protection. Avoid pure antifreeze — it runs hotter than a proper mix. Pre-mixed coolant (already 50/50) is the easiest option if you want to skip measuring entirely; just confirm the label says “diluted” or “ready to use.”
Tools and Parts You’ll Need
Estimated total time: approximately 2 hours for a complete drain, flush, and refill.
Gather a compact set of tools and safety gear before you touch the system. Wear chemical splash goggles and nitrile gloves throughout — coolant is toxic to people and animals, and it stays slippery on concrete.
Warning: Ethylene glycol (the active ingredient in coolant) is highly toxic to pets and children. Clean up any spills immediately, and dispose of used coolant at a certified recycling or auto parts drop-off location — never pour it down a drain.
- Socket set (12mm, 14mm) for accessing drain plugs and hose clamps — sizes may vary slightly by model year.
- FloTool 10703 Spill Saver Radiator Funnel or similar for controlled, spill-free refilling.
- Capri Tools CP21023 Portable Oil Drain Pan or equivalent to collect used coolant safely.
- Vinyl tubing (3/8″ or 1/4″) to direct flow from the drain plug into the pan and avoid splashes.
Keep the kit minimal and reliable. A quality funnel and a secure drain pan reduce contamination and mess. The tubing guides coolant away from surfaces where it can cause slips or stains.
How to Drain the Radiator and Engine Block: Step-by-Step (3.4L V6)
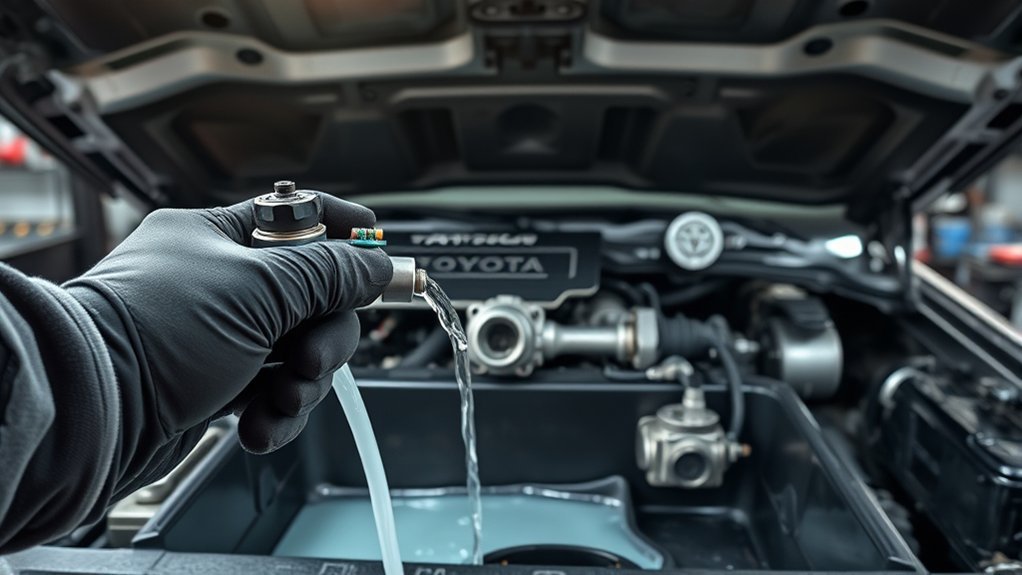
Wear gloves and eye protection, relieve system pressure, and position a drain pan under the radiator and block drain plugs (typically 12mm or 14mm). Open the radiator drain first, using vinyl tubing to route coolant into the pan, then remove the engine block drain to fully evacuate the system. After flushing with distilled water until the runoff runs clear, refill with 50/50 Toyota Super Long Life Coolant and deionized water, then burp the system by running the engine and topping off until no air pockets remain.
Prep and Safety
Start by protecting yourself and the work area. Put on chemical splash goggles and nitrile gloves, park the Tacoma on a level surface, let the engine cool completely to ambient temperature, and chock the wheels. Gather a 12mm and 14mm socket set, vinyl tubing, and a drain pan.
- Inspect the workspace for spills and combustibles; ventilate the area if you’re working indoors.
- Confirm the engine temperature is ambient — opening a hot cooling system under pressure causes scalding burns.
- Position the drain pan and attach vinyl tubing to guide coolant flow away from the ground.
- Keep distilled water and the replacement 50/50 coolant ready for flushing and refilling.
Drain the Radiator First
Remove the bottom skid guard with a 12mm socket to access the radiator drain plug, then fit vinyl tubing to the plug and route it to your drain pan. Remove the overflow hose from the reservoir to allow complete drainage. Open the radiator drain and the engine block drain one at a time, directing flow through the tubing into an approved container for disposal.
Once empty, flush the radiator with distilled water until the runoff runs clear. This removes residual coolant and loosened deposits. Tighten both drain plugs securely after flushing — a loose plug will cause a slow leak during refill.
Burp and Refill
With the drains closed and plugs secured, refill the 3.4L V6 cooling system and bleed out trapped air to restore proper circulation. Add the recommended coolant until the radiator is nearly full, leave the radiator cap off, and set the heater to high.
- Start the engine and rev it intermittently to force air toward the radiator filler neck.
- Watch the upper radiator hose — warmth signals that coolant has begun circulating through the system.
- Top off the coolant as bubbles slow and the level stabilizes.
- Replace the cap, monitor temperature until the engine reaches operating temp, then recheck for leaks.
How to Flush Until Old Coolant Is Fully Cleared
Start by draining the radiator and engine block at their drain plugs — open both to remove the bulk of old fluid. Close the drains briefly, pour distilled water into the radiator, let it circulate for a few minutes, then drain again. Check the color of the flushing water after each cycle.
Continue cycles of filling with distilled water and draining until the outflow runs clear. Clarity confirms the removal of contaminated coolant and scale deposits. Once clear, secure all drain plugs tightly. Refill with the 50/50 mix of Toyota Super Long Life Coolant and deionized water per the capacity table above.
After driving a short distance, monitor level and color. Discoloration that reappears points to a stubborn deposit — repeat the flush cycle before it can clog the radiator or heater core.
How to Refill and Burp the Cooling System
Before you replace the radiator cap, confirm the engine is cold and fill the radiator nearly to the top with the 50/50 Toyota coolant mix. Start the engine with the cap off, set the heater to HI, and watch for steady circulation and bubbles — this purges trapped air from the system.
- Run the engine at idle; monitor for bubbling as the thermostat opens, which forces trapped air toward the filler neck.
- Rev the engine briefly a few times to increase coolant flow and promote expansion, then return to idle and observe bubble reduction.
- Keep the heater at HI to purge the heater core; check the reservoir level and add fluid as the flow stabilizes.
- Once bubbling stops and temperature stabilizes, install the cap securely and let the engine reach operating temperature; recheck for leaks.
Check the reservoir over the following days to confirm the system stays full. A level that drops without a visible leak often points to a remaining air pocket working its way out — top up and monitor until stable.
How to Verify Coolant Level and Concentration
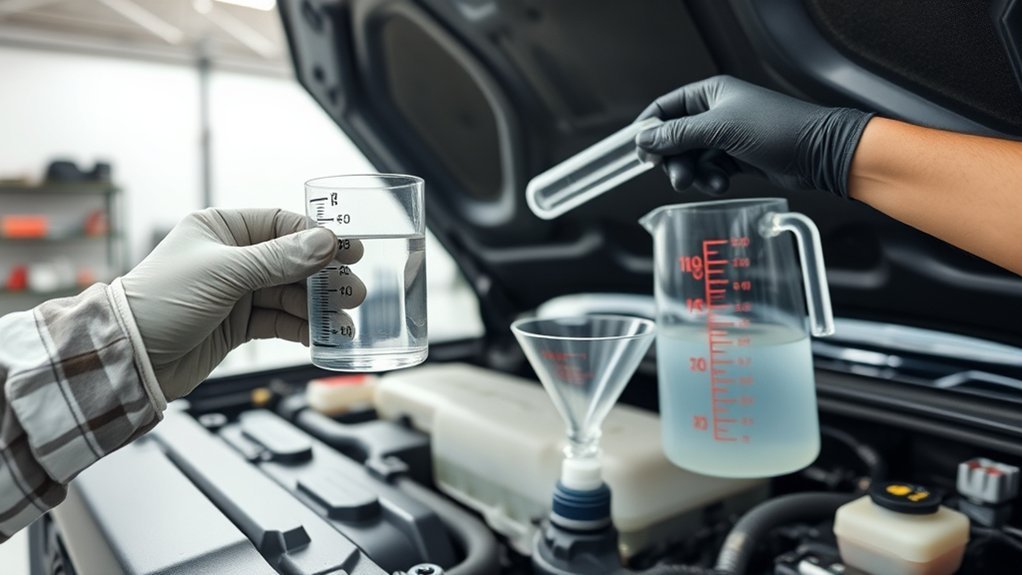
After the flush and refill, check the coolant reservoir so the level sits at the full (F) mark. Confirm the concentration holds a 50/50 mix of Toyota Super Long Life Coolant and deionized water. Use a hydrometer or test strips to verify freeze/boil protection meets spec for your climate.
Pro tip: A refractometer gives a more accurate concentration reading than float-style hydrometers — worth the small investment if you service your cooling system regularly.
Drive a short route, monitor the engine temperature gauge, then recheck the reservoir after the system equalizes. A stable level and normal gauge reading confirm a correct fill. Document the exact mixture and the date so you can track service intervals accurately.
If levels drop within a few days, inspect hoses and clamps for slow leaks. Maintain a routine inspection interval and keep test tools accessible so you can catch concentration drift before it causes damage.
Common Problems and Troubleshooting After a Coolant Change
Keep a close eye on the system in the days after service. Rapid temperature rises, a persistent low reservoir level, or a heater that blows cool air usually point to air pockets, leaks, or an improperly sealed drain plug. Monitor the gauge and inspect all fittings for visible coolant loss.
- Check for external leaks at the radiator, drain plugs, hoses, and sensor fittings — start with a visual check, then use a pressure tester for slow leaks.
- Monitor the reservoir level after several drives to detect coolant evaporation or gradual loss.
- If temperature spikes persist, confirm thermostat operation and coolant flow to isolate any remaining air pockets.
- After purging, recheck heater performance and repeat the pressure test; symptoms that persist after two purge attempts need professional diagnosis.
Frequently Asked Questions
What type of coolant does a Toyota Tacoma take?
Use Toyota Super Long Life Coolant (pink) mixed 50/50 with deionized water. This OEM formulation protects aluminum components, provides freeze and boil-over protection, and meets Toyota’s corrosion inhibitor requirements. Avoid generic green coolant — it uses a different inhibitor chemistry that can damage Toyota’s aluminum radiators and heater cores.
How often should you flush the coolant in a Toyota Tacoma?
According to Toyota’s maintenance schedule, the Super Long Life Coolant requires its first change at 100,000 miles or 10 years, whichever comes first. After that first change, Toyota recommends replacing it every 50,000 miles or 5 years. Under severe driving conditions (towing, extreme heat, frequent stop-and-go), inspect concentration more frequently and change it at the shorter end of the interval.
Can I use a different brand of coolant in a Toyota Tacoma?
You can use an equivalent non-silicate, non-amine, non-borate ethylene glycol coolant with long-life hybrid organic acid technology (HOAT) — Toyota’s owner’s manual explicitly allows this as long as the formula matches. Toyota-branded SLLC or an OEM-equivalent such as AISIN ACT002 are the safest choices because the inhibitor chemistry is confirmed to match. Always avoid mixing coolant types, which shortens service life and can reduce corrosion protection.
Safety Disclaimer: This article is for informational purposes only. Coolant contains ethylene glycol, which is toxic to people, pets, and wildlife. Always follow proper disposal procedures at a certified recycling facility, and consult a qualified mechanic if you are unsure about any step in this process.
The specs are clear, the tools are simple, and the steps are repeatable. Fill to the correct capacity for your drivetrain, use the right 50/50 Toyota coolant mix, and bleed the system completely before you drive. Your single most important next step: grab a refractometer and verify concentration now — before the next service interval sneaks up on you. A Tacoma with a healthy cooling system will run reliably for years without giving you a reason to pull over.
References
- Toyota Super Long Life Coolant drain & fill interval discussion — ToyotaNation Forum
- Toyota coolant change interval — BobIsTheOilGuy Forum, 2019